DISCLOSURE: This site contains some affiliate links to products. I may receive a commission for purchases made through these links (at no cost to you). As an Amazon Associate I earn from qualifying purchases. Thank you!
Hello Folks! Scott here with my ten cards featuring the My Monthly Hero February 2020 Kit. Looks like it’s all about birthdays, balloons, cakes and candles this month! 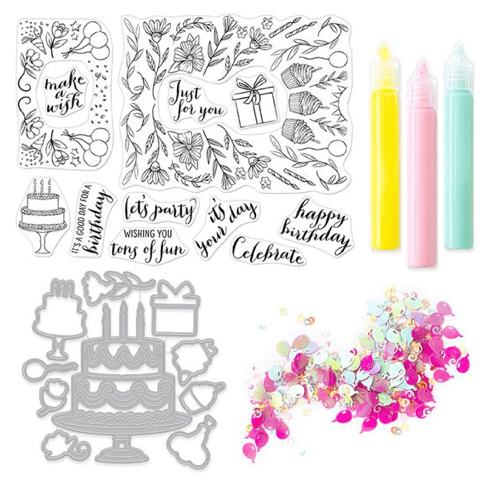
Our 6″ x 8″ stamp set features a large background party stamp (with an open center) that will fill an entire A2 card front, a smaller frame stamp perfect for gift cards and a wrapped gift and a small cake. 8 birthday and party sentiments finish out this stamp set. The die set includes 9 frame cuts for the gift and the cake and for assorted elements in both frame stamps – the single and triple balloon images and a number of the flowers too. VERY interesting! We also get a large Cake Fancy Die on a cake stand with candles and decorations! The extra goodies in this kit include 3 Lacquer Pens (Yellow Icing, Pink Icing, Teal Icing) and a big bag of Rainbow Spirals & Balloon Sequins. I think most folks go through a lot birthday cards, so it’s really nice to have a dedicated kit with lots of groovy birthday card options.
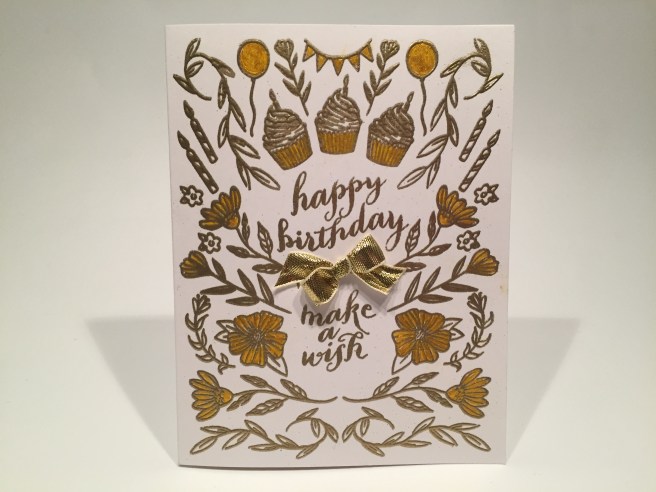
For my first card, I went with a gold and white celebratory palette! I stamped the large party stamp on a Neenah Solar White 110# card base with Hero Arts Clear Embossing & Watermark ink, and embossed that with Hero Arts Gold embossing powder. I did the same with the two sentiment stamps in the center opening, and then painted in select portions of the images with Hero Arts Gold Glimmer Metallic ink (from the MMH August 2019 Kit). For a final flourish, I tied a simple gold metallic ribbon bow from my stash and glued that down in the center. That metallic ribbon is pretty stiff, so, instead of fighting with it to make it go in the direction I wanted, I let the bow do its own thing and it fit that open space perfectly! Lovely! I think gold embossing on white is very sharp, and all the parts came together beautifully for this classy birthday card!
Naturally, I’m eager to play with the large Cake Fancy Die, so let see what that’s all about!
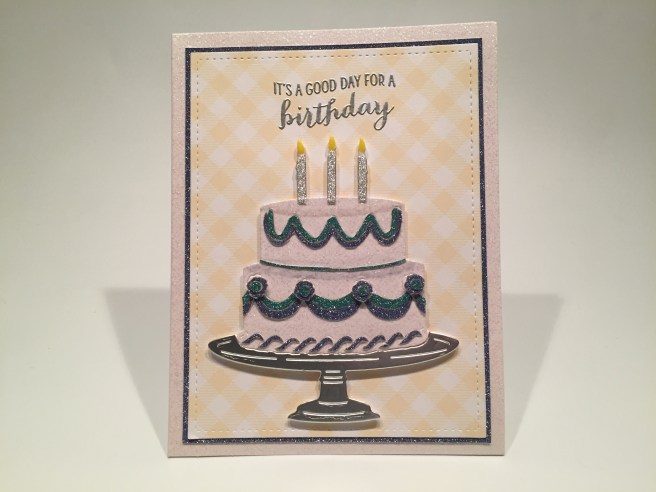
For some reason, I decided that paper piecing was the way to go with this first cake card! First, I die-cut the whole cake from a spare David Tutera glitter card base, the cake stand from some silver card stock in my stash, and then die-cut the cake three times from the Silver, Sea Glass and Twilight glitter card stock from our MMH October 2018 Kit. I fussy-cut all the icing decorations (and the candles) from the glitter card stock and glued those on top of the white glitter cake – those were fairly simple to cut out, aside from the little swirls on the bottom (am I CRAZY?). I did take a light gray alcohol marker to add a little definition to the tops of the cake layers, and cut a thin sliver of the Sea Glass glitter card stock to define the bottom of the top layer.
I fussy-cut the candles from the Silver card stock, glued them in place, and added some of the Yellow Icing lacquer pen to the flames. I die-cut the background from some light yellow Lawn Fawn Gotta Have Gingham pattern paper with a Lawn Fawn Stitched Rectangle Die and glued that to a thin mat cut from the Twilight glitter card stock. I stamped the sentiment with HA Clear Embossing & Watermark ink and embossed that with HA Silver embossing powder. I glued the background to a matching David Tutera glitter card base, and mounted the cake with foam tape. This card was admittedly a little fussy, but I love all the glitter and shine – and I really like that sentiment as well!
You know me… I have to take a stab at coloring that large background frame stamp!

This is stamped on Neenah Solar White 80# card stock with Gina K. Jet Black Amalgam ink and colored with my Spectrum Noir alcohol markers. I did add a little yellow gel pen to the balloons for some shine – I thought they needed a little more pop (pun intended)! Now, I was going to stamp the small cake in the bottom of the center opening, but decided to make it a little shaker window instead. I die-cut the cake in the proper position on the colored panel and stamped the cake stamp on a piece of heat-resistant acetate with StazOn Jet Black ink and embossed that with some clear embossing powder. I stamped the sentiment using Vermillion Archival ink and clear embossed that for more shine and a little dimension.
I glued the acetate behind the window, and covered the back of that panel with foam tape – only doubling it up around the cake itself to allow the shaker bits some freedom of movement. I separated the rainbow spirals from our sequin pack and loaded them behind the cake before attaching the front panel to a white card base. I like the softer colors on this card – makes the cake pop a little more, and am reminded that a small shaker element can have just as much of an impact as a large one! Celebrate!
I don’t do this often, but I simply couldn’t resist this great image from the kit packaging.

I die cut the balloons with a LFSRD, glued that to a purple mat from my stash, and glued those down to a pale yellow card base. I stamped the sentiment using Deep Purple Archival ink and clear embossed that to avoid any smearing!  I couldn’t leave this card without a little bit of a pun, so I turned to my Silhouette software (remember that software is FREE!) and printed the “party till you Pop!” sentiment on the inside writing surface. This is printed in purple using the Ballpark Weiner font. This is a fun and very appropriate pun, and this card could be used for a number of occasions – not just for birthdays. Makes me smile!
Now let’s play with that smaller frame stamp – the kit description said this stamp was perfect for a gift card, so I took them at their word!

I cut a piece of dark blue dotted card stock from my stash to 4″ x 6.5″ and scored that at 2.75″ and 5.5″ so I could fold and glue it into a little gift-card holder.  I stamped the frame stamp on the front using HA embossing ink and embossed that with the HA gold embossing powder. I took a white colored pencil and added a little color to some of the images – surprisingly, that highlighted the dots as well… Cool! I stamped and embossed the sentiment in white and added the “Celebrate” sentiment on the inside bottom flap using gold again. I punched out a 1″ circle of the same blue card stock, scored it in the middle, stamped and embossed the “open” on the top half and glued that to the back of the holder.
I matted that on a piece of gold card stock from my stash with a couple pieces of this sparkly burlap ribbon peeking out from the sides. Everything is glued down to a David Tutera shimmer card base. 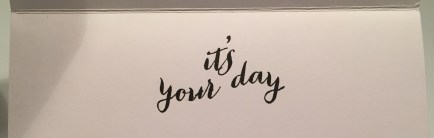 I did think the addition of the “It’s your day ” sentiment finished up this card nicely, and again we have a card that works for assorted celebrations – graduations for instance – and not just as a birthday card! You’ll never go wrong with blue and gold!
About a month ago I did a how-to video showing how I make my galaxy backgrounds using Brusho Pigment powder… that galaxy has been sitting on my desk since then…

I thought this was the perfect opportunity to use that galaxy background! I stamped the balloons (wiping off the string ties) and the cake using VersaFine Onyx Black ink on some Neenah 80# card stock and colored them with my colored pencils before using the included dies to cut them out. I did do a partial die-cut on the balloons (and cut one from the back side) so I could extend their strings a little longer. I also did a little fussy-cutting with my craft knife between the strings – fussy, but I think it adds to the dimension! I die-cut the galaxy with a LFSRD and attached that to a thin white mat before gluing those down to a HA Pitch Black card base. 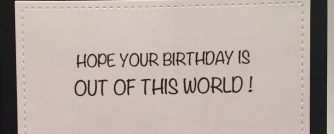 Of course this card doesn’t mean much without a sentiment, so I turned to my Silhouette software again to print this sentiment on the inside writing surface using the Noteworthy font. A great birthday sentiment for any space nerd or sci-fi fan on your list! Of course it was pointed out to me that in space, the balloons would deflate and the candles wouldn’t be lit, but c’mon! It’s just a birthday card! I do love the colors and the awesome sense of movement on this card!
Let’s try that big cake die again but let’s try coloring it this time…!
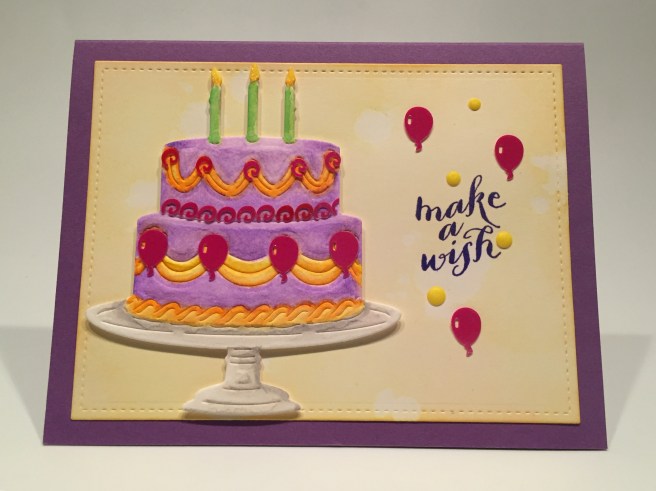
I dry embossed this die on some Bee 140# cold press watercolor paper and painted it using the colors from my Zig markers. After it was totally dry, I completed the die-cut and added the sequin pieces and a little Spectrum Noir sparkle pen to the flames for a lot more bling. I die-cut a piece of Neenah 80# card stock with a LFSRD and blended some HA Lemon Drop reactive ink over the entire surface. When that was dry, I sprinkled some water droplets across the surface and blotted them away with a paper towel. I stamped and clear embossed the sentiment with the Deep Purple Archival ink and glued the background down to a purple card base from my stash. The cake is attached to the card front with some foam tape, and few more balloon sequins and some Yellow Icing lacquer dots finish off this card nicely! Those sequin pieces are HUGELY reflective and are a fun decorative compliment for this watercolored cake.
I still haven’t used the gift stamp from our stamp set, and I had an idea on how I could use it to illustrate one of the sentiments from the stamp set…

I repeatedly stamped this gift box on some Neenah 80# Solar White card stock using Gina K Amalgam ink and my Tim Holz stamp platform. 
I thought I was being clever, but was faced with a bit of a puzzle after stamping. I didn’t realize that the space between the boxes would be the same width as the ribbons on the boxes. It was a little hard to tell where the boxes began and where they ended! Undeterred, I grabbed my alcohol markers and began coloring all these gifts. Here’s a shot of the markers I used on this card. 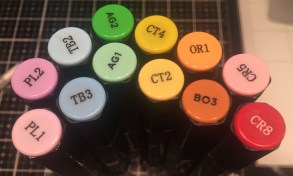 I die-cut the panel with a LFSRD, and glued that to a thin mat cut from my Black Tie Glitter card stock. I love the multi-color glitter on this card stock and thought it went especially well with this colorful card! I stamped and clear embossed the sentiment (perfect!) with Onyx Black ink and glued the finished panel to a red card base. I did go ahead and delineate this card
  as a birthday card by stamping the “happy birthday” sentiment on the inside writing surface. LOVE this card. The coloring of the gifts helps define the packages, but it doesn’t completely camouflage the ‘puzzle’ aspect of this repeating pattern. Tons of fun indeed!
I have now used every stamp in this stamp set! (woo-hoo!) Now, this is an extremely unique stamp set – despite some of the frame cut dies that cut images out of the background frames, we basically only have four stamp images in this set. Is there more?

I’m a big advocate of performing stamp surgery to your photopolymer stamps to stretch their usefulness. I cut away the balloons and confetti portions of the small frame stamp and spread them out to stamp the front of this card. That really expands the options you have with that stamp – I really like this larger frame arrangement – it’s similar to the big frame stamp but a little simpler and not quite so busy. It really draws your focus right in to that cake. This is all stamped with VersaFine Onyx Black ink on Bristol smooth card stock and colored with my Zig markers.
Using my Silhouette software, the Marker Felt font, and my piggy-back printing method, I printed this pun-y sentiment directly on the card front. This one makes me laugh out loud! I glued the front panel to a thin red glitter mat and then down to my white card base.  A few dots from our lacquer pens and some confetti added with my Sakura Stardust glitter pen add some more embellishment and I did go ahead and stamp the “happy birthday” sentiment on the inside of this card. I love this pun! This one is definitely MY KIND OF CARD!
I wanted to take one more stab at that fancy cake die to wrap up these 10 cards…

I die-cut the cake one more time from some Neenah 80# card stock, trimmed off the pedestal, and colored the cake with my colored pencils. Since I was coloring very lightly and adding layer after layer of color, It soon became apparent that the die cut impressions would stay white unless I dug in really hard to try and color them. I really liked the automatic “highlights” that gave me, so I tried to preserve them as much as possible. I die cut the candles from a piece of pattern paper and glued those on the top. I wanted this cake to have some ‘fondant’ shine, so I embossed the whole piece with clear embossing powder… mmmmmmmm… milk-chocolatey!
I die-cut a piece of Neenah 80# card stock with a LFSRD and used my blending brushes, a Stampendous Flourishes metal stencil and HA reactive inks in Lemon Drop, Creamsicle, and Fruit Punch to blend the stencil on the background. I’m glad I found this old stencil in my stash – I don’t believe it’s available anymore – it makes a perfect ‘party’ background. For a final touch I spritzed the background with some Sheer Shimmer Spray to add a light touch of glitter.
It must have been that “cake my day” pun that made me think of this other ‘tough-guy’ quote that I printed on a scrap of white card stock (Marker Felt font again) then matted to a scrap of kraft card stock. I glued the background to a kraft card base and added the cake and sentiment with foam tape. I did add another birthday sentiment on the inside using a Love From Lizi die from more kraft card stock. This sentiment tickles me a lot, and I just might like this cake treatment the best – or maybe it’s chocolate that I like the best!
That completes my 10 Cards 1 Kit collection featuring the My Monthly Hero February 2020 Kit. More options are possible with this kit than I originally thought!

A wide assortment of cards this month – eight birthday cards and a couple usable for other occasions as well! I did use every stamp in this set but I didn’t use every die… I may have been a little die-cut-flowered out after last month’s kit! This is certainly a perfect kit for making birthday cards and I’m sure it will get a lot of use over the years!
Like January’s kit, this one sold out extremely quickly as well! If you don’t want to miss out on any of these wildly popular kits, I’d suggest doing a 6-month subscription which allows you to skip a month if you don’t like the offering. Nonetheless, when you do go shopping at Hero Arts, please use my links! I always appreciate the support!
Thank you so much for sharing your time with me here! Please share this post with any interested parties you may know, Like me, List me, Pin me, Post me, and remember, Don’t count the years… just make the years count! Happy Crafting!

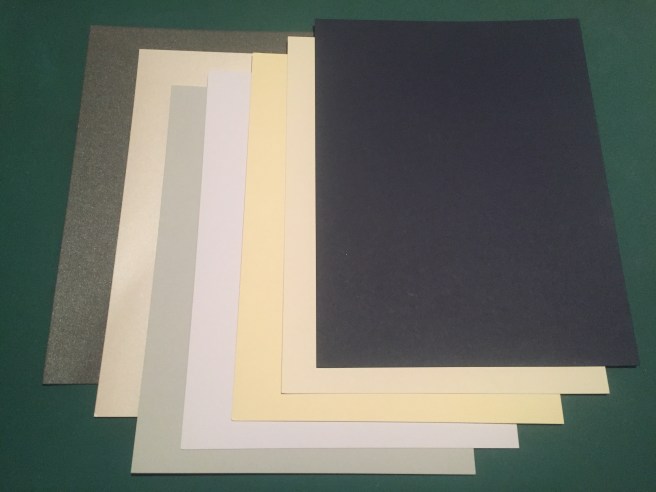


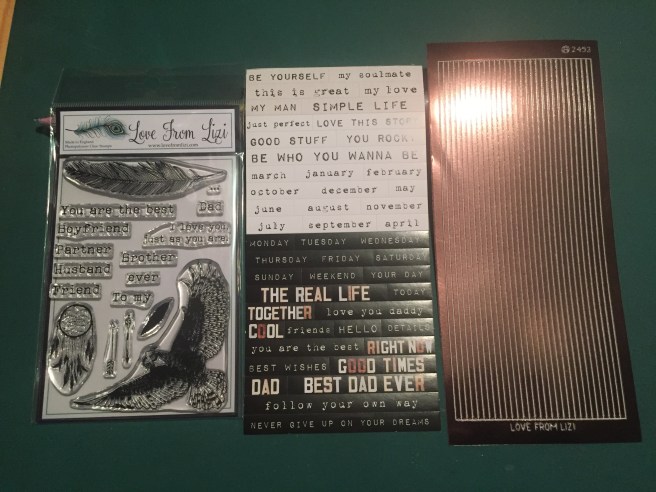

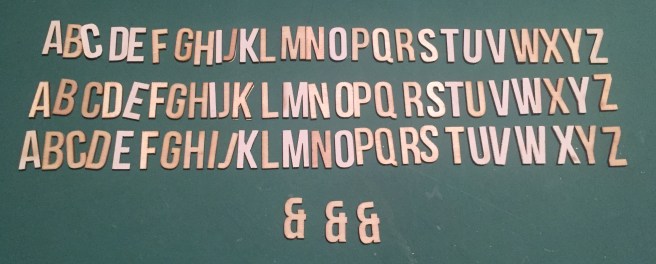

 send in a standard envelope, but I love the 3-dimensional aspect of the decoupage heart. I did think one of the sentiments from our stamp set would compliment this card nicely, so I stamped “you are so loved” on the inside of the card using
  Thank you, Alice! Very much like Tombow markers but much less expensive. Now, I know some folks look at a stamp like this and feel a little overwhelmed at the prospect of coloring something this large and detailed. But if you take it step by step, It’s really not an insurmountable challenge! I started by coloring all the greenery – everywhere I saw a “leaf” I colored it green. One of the great things about a stamp like this is you can color something “wrong” and no one will ever notice! Once the foliage was colored, it was easy to see the flowers as individual entities… I just colored each style of flower exactly the same, however often it was repeated in this pattern. Granted, this did take a couple hours to color, but I find it very therapeutic to put on some music and zen out with my colors! And look at the lovely results! I definitely think it was worth the time… Now let’s make a card with this!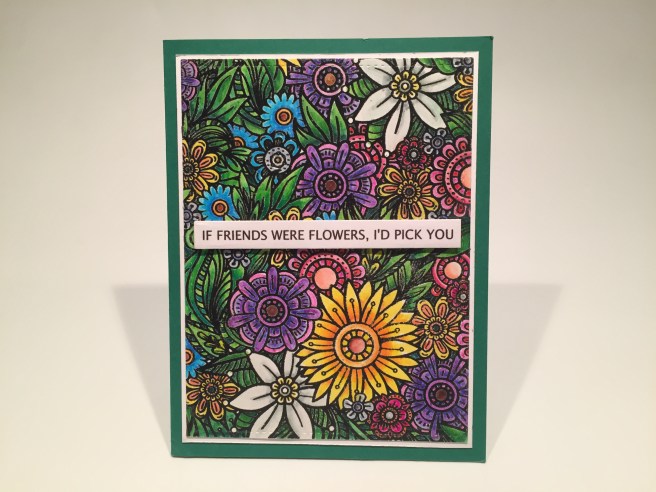

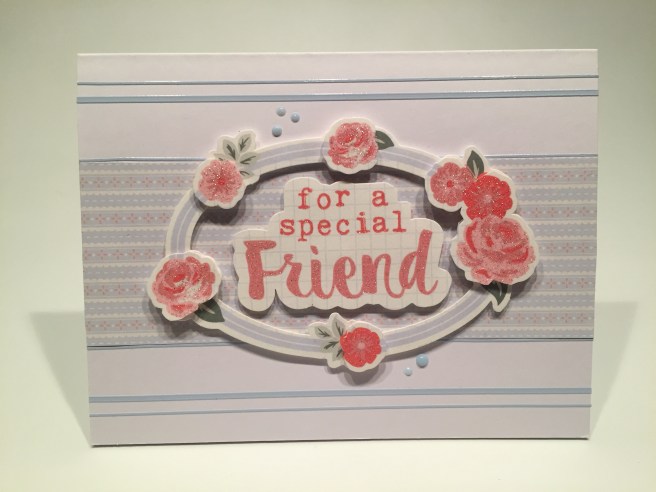
 I liked seeing the stripe background in the center of the oval instead of the plain grid behind the sentiment. A few Blue Babe Nuvo drops on the front adds another touch of blue and a little more shine. I thought this decoupage card was perfect for using another stamped sentiment on the inside, so I stamped “you are so sweet” on the inside of the card using
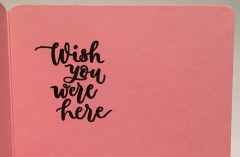 Again, this sentiment paired up with the “wish you were here” sentiment, so I stamped that on the inside with Onyx black ink. For a final touch, I rounded all four corners of this card with my


 liquid glue on the edges, and the handle, spout, and center flower are raised up with tiny spots of foam tape. I used my Silhouette software and printed “you help me grow” on the inside of this card using
 It wasn’t easy coming up with any puns for this kit, but I did manage a nice one with this card. I printed “you bloom me away” on the inside writing surface using my Silhouette software and the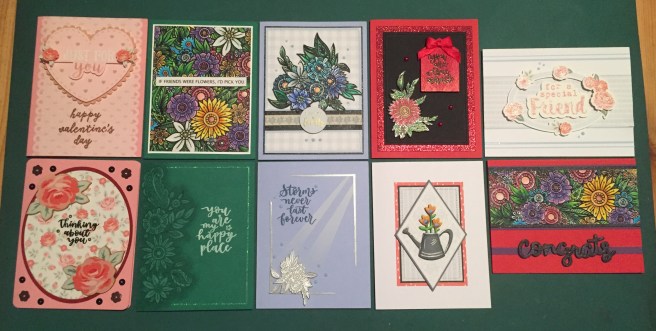


 and die-cut them using the sentiment strip die. I glued the banner sentiments along the two sides of the bouquet and added a small double bow using the pink ribbon included in the kit. For a final touch I stamped the “LOVE MAIL” stamp on the inside using the same Soft Granite ink.


 but this one is what caught my eye – it’s the same basic shape as our large butterfly die in this kit! And that Aqua Glimmer Metallic ink was just sitting there begging to be used. I die-cut the three butterflies from some


 I turned to my Silhouette software to print this sentiment on a piece of my Mead sketch paper using the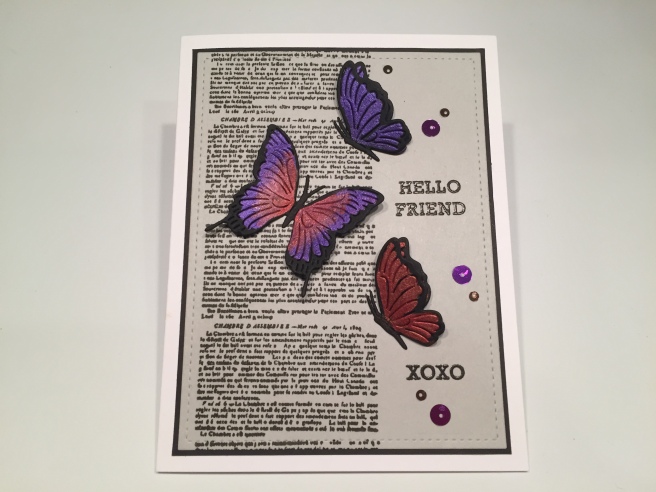

 The center of the Rose mat has been cut away with another
  I printed this poem on a scrap of white card stock that measures 2.1/2″ wide by 4.3/8″ tall (the bottom 1/4″ is 3″ wide to provide a stopper so the note doesn’t pull all the way out). I dry-fit everything to make sure I had room for this whole poem, then glued the envelopes to the card front.

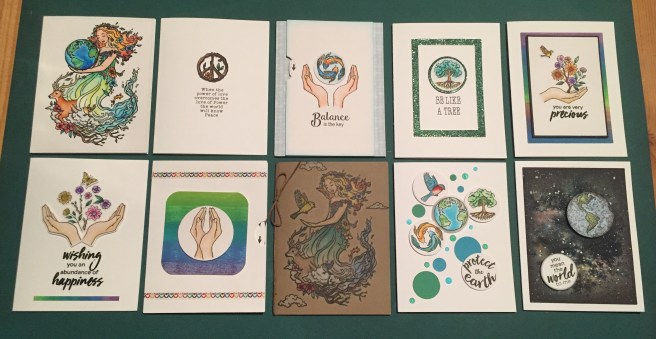
 That wraps up my 10 cards for this sold out MMH January 2020 kit…! This is a very unique kit that can create a variety of cards – I managed only 2 Valentines but ended up with 8 different occasion cards. I can understand why this kit sold out so quickly – who doesn’t love flowers and butterflies? If you don’t want to miss out, I would suggest subscribing…! The six month plan lets you skip one month if you don’t happen to like the kit – not very many subscriptions let you do that! If you do go shopping at Hero Arts please use my links throughout this post and to go directly to Hero Arts click here:
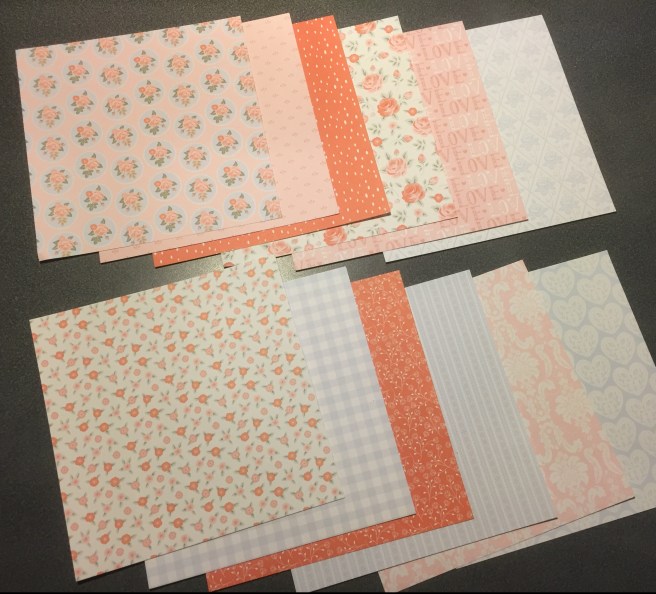
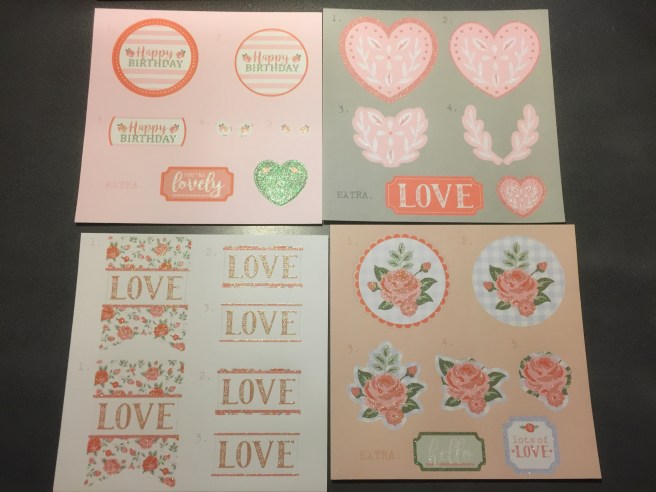


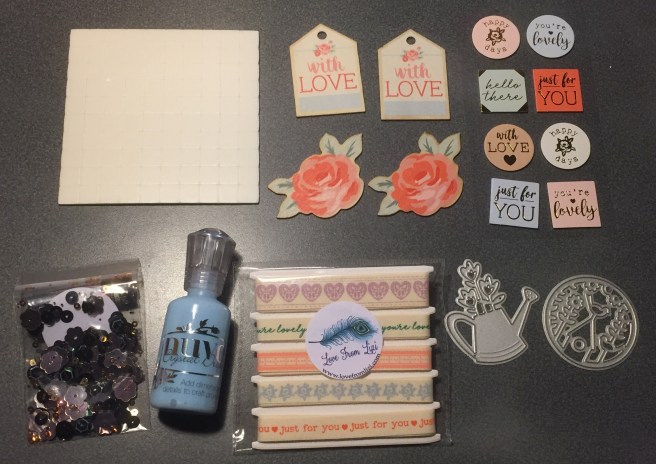
 I did manage to get an additional add-on this month. I got the

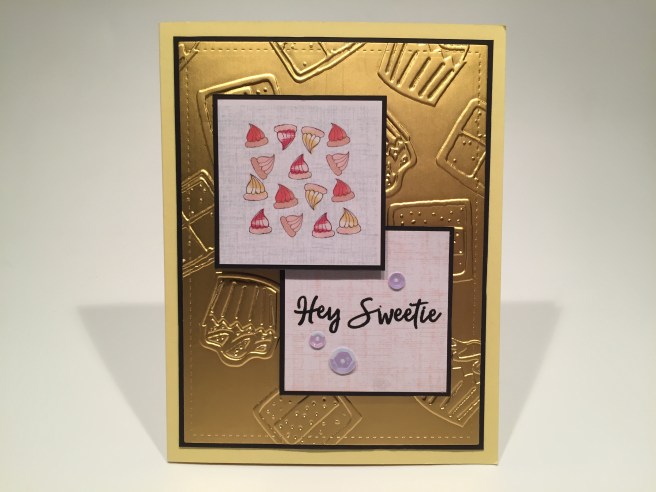
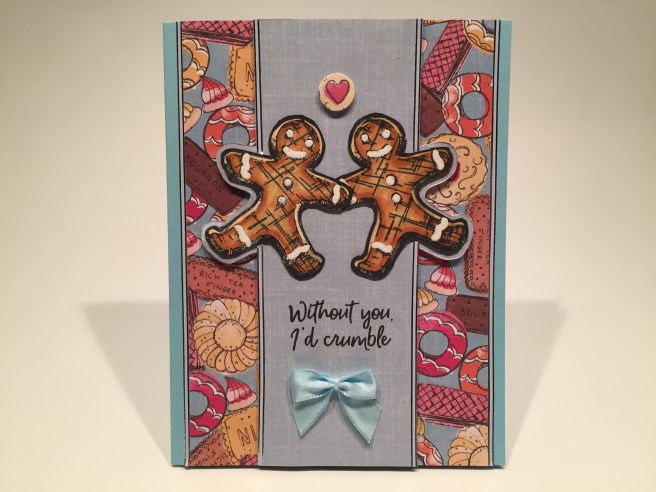
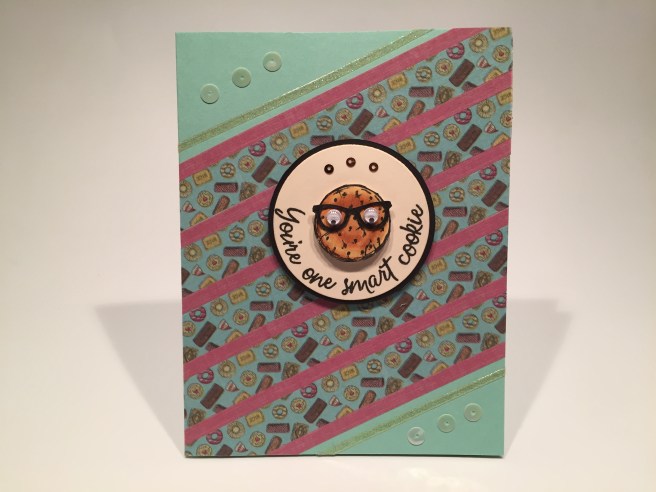
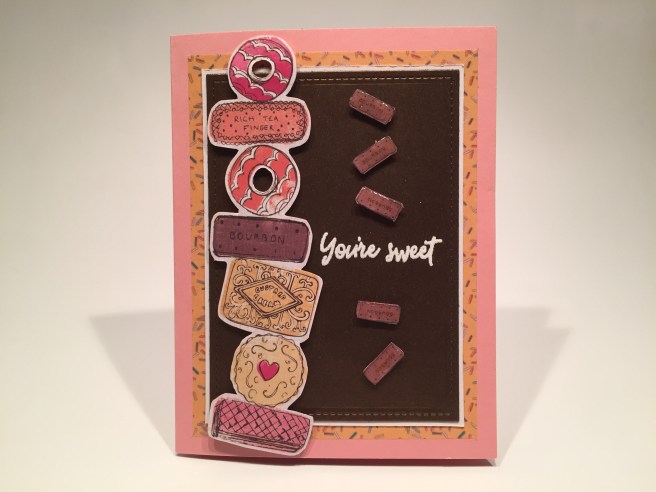
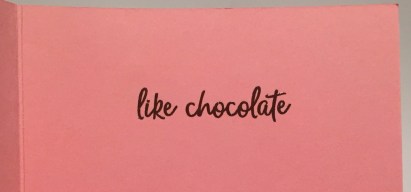 I did complete this sentiment on the inside of the card, stamping the sentiment with Walnut Stain Distress Oxide ink and embossing that with more clear embossing powder. This feels about as chocolate-y as I could get with this kit to go along with this sentiment!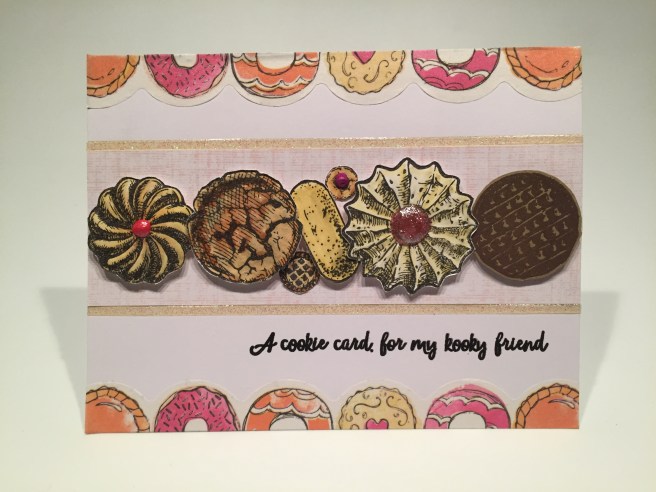

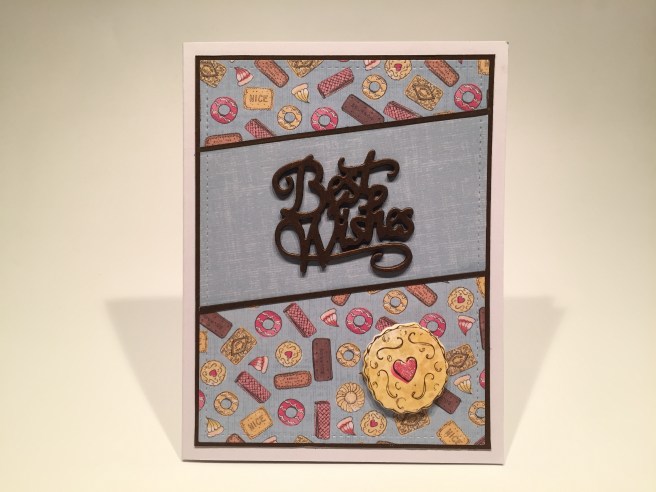
 and just had to cut up one more sentiment to finish this card out. On the inside, I stamped “Sweetie” (from the “Hey Sweetie” stamp) using Walnut stain Distress Oxide ink and more clear embossing powder. I think that helps justify a cookie / sweet treats card sporting a Best Wishes sentiment. Unless you might want to give this card to a friend starting a new diet! Is that mean?
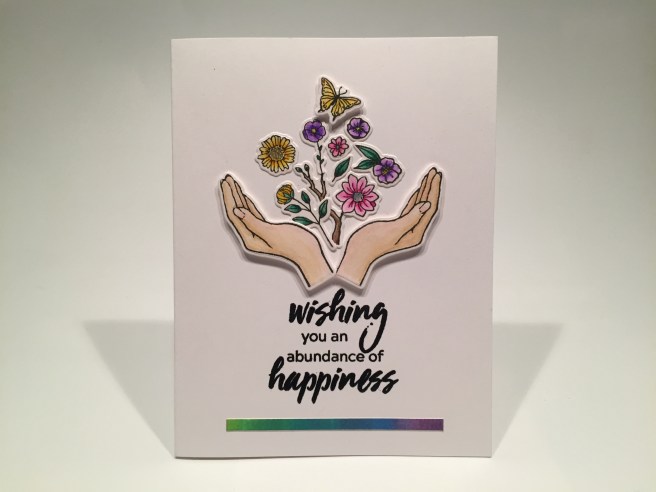
 Hero Arts is celebrating the diversity of our beloved (yet stressed) planet Earth this month with this lovely 6″ x 8″ stamp set with a stunning (and large) “Earth Goddess” stamp. I think this must be the largest image stamp I’ve seen in a MMH kit in the couple years I’ve been a subscriber. Really beautiful! She is complimented with an earth, a tree, a pair of fish, a peace sign and a few sentiments sized to fit in the crook of her arm. There’s also a pair of hands, some birds, flowers and clouds to round things out.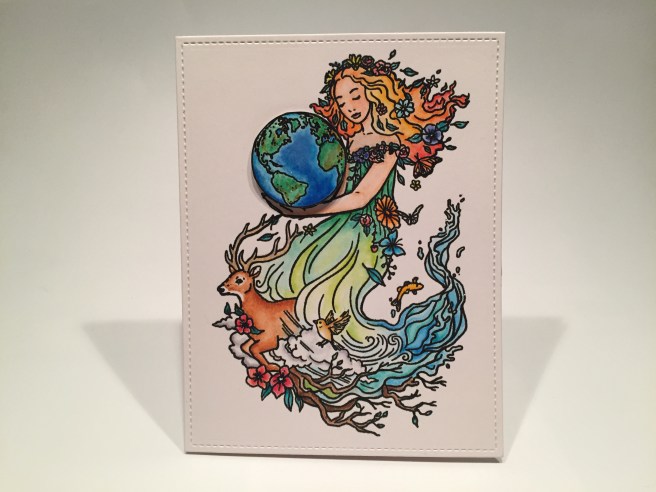
 mood after making this, so I turned to my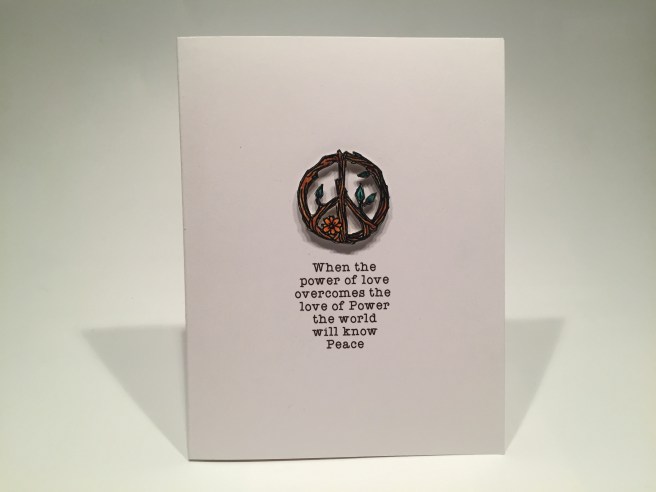
 I thought this unique stamp was cool enough to hold it’s own on the front of a card – and is very appropriate with this quote that I do attribute on the inside of the card. Plain yet powerful!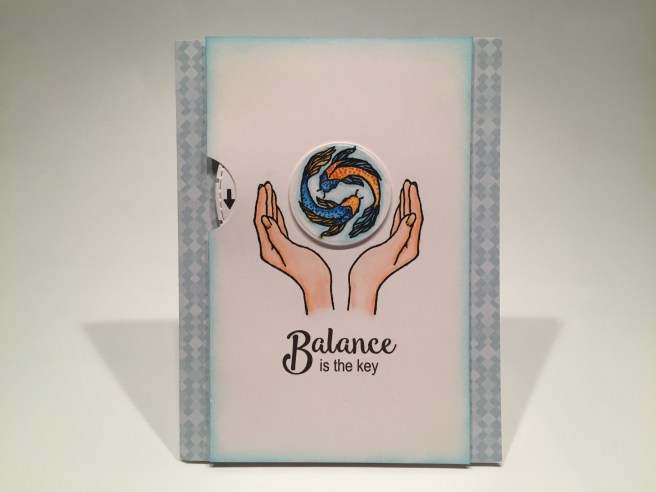
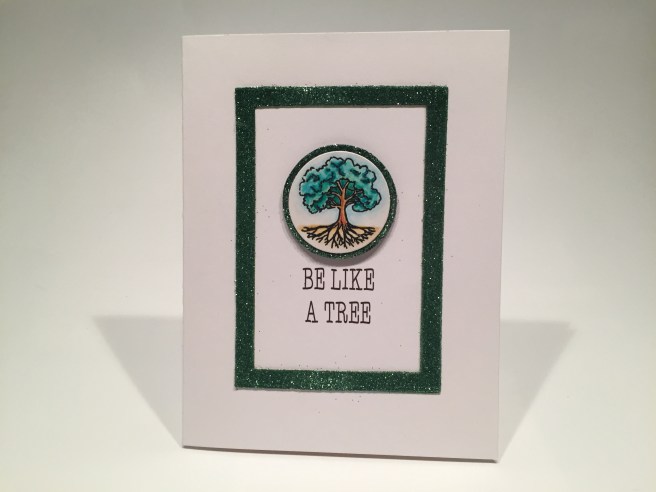
 matted tree with some foam tape. Of course there is more to this sentiment than just “Be a Tree”… I printed the rest of this sentiment on the inside of the card using my Silhouette software and the same font. Very good advice for most anybody at most anytime! And I think this is particularly appropriate with this stamp that shows the roots of the tree!

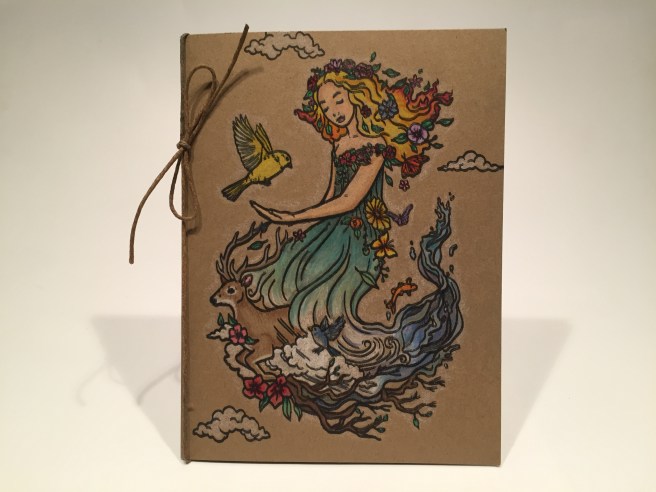
 Again, no sentiment on the front, so you know I’m going to have something to say on the inside. I love this “Unleash your inner Goddess” sentiment! I printed that on a scrap of ivory card stock using the
 Perfect match! But what’s the joke you may be asking? You have to open the card to see, silly! “Mulch this card” makes me giggle every time I say it! I printed this on the inside of the card base using the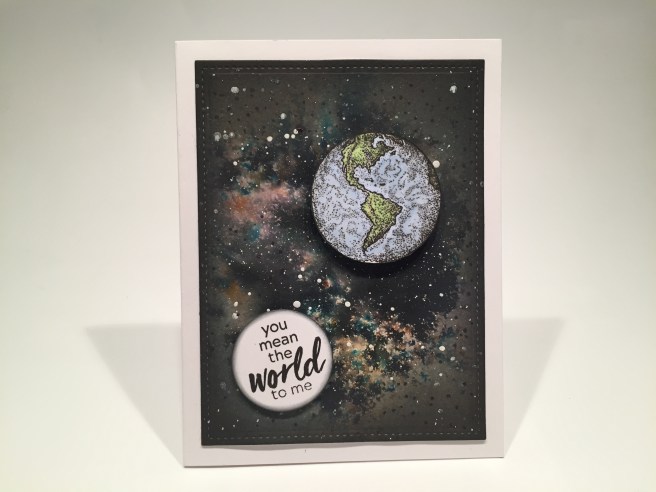

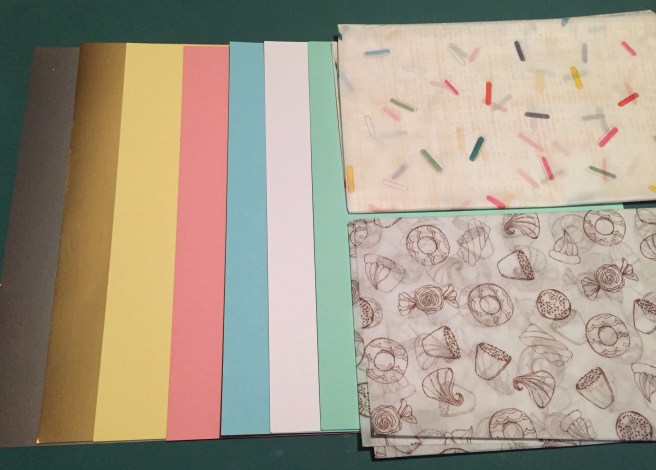

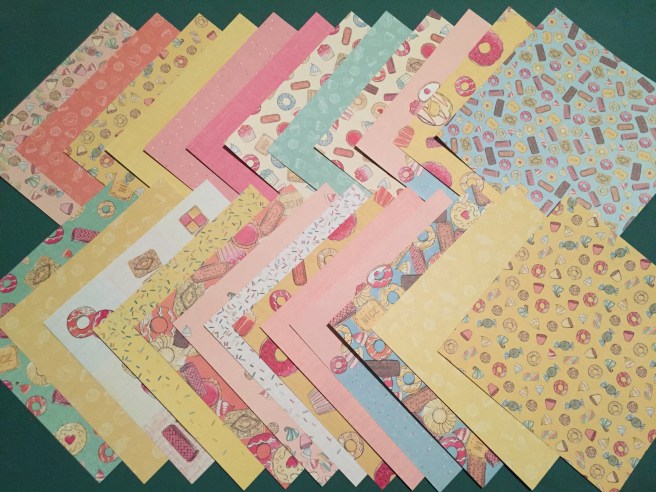


 Of course, Lizi has all sorts of add ons and new releases to go along with this card kit. I did manage to get the


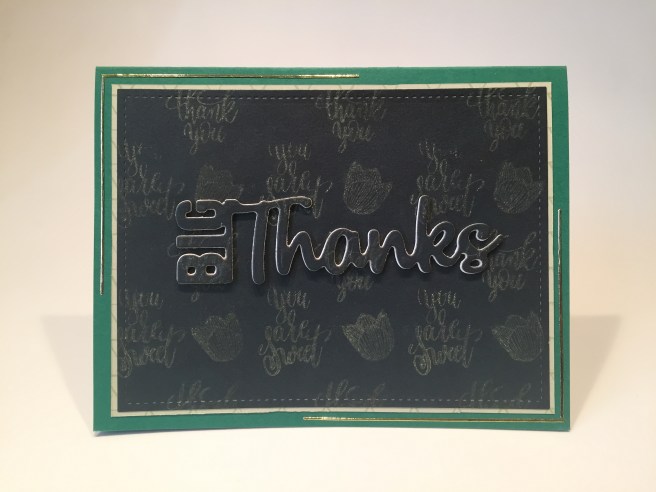

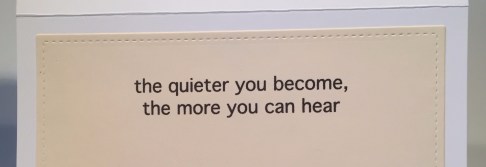

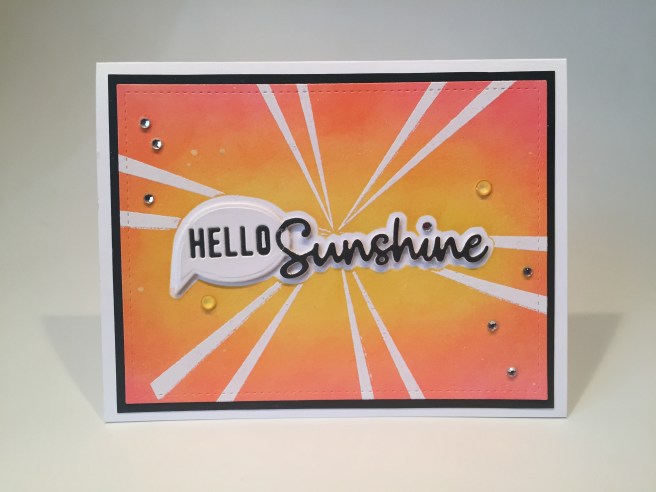
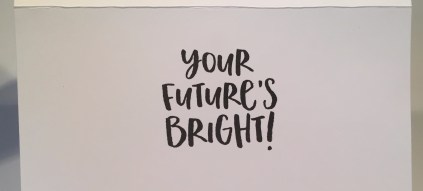 There just happened to be a complimentary sentiment stamp in that Sunshine Turnabout stamp set, so I added that to the inside of this card, making this useful for graduations, sweet 16s, and many different occasions. I have to admit it was a nice diversion to punch up the colors with this card.