
DISCLOSURE: This site contains some affiliate links to products. I may receive a commission for purchases made through these links (at no cost to you). As an Amazon Associate I earn from qualifying purchases. Thank you!
Hello Folks! Scott here with my 10 cards featuring the My Monthly Hero September 2020 Kit. This kit features a new HeroScapes Color Layering pumpkin patch stamp set!
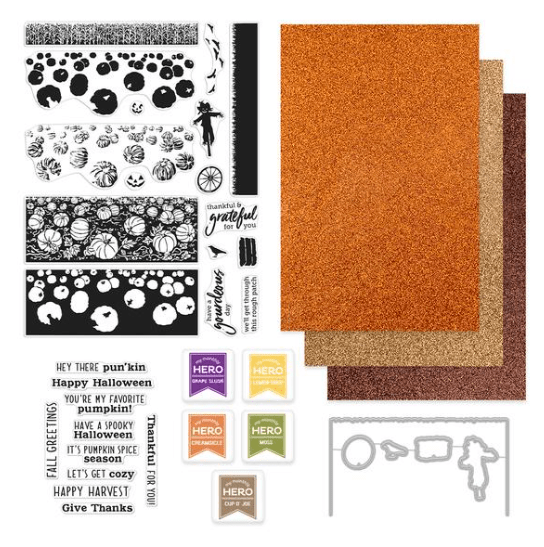
Our 6″ x 8″ stamp set has the 4 layering stamps for the pumpkin patch and two layering stamps for a cornfield, plus three sentiments, and some evocative silhouettes. We also get a 3″ x 4″stamp set with 10 seasonal sentiments, five coordinating frame cuts, and five Ink Cubes in Grape Slush, Lemon Drop, Creamsicle, Moss, and Cup O’ Joe. Finally we get six sheets of 5.5″ x 8.5″ glitter card stock in Orange, Bronze and Copper.
I did take a half sheet of the Orange glitter card stock and die-cut a bunch of thin frames using an Altenew Fine Frames Cover die. I figured those would come in handy with this set of autumnal cards. I wasn’t quite sure which ink colors to use on which layering stamp, so I decided to just wing it on this first card.
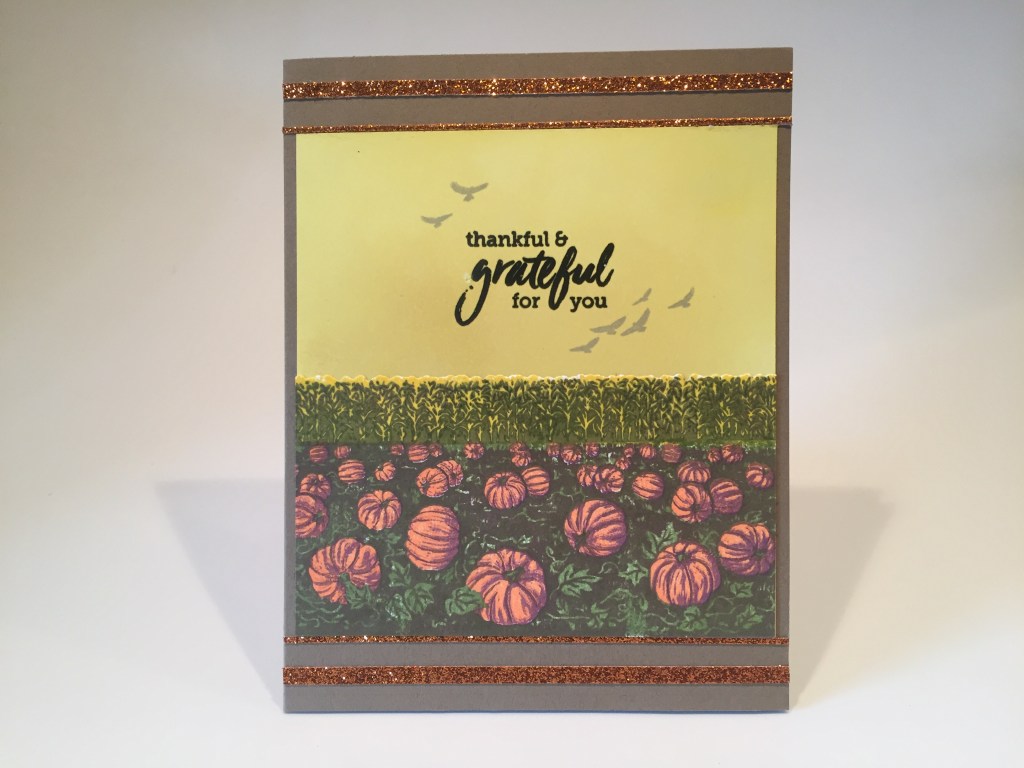
This pumpkin patch is stamped using Moss for the background, Cup o’ Joe for the detail, Creamsicle for the pumpkins and Grape Slush for the pumpkin detail. The cornfield is Lemon Drop and Moss. I did use the coordinating die to cut out the stamping, and then trimmed it down to 4″ wide.
The sky is ink blended using Squeezed Lemonade and Fossilized Amber Distress Oxide inks. I stamped the sentiment using VersaFine Onyx Black ink and embossed that with Clear embossing powder, and stamped the birds using HA Soft Granite ink. I did cut the bird stamp apart to get the two groups of birds.
The whole panel is 4″ x 4.25″ and glued to a Kraft card base. A few strips of the Orange glitter card stock (from my frame die-cuts) adds a touch more sparkle to this really cool, new HeroScape pumpkin patch! I think his was one of the easiest layering stamp sets that we’ve gotten from Hero Arts and it is certainly a lovely scene.
I finally found the Hero Arts stamping guide for this kit on the scroll of pictures on the purchase page for this kit. (which IS still available)!
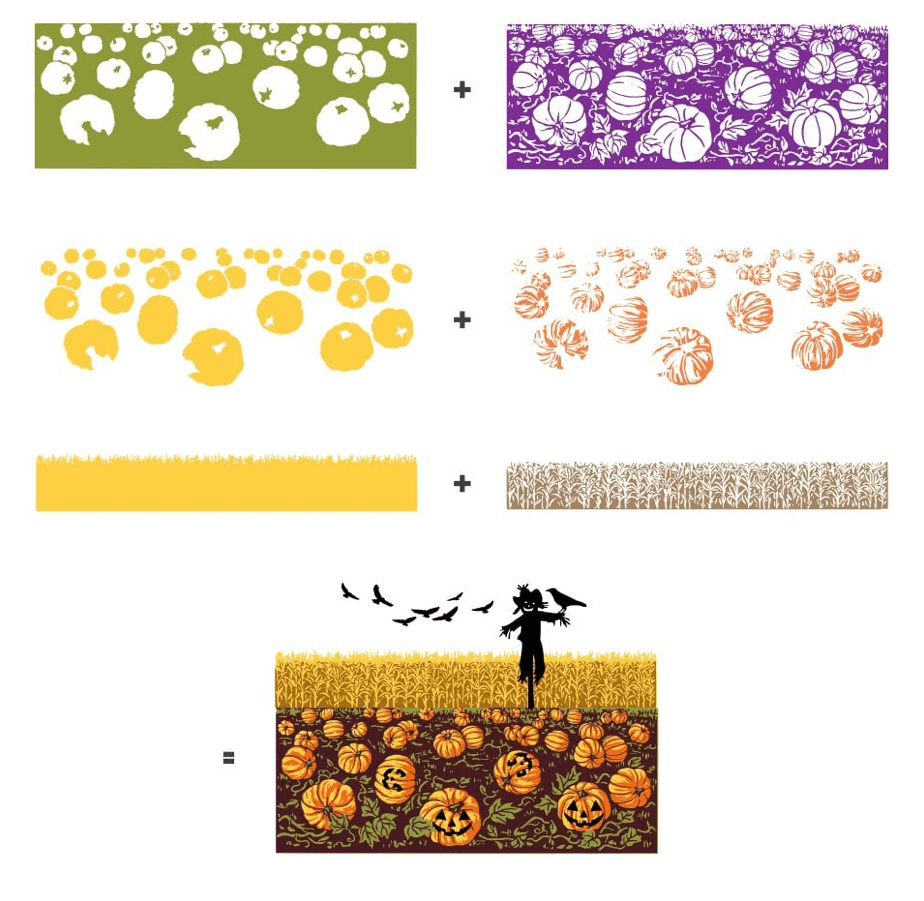

I think this feels like an awful lot of yellow… and I like my pumpkins more orange..!
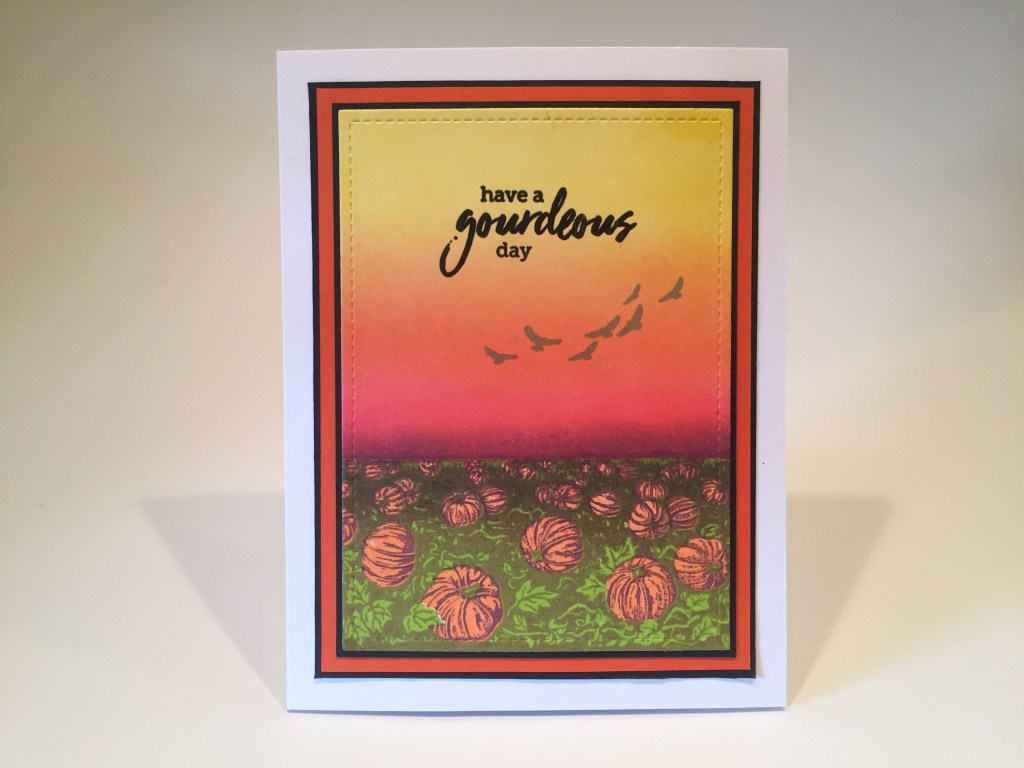
I got a little more involved stamping this one! The background is stamped with HA Key Lime Fizz with a touch of Moss ink shading on the top. The detail is stamped with HA Sand Stone ink with a touch of Cup o’ Joe on the top – trying to make the back half of the pumpkin patch darker. I stamped the pumpkins in Creamsicle and then their detail in Grape Slush again. I masked off the pumpkin patch and ink blended the sky with Grape Slush, Fruit Punch, Creamsicle, and Lemon Drop inks.
I die cut the inked panel with a Lawn Fawn Stitched Rectangle die, glued that to a thin black mat, then to a thicker orange mat and then another thin black mat before gluing all to a white card base. The sentiment and birds are stamped exactly the same as my first card. This feels like twilight to me… I like the pumpkin patch getting darker the farther away it is. Nice pun too!
Let’s try that again… I do have another sentiment from the main stamp set to use…!
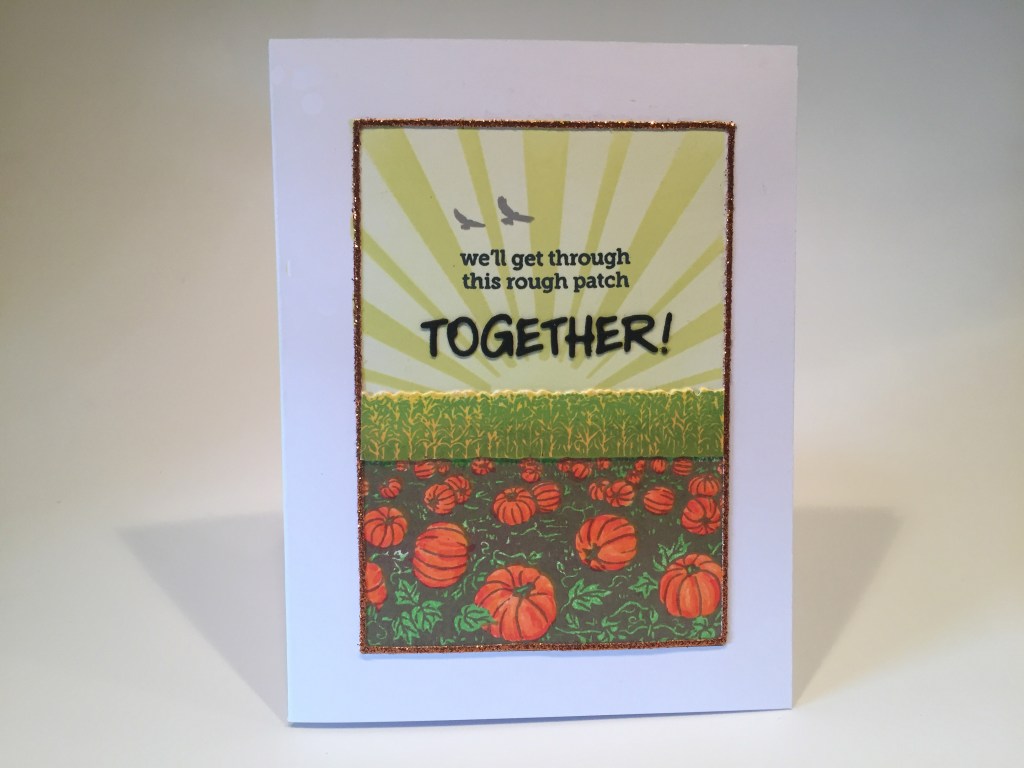
This pumpkin patch is stamped in HA Green Hills, Sand Stone, Creamsicle and then Carved Pumpkin Distress Oxide ink. The orange on the orange doesn’t read as well as the purple on the orange but you can still see the nice shading that last stamp gives. The cornfield is stamped in HA Lemon Drop and Sand Stone (a little shading on the bottom) and Green Hills on top. The pumpkins and corn are from two different stampings so I trimmed them out and glued them together, and then to the background panel, and cut them all out to fit this thin glitter frame (3″ x 4 3/8″) from my original die-cuts.
The Sky is ink blended with my homemade sunburst stencil using Lemon Drop ink… but I picked up some blue somewhere (on the stencil… on my blending brush?) so the sky turned a little bit green. I was going to toss the whole thing but decided that the greenish sky (is there a tornado coming?) went quite well with the pumpkin and corn stampings. I stamped the sentiment using Memento Tuxedo Black ink, and the birds with HA Soft Granite ink, and then added the “together” using black card stock letters die-cut with an old Die-versions die – the Marker Micro Alphabet die. I glued the inked panel and frame to a white card base, and glued the die-cut letters under the sentiment to finish out this card. I really like adding the extra TOGETHER to this timely sentiment… makes things seem a little less bleak! Is that possible??
That covers the three sentiments included in the 6″ x 8″ stamp set, but we also have ten more sentiments on our 3″ x 4″ stamp set – the pumpkin spice one caught my eye first…
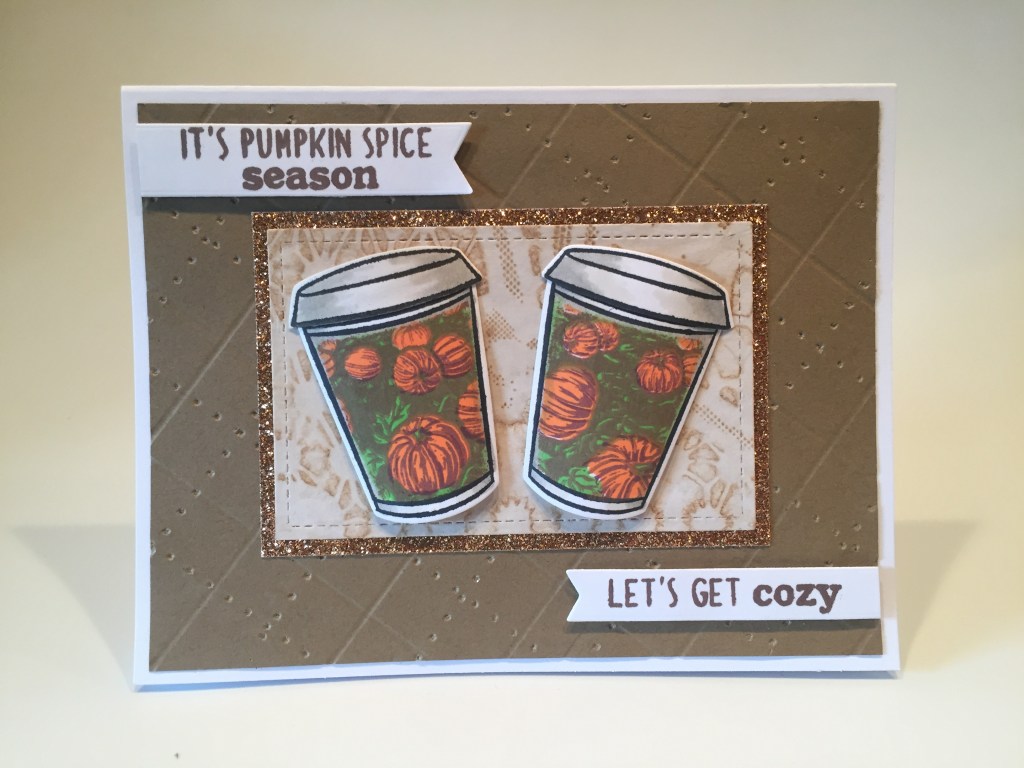
Once again an old MMH kit comes to my rescue! These to-go cups are from the MMH August 2018 Kit! I stamped two cups (and their lids) right next to each other using Memento Tuxedo Black ink and then stamped some masking paper with the cups in the same position. I fussy-cut the inside of the cups away from the mask, placed the mask over the stamped cups and stamped the pumpkin patch (Green Hills, Sand Stone, Creamsicle, Grape Slush) through the mask openings. Perfectly themed autumn coffee cups! I really like these!
The background is a 4″ x 5.25″ piece of Kraft card stock scored on my Scor-Buddy in a plaid pattern. The dots are scored using the Scor-bug – a FUN new scoring tool from Scor-Pal! That background is glued to a white card base, and I die-cut a piece of the tea-dyed pattern paper (LFSRD) from the same August 2018 kit and glued that to a (3.75″ x 2.5″) mat of the Bronze glitter card stock and glued those to the center of the card front.
I die-cut the coffee cups and their matching lids, added a little alcohol marker shading, glued the lids to the cups and gave both of the assembled cups a little bit of a curve before attaching them to the card front with some foam tape. I stamped the sentiments on some white card stock using the Cup-o’-Joe ink and die cut them with a couple Lawn Fawn Everyday Sentiments dies. I trimmed them down to size, and foam taped the two banners to my card front. I really enjoy this card and was thrilled to find an interesting use for those pumpkin patch layering stamps! WOO-HOO!
I started thinking about what I could do with the scarecrow and other silhouette images included with our large stamp set… they all have coordinating dies, so…
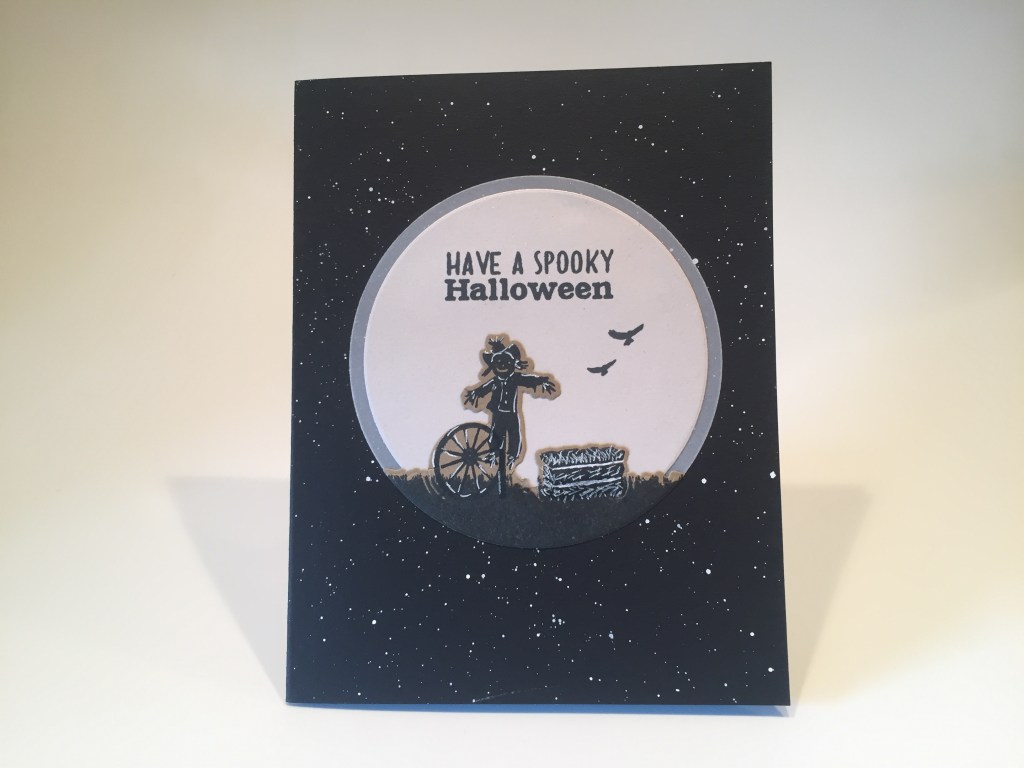
I stamped the scarecrow, bale of hay and wagon wheel on some Kraft card stock, and added some of the detail cornfield stamp along the bottom. I die-cut this scene using partial die-cutting to keep the three images attached on their bottoms, and even die-cut the sides with the cornfield die. I die-cut a piece of light grey card stock and a piece of heavy vellum with HA Circle Infinity dies, and matched the bottom of the stamped piece with the larger vellum die cut. I glued those three pieces together, and stamped the sentiment and birds with memento Tuxedo Black ink.
I spattered some stars on a HA Jet Black card base using Holbein Permanent White gouache and a small paintbrush, then glued my stamped piece on top. I added some final details to all of the silhouettes using a thin white gel pen. I don’t really send Halloween cards in general, but I think this is nicely evocative and maybe even a tiny bit spooky!
I wanted to see if adding actual dimension to the pumpkin patch and cornstalks would add to the overall dept of the image. I think it adds a lot!
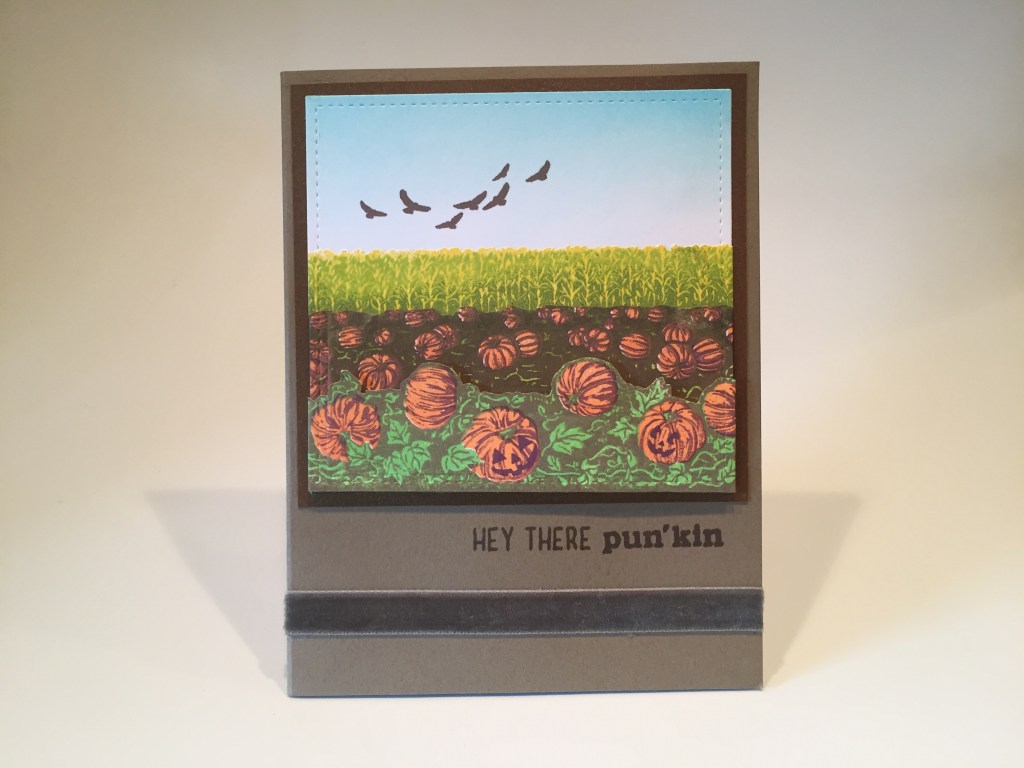
I stamped the pumpkin patch twice – the back piece with Moss, Cup-o-Joe, Creamsicle, and Grape Slush, and the front piece with Green Hills, Sandstone, Creamsicle and Grape Slush. I did stamp the two pumpkin faces in Grape Slush as well. Separately, I stamped the cornfield in Lemon drop and then Green Hills with Moss shading the bottom. I die-cut the cornfield and fussy cut the two pumpkin pieces. I ink blended some HA Splash Reactive ink on some white card stock for the sky, then lined everything up and die-cut all layers with a LFSRD.
I cut an old piece of Auburn Pearl card stock from my stash to 4″ x 3.75″ to mat the stamped pieces on, and glued everything to a Kraft card base adding foam tape behind the pumpkins in the front. I stamped the sentiment and the birds using the Cup-o’Joe ink, and stretched a piece of velvet ribbon across he bottom for another luscious dab of texture. I really like this one… I think those layered pumpkins look terrific!
I have been know to occasionally use the pictures on the stamp and die packaging for a card… I couldn’t resist this one!
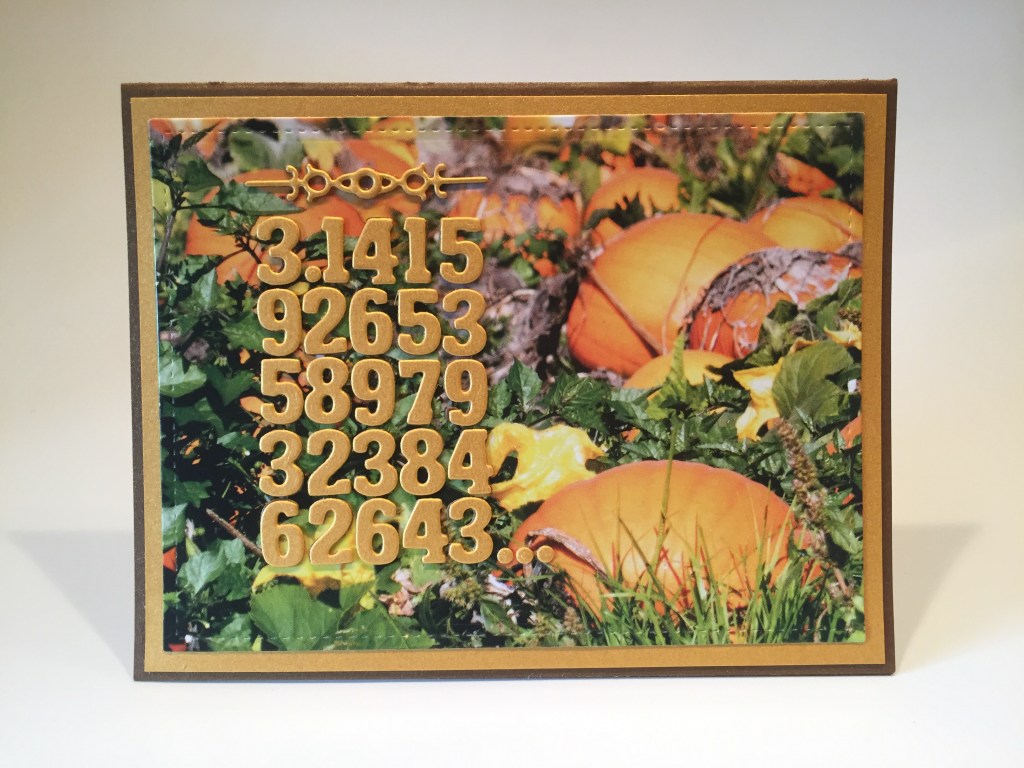
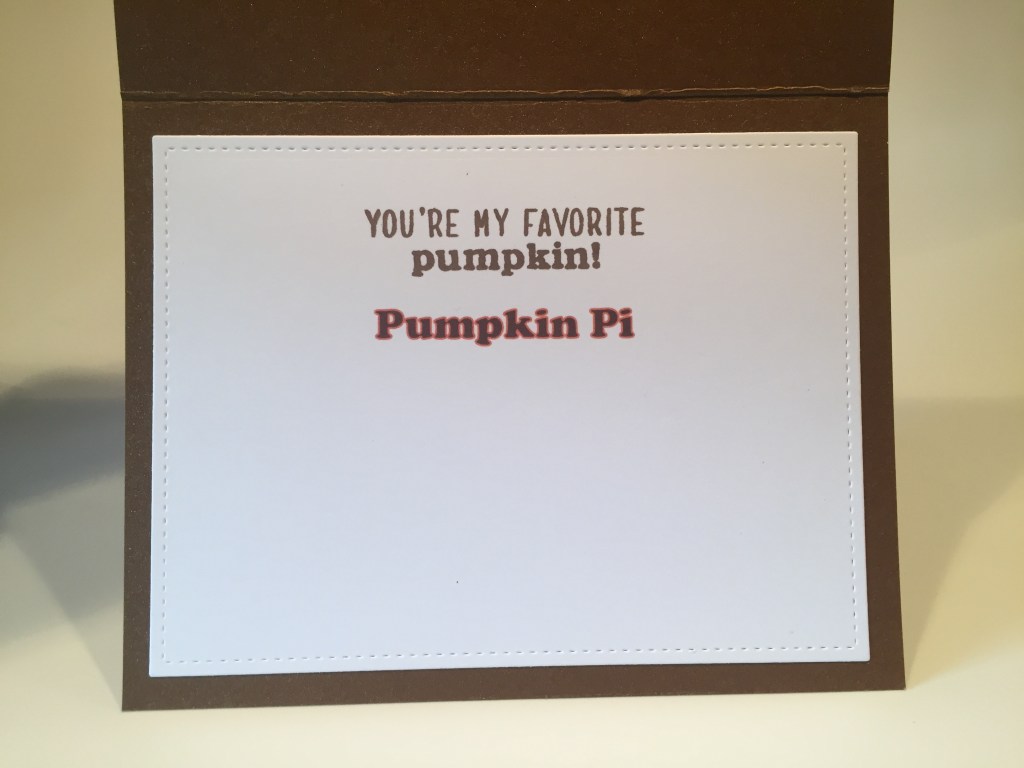
This one makes me giggle… and is pretty self explanatory when you open the card…
I die-cut this portion of our packaging using a LFSRD, matted that on a piece of golden pearlescent card stock I found in my stash (PERFECT!!!) and then down to an Auburn Pearl card base. I die-cut the numbers from the same golden card stock AND the Auburn Pearl card stock using an old Die-versions Little Lizzie Alphabet die. I glued the gold numbers on top of the auburn ones and then down to the card front. This font stacks together very nicely and makes for a great graphic block.
I was looking through my stash for a small flourish die cut to go at the top of this number block and found this fancy clock hand from an old LFL kit – I die-cut it twice from both card stocks and glued them together to make a perfectly sized flourish to highlight this “sentiment”. I printed the “Pumpkin Pi” on the writing surface using the Cooper Black font and stamped the sentiment using Cup-o’-Joe ink. This is a fun visual pun for any math nut, scientist or engineer who likes pumpkin pie..!! I kind of love this card!
There IS a Happy Halloween sentiment in our extra stamp set – again I turned to an old MMH kit for a little assistance!
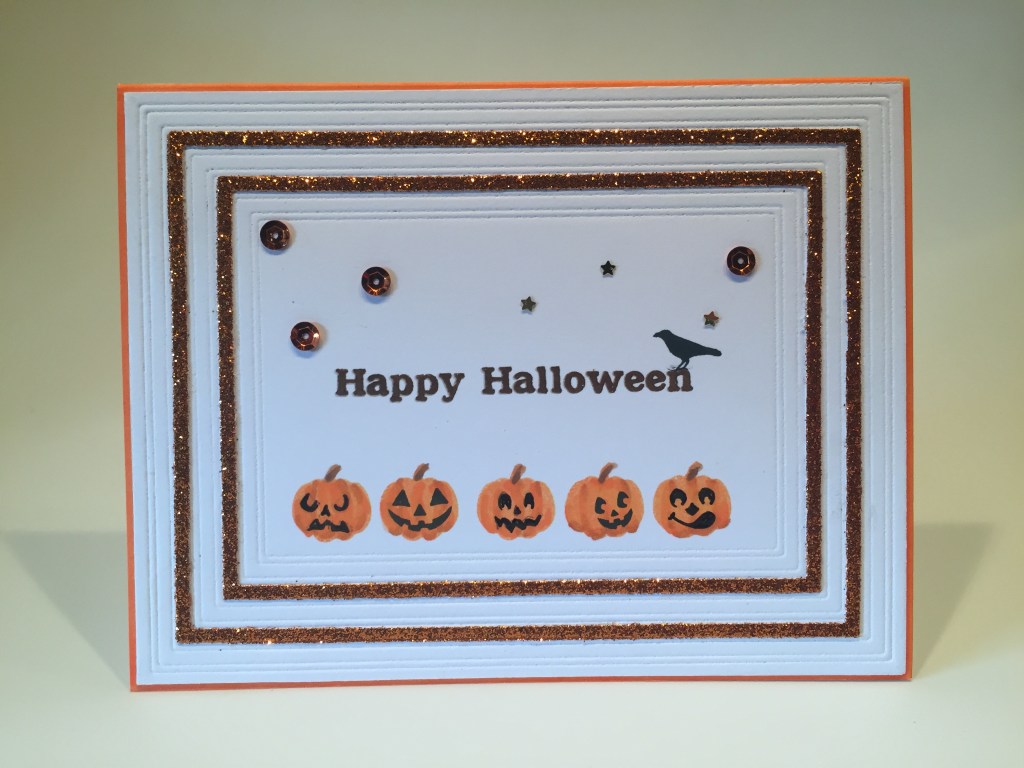
This is the small pumpkin stamp from the MMH September 2019 kit! This white card stock is the shim I used when cutting all the small orange glitter frames… it embossed very nicely, and was just sitting on my desk…! I stamped the pumpkins using Creamsicle ink and did a little shading on them with my alcohol markers – I stamped the faces on #2 and #4 using Memento ink and drew in the other faces with a Pigma Micron pen. I stamped the sentiment using Cup-o’-Joe ink and then embossed it with VersaMark ink and clear embossing powder. Lastly, I stamped the crow on the end of the sentiment using Memento black ink.
I cleaned up the edges of my embossed and stamped piece and found I had a sliver of card stock showing, so I colored the very edges of a white card base orange with a marker. I glued the panel to the card base, added two of the die cut Orange Glitter frames (it’s easy to see where they go with the embossed background!) and some extra orange sequins and some tiny stars to sparkle us up a bit. I really like the goofy pumpkin on the right and I love the crow perched on the sentiment!
We have a couple cards with just pumpkins… maybe one with just the cornfield?
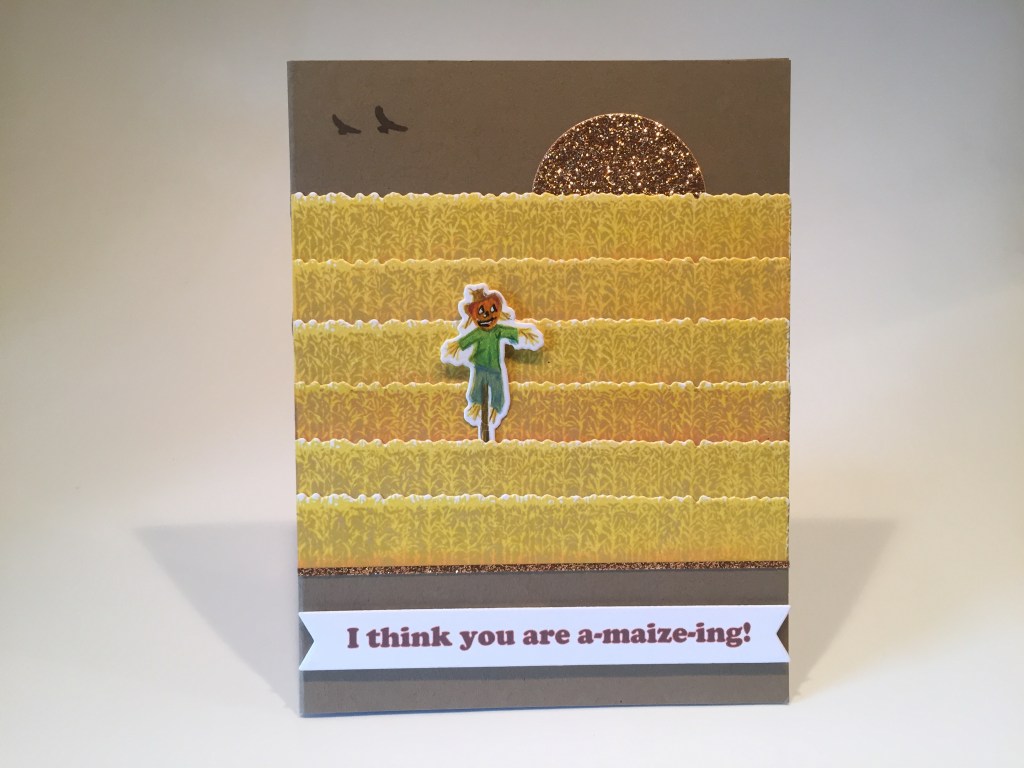
Now there’s a cornfield!! These corn rows are all stamped with Lemon Drop ink with a touch of Creamsicle shading (more on the scarecrow’s row) and Fossilized Amber Distress Oxide ink… I like this combo! Seems ripe and ready to harvest! I die-cut the six rows and trimmed them down to layer on top of each other, and glued them to a Kraft card base. I stamped the scarecrow with Lemon Drop ink and detailed him with my colored pencils and die-cut him with his matching die.
I tucked him between the cornrows with a spot of foam tape behind his head and arms, and die-cut a piece of the Bronze glitter paper with another HA circle die and glued that behind the corn on the top. I stamped the birds with Cup-o’-Joe ink and printed the punny sentiment on a scrap of white card stock using the Cooper Black font again. I die-cut the sentiment with a banner die and attached it to the card front with foam tape. Perfect pun to go along with this huge field of corn… If you build it they will come..!
I was all farmed out by this point and willingly went simple and direct for this last card.
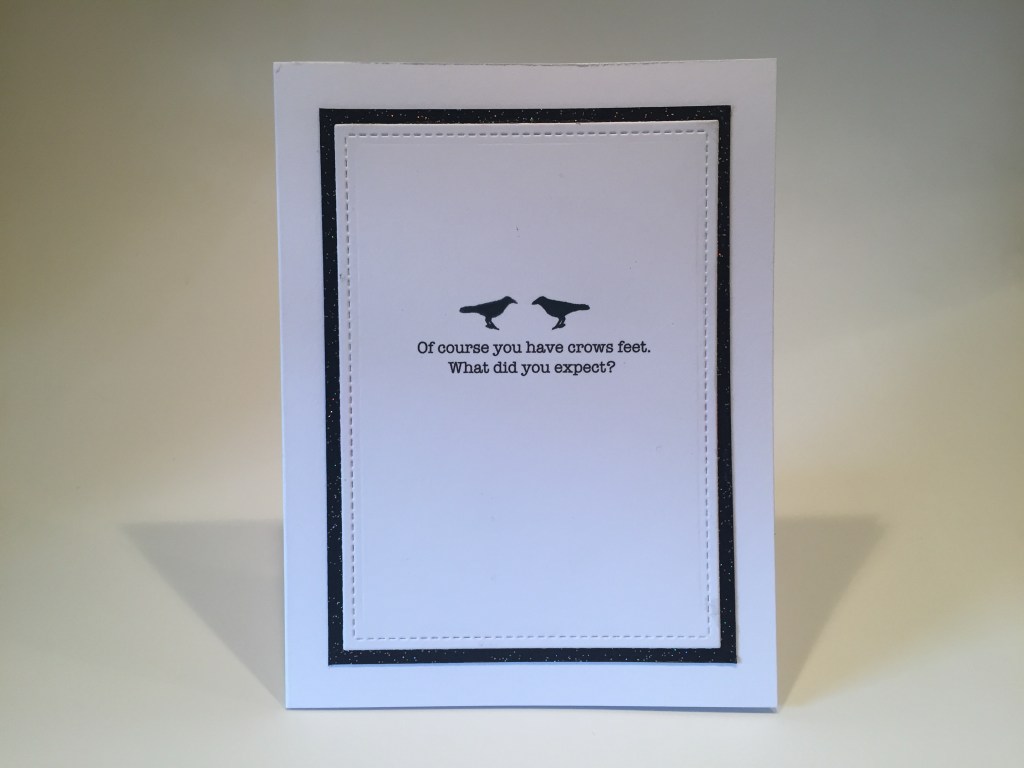
I was able to stamp these crows facing each other by reverse stamping the left one – I have a short reverse-stamping video on my MMH June 2019 blog if you want to take a look – I’ve also included that demo on my YouTube video for this kit. I stamped the crows with Memento Black ink and printed the sentiment using the American Typewriter font.
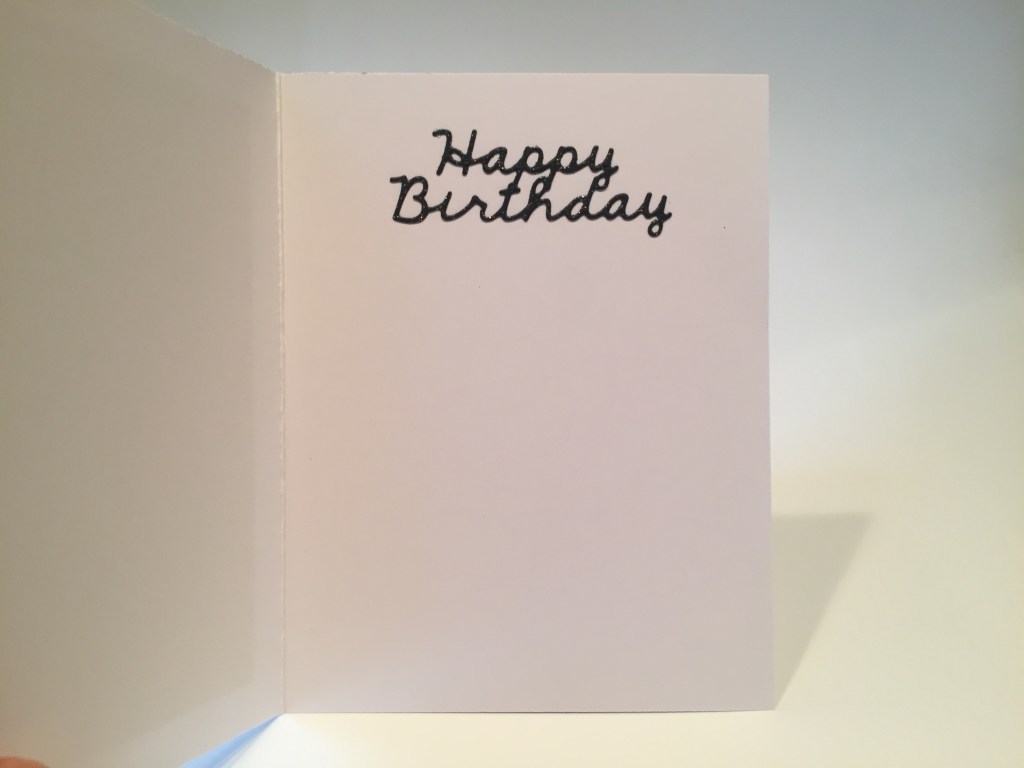
Of course this is a Birthday Card!! I die-cut my stamped and printed panel with a LFSRD and matted that on some Black Tie glitter card stock and glued those to a white card base. The sentiment is an old LFL die cut out of the same Black Tie glitter card stock. I love this card! You know how much I like my white space, and I think this card really cleansed my soul after spending so much time down on the farm! AND this truly makes me laugh!
That’s my 10 cards inspired by the My Monthly Hero September 2020 Kit. I really love the new HeroScape layering stamps, that pumpkin patch and cornfield are pretty stunning! This set could prove handy in mixing in with some of our other ‘outdoor scenery’ kits! I have to admit that I did find it a challenge coming up with ten different cards using this kit – and that’s not like some of them are all that different…!!

I did have a good time working on these cards and was pleased that I was able to squeeze in a pun or two myself! A nice assortment of cards and sentiments! This kit is still available at Hero Arts! If I’ve managed to catch your eye, please use my links when you go shopping. It helps support this channel is is always gratefully appreciated!
My Monthly Hero September 2020 kit: http://shrsl.com/2iyoo
Hero Arts: https://shrsl.com/1f7qx
Thank you so much for sharing your time with me here. Let me know if you have any questions or any particular favorites this month! I send you and yours Happy and Healthy thoughts – Be Well! Remember to Like me, List me, Pin me, Post me, Share me with all of your friends… Don’t run with scissors…! and as always, I wish you Happy Crafting!

Watched this on YouTube, it was great! I have a few older Hero Arts kits and was looking for card ideas. Your art work is beautiful! Thanks Patricia
Sent from my iPad
>
LikeLike
Thank YOU, Patricia! Always appreciated! Be Well!
LikeLike
I am blown away with your talent on every Hero Art kits and especially this one. This kit was the most challenging one to come up with ideas, but your cards started my creative juices going. I agree that this is the best layering stamp I have ever worked with. I experimented with a lot of combinations to find the right contrast mix and I was extremely thrilled with the amazing detail and perfectly alignmentthis layering set gave me. The fine lines of the stamp showed amazing detail as long as there was plenty of light ink to dark ink contrast. I love the set and your card designs.
LikeLike
Thank you, Gloria! It was so much fun to play with a layering stamp set that was so easy to line up! I had to expend a little extra brain power for this kit but I think it was worth it! Be Well!
LikeLike