Hello Folks! Scott here with my unboxing of the February 2019 Love From Lizi Card Kit! I must beg your pardon for my absence – I took some time off and did a lot of traveling over the holidays so I skipped the LFL January kit. I had a wonderful time with so many friends and family, but it’s good to be back at the craft desk again!
This is a very Art Deco card kit featuring peacocks and teals and greens and some great deco patterns… I don’t think I see a hint of pink anywhere! LOL! However… this kit has already sold out – one of Lizi’s fastest sellers I believe…! If you’d like to check out the video of this unboxing on YouTube, just click here: https://youtu.be/WNVHO93z9cw
We get started with five sheets of letter size (8.5″ x 11″) card stock in Navy, Black, alcohol-marker-friendly White, Cream and Aqua. I often save Lizi’s white card stock for coloring, and substitute a plain card stock from my stash.
We get five sheets of specialty card stock in our kit this month! A full letter size sheet of Mint Green Pearlescent, and 4.24″ x 5.5″ pieces of Black Pearlescent, Gold mirror, White Pearlescent, and a Gold embossed – a nice, graphic linen texture. Very nice.
We get 12 sheets of 6×6 pattern papers this month. A few peacock feather patterns, some retro catalogue images and some damask patterns as well as some standard stripes and polka dots in this great color palette. I’m glad Lizi likes peacocks!
This slideshow requires JavaScript.
We are treated this month to Three 12″x12″ double-sided cut-apart sheets! This first sheet has 3″x4″ panels on one side with a number of sentiments and some great retro graphics, and the reverse features a large peacock feather pattern in an off-white tone-on-tone.
This slideshow requires JavaScript.
Our second sheet features 2″ tiles with lots of phrases, some retro images, and a few plain tiles as well. The reverse revisits the peacock feather pattern in color this time – that would be great for a scrapbook background..!
This slideshow requires JavaScript.
Our third cut-apart is a conglomeration of all sorts of “retro” phrases on the front and that terrific very masculine striped pattern on the back side. I’ve going to have to look some of these phrases up! LOL!
We also get a 12″ x 12″ sheet of stickers!! Such a big variety here – from the long strip of ladies in the middle to frames and icons and small phrases. A great selection here!
This picture doesn’t show them off to their best advantage, but our peel offs this month are Teal Mirror. Really lovely! Lizi also included this 6×6 inch piece of matte gold vinyl in our kit this month. I imagine that it should cut with dies and that you don’t have to have an electronic cutting machine to use this… we’ll have to experiment a little with this!!
Which brings us to our stamps, dies and an embossing folder!! This embossing folder is a full card sized classic deco pattern. Looks like the lobby wall paper at the Tropicana!! We get a set of three Art Deco dies that are intricate and versatile and this terrific stamp set featuring one complete beautiful peacock and a single peacock feather. Can’t wait to color these stamps!! (and cut those dies and emboss that folder..!!)
And now we have our embellishment bag! We get 4, meter length 1/8″ ribbons in Royal Blue, Black, Pale Blue and Teal as well as a 1′ length of Black Deco Mesh. Ive seen that mesh used on bows and wreaths and larger dimensional crafts… it will be interesting to figure out how to use that on a card! Our Nuvo drop this month are Sunlit Meadow Glitter Drops. We get a Pistachio Green Maribou feather and two Black Maribou feathers, and three pearl sprays – I believe each spray has three strands – very cool dimension with these! We also get a strip of small Gold Champagne gems, two wood veneer feather die cuts, a small pack of Gold Champagne glitter (seems ultra-fine!) and our sample pack of the “Attagirl sequin mix” with gold, navy, teal and oyster white sequins in assorted sizes.
I did get a couple of the add-on paper packs this month – The Atta Girl Satin Card Pack with 6 A4 sheets in satin shine with a nice blue, a teal, three greens in light medium and dark tones and a gold. This picture does not do them justice! Perfect colors for this kit!
I also got the Atta Girl Pearlescent Cardstock Bundle. Eight letter size sheets in a peach, green, gold, antique gold, bronze, grey, dark blue (LOVE THAT ONE!!!) and another mint green. I love the glimmer on these heavy card stock sheets. I think I’m lookin’ for some shine this month!
I’m looking forward to digging in and exploring some art deco designs and lovely colors with this kit! I believe shipping begins this weekend so if subscribers want add-ons or extra items please use my link when shopping at Live From Lizi: http://bit.ly/LFLlink
Hello Folks! Scott here with my 10 cards from the January 2019 My Monthly Hero Kit. Happy New Years to all! Please excuse my recent absence – I had a very busy holiday season with lots of traveling and lots of family and friends, so I actually skipped the MMH December Kit just to preserve a little bit of my own sanity! I had a blast seeing everybody, and the time off was truly rewarding! Now… back to the craft desk!! Here’s a link to my video on YouTube if you want to watch now: MMH1-19video
This month, we have a flower shop theme featuring a windowed store front and all the accouterments! As usual, we get a 6″ x 8″ clear stamp set (with a stylish bicycle as well), 21 coordinating frame cuts (including the store front and window), and a fancy Easel Die with an inner board die. We also get 10 vellum envelopes and 20 envelope seals in two patterns, a tube of Pink Glimmer lacquer, and 10 sheets of 5.5″ x 8.5″ card stock in red and pink. We don’t often get card stock in our MMH kits… looks like we’re going to be making some valentines this month! Now, you know I’m not a big fan of pink, but at least valentine cards are the perfect place to indulge in a little bit of blush! This kit reminds me of the MMH August coffee kit that had that fancy cafe die. However, the storefront in this kit has a die AND a stamp!
As I often do with a new stamp set, I did start by stamping all of the images with some VersaFine Onyx Black ink on Bristol Smooth card stock and colored them all with my Zig watercolor markers. Hero Arts always gives us high quality stamps and this set is no different. I really love that bicycle, and the store front is supremely versatile!
Next I turned to all the dies in the kit and die-cut all of my colored stamps. Most of these dies were extremely easy to line up, but I did make a die-cut template for the bicycle and the watering can… there is something so satisfying about getting a nice even border around your images when they are die-cut. Especially with intricate dies like the bicycle. If you look closely, you can see that I also stamped, colored, and fussy cut another shop awning for a little added dimension during assembly. Let’s see how all these pieces come together on a card!
I was really itching to put together this storefront, and was a little surprised at how large it actually is! Perfect focal point! As I did with the cafe fancy die in August, I found a ‘plant shop interior’ picture on-line, and sized it to scale with the shop before printing it out on plain paper. I glued a piece of acetate behind the window cut out, and added the second awning by gluing the top edge directly to the die cut and then adding foam squares to the bottom scallops. That gives us some great dimension on that awning as well a a place to ‘attach’ the hanging plants.
I die cut a piece of white card stock with a Lawn Fawn Stitched Rectangle die, and using the MFT Mini Cloud Edges Stencil, ink blended some clouds on the background using Broken China Distress Oxide ink and my blender brushes. I reached for my coffee stirrers once again and glued a bunch of them together to make a bit of a ‘boardwalk’ as a base for my shop. I glued the stitched rectangle with clouds to a pink card base and added the coffee stirrer ‘boardwalk’ at the bottom.
I did cover the printed picture of the interior shop with a piece of vellum that had Zyron sticker adhesive on its back in order to tone down the picture a little and make it appear more ‘in the distance’. I glued that pic down flat to the background and mounted the shop on top using foam tape strips (the bottom of the shop is glued directly to the ‘boardwalk’).
I experimented with some shop names (see “Power Plant” in the picture of the die-cuts) and finally decided to go with “Plant one on me!” which I printed and cut using my Silhouette Portrait and the Bradly Hand font. I cut that shape three times and stacked the layers together for a touch of dimension before gluing them on top of the acetate window. That’s a nice valentine pun that actually could be a shop name! I did also stamp “happy valentine’s day” from the stamp set on the inside writing surface to round out the sentiment on the front!
Finally, I added (most) all the plants and containers on the front of the shop using foam squares and multi medium matte. Looks like a pretty busy establishment here…! This kind of reminds me of little shops on the shore in New England — places like the Cape and Block Island. That is a really great storefront stamp and die – totally versatile for creating any shop you like! I’m sure that stamp and die will get a lot of use over the years! Love it!
Now, I’m not sure what morbid sense of humor possessed me, but I noticed the little ‘bird in a cage’ stamp (and die) when I realized that I hadn’t used the heart balloons yet…
This card makes me giggle…! I used Broken China and Wilted Violet Distress Oxide inks to sponge through a Simon Says Stamp Falling Hearts Stencil on a piece of plain white card stock. After stenciling, I die cut that with an old LDRS Fancy Rectangles and Layers die. On a red card base, I traced around the metal die with an Emboss It pen and embossed that with white embossing powder. That makes a perfect mat without having to have another die..! I stamped the “be mine” sentiment and the music notes on the background with Onyx Black ink and then mounted the white panel to the card base using some fun foam cut to size. I glued the birdcage to the balloons, and attached them to the front of the card with foam squares. A little HA Crystal Clear Lacquer on one of the balloon hearts for shine, and we have a “deceptively simple” yet “fraught with complexity” Valentine card! Makes me giggle!!
The easel die included this month is 5 and 3/8″ tall so, of course, it’s just begging to be made into a shaped card. I’m sure everyone is thinking the same thing!
I wanted this to look as much like a chalkboard sign as possible so I die cut the easel from a piece of the red card stock from the kit and did a partial die-cut on some 100# black card stock from my stash. I thought I’d get a little more stability to this shaped card if I didn’t cut out the curly-q’s on the top of the back panel. I simply fussy cut the top outline on the back piece, scored a folding line and glued the front and back together at the hinge. I die cut the front “board” from the same black card stock and cut the same “board” from some plain white card stock for the inside writing surface.
I couldn’t decide which kind of a day I would be wishing for someone, so I decided to use ALL the adjectives in the stamp set and decide later! I stamped everything using HA Unicorn White Pigment ink, colored the tulips and the crate with colored pencils, and drew on the check-boxes with a white colored pencil. A little white chalk for distressing around the edges and this feels very much like a sandwich-board you would find on a sidewalk outside a cafe or bar! The check-boxes makes this sign feel very active and hand-drawn – I’ll probably check ALL of them when I use this card!! GREAT die for a uniquely shaped sign card any time of the year!
I started thinking that all the small flower stamps included in this kit would work to do another wreath card, but then I realized that I should do a heart wreath instead!
I did practice this pattern to begin with! I traced a heart die from my stash on a piece of plain paper and, starting at the bottom point, alternated between the roses stamp, then the small daisy stamp on both sides, the roses on both sides, then the small ‘ivy’ stamp twice, two more roses again followed by two more small daisies, then two more roses and ended with the ‘ivy’ stamp at the center indent. So that’s 7 roses, 4 daisies, and 3 ‘ivy’ stamps. Perfect!
I reached for a pink card base and decided to stamp this wreath directly on the card base. I used my MISTI stamp platform and simply lined up the stamps with my paper practice piece and then stamped on the card front. I did make slight adjustments here and there but got a pretty good replication of my original trial-run. I did go in with my 01 Pigma Micron pen and added some matching shapes to fill in areas that I thought were a little thin. Very pleased with this arrangement! Fills up the card nicely!
I was afraid that trying to color all the flowers on this wreath would drive me to drink, so I decided to only color the leaves on the roses and ‘ivy’ and add some white gel pen to the dots on the daisy stamp. Just enough color to add a little interest while still preserving the ‘retro’ feel of the image. I added some dots of the Pink Glimmer lacquer along with a few pink crystals and one sequin for a little sparkle and dimension. I did add another valentine sentiment on the inside writing surface of this card and I am over-the-moon thrilled with this shaped wreath! I am going to have to try stamping this again on white card stock and actually try coloring ALL of the flower images… There’s a challenge for ya!
I do still have my bicycle cut-out from my original stamping and coloring – let’s use that!
I stamped (Onyx Black ink) and colored (Zig watercolor markers) the balloons stamp five times and fussy cut them all out to make my overflowing stacks of hearts for this Valentine. I used Broken China Distress Oxide ink and my blending brushes to create the background on some white card stock die cut with a LFSRD. I matted that on a piece of red card stock from my stash and glued those down to a pink card base.
I stamped, colored and fussy cut another wooden crate to go on the back of the bicycle, and filled that and the basket with the colored hearts. Using my Lawn Fawn Grassy Border die, I cut two colors of green card stock and sized those to fit the background with the LFSRD. The lighter green is glued flat to the background and the darker green is mounted with some foam tape.
I stamped the 3 hearts on the background using the 2 heart stamps from the kit with Onyx Black ink and HA Red Reactive ink, and added this sentiment from the HA Many Everyday Messages stamp set. I wanted some kind of active verb to go along with the notion of a bicycle – deliver, bring, distribute, transport, etc…. and when I found this “sending love” sentiment, I though it was just right. The bicycle and hearts are mounted to the card front with foam squares, and, with the addition of some Spectrum Noir Clear sparkle pen on top of the hearts, we have a fairly simple yet very attractive card! The red and green really pop without looking anything like Christmas!! LOL!
For some reason, I thought sending some bouquets soaring would make a nice Valentine.
I stamped and colored three of the rose bouquets and three of the balloon stamps in pinks, reds and purples and die cut them all before gluing them together, I grabbed some lilac card stock from my stash, distressed the edges with some Wilted Violet Distress Oxide ink, stamped the “i love you” sentiment from the stamp set using Deep Purple Archival Ink and embossed that with some clear embossing powder. I matted that to the other half of the red card stock from the easel card (cut with a LFSRD) added another mat of my lilac card stock and glued those three pieces to a red card base.
The balloons and bouquets are mounted with some foam squares, and for a little shine, I added the HA clear lacquer to the whole balloons in front. I think it’s a very nice touch that this bouquet stamp actually has 12 roses in it. That great attention to detail is something I’ve come to expect from Hero Arts! I did add a “happy valentine’s day” stamp on the inside writing surface, and I really love the whole purple and red palette on this card! Now I don’t believe 3 dozen roses are in my budget, but this is a lovely substitute!
I promised myself I would do a straightforward valentine with the “happy valentine’s day” sentiment on the front of a card, and that storefront stamp is a good excuse to practice my red Spectrum Noir alcohol marker blending. Practice makes perfect!
I stamped the shop using VersaFine Onyx Black ink on some smooth alcohol marker card stock, and used my Bright Pink, Dark Red, and Coral markers to color the shop. It’s no coincidence that Living Coral is the Pantone Color of the Year!! I really like the awning (there’s that coral color right there) and the shadow under the awning seems right on the money too. I channeled my inner Sandy Allnock and colored the sky, clouds, grass and gravel with my alcohol markers as well, and cut that piece down with a LFSRD. I fussy cut the window opening and stamped the sentiment directly on the card front and did some light ink blending around the sentiment with Worn Lipstick Distress Oxide ink.
I mounted the shop to the card front with some foam tape and turned to the bicycle and balloons once again. I fussy cut a single balloon from the double balloon stamp and used white gel pens to camouflage the stray black outlines from the white borders of the single balloon. I die cut the green bike (using my die template again) and added the “ivy” plant in the basket, glued the balloon string to the back of the bike and mounted all with foam squares. Some more clear lacquer on the balloon for some shine, and this valentine is ready for a cyclist who really likes pink!! LOL!!! I am certainly no expert with alcohol markers, so I appreciate this large shop stamp that affords me a chance to practice!
I have now used every sentiment stamp in this kit – let’s break out some more PUNS!!
LOL! LOVE THIS!! About as much as I love YOU!!! This is my Single Layer Card for this month. Just stamping and masking on Bristol Smooth card stock and Zig marker coloring. I added the ‘frozen pond’ stamp from the MMH October kit to provide the puddle underneath the plants which really drives this sentiment home…! LOL! I printed this sentiment directly on the card stock using my Silhouette Software (it’s free!) and the Typewriter Hand and Brady Bunch fonts. I die cut the card front with a LFSRD, matted that on a thin black mat and glued those down to a red card base. I did take the time to add the “happy valentine’s day” stamp in a landscape arrangement on the inside of this card. I love this pun so much! That watering can stamp provided the perfect opportunity! This card never fails to makes me laugh out loud!
I was also interested in trying that easel die on a card front to see how that would work, and it provided me with another opportunity for a darn near close-to-perfect pun!
I die cut the easel with the inner board die out of some wood veneer sheets from my stash, and attached black card stock behind the easel frame. I was thrilled with how much dimension that conveyed! To continue the ‘real wood’ theme, I stamped the crates on more wood veneer sheets as well. I did fussy cut the wooden crates, attached them to some scrap white card stock and fussy cut them again with a thin white border to match the die cut flowers. I did do a tiny bit of shading on the easel with my alcohol markers, but left the crates as is.
The sentiment is die cut from thick white card stock with a die-versions “Gatsby” font die. I think this is the first time I’ve actually used this die – fits perfectly on this easel! I distressed the edges of my last pink card base with some Worn Lipstick Distress Oxide ink and glued the completed sign directly to the card base. I used foam squares to ‘stack’ the crates at the base of the easel, stamped, colored and die-cut another batch of the flowers to fill up the crates, and added some white chalk blending around the edges of the sign for a little bit of distressing. Love this pun!! Definitely a theme appropriate pun!
For my last card this month I couldn’t resist this terrific, musical, pertinent pun!
Finally, I used the die-cut watering can! On Bristol Smooth card stock, I stamped these plants using Onyx Black ink and used the plant mask I made for card #8 to make the center plant taller. I colored those with my Zig markers and turned to my Silhouette Software for this sentiment. Again, I used Typewriter Hand and Brady Bunch fonts for this oh-so-perfect valentine sentiment!
I began to reach for my LFSRDies when I remembered that I had gotten the Simon Says Stamp Frames dies during the holiday sales… the large scalloped frame is just the right size! I die cut the card front and a piece of purple card stock from my stash, and mounted those together on the last red card base. That scalloped frame goes well with the purple flowers!
I reached for my DMC light silver metallic thread to make the ‘water’ streaming out of the can – I coated the thread with multi medium matte, to help hold it’s shape, and glued the ends to the spout and, after mounting the watering can to the card front with some foam squares, I glued the other ends of the threads to the plants.
I did add another “happy valentine’s day” stamp on the inside writing surface, and that wraps up this fun valentine! I love the dimension that the thread gives us here, and I think it provides just the right touch of sparkle on this card! And, of course, I LOVE the little double-entendre in this perfectly relevant pun!
I originally though it might be difficult to create a bunch of valentines featuring flowers and a storefront, but I embraced the challenge and ended up with 8 valentines and only 2 ‘encouragement’ cards. I did use all of the card stock included in the kit and you can bet that all these cards will go in the vellum envelopes for distribution!
I really strive to make all of my cards little works of art that tell a story or suggest a situation – I think this is a handsome set of cards that aren’t too frilly and feminine but still convey heartfelt sentiments and lots of love…! Happy Valentine’s Day, indeed!!
This kit has sold out (very quickly) but I am thrilled to announce that Hero Arts invited me to become an affiliate over the holidays! Of course I said yes, so now, when you go shopping at Hero Arts, please use my affiliate link: bit.ly/2sBmuMCHeroArts
I cannot thank you enough for making it all the way through this post – the time you share with me here is truly a blessing! Please let me know if you enjoyed my take on this kit and which card(s) you like best! Feel free to share this post with everyone you know, and remember to Like Me, List Me, Pin Me, Post me – don’t run with scissors – and, as always, Happy Crafting!!!
Hello Folks! Scott here with my 10 cards featuring the Love From Lizi December 2018 Card Kit. We have blown past the holidays and into an early dream of spring with this kit featuring butterflies and flowers in a soft palette. This kit HAS SOLD OUT at lovefromlizi. If you want to guarantee you don’t miss out on any of the fun, become a subscriber and enjoy some terrific perks! If you go shopping at LFL please use my link: http://bit.ly/LFLlink ! As usual, I did cut all the card stock included in the kit down to A4 card bases, (4.25″ x 5.5″) substituting my own 110# white card stock for the smooth white alcohol-marker-friendly card stock included in the kit.
For some reason, as I sat down to work with this kit, my eyes went to the two puffy bird stickers on the top of the sticker sheet. Looks like a (brightly colored) male and a (drab colored) female – and that “thinking of you” sticker is right there too! I thought this would be a smooth and easy introduction to this kit.
On the Smoky Grey card base, I added a 2.25″ strip of that interestingly striped pattern paper, and glued two strips of the ivory lace ribbon to the top and bottom. I used my Multi Media Matte to glue the trim down – paying extra attention to the ends to prevent fraying at the edges of the card. Then it was a simple matter of powdering the back of the puffy stickers and mounting them to the card front with foam tape. They are kind of ‘perched’ on the stripes of the pattern paper, and appear to be looking at each other! I added one of the purple heart buttons and some Nuvo Drops on the right for a little shine and a touch more dimension. Needless to say, that lace trim adds a ton of texture to this card and everything matches up quite nicely. Easy enough!
I still feel like I’m just starting to get familiar with this kit and remember seeing Lizi stamp and emboss directly on one of her doilies with her 10 cards, so I wanted to see what that would happen if I used the Wilted Violet Distress Oxide ink to stamp a doily.
I thought that color went with well with the heart buttons and I really like how the stamping highlights the texture of the doily. I glued two doilies together for a little added stiffness, and foam taped them to a 3.5″ circle die cut from one of the pink pattern papers, and them foam taped that assembly to the front of the Vanilla Ivory card base. The “Have a beautiful day” sentiment inspired me here, so I used the small bunting banners and a variety of the heart buttons to create the suggestion of a sunburst. That added some texture and a lot of shine to the front of this card! For a final touch, I added some Nuvo Drops on the doily itself to bring everything together. More purple than pink, I think the vanilla card base mellows everything out, and these sentiments are lovely!
Now, most everybody knows I’m not a big fan of pink… and Lizi likes to tease me about it as much as possible. Since this kit had a fair amount of pink, I thought I should pay tribute to that fact, throw caution to the wind, and do an all out “YES, this is PINK” card!
I was a little bit enamored with this spot gloss pattern paper but thought that I could tone down the pink just a little bit. So I trimmed the dark pink panels off and used only the light pink panels for this card. I also reached for the pattern paper that has the identical chevron trim in more of a brownish / burgundy color and trimmed a few strips away to use in place of the pink chevron strips. I think this worked very nicely! It looks like a normal piece of pattern paper and it still boasts its pink-ness without screaming about it out loud! I matted that assembled pattern paper to a piece of the plain pink pattern paper and then to a thin mat of the brownish / burgundy pattern paper to match the chevron trim. I colored a piece of the white lace trim with a PL1 Spectrum Noir alcohol marker to match the sentiment sticker, and glued that to the top and bottom edges of the card front before attaching it all down to a white card base. Again, I powdered the puffy stickers to remove the adhesive and attached them to the card front with foam tape. Finally, I used three of the paper flowers from our embellishment pack for a small arrangement on the top right of the sentiment, and here we have a VERY pink card that I actually enjoy a lot! I think finding the PL1 alcohol marker that matched the sentiment was the shining moment that actually brought this whole card together! And isn’t that a butterfly on there too!! LOL!!
It’s not that I don’t like butterflies. Of course I like butterflies! I just happen to think that they are a tad over-used as a decorative element. Truly, I think I have been lucky that this is the first stamp set I have received in a kit that features a butterfly stamp set. I believe I finished my ‘Year with Simon Says Stamp” just before they featured a butterfly stamp set in their kit! I was pleased to find that the butterfly stamps in this kit are quite nice!
This is my “No, it’s NOT pink, it’s BLUE” card! LOL!! I started by using the stencil included in our kit to do some light ink blending on the three large butterflies with Hero Arts Soft Sky ink on some plain white card stock. That Soft Sky ink is a good match to the soft blues in this kit! I then completed the butterflies using the stamps and VersaFine Onyx Black ink and then fussy cut all three. On the other Vanilla Ivory card base, I attached a background panel of the glittery blue flower pattern paper and outlined that with the thin Sky Blue Mirror peel offs. I added a 1.5″ strip of the blue textured pattern paper to the left and edged that with the medium peel offs.
I decided to try stamping this sentiment directly on the pattern paper background, using Onyx Black ink. That worked well, but I did have to go in with a permanent black marker to fill in the ink over the glitter portions. Maybe StazOn black ink would cover the glitter better but I just reached for a sharpie to fill in the glitter sections. That worked very well and I like the sentiment stamped directly on the pattern paper. That gives these three butterflies the chance to really shine by giving their wings a slight fold and gluing their bodies to the card front. I did stamp the antennae from the butterfly body stamps on the blue pattern paper so I didn’t have to try and fussy cut their antennae! There is a little Spectrum Noir glitter pen on the butterflies and I added three of the pearl embellishments to the top right for some balance and texture. No pink at all here, and I really like these three large butterfly stamps. Nicely detailed and perfectly sized to work with the stencil included in the kit as well. Not a lot of room for ink blending with these stamps, but I am looking forward to coloring some of these butterflies!
Pinks and purples, blues and butterflies, let’s see about a masculine card from this kit…
A plaid pattern paper almost always feels pretty macho, even when there is pink in the plaid! Using a Lawn Fawn Stitched Rectangle die, I cut out a piece of the plaid spot gloss pattern paper with the plaid pattern carefully centered. I decide to camouflage the very pink stripes with thin 1/8″ strips of the gold satin mirror specialty card stock, and added a eighth-inch mat of the gold behind the plaid before attaching the background to the Forest Green card base. I stamped and embossed the sentiment on a scrap of my Staples Ivory card stock using Iced Spruce Distress Oxide ink and some Ranger clear embossing powder. That’s a pretty good match to the grey-greens on the pattern paper. I cut the sentiment out with one of my Darice Square Nesting dies, did some light ink blending around the edges with some Antique Linen Distress Ink, and then added a 1/8″ mat around the sentiment before foam taping that piece to the card front. I think we can call this a resounding success in my effort to butch-up this card kit a little bit! Fairly simple, but enough satin shine and spot gloss to make it a little special without adding any frills!
OKAY! Enough with obsessing over the themes in this set – let’s just have some fun!
Now this feels like a Scott Card! LOL!! I stamped five of the butterfly stamps using Onyx Black ink on some Bristol smooth card stock and colored them using my Zig Clean Color Real Brush Markers. YAY! These are really nice stamps and, as far as I’m concerned, are kind of begging to be colored! I die cut the stamped card with a LFSRD and added a Silver Satin Mirror mat behind that, and attached all to a Forest Green card base. I colored a scrap of card with the same Cobalt Blue brush marker and die cut the “thank you” sentiment from that and from another piece of plain white card. I glued them both together for a touch of dimension, and then directly to the card front. A few sequins from the sequin mix add a little sparkle and what a nice Thank You card! This card makes me happy, and I am quite sure that “thank you” die will come in very handy over the years!
Now I have effectively used all the stamps in this stamp set. Okay, I didn’t use every little butterfly body but I’ve used all three sentiments and all six butterflies. Now for more!!
For this next card, I fussy cut the edges on the butterfly (or are those moths? LOL!) pattern paper creating a 2.125″ center panel with cut edges. I glued a 4″ x 5.5″ panel of the grey-blue polka-dot pattern paper to a white card base and added the butterfly panel to the center with some foam tape. I turned to my Silhouette Software to print this sentiment on a piece of the same polka-dot pattern paper using the Noteworthy font and the Sign Painter font and then die cut that with my Spellbinders Deckled rectangle die. I did cut two more of deckled rectangles from white card to glue together with the sentiment for a chip board feel and then mounted that to the card front with foam tape. The small pearl embellishments highlight the center polka-dots on both sides of the background and add a little bit of shine. I think this sentiment is perfectly in line with the theme of this kit and I love that it alludes to the metamorphosis of butterflies (or moths!) or US! LOL!
I’ve got a couple more sentiments up my sleeve, and we haven’t played with the embossing powder included in our kit yet, so let’s have at it!
I know Lizi calls this her Ivory Pearl embossing powder, but on this Smoky Grey card base it looks like a wonderfully soft, almost translucent gold. I stamped the two largest butterfly stamps in an easy arc over the top of this card base using VersaMark ink and embossed them with the Ivory Pearl powder. Following along with the ‘encouragement’ theme in this kit, I again went to my Silhouette Software to print this sentiment on a piece of the grey-blue pattern paper in theRockwell font and the Ballerina Script font. I die-cut that piece with a stitched circle die and traced around the die with my EmbossIt pen to add that same embossing around the sentiment. I glued the sentiment directly to the card base – that gives us a one-layer card with a perfect sentiment for many occasions. I did take the time to do one more embossed butterfly on the inside writing surface of this card. The embossing powder is a little more Ivory-ish on a lighter card stock but still has lovely hints of soft gold…! So very pretty! I have to see what that looks like on some black card stock!
On my last 10 card video I did a little playing around with deco-foil Transfer Gel and rainbow foil, and I thought these butterflies gave me the perfect excuse to try that again!
Success! I used my deco-foil Transfer Gel with the stencil in the kit, and was pleased to get a pretty darn smooth application on this white card base. After pulling this out of the laminator and jumping for joy, I just couldn’t bring myself to add anything else to these butterfly wings… I just knew I would screw this up if I tried to stamp anything on top! I decided on this simple sentiment and used my Silhouette software to print this on a black background using the BlackJack font. That sentiment banner is trimmed down to 1″ wide, sprayed with some Sheer Shimmer Spritz spray and mounted to the card front with foam tape. Enough said! I LOVE this card! That stencil should work well with all kinds of embellishment mousses and glitter pastes… endless possibilities!
Which brings us to our last card of the month! A huge shout out goes out to one of my subscribers (HELLO, KATE!) who, after seeing my two light-up cards using the ChibiTronic LEDs sent me a huge batch of multi-colored LED’s that work with a 3v button battery. A bit thicker than the Chibi lights, they work just as well and are MILES cheaper!
I took a 4.25″ x 5.5″ piece of the green textured card stock and traced the stencil of this butterfly on the center top and used my craft knife to cut it out. I did the same with a piece of black card stock matching the opening and edges. I stamped the butterfly on a piece of vellum (two or three times) using StazOn ink to get as dark a stamping as possible (I don’t have any black embossing powder). I did stamp and clear emboss one of the butterfly bodies on the pattern paper between the wings and made the body a little longer so the antennae would really show up. I used my Silhouette software again to print “light up my life” in the Bradley Hand font on the pattern paper to go along with the “you” die cut from a Lawn Fawn Scripty Borders thank you die (2 pieces glued together) in white.
Once the stamping was dry, I glued the stamped vellum behind the opening on the pattern paper and glued a piece of transparent yellow glassine on top of the black card stock. Then I glued both of those pieces together making sure to line up the openings and the edges. I trimmed that double piece down to 4″ x 5.25″ to leave a little bit of the card base exposed around the edges. I also stamped the “press here” from the MFT Interactive Labels stamp set and white embossed that at the appropriate location on the front.
These normal LEDs wire up the same way as the Chibi stickers – you just have to make sure you match the polarity and make the contact between your copper tape and the LED leads on TOP of the tape because the adhesive side of the tape does not conduct current well enough. I did do a little practice run on a scrap of card stock to make sure these little lights would work and sure enough… seems every bit as good as those Chibi lights! After wiring the card base, I attached the card front using a double thickness of foam tape.
Well..!!! I think that works great!! This simple card is extremely nice, clean, sharp and understated until you ‘press here’ and reveal the light! Really a bit of a surprise! I LOVE IT! Beware…! I have stocked up on some 3v button batteries and with all the LEDs Kate treated me to, I see a long series of light-up cards in my future..!! LOL!!
I grew to really like the stamps and stencil in this kit as I worked with them, and am quite pleased with the variety of cards I managed to pull together. I did use all of the stamps in the stamp set (minus a couple bodies) and I believe I used a little bit of everything in our embellishments bag. I think the ‘with love” die was the only item I didn’t use on these 10 cards! Of course I have bunches of everything left over – five full sheets of the specialty pattern papers but only two full sheets of the double-sided pattern papers – that means I used pieces from 9 different pattern papers. It’s always the best feeling to finish up a batch of cards and then realize that you have enough left over to make a whole new batch! Of course, I file everything away in my stash for use whenever and wherever the spirit strikes me!
This kit HAS SOLD OUT at lovefromlizi.com. If you want to guarantee you don’t miss out on any of the fun, become a subscriber and enjoy some terrific perks! If you go shopping at LFL please use my link: http://bit.ly/LFLlink !
Thank you SO MUCH for sharing your time with me here! I want to wish you and yours and everyone you care for a happy, healthy and safe holiday season. Please share this post with all who might be interested, list me, like me, pin me, post me, share me with all of your friends – don’t run with scissors! – and – HAPPY CRAFTING!!!
Hello Folks! Scott here with my 10 Cards from the My Monthly Hero November 2018 Kit. This month we received a very unique kit that featured an A2-card sized Advent Calendar stamp and die collection. I never would have thought you could get 24 little windows on the front of an A-2 card!
The 4.25″ x 5.5″ background cling stamp is the centerpiece of this collection and features 3 removable ornament stamps for a little added versatility. To go along with that cling stamp we got a 4.25″ x 5.5″ Ornament Flap Fancy Die that cuts out all the background ornaments while leaving a scored fold line at the top of each. To complete your Advent Calendar, we get a 4″ x 6″ clear stamp set with 41 small holiday icons and sentiments and a complete set of number stamps from 0 to 9. Finally, we are treated to two .5 oz. pots of Hero Arts embossing powder in Gold and Green-gold. At first glance, it seems like the options with this kit may be pretty limited, but after spending some time playing with these supplies, I discovered some interesting ways to create with this kit!
Since we received embossing powders with this kit, I started experimenting with embossing the background stamp on different card stocks. Top row, L to R: LFL Silver Dollar embossing powder on Blue card stock, LFL Emerald City embossing powder on a red card stock, and the HA Green-gold powder on Kraft card stock. It seems that HA embossing powder gets very dark on colored paper. Then I have some WOW! Cloud 9 glitter embossing powder on Black card stock. That embossing powder sheds glitter very easily – no matter how much you melt it. I though I could stop the shedding by spraying a fixative over the top but, seeing as how the fixative was matte, it pretty much destroyed that whole piece! Live and Learn!!
Second row, L to R: Ranger White embossing powder on blue card stock, the Hero Arts Gold embossing powder on a dark green card stock, the HA Green-gold embossing powder on white – the green-gold color works best on white I think – and the same powder on red card stock – very dark again. Finally, I stamped the center Bristol smooth card stock with VersaFine Onyx Black ink. I really think that background stamp is quite beautiful and enjoyed trying out different embossing colors and card stocks. Before I knew it, I had 9 different backgrounds ready to play with!
So… let’s try an Advent Calendar card to start out with!
This card front is the Love From Lizi Emerald City embossing powder on red card stock die cut with the ornament fancy die. I was a little concerned with getting an accurate stamping of the numbers on top of the embossing powder, so I reached for my old “Marker Micro” Alphabet die to cut out all the numbers from white card stock. These are 3/8″ tall numbers so they were sized perfectly for these ornaments.
I did use the icon stamps on the front of a white card base for the images under the windows. I first cut out a blank of the ornament fancy die from a scrap of card stock and removed all the ornaments flaps to give me a template for stamping the images in the correct spaces. (You could use the windows in the die, but they are actually a little smaller than the cut windows) We could have used a few smaller icon stamps – I found it a little challenging to fill all 24 windows with properly sized unique images. I was able to use my watercolor markers to ‘color’ some of the solid stamps like the candlestick here, so all the images weren’t just flat stamps. I did add a Merry Christmas on the inside of this card using a die from the November 2017 Love From Lizi kit cut from dark green card stock.
I LOVE this concept, but whichever way you choose to put these Advent Calendars together, it will take a firm commitment and a good amount of time – I would only spend this much time on a card for someone very special!
However, that background stamp is a lovely foundation for a variety of holiday cards!
This is the LFL Silver Dollar embossing powder on blue card stock – I really like this, and it’s not quite so Hanukkah-ish as the blue and white is! LOL! For the sentiment on this card, I reached for the Sending You Sentiments stamps and dies from Honey Bee. I die-cut the “Special delivery” from some silver card stock, the shadow from the same blue card stock, and embossed the “holiday” stamp in silver on a scrap of the blue. I also cut from some of the shadow dies out of white card as well, and glued a few layers together for a little chunky dimension. All the pieces are foam taped on top of that great background, and complimented on the inside with another Merry Christmas die cut from the silver card stock used on the front.
Well, I like that! Really a great background image for holiday cards! Lets do more!
I used the included gold embossing powder on dark green card stock for this background. I wanted to use this Lawn Fawn Scripty Joy die on this card and was contemplating putting it on a circle or square die cut when I realized it should go on an ornament! I turned to my Silhouette Portrait to create this large ornament cut from the same green card stock and topped with a gold mirror card stock hanger. I cut two of the ornament shapes and glued them together for some added stiffness, and die cut the “joy” from more of the gold mirror card stock and three layers of white card and glued them together for a thick sentiment. I did stamp the snowflake stamps from the kit in VersaMark ink for a little tone on tone pattern before I glued the sentiment on the front. I ran the edges of the ornament on a Delicata Gold ink pad and mounted that to the card front with foam tape. I did finish this card on the inside with this lovely (though small) stamp from the 12/16 My Paper Pumpkin kit. I like the variety of looks you can get using that background stamp with assorted embossing powders on various card colors.
You can also use only a portion of that cling stamp for your backgrounds.
This is the Green-gold embossing powder on some Kraft card stock and I simply fussy- cut the right edge of the stamp and foam taped it to a Kraft card base for an interesting edge. The card base is covered with a Spectrum Noir clear sparkle pen and the sentiment I pulled out of my own image stash and cut three layers of that on my Silhouette Portrait to make a nice thick sentiment. A little sparkle pen on the sentiment and we get a whole different look using that same background stamp! And that Green-gold embossing powder is rather interesting!
You can also think about these stamps and fancy die as giving you 24 different (small) Christmas ornaments that you can use in a variety of ways.
For this card I embossed the background stamp in Silver Dollar on a piece of card stock colored with the Hero Arts Sea Foam Shimmer spray that we received in our MMH June ’18 kit. I used the die cut to cut the whole panel and chose these seven ornaments to use on this card. I simply cut them off of the background at their score lines and attached silver thread to the back of each ornament. I created the frame using two Lawn Fawn Stitched Rectangle dies from another piece of Sea Foam card stock and attached the ornament threads to the back of the frame with some scor-tape. On a white glitter card base (old David Tuterra card base) I foam taped the frame to the card front and mounted all the ornaments with little pieces of foam tape as well – taking care to keep the hanging threads straight. I then added little silver bows to the top of each ornament with some Multi Media Matte glue. I die-cut the Merry Christmas from the same sea foam shimmer card to use as the sentiment. I really like the threads floating above the card base and between the embossing, the shimmer spray, the silver thread and the glitter card base, there is lots of sparkle to this card!
If you follow me on Instagram or FaceBook, I shared this colored background on social media and was eager to use it on a card. This is the cling stamp
stamped with VersaFine Onyx Black ink on Bristol smooth card stock and colored with my Zigg Clean Color Real Brush Markers. A fun coloring challenge to make 24 ornaments look different, but I really like how this came out. I liked it so much, I simply added this panel to a white card base and embossed the Merry Christmas Sentiment (from the Simon Says Stamp Christmas Squad stamp set) using Onyx Black ink and clear embossing powder. I trimmed that down to a simple rectangle and mounted it to the card front with some foam tape. This background stamp is lovely all by itself and is perfect for holiday cards.
Now I turned my attention to the 4″ x 6″ clear stamp set with all those little icon images.
You know I just have to make a wreath! I stamped this wreath using my home-made wreath-builder template on plain white card stock and used my watercolor markers to stamp with. I stamped the “be merry” sentiment from the stamp set using the same markers and embossed that with VersaMark ink and embossed it with some clear embossing powder. I die cut the panel with a LFSRD and attached that to red and green card stock mats. I found this holiday ribbon in my stash and ran it through my Xyron sticker maker to cover the back with adhesive, and glued that to the card front and wrapped the edges around the mats before gluing all down to a plain white card base. I added a double bow using the green ribbon from the kit, and attached some gold gems from my stash for a little extra bling. I like this ‘wreath’ a lot – perfect for Christmas!
There has to be more ways we can use these little icon stamps! This idea was prompted by another sentiment stamp from the “Squad Goals” stamp set.
Who could resist all these gingerbread men lined up in a row? The cookie and candy stamps worked perfectly too. I used my Tim Holtz stamp platform to do all of the repetitive stamping using a variety of inks from my stash, and embossed the sentiment in the center using Onyx Black ink and clear embossing powder. I finished out the edges with a striped stamp from the Simon Says Stamp Crafty Friend Stamp set, and trimmed the panel down to mount on a Kraft card base. A couple of tree jewels from my stash help compliment the Christmas theme and add a little touch of sparkle! YUMMM!
I had one more interesting idea on how to use these little icon stamps on their own…
Looks like a Christmas tree to me!!! I used every image stamp from the stamp set on this tree except for the 3 snowflakes and the ‘kiss’ mistletoe. 26 stamps including the “Bring Cheer” stump!! I also limited myself to using only Distress Oxide inks (the first release) for this image and I really like the slightly subtler color palette of this card. Colorful but a big contrast to the Zig marker colored background! Some small white pearl embellishments from my stash add just the right shine and a little dimension to our tree. A simple thin black mat glued behind the front panel, then to a white card base and we’ve got another interesting way to use this stamp set! I didn’t want the ‘kiss’ stamp to feel left out, so I used it along with the SSS “Merry Christmas” stamp (both still in the Distress Oxide inks) for our sentiment on the inside of the card. I adore this card! Feels like I can forgive the narrow focus of this kit after making this!
I still had one technique that I wanted to try with this background cling stamp and die.
Yup! I wanted to try to foil these ornaments. I recently got some of this rainbow deco foil and I thought it would make these ornaments look like those old mercury glass ornaments. My grandmother had a few of these ornaments and I remember how colorful and shiny they were. It did take me a few tries to get this to work – I thought that the die might work as a stencil, so I tried using some deco-foil transfer gel through the die and foiling the gel but I could never get a solid smooth application of the foil.
Ultimately, I stamped the ornament cling stamp using Hero Arts Unicorn White ink on a piece of black card stock and cut it out with the fancy die. I turned to my deco-foil adhesive toner sheets and foiled a 4.25″ x 5.5″ piece of toner paper, die cut it with the fancy ornament die, cut away all the ornaments along their score lines, and stuck them to the top of the original black die cut ornaments. This Worked Great!!! So Very Pretty!
I wasn’t particularly thrilled with the ‘image behind the window’ concept so I came up with something a little different to go behind the window on our Advent Calendar Card. How about activities with a holiday theme! Like this one… “Make ornaments for the tree” – a perfect activity attuned to the holidays. I didn’t want to use any numbers on the ornament windows – you can open them in any order you choose – and who wants to cover up any of that lovely rainbow foil! But I did add that pretty Paper Pumpkin “Merry Christmas stamp on the inside of the card.
Here’s the rest of the ‘activities’ that appear behind the windows on this card. I used my Silhouette Software to create this printable file with little suggestions for fun holiday activities that show up behind all of the windows instead of simple images. After all, most Advent Calendars have a reward or a treat behind each ‘door’ and it felt like a simple image wasn’t enough to build up some anticipation for the coming of Christmas! Some of these ‘activity’ suggestions are crafty, some are charitable, and some are just plain fun! Not only is this encouraging participants into more than just ‘getting a present’, but being able to print this as a backing for the ornaments certainly beats having to stamp 24 different images! I think this idea make these stamps and dies much more useful to the average card maker. In fact, If you would like a copy of this Silhouette file for your own use, just go to the contact page and send me an email requesting the file and I’ll send it to you asap!
I did find that stamping the background cling stamp on a larger than A2 card stock to begin with, makes die cutting the image a lot siompler, and, since the die cuts the outline anyway, go ahead and make it easier on yourself!
Well, I did it! 10 different cards from this kit! I feel quite accomplished and very excited for the holidays after working on these cards. I’m sorry this post is a little delayed… we took a little extra time off over the Thanksgiving holiday to spend with family and friends! I do think this is a pretty good variety of Holiday cards this month – I did manage to use 32 of the 41 stamps (no numbers either) and I honestly believe that the ornament cling stamp and fancy die are worth every penny and should get lots of use over the years!
Thank you so much for sharing your time with me here. I hope I was able to provide you with a little inspiration and some unique ideas on how to use this My Monthly Hero November 2018 kit. Please share this post with anyone you think might be interested, please link me and post me, and pin me and share me with all your friends… don’t run with scissors… and Happy Crafting!
This is a rather vintage feeling card kit featuring lots of flowers and butterflies and gobs of assorted embellishments. Plenty of pink for those who missed pink in last month’s kit!
We get our standard five sheets of card stock in letter size (8.5″ x 11″) with two sheets of super-smooth alcohol-marker-friendly white, Forest Green, Smokey Gray, and Vanilla Ivory. For our Specialty card stock this month, Lizi has treated us to two full-size sheets of Gold and Silver Satin Mirror card. LOVE these full sheets! Plenty of leftovers!
For our pattern paper this month, we get 16 sheets of 8″ x 8″ pattern paper of which eight are specialty pattern paper. The three on the top left have glitter accents, the next three have spot gloss accents and the last two on the bottom right are a heavy canvas texture. These specialty patterns are single-sided, but the other pattern papers are double-sided.
Featuring floral patterns and a soft color palette, this side of the remaining eight pattern papers have bold patterns in geometric arrangements and natural botanical designs.
While the reverse of those papers emphasizes the same color palette with some classic polka-dots and soft fabric textures for a more subtle pattern. Lots of papers to use!
We get a new LFL color of peel-offs this month – Sky Blue Mirror! I think these match last month’s Wedgewood Blue Nuvo Drops almost perfectly! We are also treated to a sheet of puffy stickers with six different sentiments, some butterflies, birds, flowers and hearts. These stickers are all nicely sized and feature plenty of pink! LOL!
I knew it was only a matter of time before I received a butterfly stamp set. I have never been a big fan of butterflies – I tend to think that they are over-used on hand made greeting cards – but this is actually a very nice stamp and stencil set. This is Lizi’s “Flutterby” stamp set and stencil, and they are designed to compliment each other . The stencils are sized to match the stamps so you can do ink blending and other effects before (or after) you stamp the butterflies. There are also separate butterfly bodies of assorted sizes in the stamp set as well! I REALLY appreciate that and don’t think I have seen that with other butterfly stamps. Other than the butterflies, the stamp set also includes three nice sentiments: “Live laugh, Love”, “Spread more love”, and “Have a beautiful day”. I’m looking forward to experimenting with this stamp and stencil set!
Which brings us to our final package in this month’s kit – the Embellishments Bag!
From left to right, and top to bottom, our goodie bag includes 5 white mini doilies, a sheet of various sizes of adhesive pearl embellishments in off-white, gold and soft pink, a full pot of embossing powder in a new Love From Lizi color – Ivory Pearl, and our sample packet of the Flutterby sequin mix (no pinks in the mix!?). We get another full-sized bottle of Nuvo Drops in Plum Pudding (I believe that is a new color too!). We get a package of 35 heart shaped buttons in dark purple, mauve, and a soft lilac mauve. I happened to get a pink one too! I think Lizi included that one just for me! LOL!!
Once again, our ribbon selection this month is all neatly wrapped on a great cardboard spool – I LOVE that! We get four one meter lengths of lace trim – one in ivory and the others in white – easily colored with a variety of mediums! Never fear, there are more flowers here… five paper flowers of varied sizes and colors on long wire stems. Interestingly enough, we also get a huge assortment of triangle bunting pieces in different sizes and patterns with a compliment of twine for stringing them up! Last but not least (and one of my favorites in this kit) we get two wafer dies – a script-y “thank you” die and a heart and arrow die featuring “with love” in the center of the heart. I have been waiting for some kind of “Thank You” sentiment to come in one our LFL kits and I am thrilled to get this “thank you” die this month! Thank YOU, Lizi! LOL!
As of posting, this kit is still available at lovefromlizi.com. There is also a bunch of add-ons and new coordinating products for your shopping pleasure. Remember, subscribers have through November 25th to add items to their kit with no extra shipping charges – and if you do go shopping with Lizi, please use my link: http://bit.ly/LFLlink.
Thank you so much for sharing your time with me here – please pass this post along to anyone who might be interested – keep an eye out for my 10 Cards 1 Kit video featuring this kit, and as always… Happy Crafting!
Hello Folks! Scott here with my 10 Cards 1 Kit post featuring the Love From Lizi November ’18 Card Kit. Lizi calls this the “Frozen Forest” kit and it features a ton of coordinated products in a soft green and blue-grey palette. Add in some unique embellishments and we have another kit simply bursting at it’s seams with goodies!
As usual, I do take the 5 sheets of card stock that comes in the kit, cut and fold them into A2 card bases (4.25″ x 5.5″). That gave me four kraft and six white card bases. (I did squirrel away the alcohol-marker-friendly white card stock from the kit and substituted my own plain 110# white card-stock for my card bases).
I am not much of a ‘tag’ person. I admit that. There are A LOT of tags in different sizes and shapes in this kit. GREAT! I love getting tags around Christmastime ’cause I will use them on presents! However, since we had so many tags in this kit I thought I should try and use at least some of them. That’s when I noticed that the kraft tags and the glitter tags were both the same length. Now there’s something fairly unique!
The holes on these two tags even matched up perfectly! “NOEL” has always been a favorite holiday sentiment of mine so I grabbed this circular ephemera piece from our die-cut sheet to pair up with the tags. Since there were the trees on the circle, I reached for the blue-grey pattern paper with trees for my background, and cut that out with my favorite Lawn Fawn Stitched Rectangle Die. I sponged a little Faded Jeans Distress Oxide ink around the edges and glued that directly to one of the kraft card bases.
I glued the tags together and threaded a piece of the 1/8″ peach ribbon through the hole(s) and mounted the tag(s) with foam tape. More foam tape to attach the die-cut to the tag(s) and I added small dots of the Nuvo Drops to the ‘stars’ above the sentiment. I taped down a strip of the washi tape to a scrap piece of white card stock, trimmed that down and glued that directly to the card base. I did use a couple of glue dots to attach the ends of the ribbon, and this feels like a nice introduction to this kit – a simple holiday card in non-traditional colors. The ribbon actually matches the peach-y circular frame much better in real life than what this picture conveys, I and love the matching trees and both of the sentiments!
In my unboxing, I called out one of the felt snowflakes for having eight points instead of six. I felt like I should ameliorate that small peccadillo of mine and actually USE that piece on a card, so I performed some “felt surgery” with my craft knife and glue and came up with this lovely embellishment.
On a kraft card base, I stamped the snowflake strip from the stamp set using Hero arts Unicorn White pigment ink on the two sides, and added the silver ribbon next to the stamped snow. I grabbed a plain piece of the blue-grey pattern paper and cut that to 2.3/8″ x 5.1/2″. I wanted to use the ‘falling snow’ stencil from the kit but every single sample pot of ’embellishment mousse’ or ‘glimmer paste’ I had in my stash were completely dried up. I did have a pot of Ranger Texture Paste Opaque Matte so I added a bunch of Vintage Platinum Distress Glitter Dust to that and created my own “glimmer paste” to use for the stenciled falling snow on the blue panel. Worked very nicely and adds a great amount of sparkle to the snow! I must remember how versatile that texture paste is – you can basically make your own glimmer paste as needed!
I turned to my Silhouette Software to create my sentiment here. This is the Arabella font that I printed directly on a scrap of the same blue pattern paper. I cut that out with a square nesting die and rounded the corners with my corner-chomper and ran the edges on my Delicatta Silvery Shimmer stamp pad. A little of the burlap glued to the bottom for a bit of a hill, the blue deer sticker (attached to a scrap of white card stock and fussy-cut) is foam taped to the hill along with the sentiment, and the felt star is foam taped to the card front as well. With the addition of a few gems from my stash, this card comes to life with bunches of shine and a lovely Christmas sentiment that’s off the beaten track!
One of our beautiful silver mirror acetate sentiment pieces was the simple word Love. I couldn’t help myself when I came up with this cute picture pun using the pattern papers.
I trimmed the green foliage pattern paper down to 3.75″ x 5.5″ and glued that down to a white card base and ran some of the medium peel-offs down the sides. I glued a strip of the burlap to the card front with Multi Medium Matte glue and die cut the two bunnies from one of the pattern papers with a stitched circle die and added thin mats of the silver mirror specialty paper cut with a nesting circle die behind the bunnies. I attached the rabbits with foam tape and used thin strips of foam tape to mount the acetate sentiment. (Don’t forget to peel off the protective layer on top of the sentiment!) A little silver heart brad from my stash and some sequins from the “Frozen Fondant” sequin mix adds a nice touch of sparkle and matches the silver mirror sentiment.
Naturally whenever you have two rabbits in ‘love’ there’s always a consequence!
LOL!! I used a 1/2″ punch for the small bunnies and a stitched circle die for the medium bunnies and added the whole clan to the bottom of the inside of this card. A fun little visual pun that has nothing to do with the holidays and could actually be used as a valentine or even a wedding card…! Hopefully your recipient won’t be quite a prolific as rabbits but… each to their own! LOL!!
Our stamp set this month features another ‘infinity’ stamp that has a repeating pattern so you could stamp it multiple times in all directions to create a larger stamped pattern. I was intimidated with this stamp at first but it ended up being fairly easy to line up!
This is actually six stamp impressions (3 across by 2 down – about 9″ x 6″) (stamped in Broken China Distress Oxide Ink) and the seams are almost totally indistinguishable. I liked this so much I decided to feature this stamp on my next card.
I cut out the “best-stamped” section of this stamped pattern with a LFSRD, sponged a little more Broken China ink around the edges and used foam tape to mount it to a kraft card base. I stamped the “let it snow” sentiment from the stamp set using the same ink on a scrap of white card stock and added some clear embossing powder for some shine and a little contrast. I fussy-cut the sentiment and added that to the card front with more foam tape. I raided the sequin mix for all the small brushed silver sequins and added those to the larger snowflakes and used my Tsukino StarDust gel pen to add silver sparkles to all the smaller flakes. Really sparkly! I love the blue and silver on the kraft card base and the all-over pattern just makes my heart smile. All thanks to that great infinity stamp!
I was itching for something to color with this card kit and reached for the white pattern paper that featured all the animals in a tableaux in the center of a large circular wreath.
I used my colored pencils to color in all these animals (very lightly!) and loved that the pencils really brought out the texture of the pattern papers! I die-cut the tableaux and the mat with Gina K Designs Oval dies (small and large) and glued them together before working on the card base. Since the foliage and stars / snowflakes were in green on this pattern paper, I went for more green for the card front. The center plain green pattern paper is cut to 2.5″ x 5.5″ and matted on the darker green pattern paper cut to 3″ x 5.5″, and both glued directly to a white card base.
I ran the 1/4″ peach ribbon through my Xyron sticker maker and stuck two of those down to the card front on the top and bottom of the pattern papers. I used the thinnest peel-offs between the pattern papers and the widest peel-offs on the edges of the ribbon. For a final touch on the background, I cut a 1/4″ strip of kraft card stock and cut a pattern in that with an Ellen Hutson Stitching Lines die and glued that down right in the center. I went to my Silhouette Portrait to print and cut this sentiment using the Lucida Handwriting font and a folded banner shape that I had created a while ago. I was originally going to do “Love thy Neighbor” but that felt a little church-y to me so I opted for this simple variation. The oval tableaux and the banner are attached to the card front with foam tape. Of course this is a perfect sentiment for the holidays, so I added a Merry Christmas on the inside of the card using the die we got in last year’s LFL Christmas kit cut from a scrap of kraft card stock. This card is very, very pretty. I love the added color on the animals, and this sentiment seems extra inspiring and very pertinent these days..!
I mentioned in my unboxing that an acetate card might be in our future, so, never one to disappoint, I decided to use the specialty acetate and vellum for this next card.
Both of these pieces were half-sheets of A4 paper, so I trimmed them both down to 5.5″ wide and scored them in the middle – about 4.1/8″ to make two “cards”. I threw caution to the wind and stamped all the individual snowflake stamps on the two corners of the acetate card front with VersaMark ink and embossed them in white. This is pretty thin acetate but it held it’s shape under heat admirably well! You lose a little of the details when embossing but you still get the basic shapes with no problem! I cut a piece of the blue snowflake (stars – eight points!!) pattern paper to size and ran it through my 5″ Zyron Sticker Maker to add adhesive to the front of the pattern paper and attached that to the back of the vellum for some color and to hide the writing surface inside.
I stamped and embossed the “hello Winter” sentiment on the vellum under the acetate and added the white deer sticker to the lower left corner. I placed a piece of 1/8″ scor-tape along the top fold of the back of the vellum card and used that to glue the vellum card into the acetate card. For a little extra touch, I die-cut the stag die from the kit out of a scrap of kraft card stock and added him to the inside of the card. I also added a circle of white behind the die-cut so you couldn’t see the glue from the back. Kind of finishes out the whole family with that addition! I love the simple blue and white color scheme here, and the dimension that stamping on the acetate adds is always great. I think an acetate card like this is very unique and fun to give!
I’m still having a great time experimenting with my homemade wreath builder template, and I thought the snowflake stamps would lend themselves to a unique wreath design!
I hope you aren’t getting tired of my wreath cards…!! I thought this snow wreath came out especially well! I did practice this lay-out on some scrap card stock before I went and committed it to my card. The snowflakes are all stamped with Hero Arts Soft Sky ink directly on the white card base. I selected the two smallest iridescent sequins from the sequin mix to add to the larger snowflakes, and added the “NOEL” sticker to the center of the wreath using some foam tape. Finally I tied a nice bow using all three of the 1/8″ ribbons from the kit and attached that to the bottom of the wreath. I think that HA Sky Blue ink is actually a pretty close match to the blue-grey colors in this kit and it works very well here. Soft and almost ethereal!
When I was doing the falling snow stencil background with my homemade glimmer paste (card two), I had some paste left over, so I just grabbed a bunch of kraft card fronts and kept making falling snow backgrounds. I also took the last bits of that paste and added it to the front of one of our wood-veneer die cut trees. I fiddled around with this tree for a little while until I achieved a really nice texture – almost like tree boughs!
That was all it took! I trimmed this falling snow background down to 4″ x 5.25″ and used foam tape to mount it to my last kraft card base. I glued the tree to the card front and found a very small star gem from my stash to add to the top of the tree. I really liked this “Joy” acetate sentiment, so I attached that to my card front with thin strips of foam tape. Simple and stunning! I really like this so very much. I think that the Vintage Platinum glitter worked so well with the kraft card stock and this card is so heavily textured, it’s just begging to be touched!!
If you have been following me at all, you know that I created my first ever light-up card with my October My Monthly Hero kit. Well… I have one more Chibi Light left over so…
I had to use that last Chibi light for this lovely star die we got in our kit this month. I knew I had a really nice ‘pine bough’ clip art in my image stash so, using my Silhouette Software, I created this tree top and printed it directly on a piece of the blue-grey pattern paper. I die-cut the star from the top of the tree and die-cut the pattern paper with a LFSRD. I cut another plain piece of 110# card stock with the same rectangle die and cut the star out of the second piece in the exact same place as the patterned paper. I glued a piece of vellum between the two card stock pieces and sponged the edges with Pumice Stone Distress Ink. I die-cut the star from the silver mirror specialty card stock and inlaid that on the vellum in the star shaped hole cut out at the top of the tree. That completes our card front.
On a plain white card base, I sponged the edges with the Faded Jeans Distress Oxide ink (when used with a light hand that ink is a pretty good match to the blue-grey colors in the kit) On the inked card base I created a simple circuit for the Chibi light. There are TONS of instruction on how to circuit these Chibi Lights, so I won’t go into that here, but the battery is towards the bottom of the card front, and the Chibi light is behind the center of the star. I white embossed the “PRESS” stamp (MFT Interactive Labels stamp set) in the appropriate spot (over the battery) on the card front, and mounted the card front to the card base with a double layer of foam tape. Look at this! I could easily get addicted to these light-up cards!
I added the “Noel” acetate sentiment with thin strips of foam tape to the card front and there you have it! My second ever light-up card! I will have to experiment with using colored vellum to see if that will change the color of these Chibi lights! I LOVE THIS!
I also did a spinner card with my recent MMH 10 cards, and that got me to thinking about the possibility of creating a spinner card that was actually powered by a pull tab instead of just a wound-up piece of thread. This one took way too much time, but I do think I’m on to something here! I have never seen a card that does this!
A white card base with a large circle die-cut straight through both layers. The white pattern paper cut with a LFSRD and the same circle die glued on top. I used a bamboo skewer to anchor the felt snowflake. With the assistance of my craft knife, I was able to thread the skewer through the middle of this snowflake, and used glue to hold it in place. I think these felt snowflakes were the perfect thing to try and make spin!
I used little pieces of paper straws to hold the skewer in place on the top and bottom and still allow freedom for the skewer to spin. On the bottom the straw is split into two pieces for above and below the pull tab. The bottom straw also needs a bottom to keep the skewer from falling all the way through. Then the mechanism is the same as if you were trying to start a fire with two sticks and a string – the skewer, and the pull-tab are the sticks, and there’s some hefty carpet thread performing duty as the string.
I had to take this card apart and put it back together three or four times and had to keep adjusting and changing things before I could get a reliable operation – that’s why it’s a little lumpy and wrinkly..!! I used the iridescent crystals from last month’s LFL kit to decorate every rounded point on both sides of the snowflake, and found this great glittery snowflake in my stash for the centers. The sentiment is from the die-cut sheet and I matted that with some dark blue Kraft Core core-dinations Nostalgic Collection card stock and mounted that to the card front with some foam tape.
I did cut another piece of 110# card stock to be the ‘back’ of the card and provide a writing space. It’d also help protect the card if it had to go through the mail.
I will spend more time on this concept and try to finesse it a little more and make it easier to get consistent results and will come back with a how-to for you on this special Pull-Tab Spinner card as soon as I possibly can. I was so thrilled to get this one to work that I was dying to share it with you! Hope it tickles you as much as it does me!
That’s my 10 Cards from the Love From Lizi November 2018 “Frozen Forest” Card Kit. I managed to use every stamp in the stamp set, and used a little bit of most everything from the kit but I didn’t get to the White Glitter specialty card stock and I didn’t use those tiny jingle bells… I have to admit I was a little crushed when I realized that the bells didn’t jingle…! Made me think of The Polar Express where the little boy can’t hear the jingle bell because he doesn’t believe in Santa Clause…! Kind of bummed me out…!!!
I had a great time creating these cards this month. Looks like I ended up with six Christmas cards, three winter/snow cards and one Love card. A pretty decent assortment of cards! Of course I have bunches of leftovers which will be happily incorporated into my stash along with the falling snow stencil and another infinity stamp set!
At posting, this kit is still available at the LFL shop, along with a good assortment of add-ons and specialty packs. If you go shopping with Lizi please use my link: http://bit.ly/LFLlink and if you don’t want to miss out on these overstuffed card kits, I would heartily recommend subscribing!
I hope you enjoy my creations this month as much as I do. If you have any comments or favorites please let me know. I appreciate every moment you spend with me here! I hope you share this with all your crafty friends and please, Like me, List me, Pin me, Post me, don’t run with skewers, and as always, Happy Crafting!
Hello Folks! Scott here with my 10 cards featuring the My Monthly Hero October 2018 kit. This is a Christmas / winter themed kit with a 6″ x 8″ stamp set highlighting four youthful ice skaters, a boy on a sled, some assorted animals, a frozen pond, park bench and lamp post, and a great big evergreen tree with some ornaments as well. Of course we get matching frame dies and an incredibly interesting Paper Layering Tree Die with Frame. I don’t think I have anything like this in my stash! Out kit is rounded out with six 5.5″ x 8.5″ sheets of Glitter Paper in Silver, Twilight, and Sea Glass – lovely super-smooth glitter stock – and a small package of Iridescent Star Embellishments and a .5 oz. container of Iridescent Ink (like a Wink of Stella shimmer pen). Looks like some good holiday/wintry fun this month!
Obviously, this kit seems to be all about creating scenes for our cards. A couple weeks ago I saw a Jennifer McGuire video showing off a “Double Z-fold” card and I thought I could adapt that idea into a BIG scene for my first card.
I wanted to do a landscape card, and wanted a little more space for my scene, so I increased the measurements for the stamped portion of the card from Jennifer’s 3.25″ x 10″ to 3.75″ x 10.5″. This leaves you a quarter-inch border of the card base showing and is still less than 11″, so it can be cut from a standard piece of card stock, and it gives us just a little bit more room for stamping. I did score this long piece exactly the same as Jennifer’s smaller one at 2.75″ and 5.5″.
I cut the front piece from my Bristol smooth card stock, and ink blended the sky with my Tim Holtz Distress Blending Brushes using Cracked China Distress Oxide ink over a hand-cut snow border(s) of post-it tape. I did keep the sky very light so I could stamp and color over it easily. I then stamped my scene using VersaMark Onyx Black ink for the figures, taking advantage of the snow masks and also masking off the legs of the skaters before stamping the pond. I used Hero Arts Summer Sky ink to stamp the pond, and Stampin’ Up Old Olive ink to stamp the tree. I was going for a one-layer scene here, but I miss-stamped the fawn and ultimately had to fussy-cut a new fawn to cover my mistake (you can see where I cut the snow bank to insert the fawn’s legs..!). This is still CLOSE to a one-layer card!! LOL!
I used my Zigg Clean Color Real Brush Markers to color my scene, adding a bit of a highlight to the edges of the snow banks. I used my white gel pens to add some snow to the tree, bench and lamp post. I used Hero Arts Soft Granite ink for the sentiment and the distant birds (SSS July 2017 stamp set) and, since the sky was so light, used that same ink and my micro applicator brushes to add some dots of snow in the background. I did intersperse some dots of white gel pen as well, for a little variety in the snowfall. I cut my card base (4.25″ x 11″) from some blue card-stock in my stash, and stamped both of the snowflake stamps around the edges of the card base using Hero Arts Unicorn White ink. Finally, I scored the card base at 2.75″ and 5.5″ and glued the two pieces together using my Multi Medium Matte for a good strong bond. I really enjoy the apparent simplicity of the tree and the fawn on the front of the card, and then seeing the scene complete itself as you open the card. I think this wintry, pseudo-pop-up scene is worth having to write your message on the back of the card!
I felt like l kind of blew out my scene-building chops on that first card and wanted something a little simpler for my next card. I was puzzled by a couple of stamps in the stamp set that felt like filler to me – the mistletoe stamp being one of them. There doesn’t appear to be any stamps of kissing or even any stamps suggestively romantic in this set, so I figured we can just go ahead and feature the mistletoe on a card of it’s own!
And we get our first pun this month! This makes me grin from ear-to-ear! I used an old pre-fab glitter card base for this card (David Tutera, maybe?) and stamped the mistletoe on a scrap of Bristol smooth card stock and colored it with my Zigg markers before die-cutting it. I turned to my Silhouette Portrait to print and cut this fun sentiment using the Brady Bunch Remastered font, on some plain white card stock. I did cut four layers of the sentiment and glued them all together, and die-cut two more blanks of the mistletoe to glue together, so both pieces are nice and chunky. I recently splurged on some of the new release items at Altenew, including the Fine Frames Cover Die, and sacrificed half of one of my silver glitter sheets to cut out some thin (1/16″) glitter frames. I glued the frame to my card base and added the cut-outs with foam tape. Simple and straight-forward, yet so very cute! And a perfectly appropriate pun!
Now back to some scene-building! Instead of trying to make another one-layer scene, lets use the dies included in the kit to build our scene featuring the animals.
On a smooth copic-friendly white card base, I reached for my Spectrum Noir alcohol markers to color the background for this scene. (I’ve been watching Sandy Allnock videos on YouTube!) I did reach for the Broken China Distress Oxide ink to blend in the top of the sky, and I’m rather proud of my first ‘hand-drawn’ background – softly suggestive! I stamped all the critters and ornaments in Onyx Black ink on Bristol Smooth card stock, and colored them all with my Zigg markers. I die-cut the animals, tree and star, then fussy-cut the ornaments before mounting all to my card.
I arranged the ornaments on the tree and gave all of the animals an ornament of their own to add to the decorating. I love the birds carrying the star to the top of the tree, and even the fawn is pitching in! All of the images are foam taped to the card front, and I added little touches of my Sakura Stardust Glitter pen to all of the decorations for a tiny bit of sparkle. I added a sentiment from the stamp set on the inside of the card using Walnut Stain Distress Oxide ink and I think we can call this scene wrapped! I do feel like this is the card that this kit is just begging us to make! And using the dies keeps you from having to do bunches of masking all over the place!
With so many ice skaters in this stamp set I knew I had to do a spinner card this month! I chose this stamp because she had the longest vertical line from her skate to her head.
Other than the simple ordeal of trying to get a circle die-cut right in the middle of a white card base, I also had to create a ‘reverse stamp’ of this skater. I stamped her twice on some Bristol Smooth card stock, turned the card over on a light board and traced one of the stamps on to the back using an 02 Pigma Micron pen. Not too difficult, but upon close inspection, you can tell the difference! I die-cut a circle through a plain white card base and matched that up with a piece of white Glitter Silk card stock cut with a Lawn Fawn Stitched Rectangle die. I colored both the front and back stamps with my Zigg markers and created a die template for this stamp so I could get an accurate cut. Then I glued both pieces together with some invisible thread running from her bun to her skate. I did use scor-tape for a good strong bond with the thread.
I attached the invisible thread to the card base using scor-tape and glued the glitter paper on the top sandwiching the thread between the card base and the card front. I was looking for a frame for this circle and came across these scallop circle dies I bought long ago and have never used. I had to pair the scallop die up with the original circle die to make an actual frame and cut this from the green glitter paper in the kit before gluing it to the card front. For a little finishing touch, I outlined the glitter card front with some Love From Lizi Lilac peel-offs. Those match that glitter paper perfectly!
I went back to my Silhouette Portrait to print and cut this pun-ny sentiment using the Brady Bunch Remastered font and I cut three layers to glue together before mounting to my card front with foam tape. I think the hardest part of this card was trying to make sure that my coloring matched on both the front and the back. Wind this skater up before you put the card in an envelope and she spins around when you open the card. Seems like an obvious choice to me! Give me some stamps that indicate movement and I am going to do my best to make them move!
We got a good assortment of ornament stamps in our stamp set, so I reached for my home-made wreath-builder template to see if the stamps would make a nice wreath.
After practicing a couple of times, I arrived at this ornament wreath that I stamped on some plain white card stock with Delicata metallic pigment inks in Golden Glitz, Celestial Copper, Bronze Burst, Silver and Rose Gold. I die-cut the stamped panel with a LFSRD and also cut a hole in the center of the wreath with a circle die before matting that on a piece of silver mirror card stock. I thought it would be nice to see the silver through the center of the wreath. I finished out the wreath with some of the iridescent star crystals, and a small bow using the ribbon from the kit. I stamped the sentiment with VersaMark ink and embossed that with some gold embossing powder. I like all the metallic inks and think this is a fairly unique wreath perfect for a Christmas Greeting! Very shiny!
There were a couple of stamps in this set that felt like filler images to me – a candle, some icicles, (the mistletoe). And I admit I was a little thrown with the ‘raccoon all tangled up in lights’ stamp simply because we had no other light strings anywhere else. I do my best to try and use all the stamps included in the kit on my 10 cards, so that inspired me to create this fun card featuring our little raccoon and some of the other odd-stamps-out!
I couldn’t help but feel that this little raccoon was annoyed by that light string and thought we should make this scene as annoying as possible so as to really drive the sentiment home! Everything is stamped on Bristol smooth card stock with Onyx Black ink, colored with my Zigg brush markers, and die cut (or fussy-cut) as the case may be. Using my Silhouette Software I created this sentiment using the Typewriter Hand font and printed that directly on my card base. I used my Gina K Oval dies to cut the scene and the kraft mat and mounted those to the card front with foam tape. The images are foam taped on the oval and I even glued the candlestick on top of this poor fella’s head! I did sketch some ‘eaves’ at the top to anchor the icicles, and I love the broken ornament at his feet as well..! Heaven knows the holidays can certainly be stressful – maybe a card like this might bring a little smile to the over-taxed this year! LOL!!
I really like what I considered to be the “pro” (or at least competitive) skater in this set and thought she deserved a card all her own. Let’s try another single layer card!
On Bristol smooth card stock I stamped the skater and the pond with Onyx Black ink (I did cut a full mask for the skater) and used my post-it tape hillside from my first card to mask off the ground. I ink blended the sky with Faded Jeans and Broken China Distress Oxide ink and printed the sentiment directly on the card base using the Sign Painter font for ‘winter’ and the Calibri font for the pun. I grabbed my Simon Says Stamp Falling Snow stencil to add the snow with VersaMark ink and Hero Arts White Puff Embossing powder. I did arrange the stencil so I wouldn’t get any big snowballs on my skater!
I colored the skater with my Zigg brush markers and tried to go a little more ethnic with this young lady. I die-cut the scene with a LFSRD, and matted that on a piece of the Twilight glitter paper and glued that straight down to a plain white card base. I had been digging around in my stash and came upon some Flower Soft Polar White from way back when and thought it would be fun to add some snowy texture to this card. (It IS a snow pun after all!!) I really like this card! The puff embossing powder and the Flower Soft work well together to add a lot of texture to this one-layer card. Does this still count as a one-layer card now? LOL! And of course, I love this simple pun!
So far, I’ve stamped that tree stamp and colored it. I stamped, colored and frame cut another tree. Now I need to use the layering tree die. I have to admit, when Hero Arts first did this kit reveal, I broke down and bought some Chibi Lights to do my first light-up card! I have been lusting after these little marvels for a long time, but they are a little expensive, and I hadn’t come across anything that screamed “Light Me”! So… I bought the cheapest Chibi Intro Kit that came with 3 LEDs, one battery and some foil circuit tape. Only $10! I figured that was worth the investment to see if I like this technique or not!
Before I even took the the layering die and the frame die apart, I cut out one tree on some plain 110# white card stock. I did cut a matching panel with the frame die and glued that to the front panel with a piece of vellum between. I thought the vellum would help spread the light around and the double surround would help keep the light from bleeding beyond the edges of the tree. I took a little 1/16″ hole punch to all the branches and punched out little holes on the branches – looks like little lights on the tree!
For the background / wiring layer, I grabbed a piece of card stock that I had sprayed with the Hero Arts Sea Foam Shimmer spray (MMH June 2018 kit) and laid out my circuit on that. I thought that shimmer spray card would add a little color to the lights reflecting behind the tree! You can really see that green in this pic! There are tons of ‘wiring how-to’ for the Chibi lights here on YouTube (and included with the Intro Kit) so I won’t go into that here, but I am proud to say I got the wiring correct on my first try. I did know that I wanted to put two lights behind this tree to try and get a more even spread throughout the die, and I had read somewhere that the lights each take 3 volts, so if I used two lights I could go up to 6 volts (2 batteries) for some extra bright shine!
Never one to do things simply, I did go for the ‘double battery power pack’ and that ultimately necessitated some BIG space behind the card front. This actually worked to my advantage, as the more distance you have between the LEDs and the card front, the more the light will disperse! Here you can see my double battery stack on the left, the two lights in the center, and the double-height foam tape I used to attach the card front to the card base.
I did trim the card front down to 4.125″ x 5.375″ so we would get a tiny bit of the sea foam green showing around the edges and attached everything down to a plain white card base. I printed the sentiments using my Silhouette software and the Apple Chancery font. I trimmed down the sentiment on the front into a little banner and attached that with some foam tape. For the pun on the inside, I printed it directly on the card base. Not only did I have a great time playing with these Chibi Lights, but I really, really love this card and adore the pun-ny sentiment on the inside! I think everything works together brilliantly! Pun intended!! LOL!!
I had this one pun running around my head and had to bring it into play with this kit.
On a piece of Kraft card stock from my stash, I masked off the boy and girl skater and just stamped their skates with Onyx Black ink. I masked off the skates and stamped the pond in the same ink. I sketched in a couple of ice cubes and some stick legs going down to the skates using my 02 Pigma Micron pen. I reached for my colored pencils to add color to this vignette – I do love coloring on kraft card stock with colored pencils, and I used the kraft hoping to show a little translucency in the ice cubes – it worked very well – I wouldn’t have been able to get the same look on white card stock! I cut the kraft card with a LFSRD, matted that on a thin black mat, and matted both on a piece of the silver glitter card stock before attaching all down to a kraft card base. Of course, I did add some sparkle to the ice cubes with the Iridescent watercolor ink. Now, I don’t want anyone to miss the (obvious) pun here, so I printed the sentiment on the inside of the card using my Silhouette software and the Sign Painter font. I love the vignette quality of this little scene and this picture-pun makes me giggle.
Now I haven’t used the sledding boy stamp yet, and there’s a couple of sentiments from the stamp set that I haven’t used yet either, so I decided to bring them all together for my last interactive card for this month.
On a piece of Bristol smooth card stock, I took one of my stitched hillside dies and created this hillside without cutting through the edges of the card stock. I masked off the hillside and used my blending brushes and Oxide inks in Broken China and Faded Jeans to blend in the sky. I reached for my Simon Says Falling Backgrounds stamp to stamp the snow in the sky using VersaMark ink and embossing that with the Hero Arts White Puff embossing powder. This was the perfect size of snow for this scene! And I love the texture! I stamped the sentiment with onyx black ink and stamped the small snowflake with the Hero Arts Summer Sky ink. I stamped and colored and die-cut the boy in the same method I used for most all the images this month. And yes! There is a pull tab on the right side just behind the sled!
This card brings me so much joy I can hardly contain myself! This uses the Double Slider Surprise technique. Lawn Fawn came out with a die set for this technique just a month or so ago! I describe my technique in detail on my Double Slider Pull-Tab Card video and accompanying post. The big difference here is that the channel for the trash-bag conveyor belt is at an angle, and the boy is attached to the conveyor belt with a strip of acetate that is connected to his head and then down to the trash-bag conveyor belt. The track (the edge of the hill) is almost imperceptible here! I stamped the “oh what fun!” sentiment on the pull tab so it is revealed as our sledder goes down the hill. I think this is another interesting advancement with my interactive card explorations and this is a terrific way to wrap up this winter-time kit this month!
I came really close to using all the stamps in this stamp set but didn’t get to the “from us” sentiment, a few of the solid ornament stamps nor the short little ‘garland’ stamps, but I did manage to use 30 stamps with these 10 cards! Even though these cards do feel like a ‘set’ I think we have a pretty good variety here and I definitely developed some new skills and techniques putting these all together. I really love that tree stamp and layering die, and I have lots of that lovely glitter paper to add to my stash!
Thank you so so much for sharing your time with me here – I hope I was able to provide some grins and giggles and a little inspiration for you this month. Please share this post with anyone you believe might be interested, remember to Like me, List me, Pin me, Post me, don’t run with scissors, and, as always, Happy Crafting!!
This month our color palette is all soft blues and greens and off-whites, and as usual, the kit is jam-packed with all sorts of interesting supplies and embellishments.
As usual, we get five sheets of 8.5″ x 11″ card stock. This month we have two sheets of Kraft and three sheets of copic-friendly white card stock. I’ll often save the alcohol marker card and substitute some ordinary card stock from my stash. To round out our card stock stash, we get four half-sheets of A4 specialty card stock this month, including a sheet of acetate and vellum, as well as a white glitter and silver mirror card stock.
We are treated to 18 sheets of 6″ x 6″ pattern paper this month with a light linen texture and finely rendered organic patterns. These eight sheets have the same four patterns on different colored backgrounds and can be used as cut-aparts or as simple backgrounds.
We get three colors of the foliage pattern paper on the top left, and two colors of the delicate snow pattern on the top right. Finally, there are five sheets of pattern paper that have no alternate color duplicates but still illustrate the ‘frozen forest’ theme. That is a crazy amount of pattern papers included this month!
We also get a sheet of stickers and a die-cut sheet of sentiments and tags that feature the icons and images from the pattern papers. Some deer, a fox and bunnies join together with the forest foliage and some nice pops of a peachy orange. Very wintry with just a hint of the holidays to come.
One of my regular favorites with Lizi’s kits is her peel off stickers. This month we get these lovely mirrored apple green peel offs. YUMMY! We also get treated to another stencil this month… a ‘Falling Snow’ stencil that measures about 4″ wide by 5.5″ long – just enough for a card front! And that brings us to our stamp set that features another “infinity” stamp. This square stamp of assorted snowflakes can be repeatedly stamped in each and every direction for a seamless pattern in virtually any size you like. There is also a snowflake border stamp that is repeatable, eight individual snowflakes in assorted sizes and two sentiment stamps. Again, winter themed but nothing holiday specific.
That brings us to our overstuffed embellishments bag! Along the bottom, we have six ribbons in our kit – three small satin ribbons in white, soft peach and a rose gold / coppery color on top. There is also a darker peach satin ribbon that is a little bit wider and a sparkly silver ribbon in the same width, and a 1″ wide burlap ribbon. That’s six meters of ribbon this month! Then, from left to right and top to bottom, we get six acetate sentiments done in silver foil, five silver star crystals and three mini jingle bells. There are also four wood-veneer tree die-cuts with a star on top.
Our “I’ve never seen it before” embellishment this month is these six felt die cuts – three snowflakes and three animals. These pieces are so thick, I originally thought these were foam, but no, these are really thick firmly pressed felt pieces. Very interesting. Though I do have to point out that the white snowflake, having eight points, is not a snowflake, but something more akin to a star… (all snowflakes have only six points). We get two dies this month – a filigree star and a circular die with snowflakes and a stag head.
Then we get a large assortment of tags – two small silver glitter tags, two medium kraft tags, two large white tags with reinforcements and twine, and four circular tags in two sizes featuring colors and icons drawn from the pattern papers. Our sample sequin mix this month is the Frozen Fondant mix with lovely soft greens and iridescent blues and whites. Perfectly coordinates with the theme this month! Of course, we do get our full-size bottle of Nuvo Crystal Drops in Wedgewood Blue which matches the greyish blue color of the kit very nicely, and finally we get a full roll of washi tape with ‘Happy Christmas’ foiled in silver on a shiny white background. Other than the “Noel” acetate sentiment, this is the only other reference to Christmas in this kit… I don’t think I’ll be able to avoid making one or two Christmas cards with this kit!
This kit is still available at the Love From Lizi shop along with assorted add-ons and another NEW decoupage kit (Festive Friends) from the same artist who did the Beary Christmas decoupage kit last year. If you are shopping at Love From Lizi, please use my link: http://bit.ly/LFLlink.
Thanks for sharing your time with me today, keep an eye out for my 10 Cards 1 Kit video, try to stay warm and toasty, and Happy Crafting!
Hello Folks! Scott here with my 10 cards featuring the Love From Lizi October 2010 “Hello Autumn” Card Kit. This month’s kit highlights autumn in all it’s beautiful colors and shapes and patterns, and, as usual with the Love From Lizi kits, features some items I’ve never seen in a card kit before!
As a season, I love Autumn. As a card theme, I’m not quite as enthusiastic. Short of a few Thanksgiving cards, I have never sent an “Autumn” or “Fall” card to anyone. If you have been following me at all over the last year or two, you know I like to have some reason, or at least a little context for my cards, so I tend to avoid vague sentiments. I did hit upon the idea of combining some of the sentiments in this kit together, so I could add one or two of my own sentiments as well. My pun addiction is asserting itself!!
As usual, I did take the five card stock sheets included with the kit and cut and folded them all to make my ten 4.25″ x 5.5″ card bases.
I started out fairly simply this month, and I thought that the “warm tea” and “warm wishes” sentiments would work well together on one card.
I cut the tea cup and laurels away from the “warm tea” stamp, and lined those up with the “warm wishes” stamp to make a single horizontal sentiment. I stamped those with Archival Acorn ink on a piece of the Antique Gold specialty paper and embossed that with some clear embossing powder. I glued the stamped piece to the striped pattern paper and added the copper peel-offs from the kit on the top and bottom, and cut that all down with a Lawn Fawn Stitched Rectangle die. I decided that this ‘tea’ card should sport some of the Tea Towel ribbon from the kit, so I added that ribbon over two of the stripes and used foam tape to attach the complete card front to a Burgundy Red card base.
Never content to leave well enough alone, I took a piece of one of the cut apart sheets and fashioned a pouch to hold a tea bag on the inside of this card. I stamped a “Thank You” (from the October 2016 Paper Pumpkin kit) on the front of the pouch, and added the tea cup stamp (Acorn Archival ink for both) behind the finger notch so it would be revealed when the tea bag is removed. I added an ephemera heart to the pouch and colored the hearts on both the large and small tea cups with a dark red colored pencil. Here we have a VERY masculine card with a purpose! A ‘Thank You’ card with a tea-time treat on the inside. I like these sentiments combined together, and can see myself actually using this simple Thank You tea-card!
Looking at this stamp set in a new way, I realized that there was a potential pun in another combination of these stamps – It’s never too early to start throwing the puns in!
On the Peach card base, I added a 3″ strip of the light blue leaf pattern paper down the center, and framed the two sides with an LDRS Creative Basic Background Builder 1 die cut from the Burnt Orange specialty card stock and split down the middle. I bought this die a few months ago on a terrific LDRS sale, and the die set is still available and still on sale! I did add some of the thin copper peel-offs at the seam for a finishing touch of shine.
I stamped this sentiment, and four of the tiny leaf stamps on a piece of my standard Staples Ivory card stock with Acorn ink and clear embossed them all before cutting the sentiment out with a stitched rectangle die. I glued the sentiment to a thin Burnt Orange mat and outlined the sentiment with more of the copper peel-offs before I attached it to the card front with foam tape. I reached for one of the bark leaves from the kit and the blue twine for our focal point here. I coated the twine with glue and wrapped it around a pencil to dry so I could add a bit of ‘tendrils’ to the leaf. I wrapped the twine ‘tendril’ around the stem of the leaf and used foam tape to attach that to the card front. I used one of the iridescent gems on the tendril knot and added a few of the Ripened Pumpkin Nuvo Drops to the sentiment. Pretty straightforward here – where’s the pun? Inside, of course!!
I dug through my clip-art stash and found this great retro image of a lady on a phone and just had to use her to complete this card! I printed this image on some of my ivory card stock in a brown to black ombre and cut it out with a stitched rectangle die to be the writing surface for this card. I did erase the phone cord from the clip-art and added more of the blue twine (glued and wrapped around a skewer to dry) through a couple of tiny holes on the ivory writing surface before gluing this down to the inside of the card.
I did stamp the “Hello Autumn” sentiment next to this lady with Acorn and Onyx Black ink to mirror the printed ombre and complete this fun pun! I actually know someone named Autumn, and I think that’s what gave me this idea! I laugh every time I open this card, and I am especially pleased at how the leaf ‘tendrils’ hint at the phone cord on the inside! Give me a sentiment that says “Autumn is Calling” and you just know I’m going to take it literally!! LOL! Still makes me laugh!!
I think the little rhyme on the “leaves are falling” sentiment inspired this next card from me. Another Fall poem that gives a little context to the “blessed season” sentiment.
I believe the sentiments in this stamp set are hand lettered, and I hadn’t found a perfectly matching font yet, so I decided to ‘sketch’ this poem (on my Ivory card stock) using my Silhouette Portrait and a brown Pigma Micron pen in the Papyrus font, and adding the stamped sentiment using the Acorn ink. I die-cut the ivory card stock with an LDRS Creative Basic Stitched Flags die (also purchased on sale but no longer available) and cut a mat for that with the red and black houndstooth pattern paper. I cut a piece of my black card stock with a stitched rectangle die and another houndstooth mat for that, and glued those to a Vanilla card base and mounted the sentiment ‘flag’ to the card front with foam tape.
I die-cut the two leaf dies from the Antique Gold specialty card and, arranged them on the right side of the ‘flag’ along with three of the skeleton laves from the kit. I tried the leaves alone and the die- cuts alone and thought they worked better together. I tied a double bow using the tan twine from the kit and attached that to the top left of the ‘flag and glued the ends down to the card front. I think that black background really shows off those skeleton leaves to their best, and I did add Spectrum Noir glitter pen to them for a little touch of sparkle. Of course I knew I could use another sentiment on the inside of this card and grabbed the “Autumn Blessings” to stamp (Acorn ink) on my ivory card stock, and die-cut that and a houndstooth mat with my stitched oval dies. I thought these two sentiments worked perfectly together, and wrap up this fun little poem very nicely!
I continued my search for a passably matching font for this stamp set and finally came up with the Brushgyo font that is a very good simulation of the handwritten sentiments in this stamp set. It helps if you use it in small doses, but finding it opened up a couple of new ideas for me.
My fourth card this month is actually on the Burgundy Red card base, but I did do a little ink blending on the edges to tone it down to a better match for the red pattern paper. I used Distress Oxide inks in Faded Jeans, and Vintage Photo and covered all four edges of the card base. I die-cut another piece of that Antique Gold specialty card with a stitched rectangle die and sent that through my Cuttlebug in the embossing folder from the kit for a nice knitted texture. I glued that to a thin mat of the Mirror Gold specialty card stock and glued both down to the card base.
I cut the pumpkin oval from the cut-apart sheet with a Gina K. Designs Large Oval die, and created the second half of this sentiment using my Silhouette Software and the Brushgyo font. I printed that on my oval and stamped the “Cozy Days” above the printing with my Acorn ink. I used the Gina K. Oval Small Set to die cut the double-stitched houndstooth mat and another large oval die to cut the thin black mat. I colored the stamped mushrooms with my Zig Clean Color Real Brush Markers, glued all the ovals together and mounted them to the card front with foam tape. I die-cut two of the oak leaves from the Gold Mirror specialty card and added those with the ephemera mushroom to cover up the pumpkin and the flowers at the bottom of the oval. A few sequins (the red ones are from the LFL Spec. Ed. Thanksgiving kit from last year) add a little sparkle and flourish. I thought “Cozy Days” was a particularly vague sentiment but I really like the suggestive sense you get when you combine that with “snuggly nights”!
There are five little leaf stamps in the stamp set and I thought they might work well for creating a wreath using my homemade wreath builder template, and I was itching to do a little coloring with this kit wherever I could!
On some of my ivory card stock I stamped all the leaves using my wreath template and the Acorn ink and I left a space for the pumpkin stamp at the very bottom. I colored everything with my Zig markers and then realized that the “Here Comes Fall” sentiment fit perfectly in the middle of this wreath (more acorn ink here!). I guess it kind of fills it up a little too perfectly and we lose a little bit of that wreath feeling without an empty center… c’est la vie! Every card kit teaches me more and more! I did die cut the stamping with a stitched rectangle die and added a strip of the chevron ribbon along the bottom before attaching a thin Chocolate Brown specialty card mat and gluing both down to the card front.
I took my micro applicator brushes and the SSS Fresh Fruit ink pads (and some acorn ink too!) and added all the colorful dots in and around the leaves. I added some sequins from the kit and a few Nuvo drops to finish up the wreath and tied a bow with the chevron ribbon for the final touch – that’s pretty thick ribbon so it makes a very chunky bow!Call me childish, immature or juvenile, but I just couldn’t resist adding this old joke on the inside of this card! This is printed on my ivory card stock in the Brushgyo font, die cut with a LFSRD, and matted to the fun orange polka-dot pattern paper (also die-cut with my LFSRD). This is a lovely, lighthearted card that gave me a chance to do a little coloring and get some more practice with my homemade wreath builder template.
We did receive a huge assortment of ephemera pieces this month and I was drawn to the pun-ny “Nuts about you” sentiment. There is the same sentiment on one of the cut-apart sheets but it is quite large and would take up an entire card front, so I opted to go with this smaller one and pair it up with the acorn pattern paper and the ephemera acorns.
I detected a bit of a repeating pattern on that acorn pattern paper and fussy-cut this piece to use as the center panel on this card. I distressed the sides of the Vanilla card base with my ink blenders and some Vintage Photo Distress oxide ink and wrapped a piece of that crushed silk ribbon down the center of the pattern paper panel. I found it much easier to use this ribbon when I stopped trying to find a perfect match for the color and just used it as an accent. I think it works well with the acorns! I foam taped the panel to the card front and added the ephemera sentiment and acorns with an extra thick layer of foam tape. I did reach for my Autumn Red Nuvo Drops (from the LFL August 2017 Card Kit) for the embellishments here. Now THAT matches the silk ribbon PERFECTLY and adds a nice touch of shine. Fairly simple card here highlighting the ephemera nuts!! LOL!
I still had my eye on a few cut-apart pieces and I really liked the flowery burgundy cut-apart with the circle in the center. At first I was thinking about making a shaker card but instead turned to a stamp set that I got a while ago and hadn’t used yet.
I stamped this sentiment with Onyx Black ink using the MFT Mini Well-Connected Alphabet and Numbers stamp set in the middle of the circle on the cut-apart panel. Since this was my first time using this stamp set, I did practice a couple times before committing to my pattern paper. I really like these stamps, and will use them more for simple sentiments like this. I was digging around in my old LFL leftover stash and found this Chocolate Brown Glitter paper (form the LFL August ’17 Card Kit) that matched this pattern paper perfectly! This is some of the sparkliest glitter paper I have ever seen!
I added a thin mat of the glitter paper to the back of the cut-apart piece and foam taped those to a panel of the matching pattern paper and glued to the Chocolate Brown card base. I added two thin strips of the glitter paper to the sides of the pattern paper and used a combination of my stitched circle dies and a nesting circle die to cut the thin glitter frame to go around the sentiment circle. I have to admit, I LOVE that glitter paper!
I took the ephemera wreath that had a banner on it, and cut away the banner to make these two laurels to frame out the sentiment. I used foam tape to attach those around the sentiment and added two of the ephemera leaves as well. A few Nuvo Drops at the bottom for a touch of contrast on this card front and we’re almost done with this card. But why the “Autumn Leaves” sentiment… you gotta go inside to finish this thought…
Autumn leaves…. I won’t… LOL! I think I still had my friend Autumn on my mind when I made this card! I used the MFT stamps and the onyx black ink to stamp this on one of the round ephemera pieces, and I just had to add a thin mat of that glitter card stock before attaching this to my white writing surface. An interestingly serious pun here on a card that kind of knocks my socks off! I love the matching pattern paper and that glitter paper is truly stunning!
Okay… pun-ny though that was, I had this indescribable urge to try something silly. No, not something “Hello Autumn” silly. Something Seriously Silly!
I took the other half of the blue leaf pattern paper and printed up this sentiment using my Silhouette Software and my favorite Brady Bunch remastered font. I glued that to my Sky Blue card front and framed the two sides (again) with an LDRS Creative Basic Background Builder 1 die cut from the Burnt Orange specialty card stock and split down the middle. This time I added that die-cut on the inside of the blue instead of the outside, but I did go ahead and add some peel-offs to the edges. That gave me enough room to add lengths of the copper ribbon to the top and bottom – I think that covers all the ribbons in this kit! I took two of the ephemera pumpkins and drew little faces on them with a fine point Sharpie, and attached them to the card front with foam tape. I love this double entendre pumpkin sentiment, and enjoy this silly diversion from the somber Fall theme.
Other than those bark leaves, we also got the unexpected embellishments of those wood slices that I was particularly interested in figuring out some use for. This is it!
I die-cut a piece of the black flowery pattern paper with a LFSRD and added a thin white mat before gluing both to the Chocolate Brown card base. I dug around in my stamp stash and found 3 different sizes of heart stamps to stamp on the wood slices using the Hero Arts red reactive ink (from the July 2018 MMH kit). If you’re looking for a small heart stamp grab any Simon Says Stamp set you may have and chances are pretty good that there’s a small heart included!!
I turned to my Sillhouette Portrait to print and cut this sentiment using the Brushgyo font. I cut 3 extra shapes to glue together for a chipboard-like feeling for the sentiment and added that to the card front with more foam tape. Those wood slices are thick enough to warrant some extra dimension on the front of this card. I glued those slices down to the card front using my Multi Medium Matte and put some weight on them while they dried. I wasn’t really sure about this card when I glued everything together, but when everything was dry and I took the weight off, I was pleasantly surprised at how attractive this card is! LOVE that pun, and those wood slices are so very unique!
Now I still have 3 stamps from the stamp set still waiting to be used, and I got the fun idea to combine sentiments again for something a little different.
I admit, the “be thankful’ sentiment is useful, but I had no idea how to make the “rainy season” sentiment work. With the simple addition of “for the” between these stamps (Brushgyo font using my Silhouette Software) we have a totally different sentiment! I stamped both sentiments in acorn ink on a scrap of white card stock that had the “for the” already printed on it. I die cut that with a LFSRD and colored the small images with my colored pencils. I stamped the umbrella stamp on both sides of the Sky Blue card base using the Hero Arts Summer Sky ink pad and lightly colored them all with my colored pencils. I grabbed the MFT Mini Cloud Edges Stencil, my Tim Holtz Ink blending brushes and some Distress Oxide Iced Spruce ink to create the cloudy sky on a scrap of my light blue card stock. I did try to create a bit of an ombre effect with the clouds being darker at the bottom and lighter towards the top. I glued the cloud strip to the card front and added two thin strips of the Antique Gold specialty card on either side. I attached the sentiment right in the middle with foam tape and turned to the inside of this card.
YAY! A pop-up rainbow on the inside! It’s been a while since I did a pop-up card for everyone. This one was actually quite simple. I used my Stitched Rainbow die to cut out six rainbows from some scrap card stock in purple, blue, green, yellow, orange and red and glued those together on a piece of blue stationary paper. I trimmed the paper a touch smaller than the rainbow and left tabs longer at both ends. I printed up this sentiment on some white card stock using my Silhouette Software and the Ballerina Script font and used a LFSRD to cut it to size before gluing it down to the inside of the card. I scored and folded the rainbow right in the middle, folded the blue paper tabs back and glued it down to the center of the card just above the sentiment. I arranged the rainbow to fold forward instead of backward so I could attach it to the top portion of the card and it wouldn’t stick out when the card was closed. I like this simple sentiment, and I love the big color pop of the bright rainbow – especially after all these Autumn themed and colored cards. Rainbows are certainly worth a rainy season!
Those are my 10 cards from the Love From Lizi October Card Kit. These may have been a bit of a challenge for me, But I am very pleased with the masculine originality here.
I DID manage to use EVERY SINGLE STAMP from the “Hello Autumn” stamp set, and I also managed to use (at least a little bit) everything included in this kit. Of course I have oodles of extras left over (as is always the case with the LFL kits) and they will find loving homes in my stash. I did try to push the envelope a little bit with this kit and come up with some ideas that might not be readily apparent. I hope this sparks some ideas of your own and encourages you to try to think outside-the-box with your creations! I always appreciate the time you share with me and any comments or questions you may have. Please share this post with anybody who has a serious addiction to all things Autumn, pin me, post me, don’t run with pumpkins (they’re a bad lot), and, as always, I send you and yours heartfelt Autumn blessings and… Happy Crafting!!
Hello Folks! Scott here with my ten cards featuring the Hero Arts My Monthly Hero September 2018 Kit. This is my fifth month with MMH, and for the first time since I started my subscription, I was a little underwhelmed with this kit at first sight.
The stamp set felt a little schizophrenic to me with the clash of the Chinese lantern plants and the maple branches and leaves… It is a full 6″ x 8″ stamp set with 18 matching frame cuts and yet another Window Fancy die and Frame. The translucent sticky tag leaf notes were very interesting – and there’s 30 of them here. To finish out this kit we got a Daniel Smith Watercolor Dot Card and 5 mini brushes. Okay… so I guess we’re water-coloring…!
I figured you can never go wrong if you start a kit with a large window fancy die… so I die cut a piece of my Strathmore 400 Series cold press watercolor paper with the die and went to town on it with those mini brushes and the DS dot watercolors… hmmmmm…..
I have to say I was not impressed at all with those mini brushes… I think they just don’t hold enough water for me, so I ended up putting some really strong pigments on this die cut. But, that’s one of the great things about watercolors… you can keep working them until your paper falls apart!! LOL!!
I was, however, very pleased with the background watercolor using my own brushes and LOTS of water..!! LOL!! I’ve got to remember those DS watercolors are very heavily pigmented (especially the reds!). We did need some distinction between the die cut and the background, so I die cut three pieces of black card stock with the fancy window die (and a Lawn Fawn stitched rectangle die!) and glued them all together to back the watercolor die cut. I stamped the sentiment on the background using VersaFine Onyx black ink and embossed that with some clear embossing powder. That deepens the black and adds a touch of shine!
I glued the background watercolor piece directly to a black card base and glued the stack of die cuts on top of that. I thought some very thin white highlights using my 05 white gel pen would bring a little life to this card and I ended up really liking this! I think it’s very interesting that this window fancy die can be used in virtually any orientation, and this sentiment fits perfectly in the open area. Okay… I’m feeling it a little more…!
I reached for those leaf notes next and my first thought was to take that small maple leaf die and start cutting these great big leaves down to a more manageable card size…!
I was able to line the leaf note veins up with the die very nicely but realized I’d only get one small leaf from every large leaf if I did that, and it seemed kind of wasteful – especially since I knew I wanted a ‘pile’ of leaves on the bottom of this card. So… I die-cut more leaves with no regard to the veins! I cut a piece of my standard Staples Ivory card stock with a LF stitched rectangle die and stamped the sentiment with Acorn Archival Ink and clear embossed it before I arranged the leaves around the sentiment. I used Multi Medium Matte to glue all the leaves down, and was pleased that you can’t see the glue at all! I reached for a piece of dark red Tim Holtz Kraft-Core card stock from the Nostalgic Collection and was going to trim off the leaves at the edge of the ivory card stock and make a thin mat with the red, but I liked the look of the leaves going over the ivory onto the red and just left the red mat full-sized. All is glued down to an Ivory card base and I feel like I could almost jump into this pile of leaves! Happy Autumn indeed!
You should know by now that I love me some puns, and there was one sentiment in this stamp set that I thought I could pun-i-fy up a little bit and that inspired this card.
I knew I wanted to use the bare branch stamp on some Kraft card stock so I stamped three of those with my Acorn ink and used a die template to help me place the die for the most accurate die cut. I just cut the die out of a scrap of card stock and taped that over the stamped image to help line up the die. Worked very well for these branches! I decided to go monochromatic and stamped the vase and saucer the same. I did go in with a white colored pencil to add some highlights to these images and that brought a little life to this still-life arrangement! On an Ivory card base, I used the Mummy Bauxite watercolor dot to brush a light swatch of color across the bottom to anchor my arrangement, and stamped and embossed the sentiment again in the Acorn ink on the card front. I cut a little slit in the edge of the vase and the saucer to slip the ends of the branches into and glued the saucer flat to the card front and used foam tape to mount the vase and branches. Ok… so we’re kind of pushing the pun here, but there is a branch out… yeah? Get it?? LOL! Okay… I’m an easy target! LOL!
So… we have that ‘You are vibrant’ stamp and I thought maybe I could color those Chinese lantern plant stamps in some real vibrant colors if I used my Zigg Clean Color Real Brush markers. I didn’t think the dot card colors were particularly ‘vibrant’.
I did do some research on these plants and colored them all according to pictures I was able to access. I stamped everything with my Onyx Black ink on some Bristol smooth card stock and colored everything with my Zigg markers. I again created a die template to assist in die-cutting these branches and that bulb on the bottom. The vase was simple enough to line up the die without a template. I arranged all three of the branches together and intertwined their leave to make a pleasant arrangement and tucked them all into a slit in the top of the vase. Well! That vase and arrangement filled up the entire card!! So I just stamped the sentiment on a white card front and mounted everything with foam tape. I did add a touch of a shadow under the items with a light gray alcohol marker to help ground the arrangement. I think this is quite vibrant!! LOL!
So that was pretty successful with the lantern plant branches… let’s see what I can do with those skeleton pod stamps and that other bare branch. And that dot stamp…!?
From the plant research that I did, I knew that the dot stamp was the ‘berry’ inside these skeleton pods on the lantern plants. I experimented around a bit … I even tried embossing these on black… but I lost the berry behind the embossing… Finally I arrived at this. I stamped the dot (three times) in SSS Watermelon Hybrid ink on Ivory card stock, and then stamped a darker red (Hero Arts Red Reactive ink from the July ’18 kit) on the bottom left side of the berry. Those small stamp cubes make it pretty easy to ink up only a portion of the stamp for a great shadow and unbeatable dimension. A touch of white gel pen to highlight the top right side of the berries and I think we’re ready to stamp the pod over the top. Creating some dimension on those berries makes all the difference!
I stamped the two flowers, the bud and the branch with Acorn ink on Ivory card stock, colored those with my Zigg markers, and die cut those along with the three pods. I used a die template for the branch but not the other pieces. I married up the flowers with the top branches and the 3 pods with the bottom branches and mounted them all with foam tape to a Kraft card base. I stamped the sentiment using the Red Reactive ink and embossed it with clear powder. I needed something else to help ‘frame’ this card and reached for some dark red card stock and a couple of circle punches from my stash to create this dotted border on the top and bottom of the card front. I think those dots echo the berries very nicely and finish out this design perfectly. And those berries look like they are actually inside those pods! Very cool!
That covers the lantern plant stamps… let’s move along to the maple branches next!
I stamped two branches on Bristol smooth card stock in Acorn Archival ink and went back to the DS watercolors to color the branches and leaves. Had to use my smallest brush since these images are fairly petite..! I did make another die template to assist in die-cutting the branches out. It really helps!
I cut a plain piece of white card stock with a stitched rectangle die and stamped the ‘thankful’ stamp (in Acorn) just above the center of the card and went to my Silhouette software to add the ‘I am so … for you’ (Lucida Grande font) around the stamp. I love how this came out. Once I ran the front panel through my printer, I went back and embossed the ‘thankful’ with VersaMark ink and clear embossing powder over the Acorn Archival ink. I matted the card front on a thicker orange and thinner kraft card stock and then down to a white card base. I used foam tape to mount the branches and Voila! a really lovely autumnal thank you card! I felt like had better control of the DS watercolors, and was a little more familiar with the colors by now, and am very pleased with the result!
A few months ago, Gina K. came out with a Stencil Builder Template which is a very simple yet effective concept. Naturally, I had to make a homemade template for myself and have played around with it a little bit. You really need smallish stamps to make an effective wreath (of course Gina K. has lots of ‘wreath builder’ stamp sets available!) I haven’t used the single maple leaf stamp yet, and wreaths are certainly appropriate for the season, so I thought that perhaps the maple leaf stamp might make a good autumnal wreath!
There you go! My first wreath card! I stamped the maple leaf on Bristol smooth card stock with Acorn Archival ink four times with the stamp in one direction, and then four times with the stamp in the other direction. I thought this was much better than having the stamps all facing the same direction around the wreath. I dug out this three little dots stamp from the Simon Says Stamp ‘Kind Flowers’ stamp set to add a little detail in the larger gaps and colored everything with the DS watercolor dot card. I stamped the sentiment in Acorn ink again in the center of the wreath, and I added some Morning Dew Nuvo Crystal Drops to the dots for a touch of shine and a little dimension. After coloring everything, I die cut the front panel with a stitched rectangle die. And what does every nice wreath call for? A bow!! Instead of adding a bow to the wreath itself, I used both pieces of ribbon from the kit to ‘wrap’ a nice double-bow around the bottom of the card front and matted that on some core-dination Auburn Pearl card stock and then to a white card base. Perfect touch! As I add additional small stamps to my stash, I will play with that wreath template some more! I really like this sentiment paired up with a maple leaf wreath!
Now I’ve used the maple leaf stamp and the maple leaf die but I haven’t used them together! The bare branch stamp (card #3) seemed out of scale with the maple leaf so I reached for the other bare branch stamp (card #5) to use with the maple leaf stamp.
I stamped six of the maple leaves and one branch on Bristol smooth card stock with Acorn ink and colored them all with the DS watercolors and die cut them with the included dies (using a template for the branch but not the leaves). I die cut a plain piece of white card stock with a stitched rectangle die and went to my Silhouette software to create this sentiment using the Black Jack font and the Lucida Grande font. I printed that sentiment in brown and added a wide yellow mat and a thin core-dination Auburn Pearl mat before gluing the whole piece to a white card base. I glued the leaves to the branches (except one!) and mounted all to the card front with foam tape. Now here we have another simple seasonal mild pun to add to our batch this month. I really like how that branch stamp looks totally different on this card than it does on card #5.
I think I have just about exhausted the maple leaves in this kit now, and have two more stamps to use before I can claim to have ‘used every stamp’ in this stamp set.
This card tickles me more that it probably should…! I grabbed the simple branch with leaves stamp for this card, and stamped it directly on a plain white card base 3.5 times…! Using my stamp platform, I stamped the first three branches in Acorn ink and then masked off the leaf portion and just stamped the ‘stem’ of the branch for the fourth branch (just to get placement correct). I stamped the whole stamp on a piece of scrap card stock and, using my light table, traced the rest of the branch onto the card front with my Brown Pigma Micron pen. This might be considered a little bit of an inside joke to the stampers out there, but I love that the leaves ‘disappear’ on that last stamp! This sentiment is from Ecclesiastes 3:1 (very familiar to most!) which I created on my Silhouette software using the Black Jack and the Modern #20 fonts and printed that up in brown. Very simple coloring on the leaves using the DS watercolors (those are some TINY leaves!) and a touch of white gel pen on the naked branch for the suggestion of snow, and that’s all the coloring we need! A couple of strips cut from a dark brown piece of that Tim Holtz Kraft-Core card stock anchors the image and finishes off this card very nicely. This still makes me giggle… so simple but very effective!
I still have to use that last branch stamp with ‘berries’ on it, and while I was playing with the Chinese lantern plants, I decided I wanted to try and stamp out a bonsai tree.
LOL! Oh, YES! I am quoting Yoda on the front of this card! LOL! If this groovy bonsai tree wasn’t enough, this sentiment is!! LOL!
On a stitched rectangle die-cut panel of Bristol smooth card stock, I began by masking the left half of the saucer stamp (stamping the right side with Acorn ink) and then masking the right side of the saucer stamp (stamping the left side with Acorn ink) to make this saucer appreciably smaller for this tree. Then I stamped the berry branch 3 times for the main branches and then masked off the bottom portion of the stamp for the shorter fourth branch. This stamp was flexible enough to allow me to bend it around into different shapes using my stamp platform.
I colored in a ‘dirt’ mound in the saucer (and thickened up the bottom of the trunk) with my Brown Micron Pen, and used the watercolor dot card to color in the berries and the saucer. I realized most bonsai seem to be planted in a mossy substrate so I took my #10 white gel pen and added lots of white dots to the mound. I let the gel pen dry and then went over that with some of my green Zig markers. Very ‘mossy’! For the final touch on this tree, I added tiny leaves to the end of every empty branch (and a couple extra spots) with the tip of the green Zig marker. I drew a light shadow under the saucer with an alcohol marker, and along with the touches of green, this bonsai tree is complete!
I used my Silhouette software to print this sentiment in browns using the Lucid Grande font again, and matted the card on more of that Tim Holtz Kraft-Core dark brown card stock and glued both down to a Kraft-Core dark red card base. Of course I couldn’t leave well enough alone and had to add a real honest-to-goodness pun on the inside of this card. ‘You are treemendous’ is the perfect compliment to the ‘Size matters not’ Yoda quote on the front, and I am still laughing…! Something about the juxtaposition of the quite formal bonsai tree contrasting with the Yoda quote, feels delightfully silly to me. This is a card I can actually see myself giving to someone! If you can’t tell, I love this card!! LOL!!
A couple of times, I was worried that I wouldn’t be able to come up with 10 unique cards using this kit, but I persevered, and ultimately, I quite enjoy every one!
That’s my 10 cards from the MMH September 2018 Kit, and I am so pleased to say that I was able to use every single stamp in this stamp set!! WOO-HOO! LOL!!! I find it very interesting that these kits seem to inspire different styles of cards from me each month. These cards feel almost nothing like my August coffee cards… very interesting! The basic simplicity of a lot of these cards really highlights the coloring and the compositions. I think this a great variety of truly lovely cards, and I am thrilled that I was even able to work in few puns this month (minor though some be)! LOL!!
Thank you so much for sharing your time with me here. I hope I was able to provide you with some smiles and maybe a useful tip or two. Please share this post with anyone who might be interested, feel free to toss me around to your friends and crafting buds on social media, remember, don’t run with scissors, and HAPPY AUTUMNAL CRAFTING!!

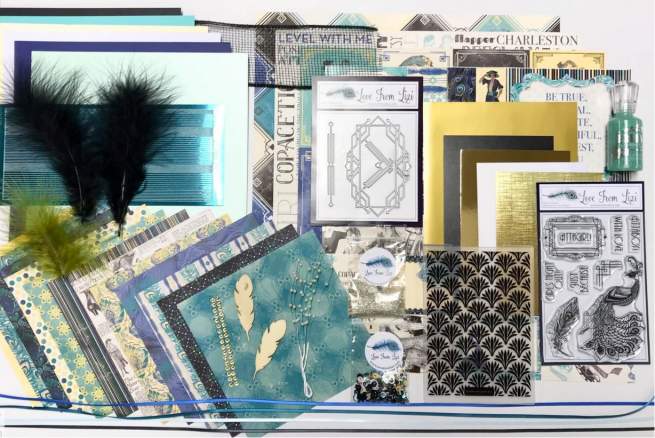
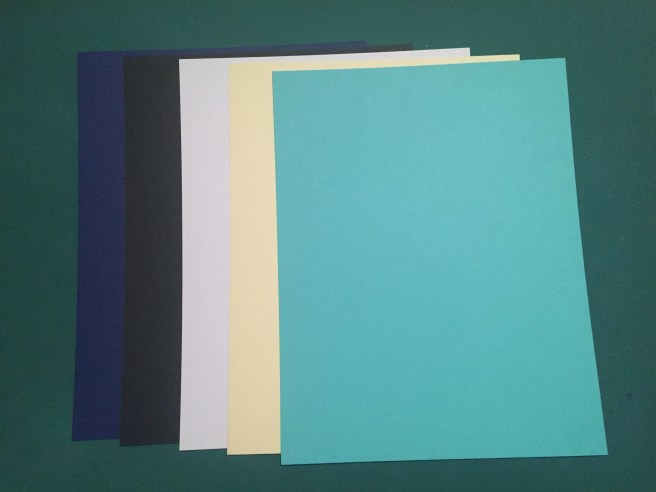

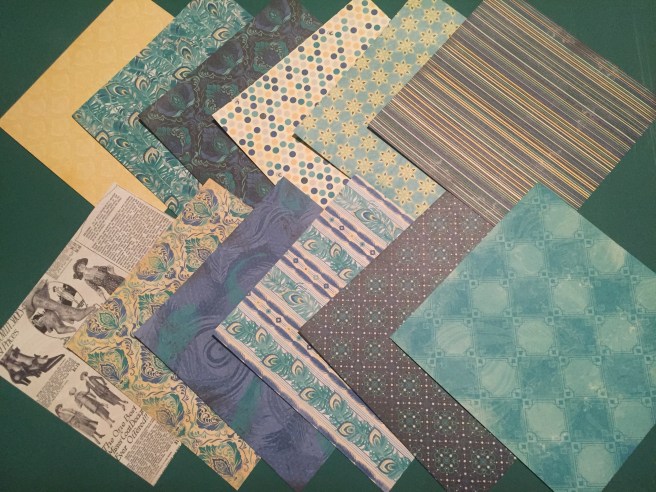
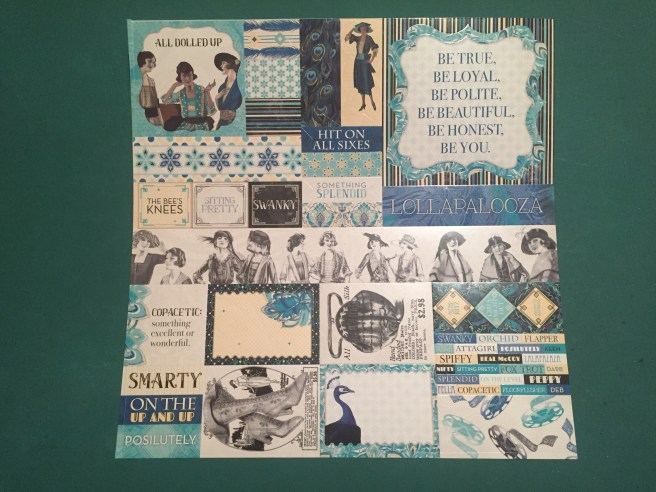
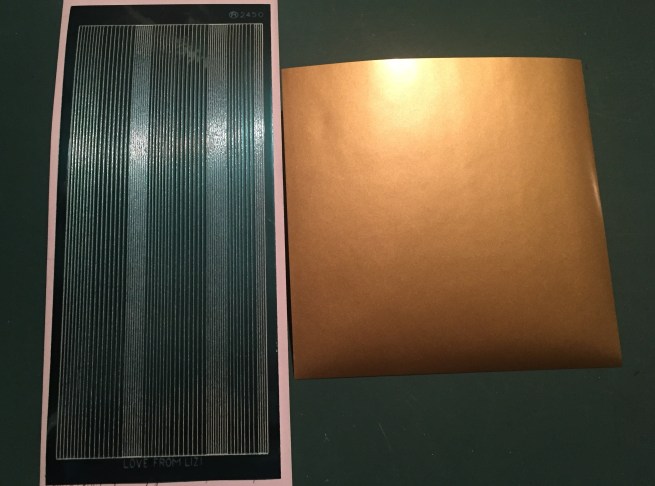

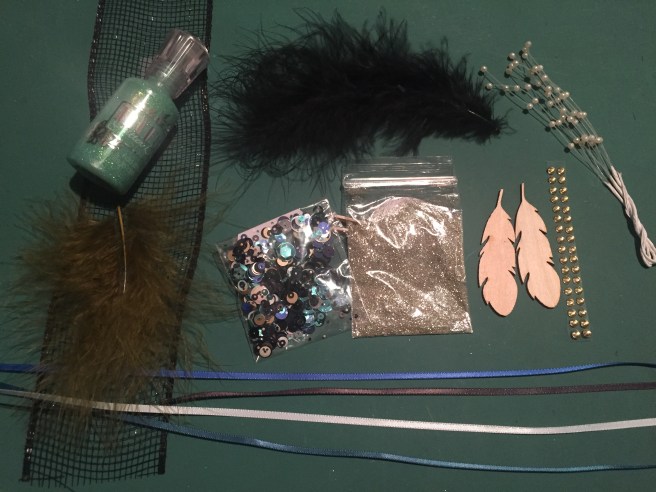

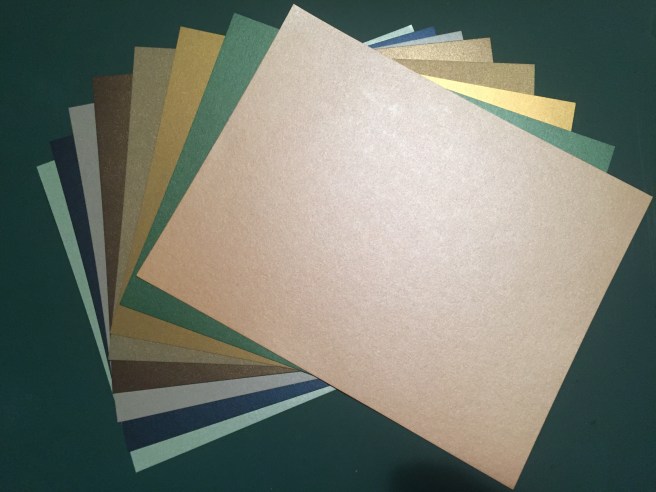


 I was really itching to put together this storefront, and was a little surprised at how large it actually is! Perfect focal point! As I did with the cafe fancy die in August, I found a ‘plant shop interior’ picture on-line, and sized it to scale with the shop before printing it out on plain paper. I glued a piece of acetate behind the window cut out, and added the second awning by gluing the top edge directly to the die cut and then adding foam squares to the bottom scallops. That gives us some great dimension on that awning as well a a place to ‘attach’ the hanging plants.
 That’s a nice valentine pun that actually could be a shop name! I did also stamp “happy valentine’s day” from the stamp set on the inside writing surface to round out the sentiment on the front!


 Just enough color to add a little interest while still preserving the ‘retro’ feel of the image. I added some dots of the Pink Glimmer lacquer along with a few pink crystals and one sequin for a little sparkle and dimension. I did add another valentine sentiment on the inside writing surface of this card and I am over-the-moon thrilled with this shaped wreath! I am going to have to try stamping this again on white card stock and actually try coloring ALL of the flower images… There’s a challenge for ya!

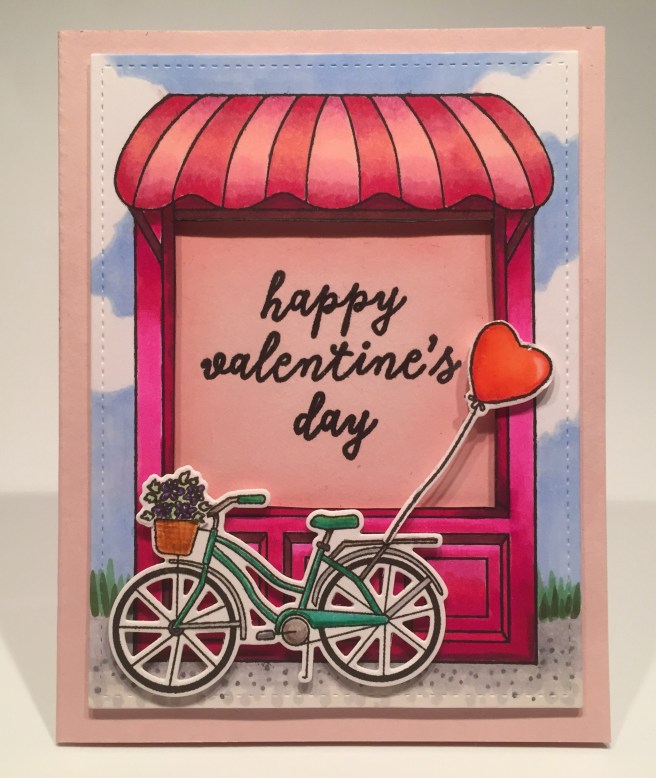
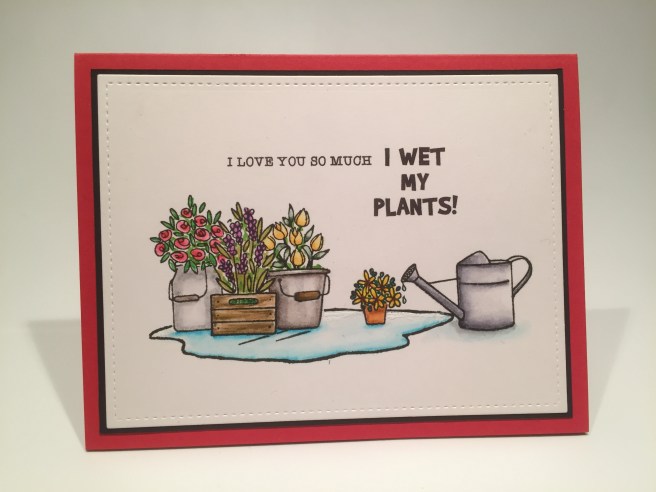
 I printed this sentiment directly on the card stock using my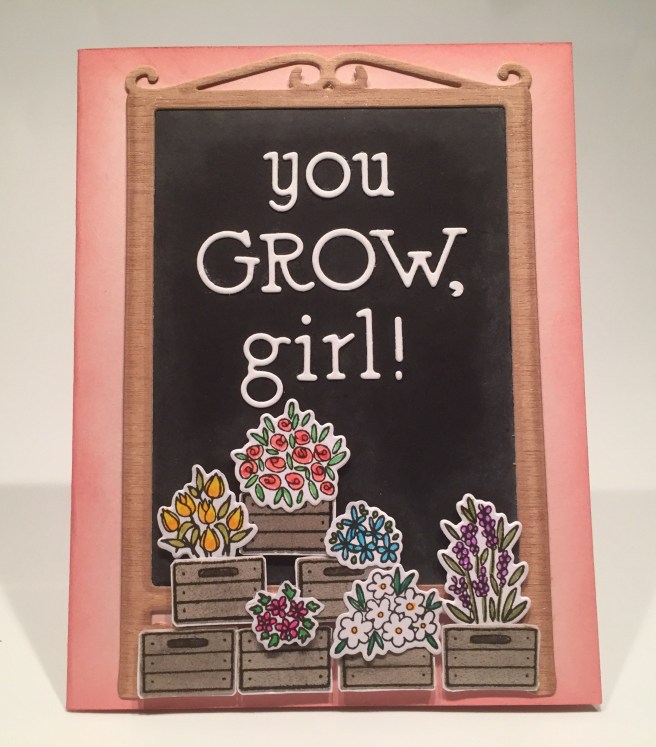


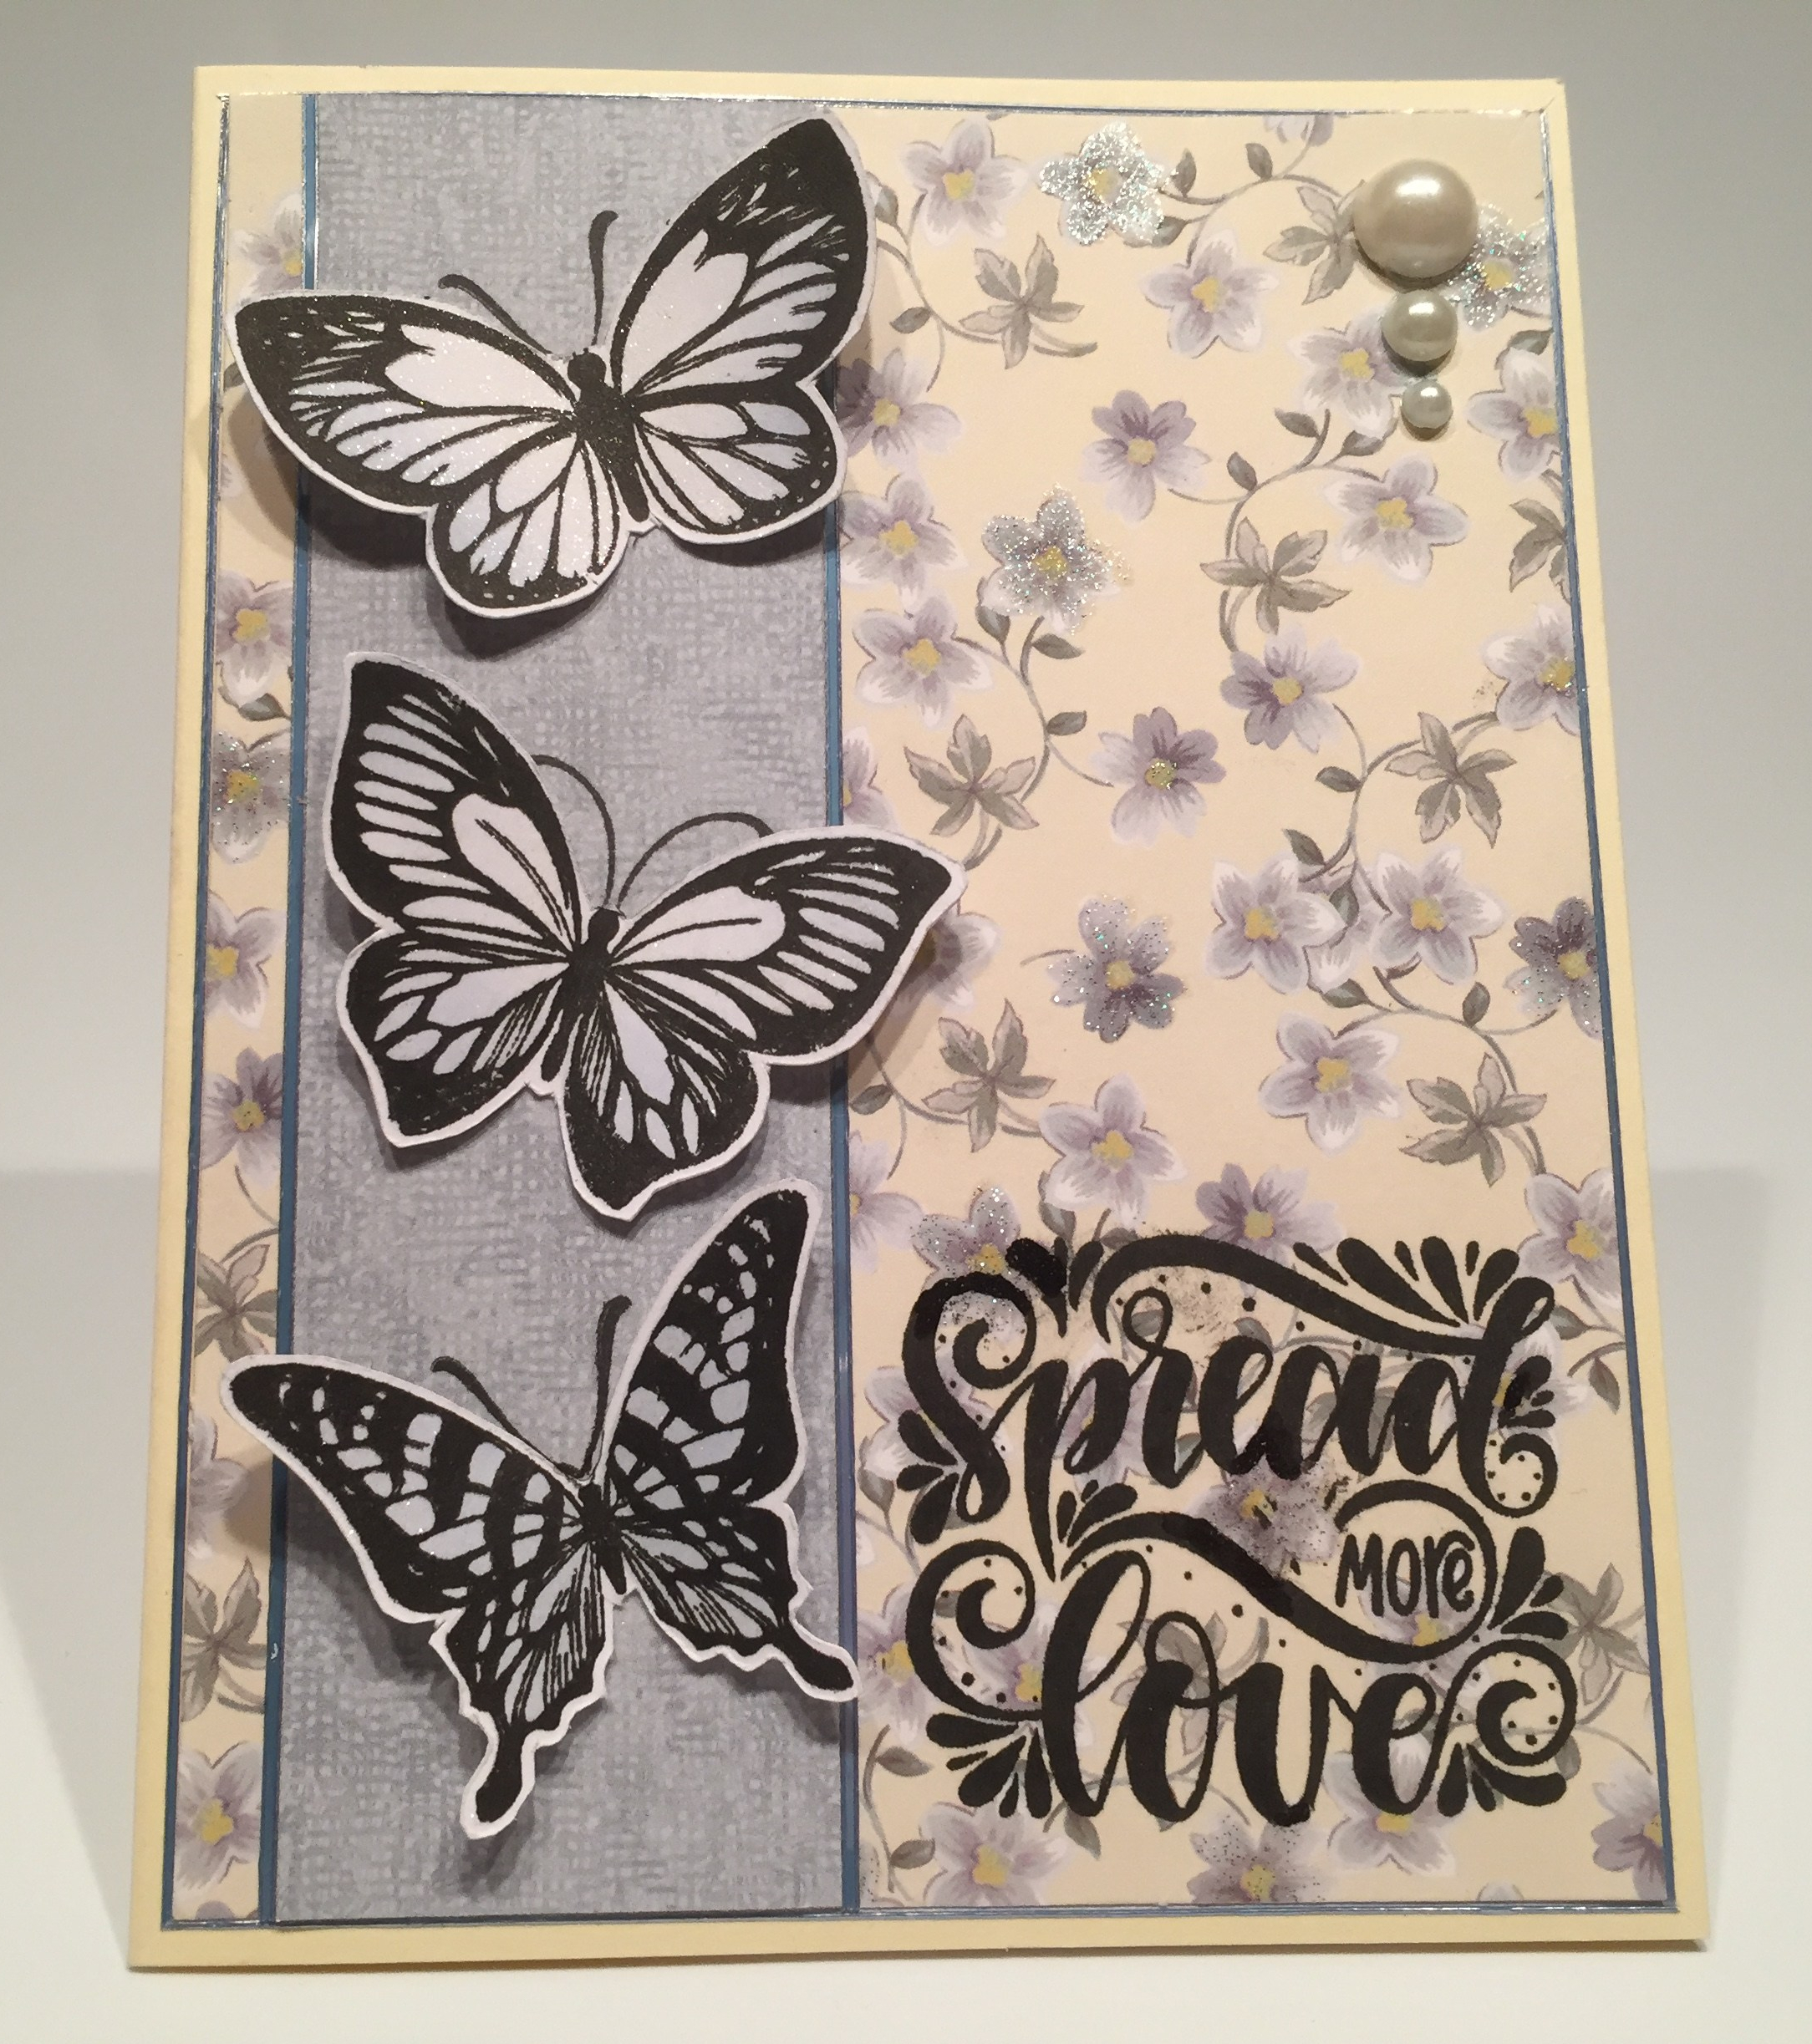


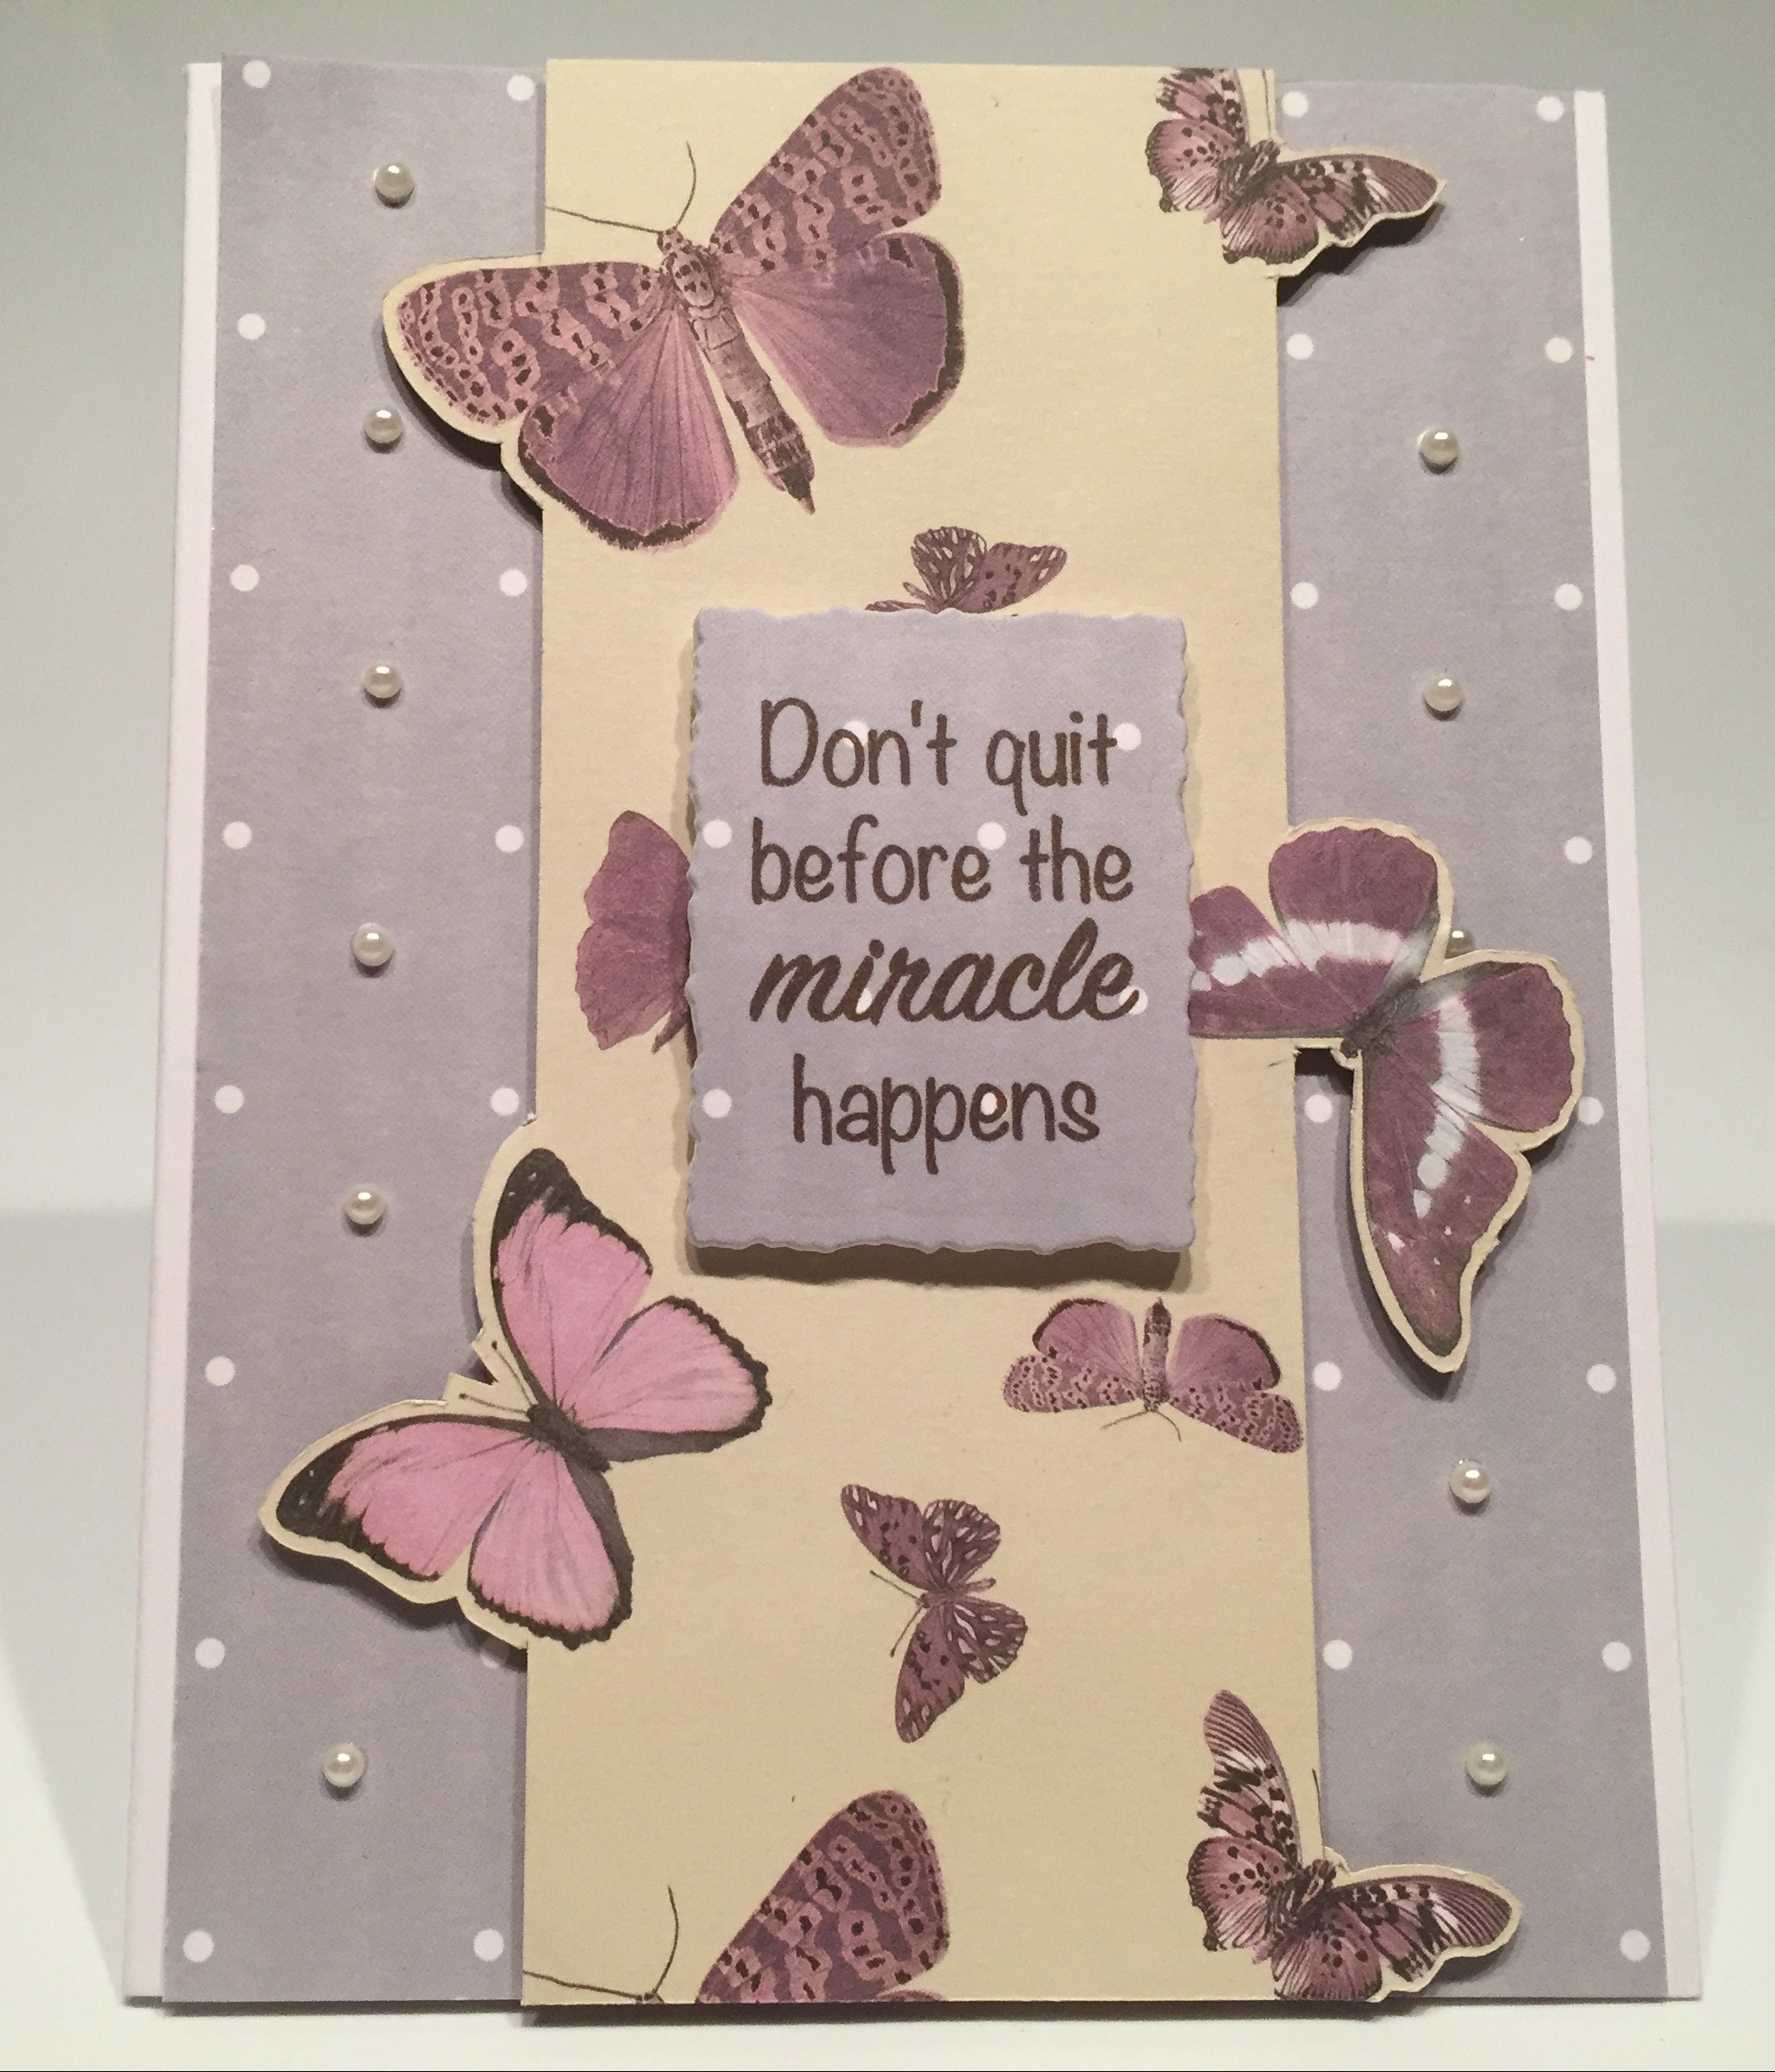


 I took a 4.25″ x 5.5″ piece of the green textured card stock and traced the stencil of this butterfly on the center top and used my craft knife to cut it out. I did the same with a piece of black card stock matching the opening and edges. I stamped the butterfly on a piece of vellum (two or three times) using StazOn ink to get as dark a stamping as possible (I don’t have any black embossing powder). I did stamp and clear emboss one of the butterfly bodies on the pattern paper between the wings and made the body a little longer so the antennae would really show up. I used my Silhouette software again to print “light up my life” in the
  I grew to really like the stamps and stencil in this kit as I worked with them, and am quite pleased with the variety of cards I managed to pull together. I did use all of the stamps in the stamp set (minus a couple bodies) and I believe I used a little bit of everything in our embellishments bag. I think the ‘with love” die was the only item I didn’t use on these 10 cards! Of course I have bunches of everything left over – five full sheets of the specialty pattern papers but only two full sheets of the double-sided pattern papers – that means I used pieces from 9 different pattern papers. It’s always the best feeling to finish up a batch of cards and then realize that you have enough left over to make a whole new batch! Of course, I file everything away in my stash for use whenever and wherever the spirit strikes me!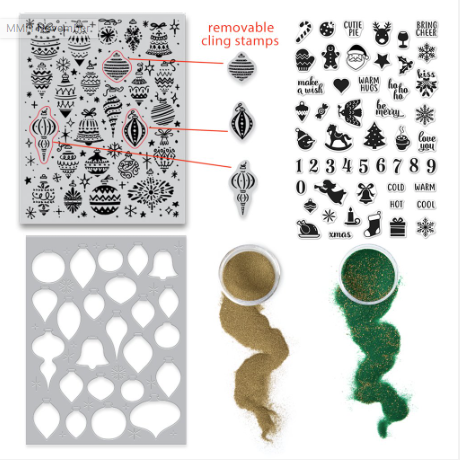
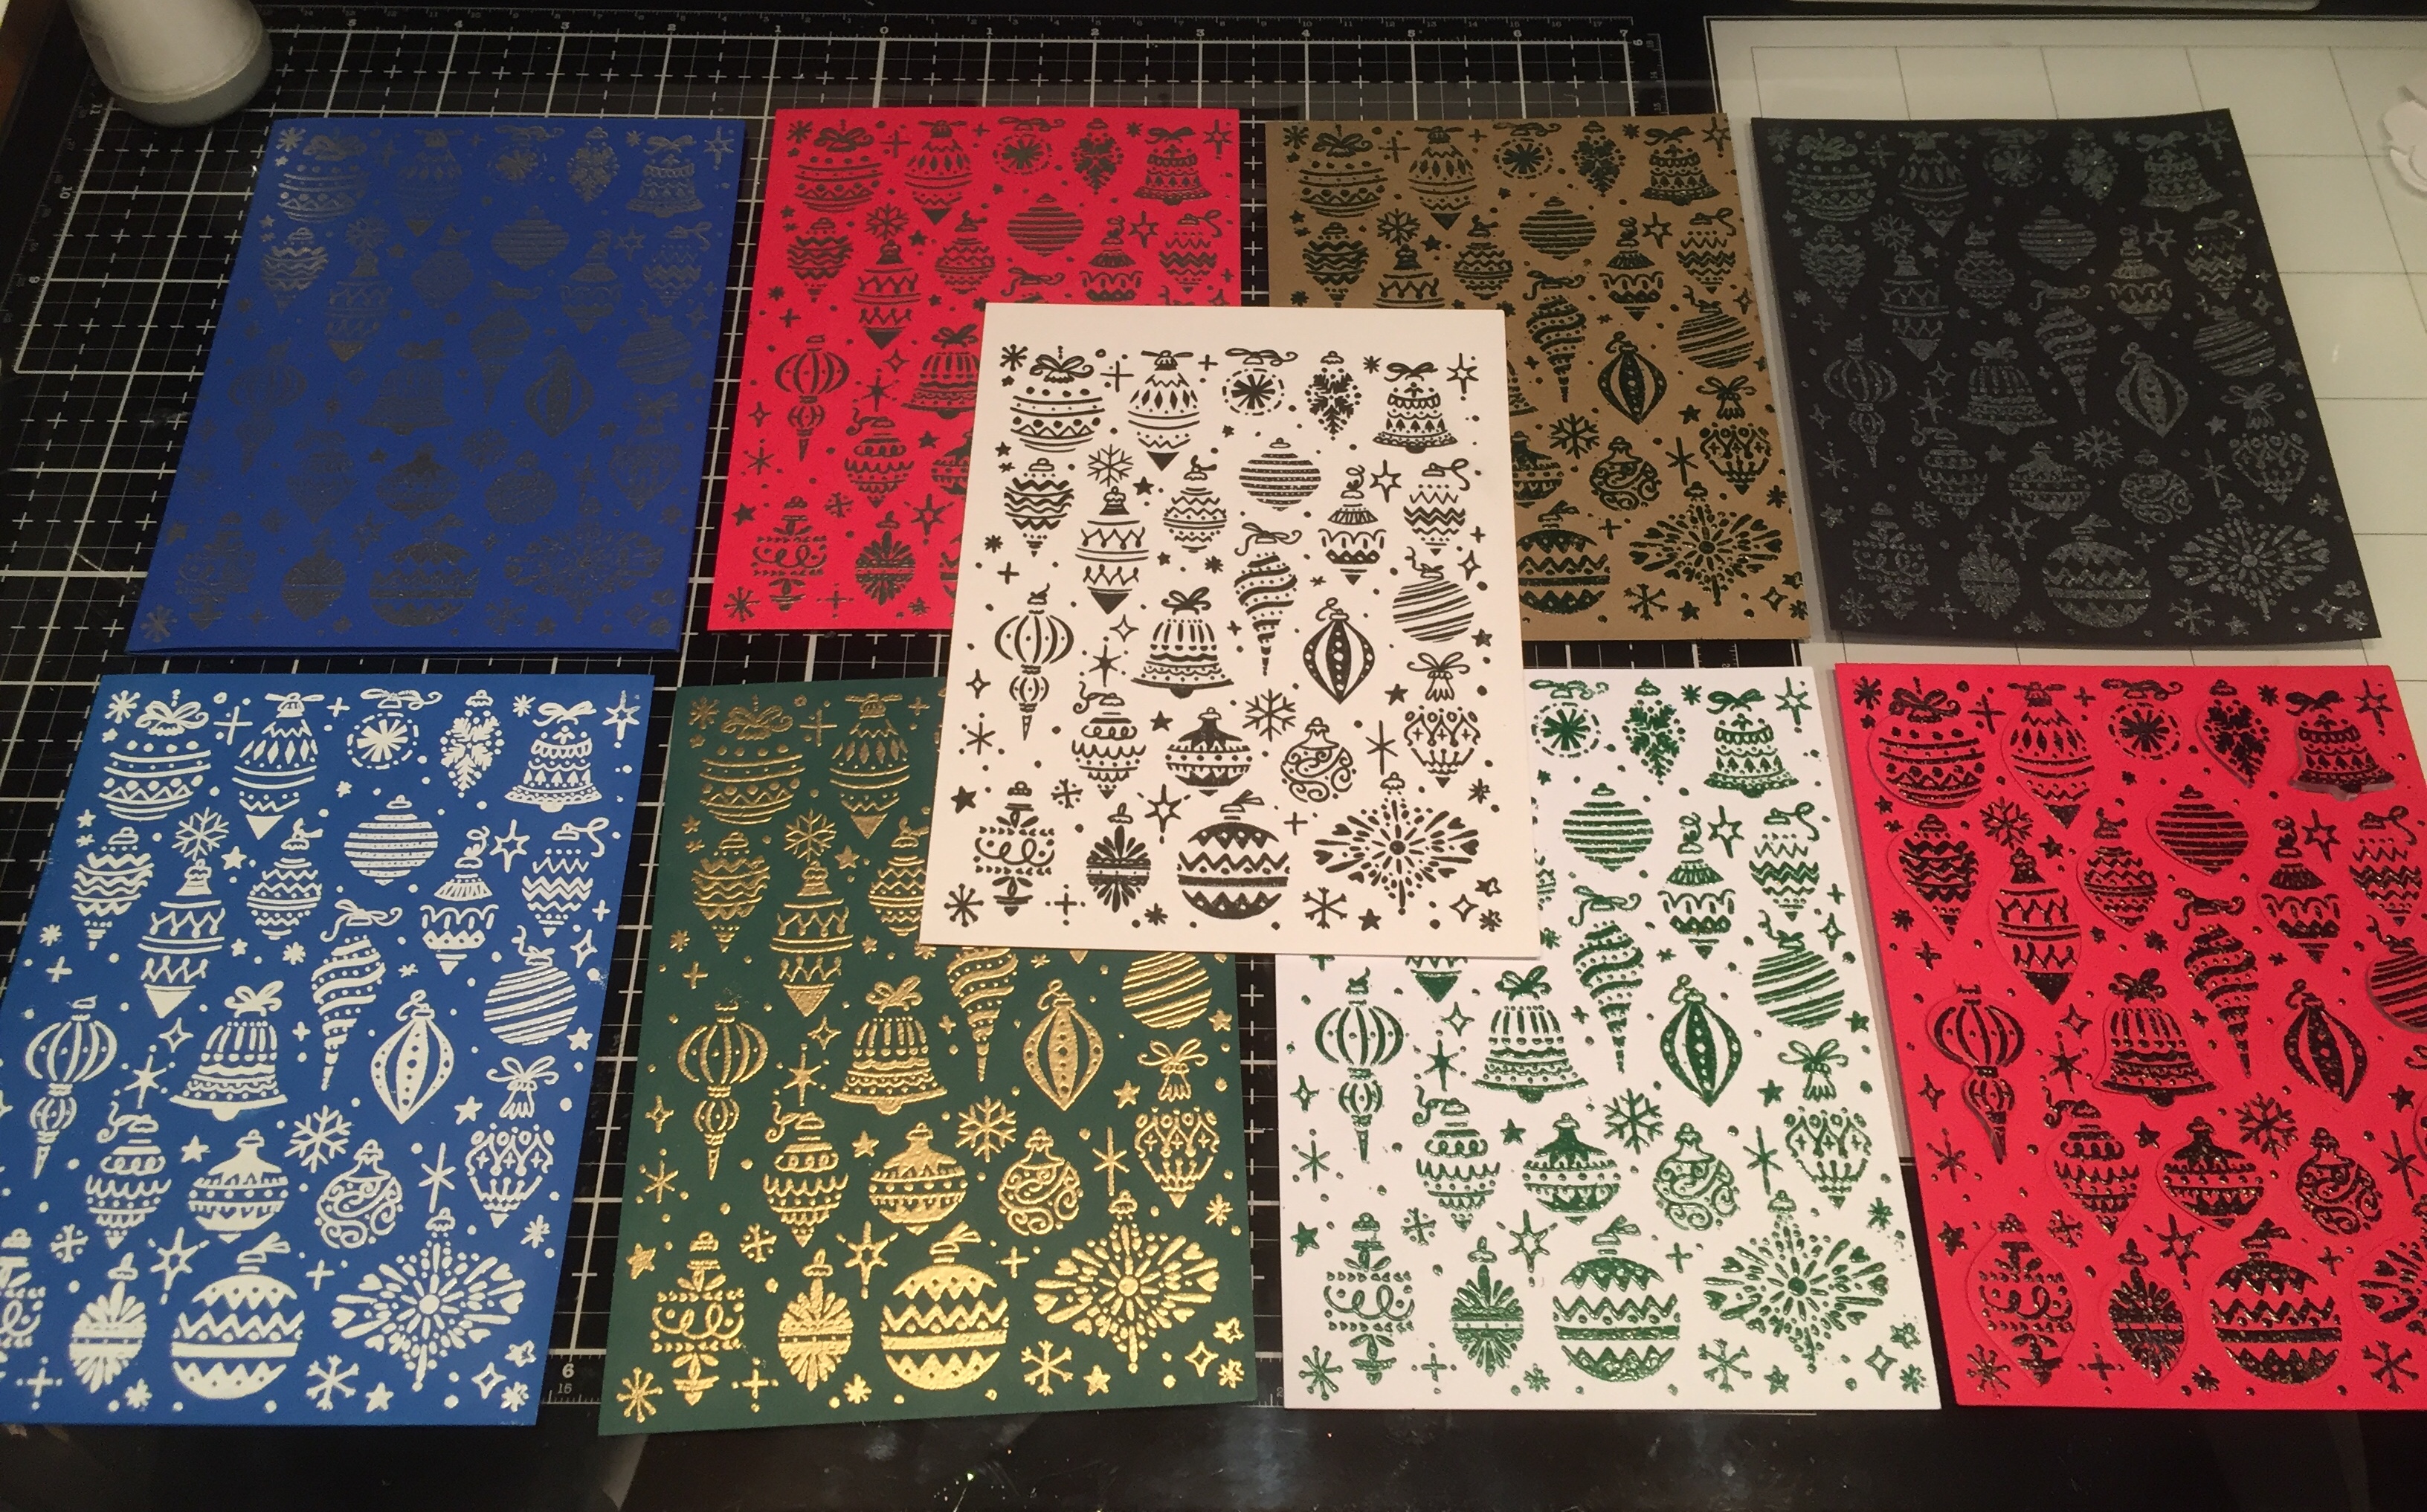
 I though I could stop the shedding by spraying a fixative over the top but, seeing as how the fixative was matte, it pretty much destroyed that whole piece! Live and Learn!!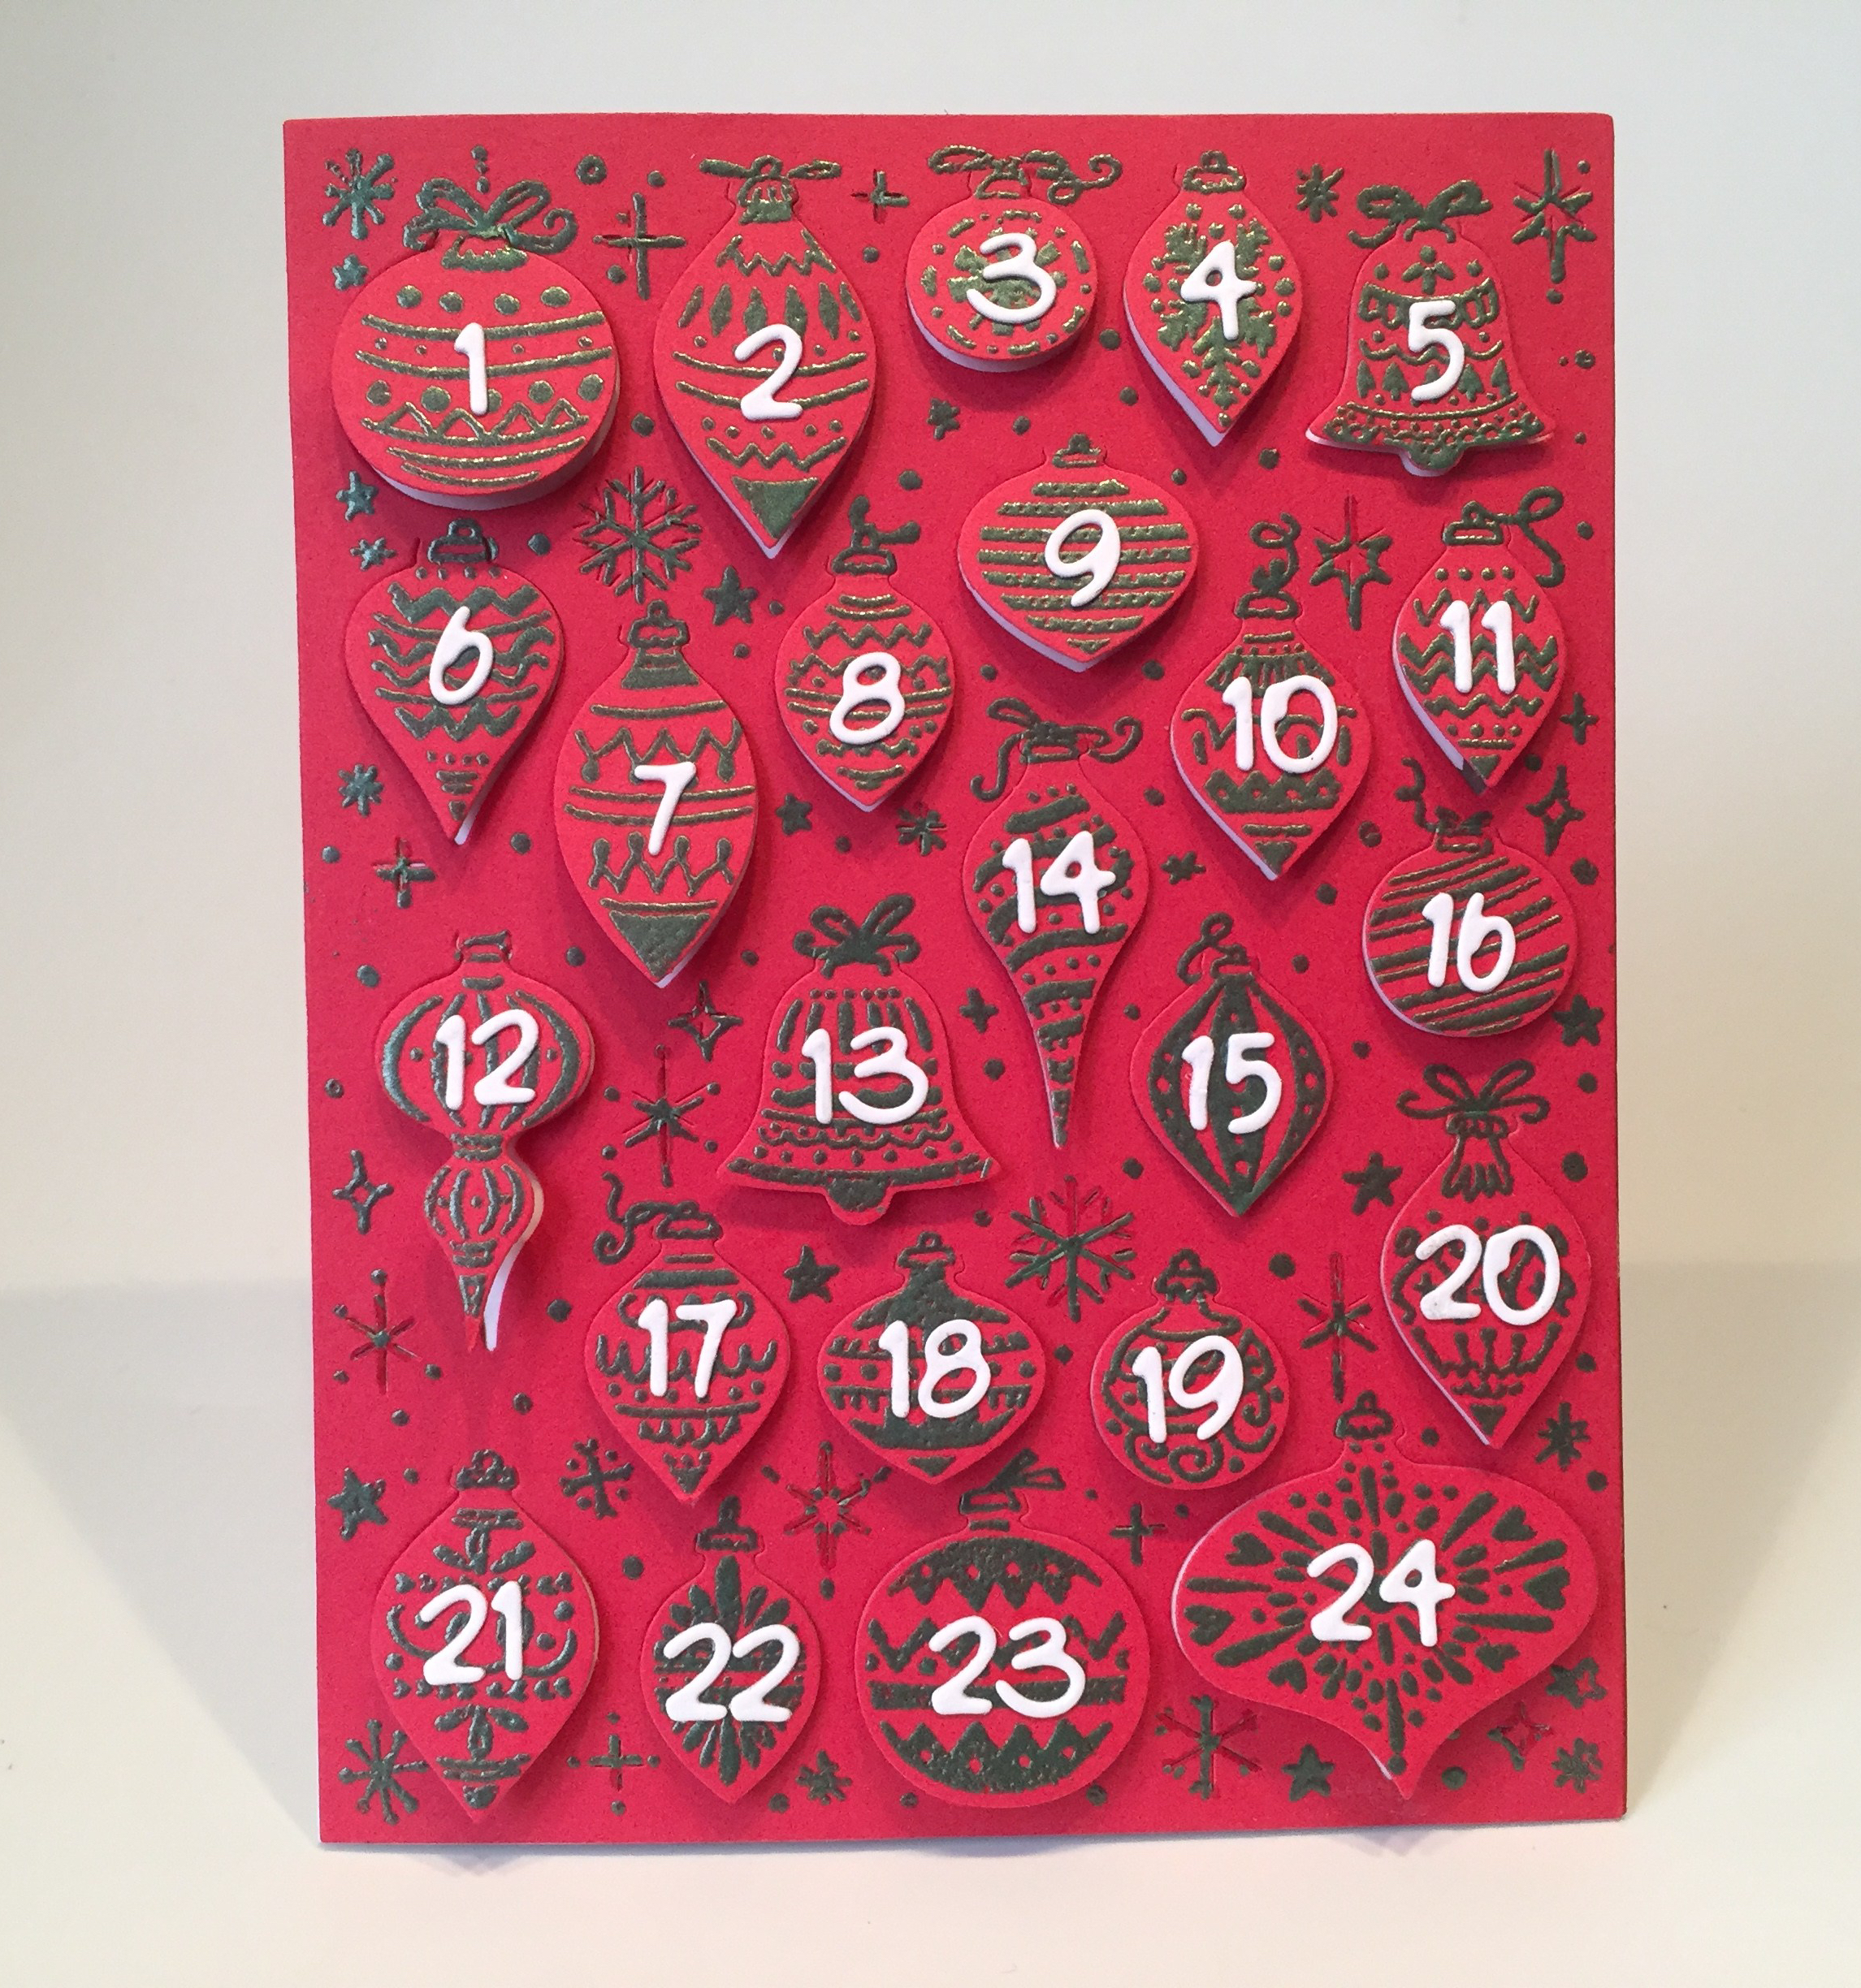
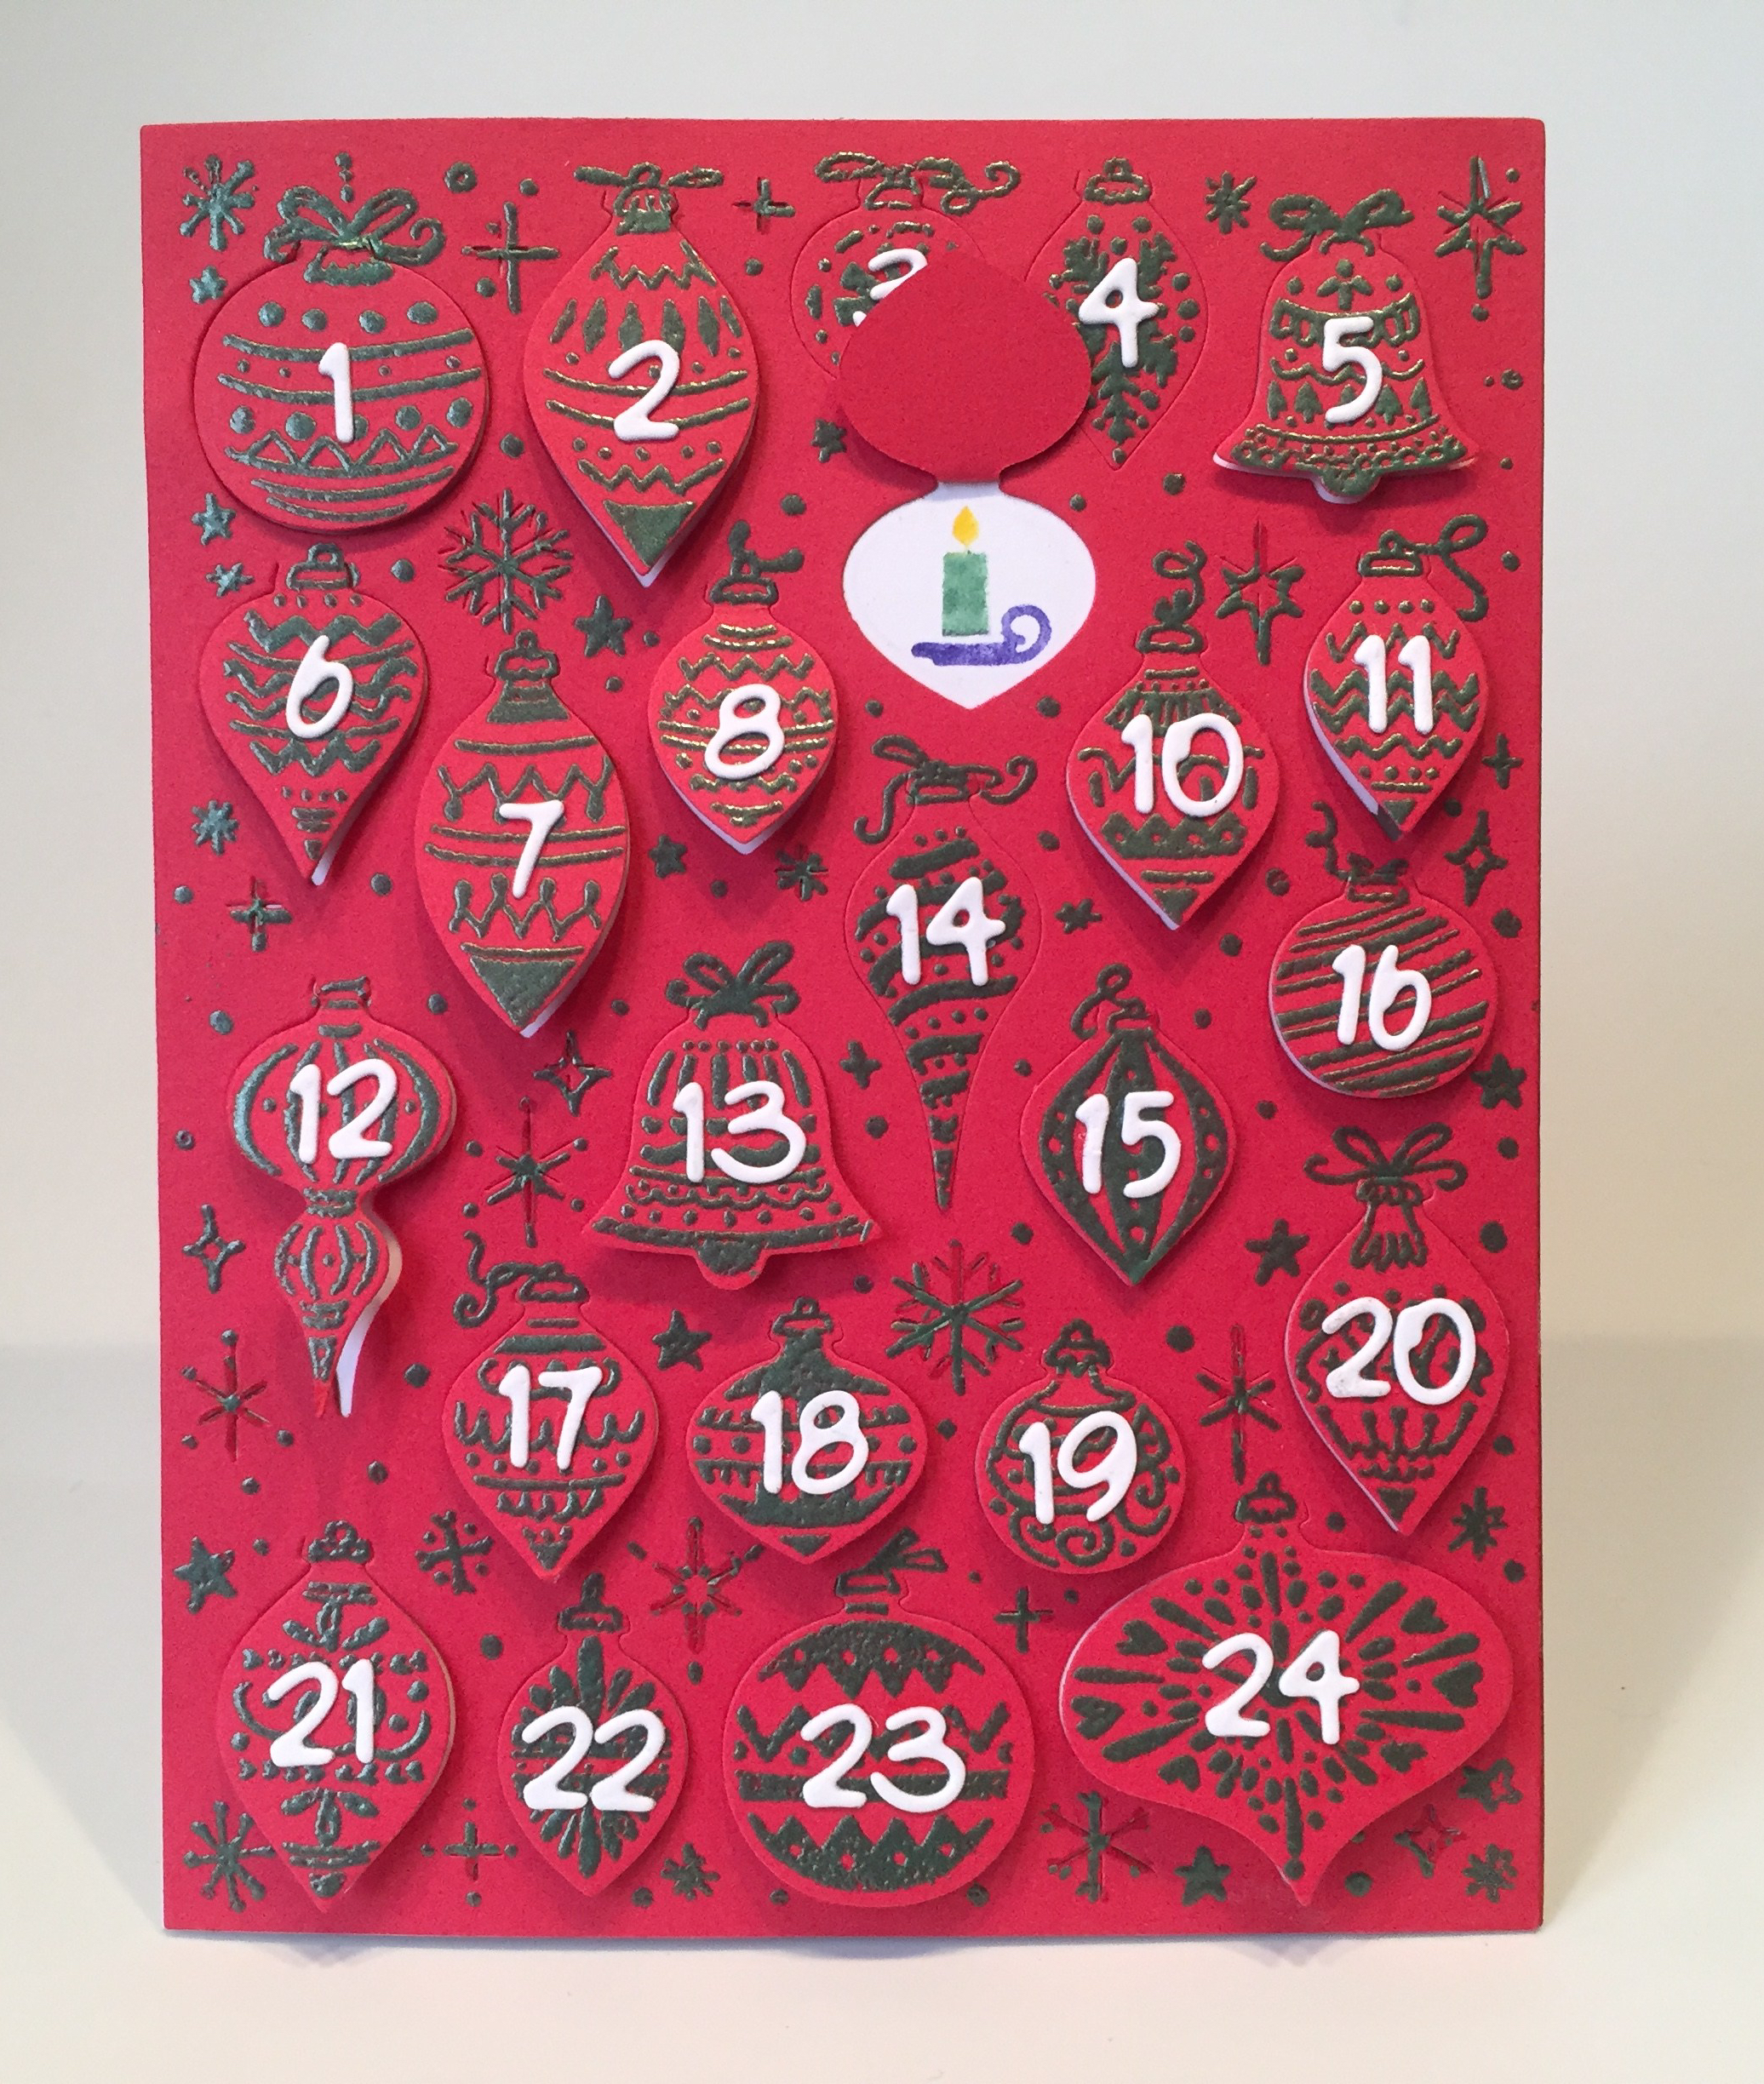
 I was able to use my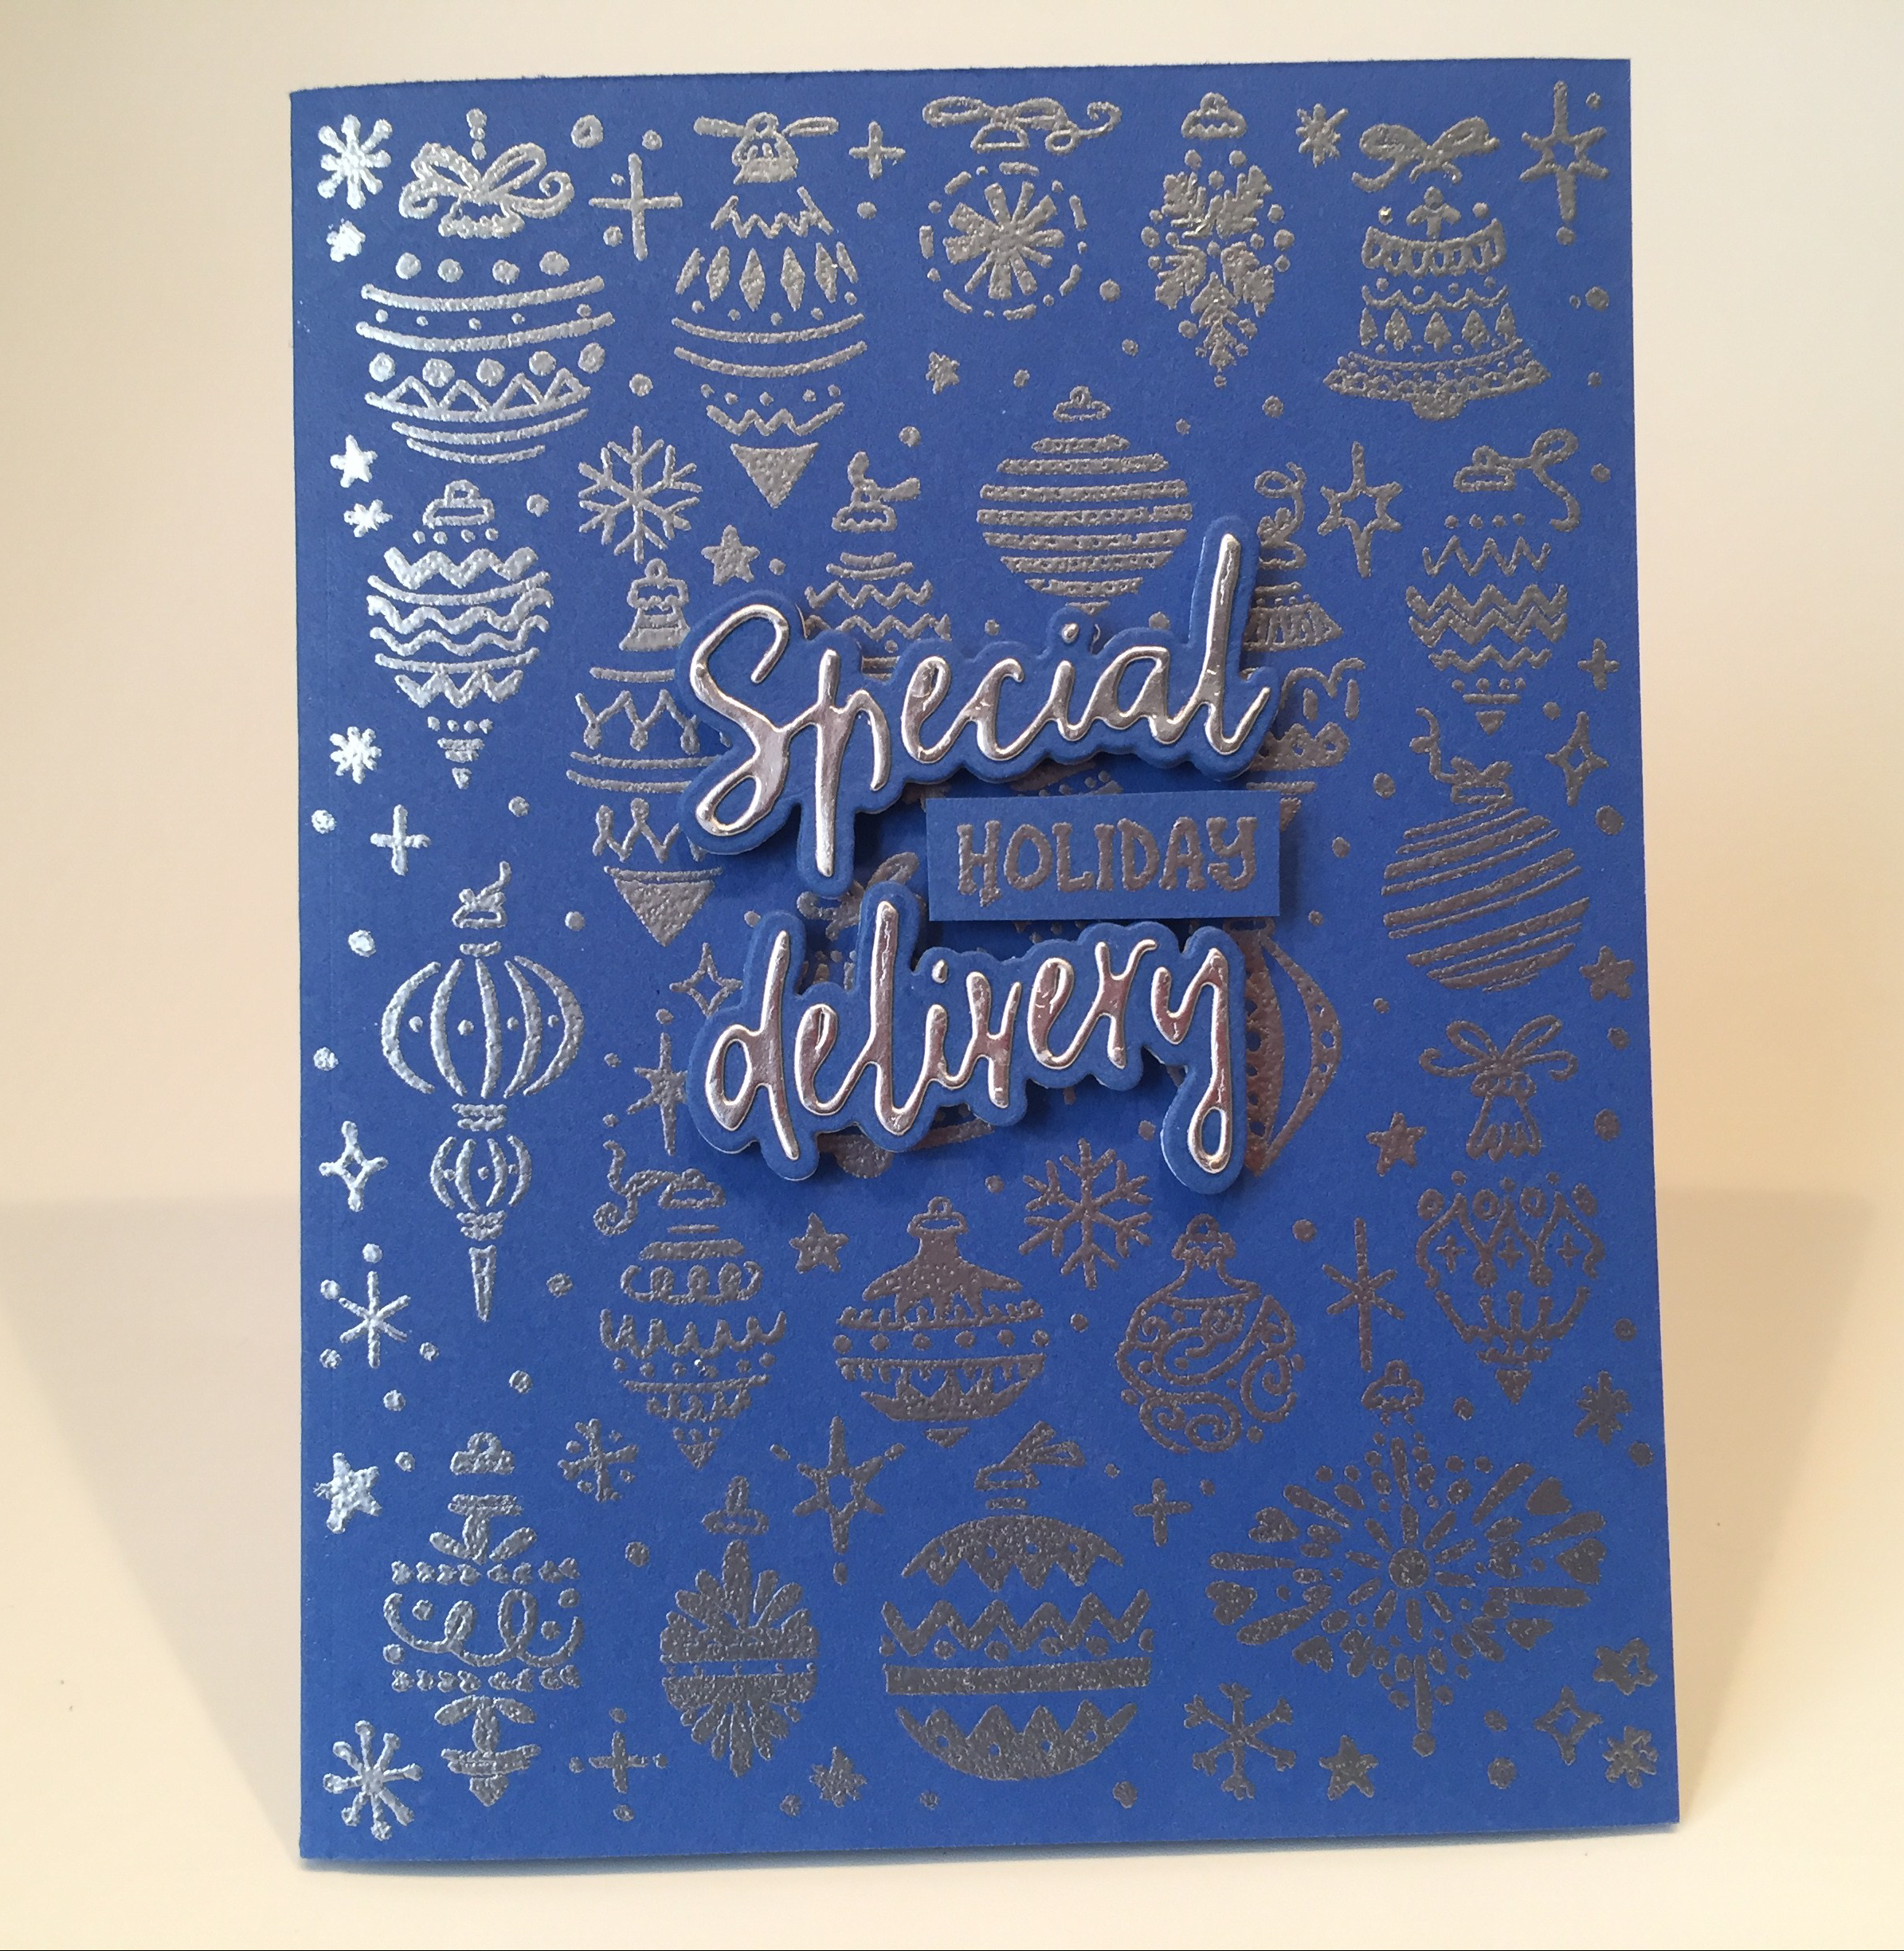
 together for a little chunky dimension. All the pieces are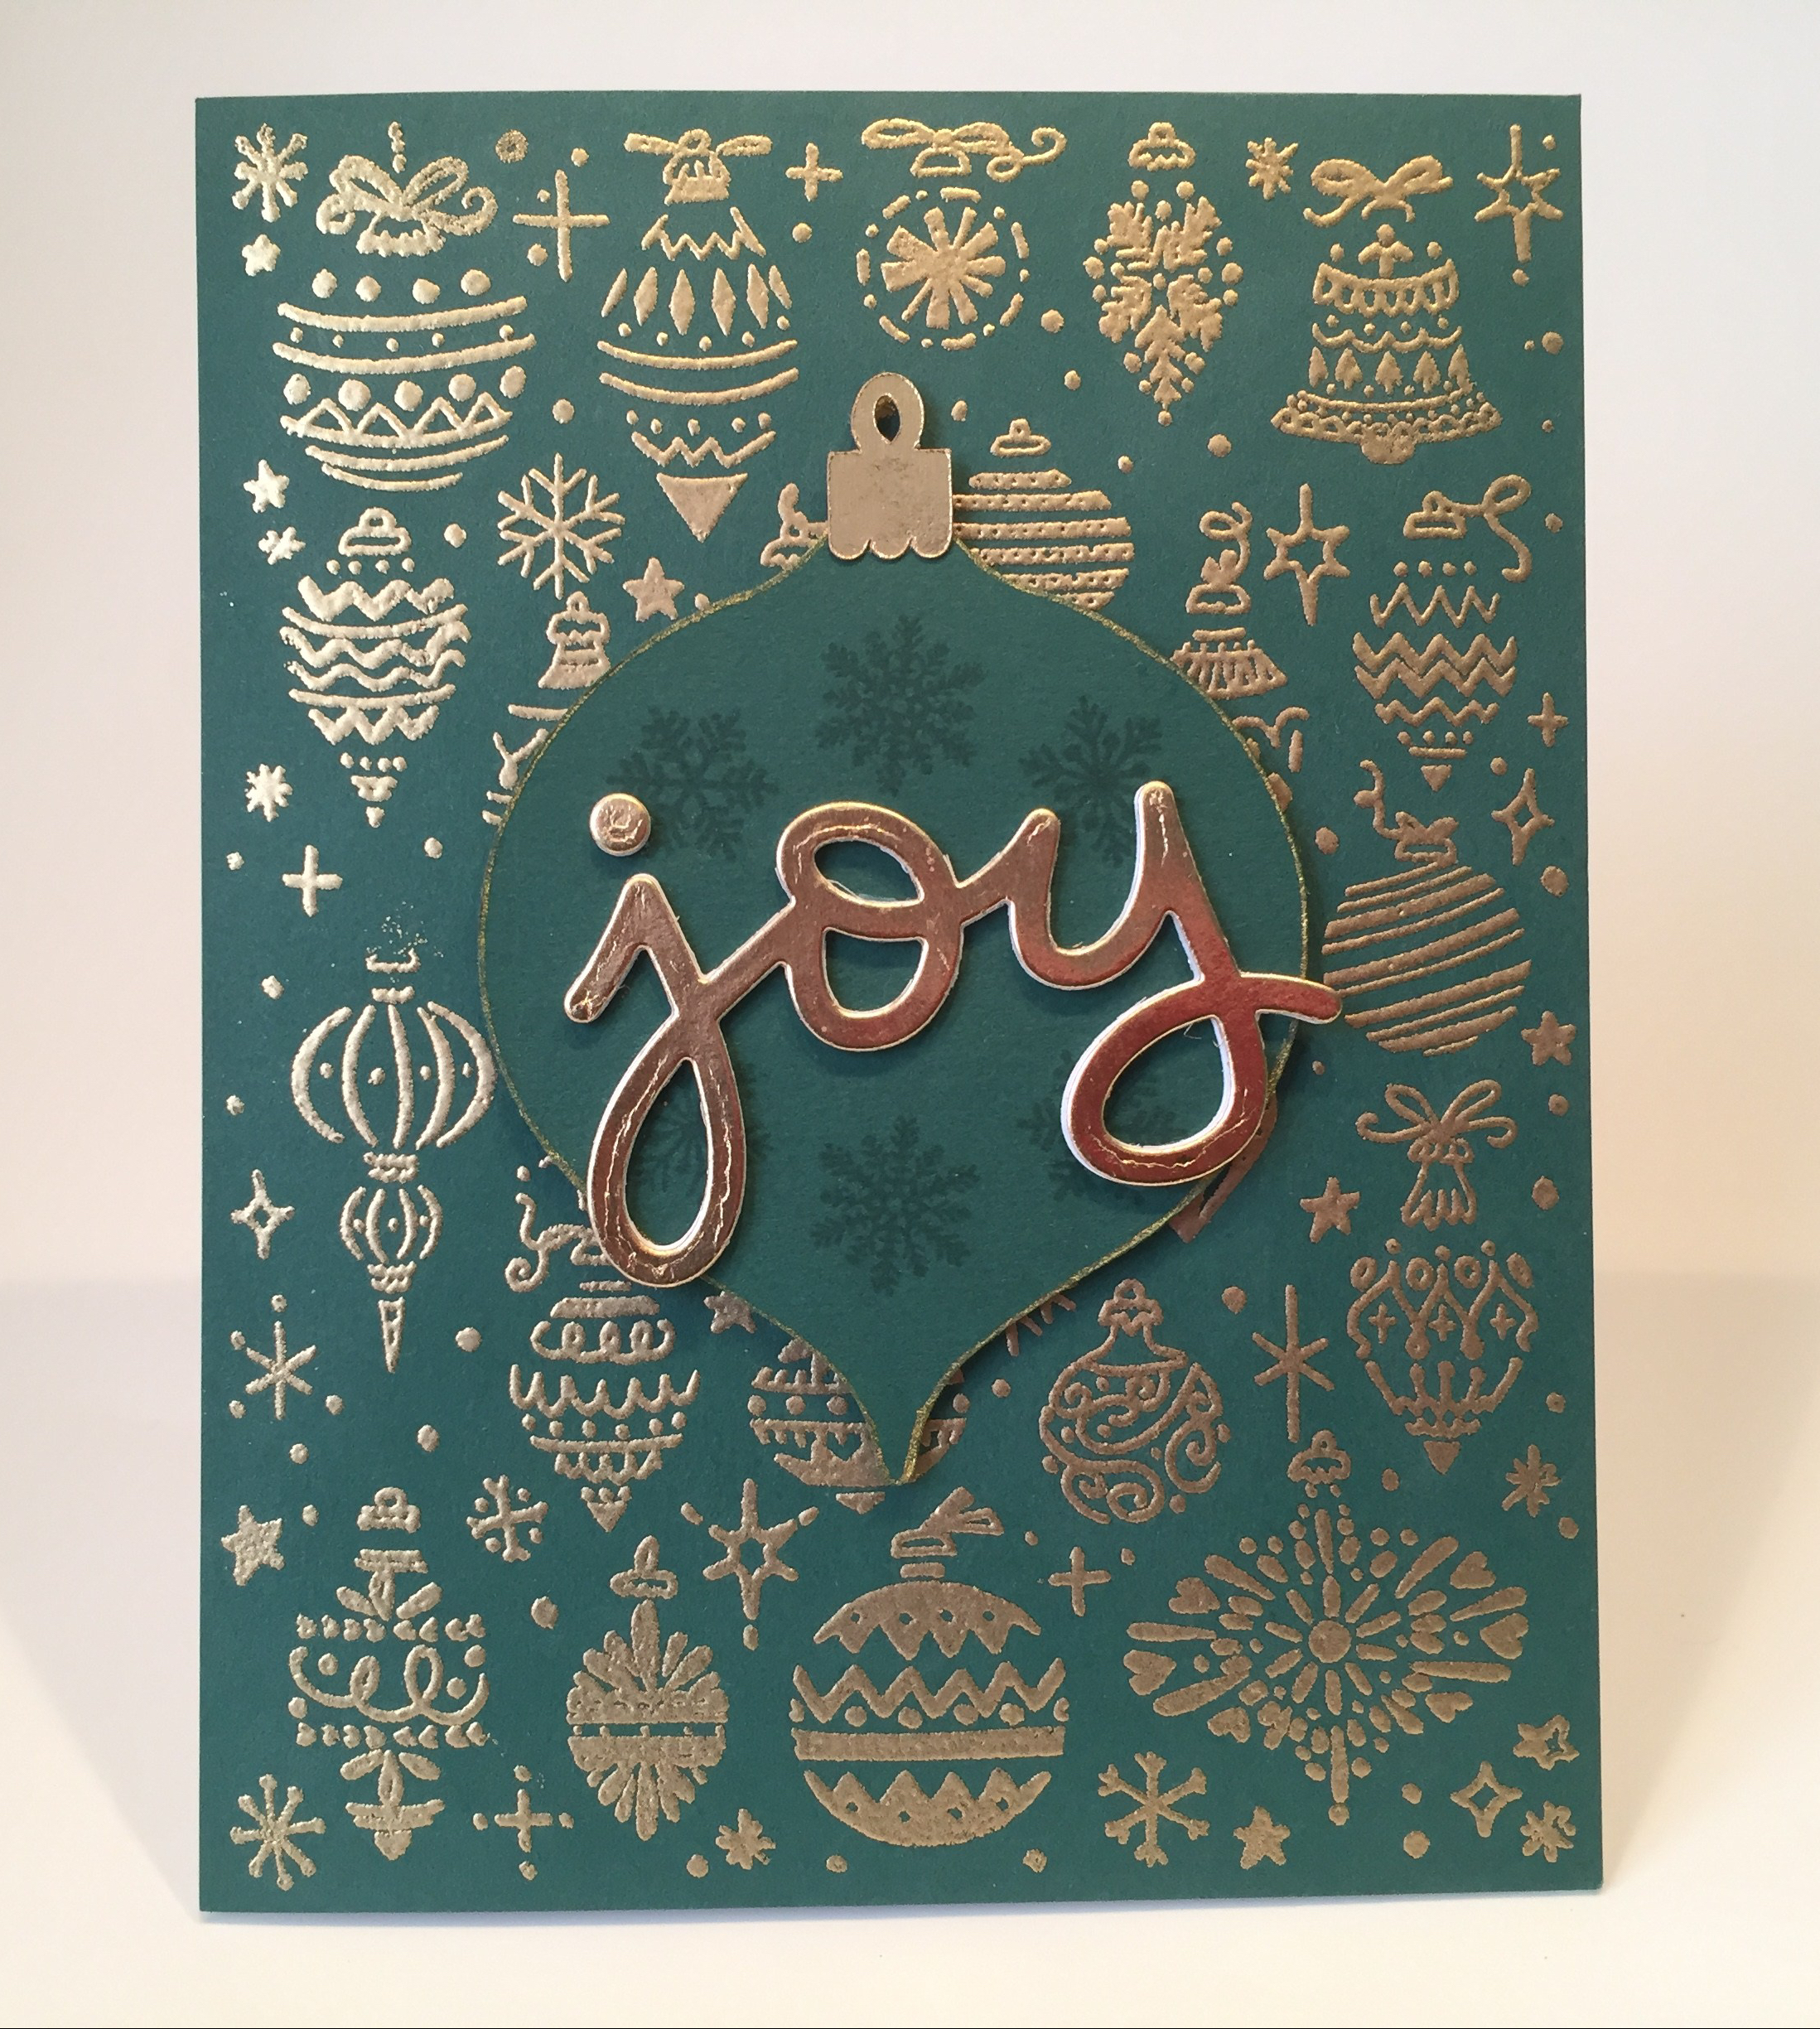
 I did stamp the snowflake stamps from the kit in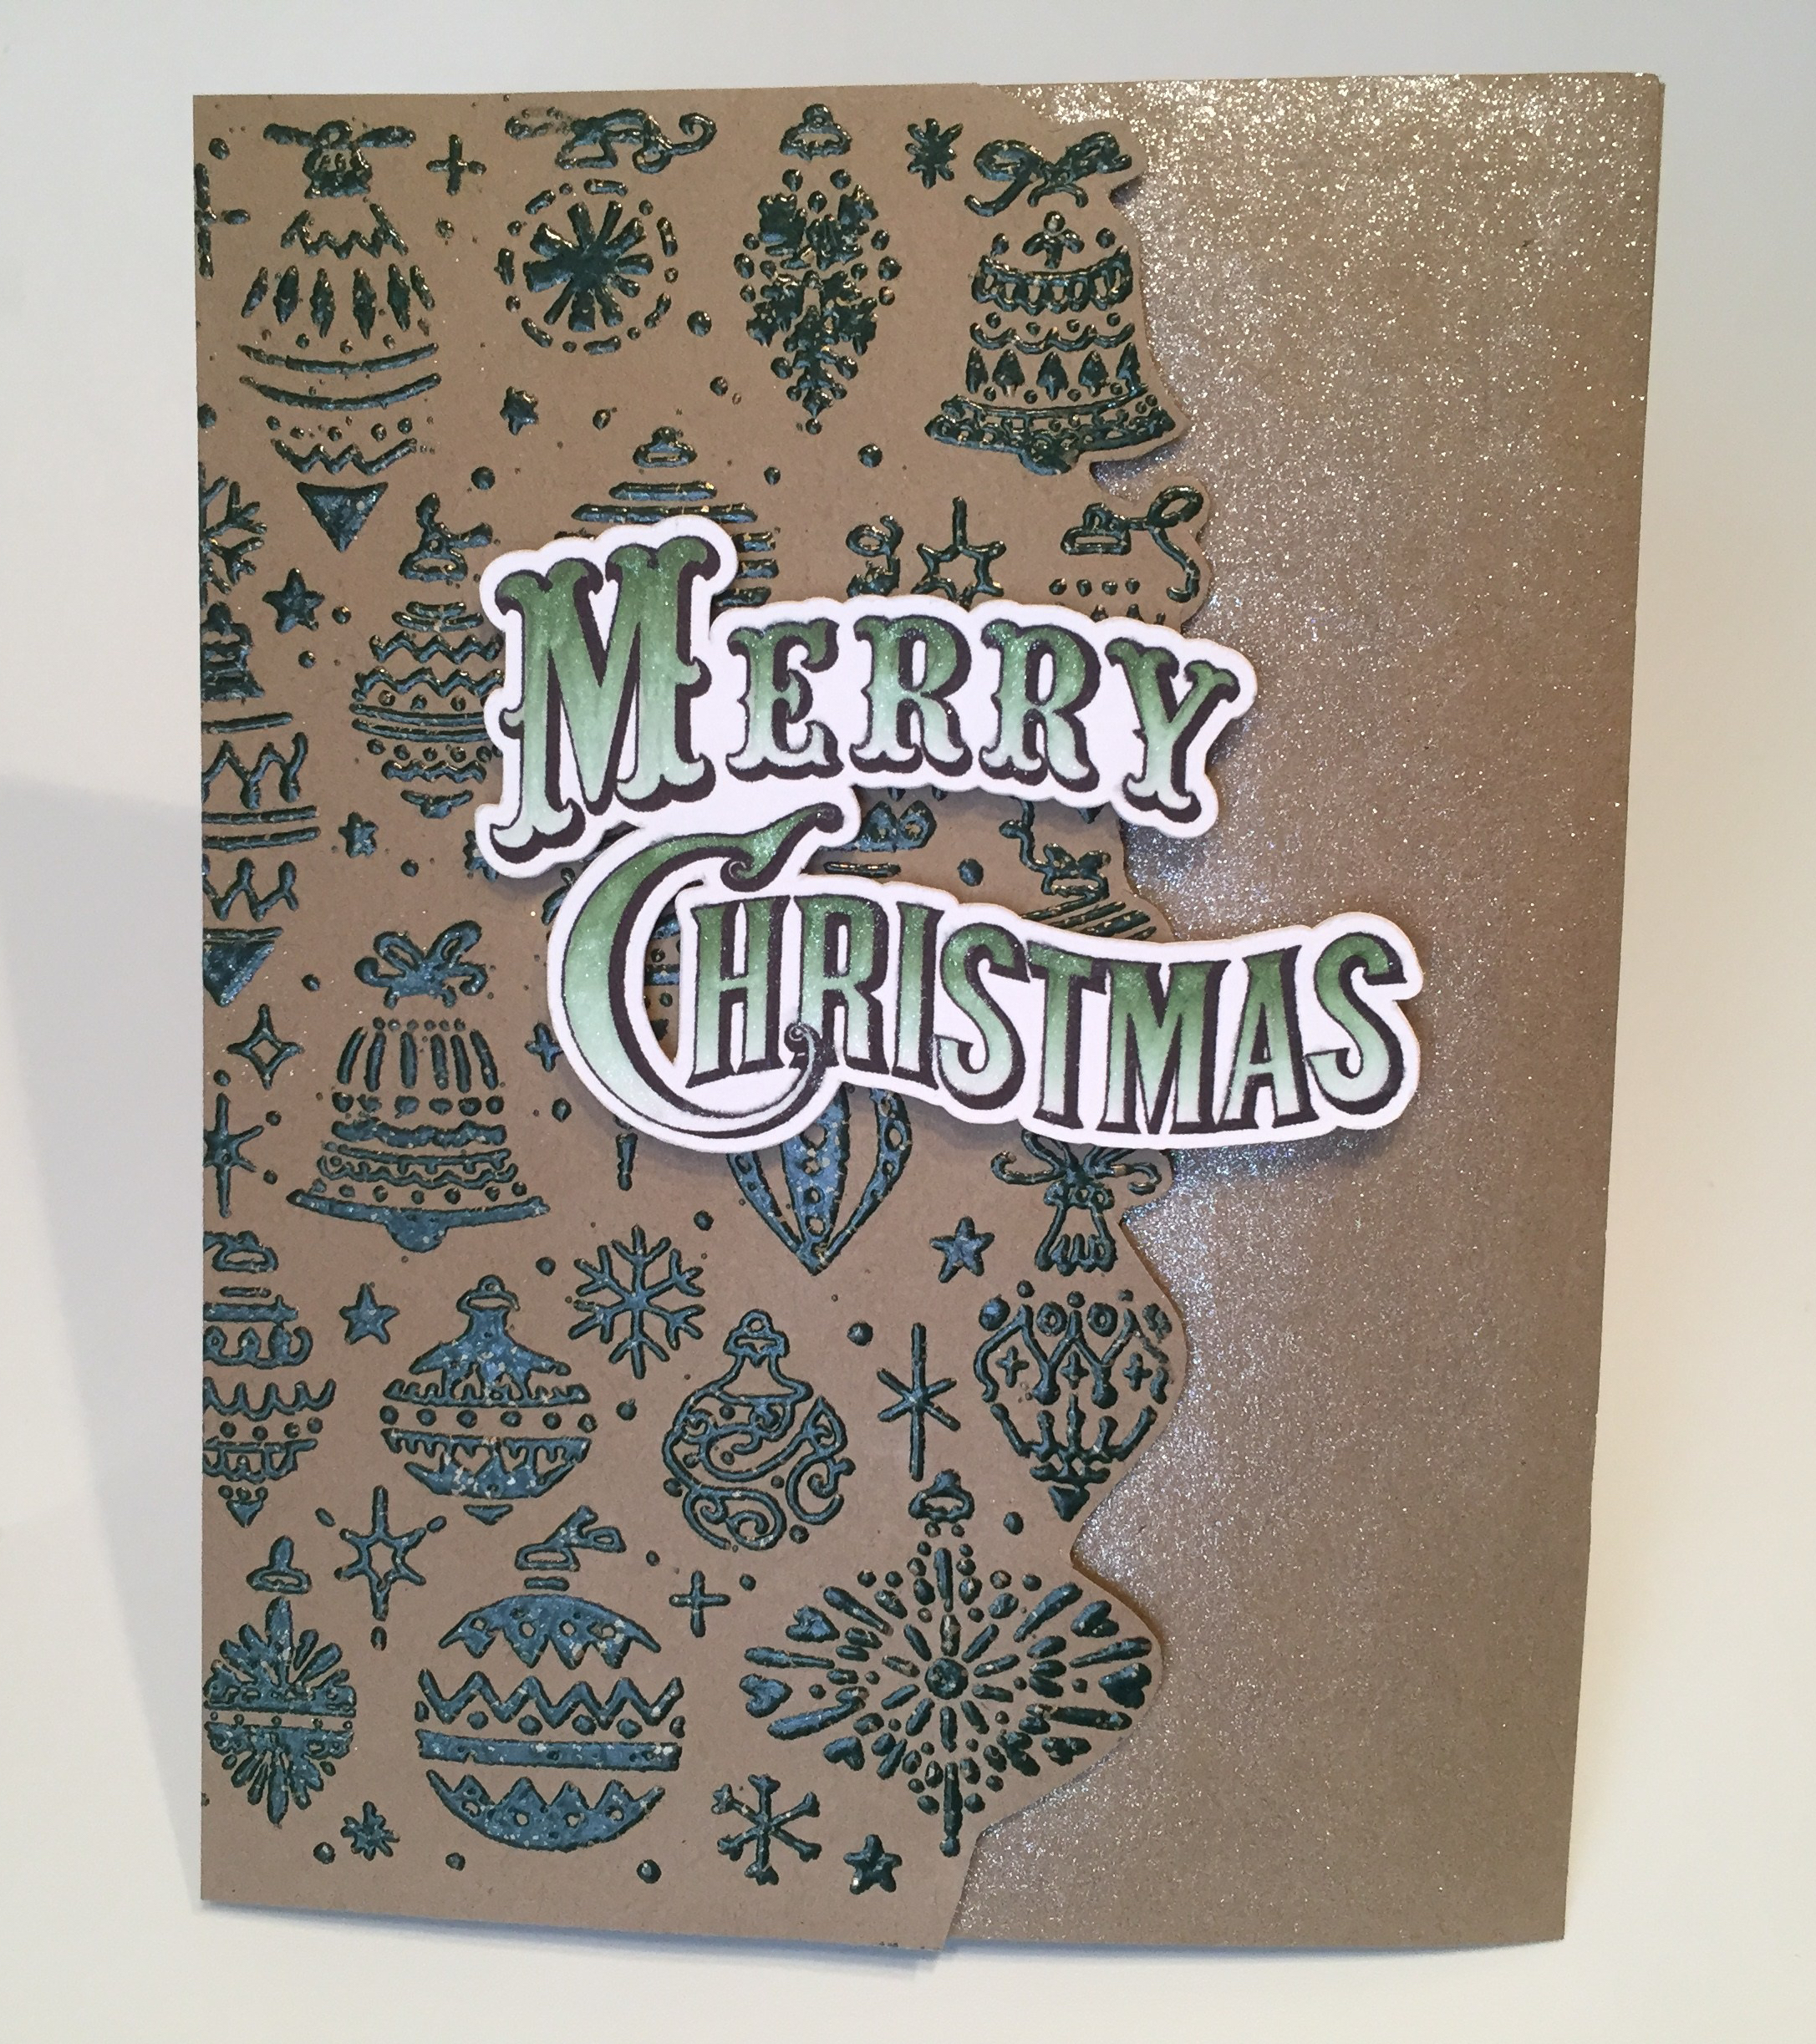
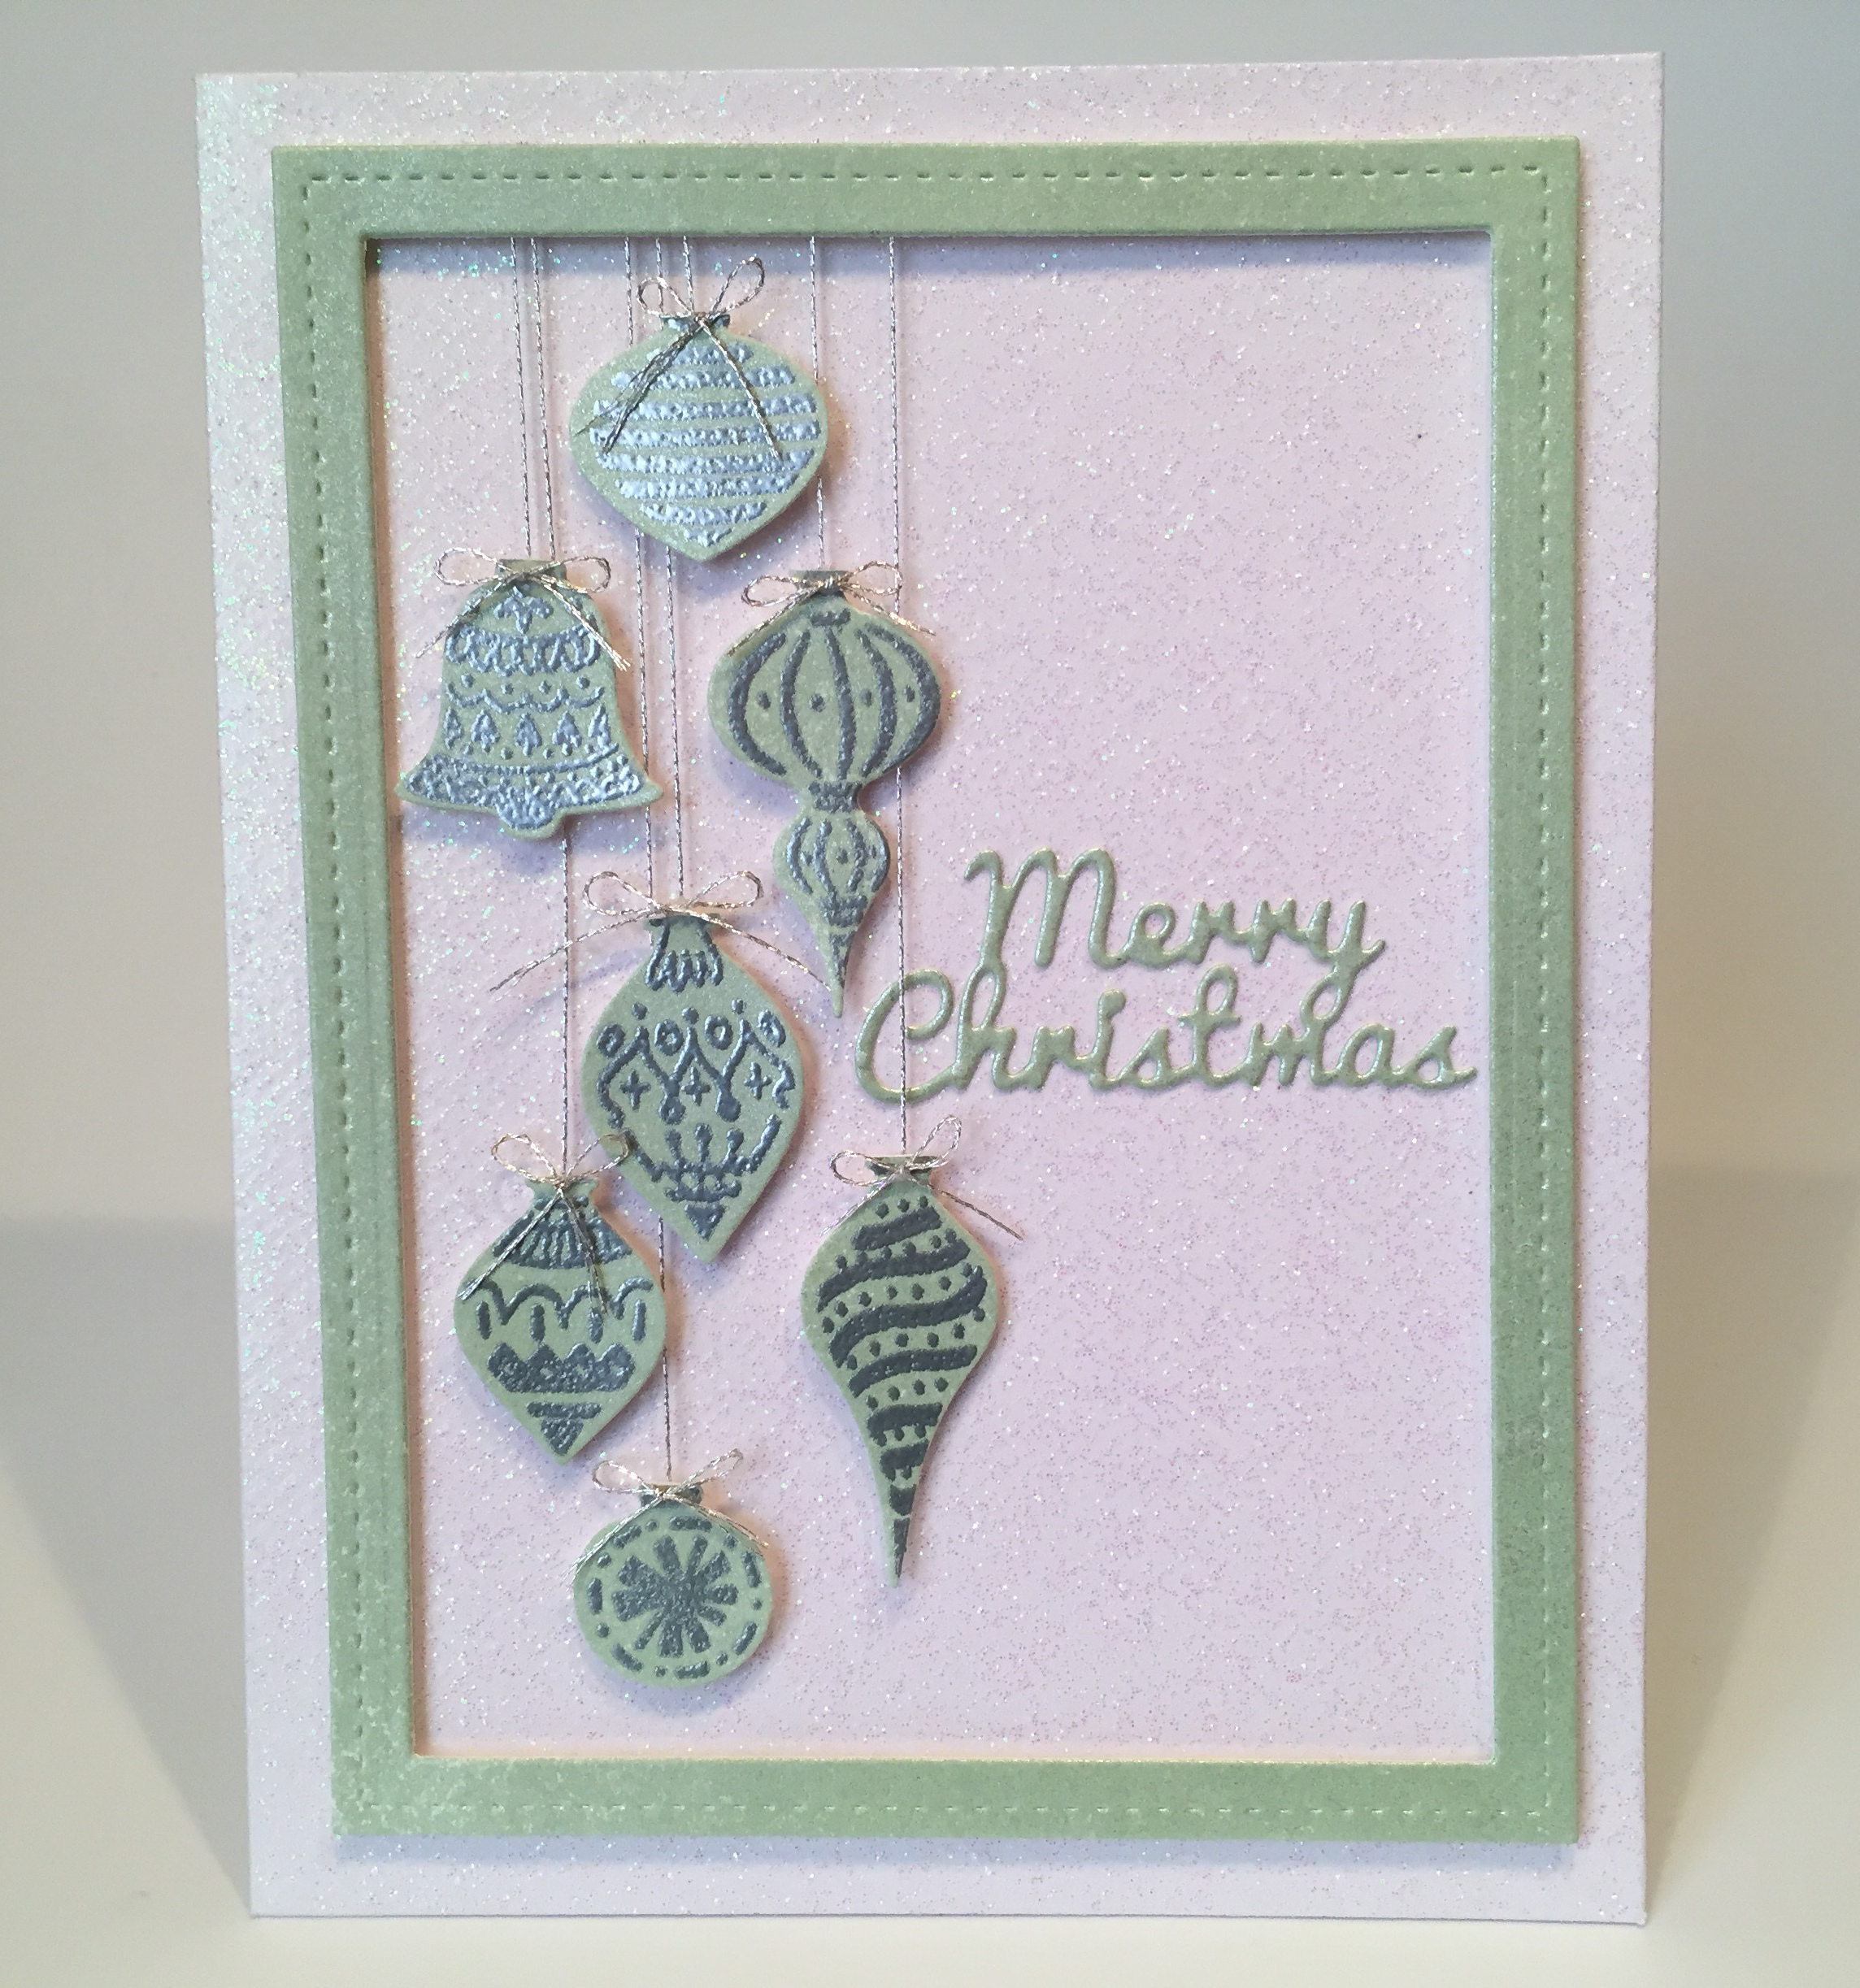
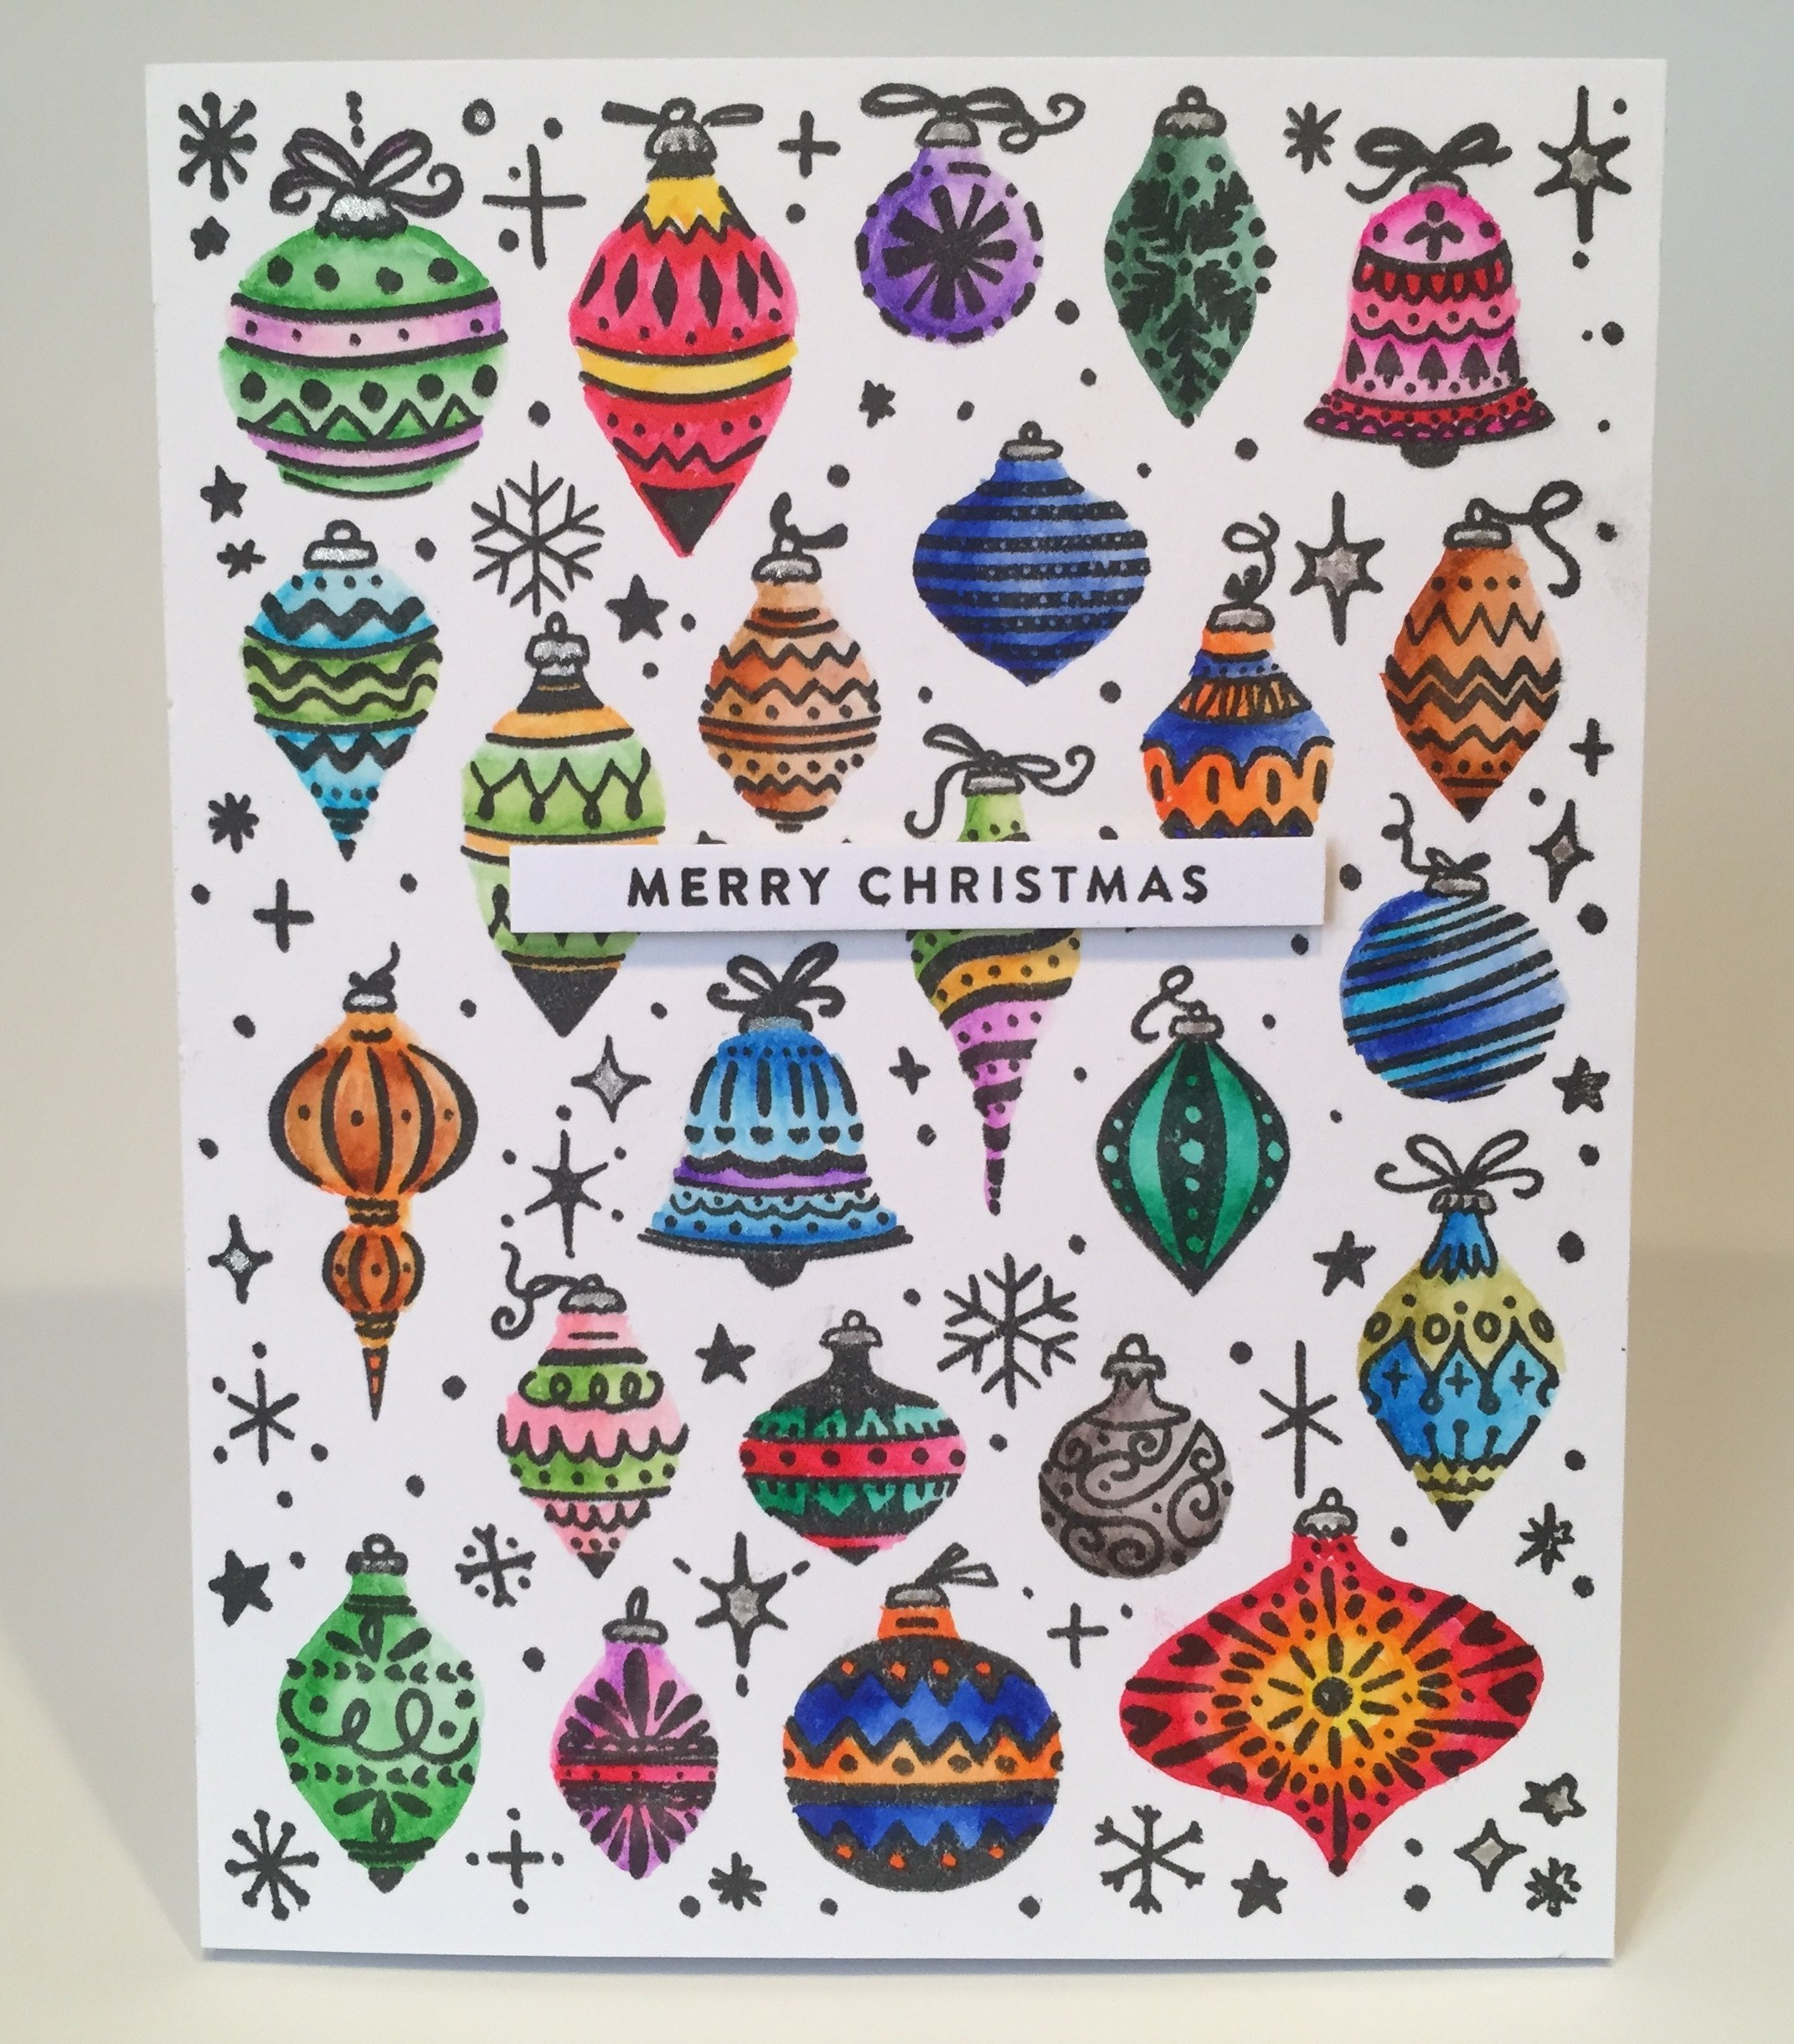
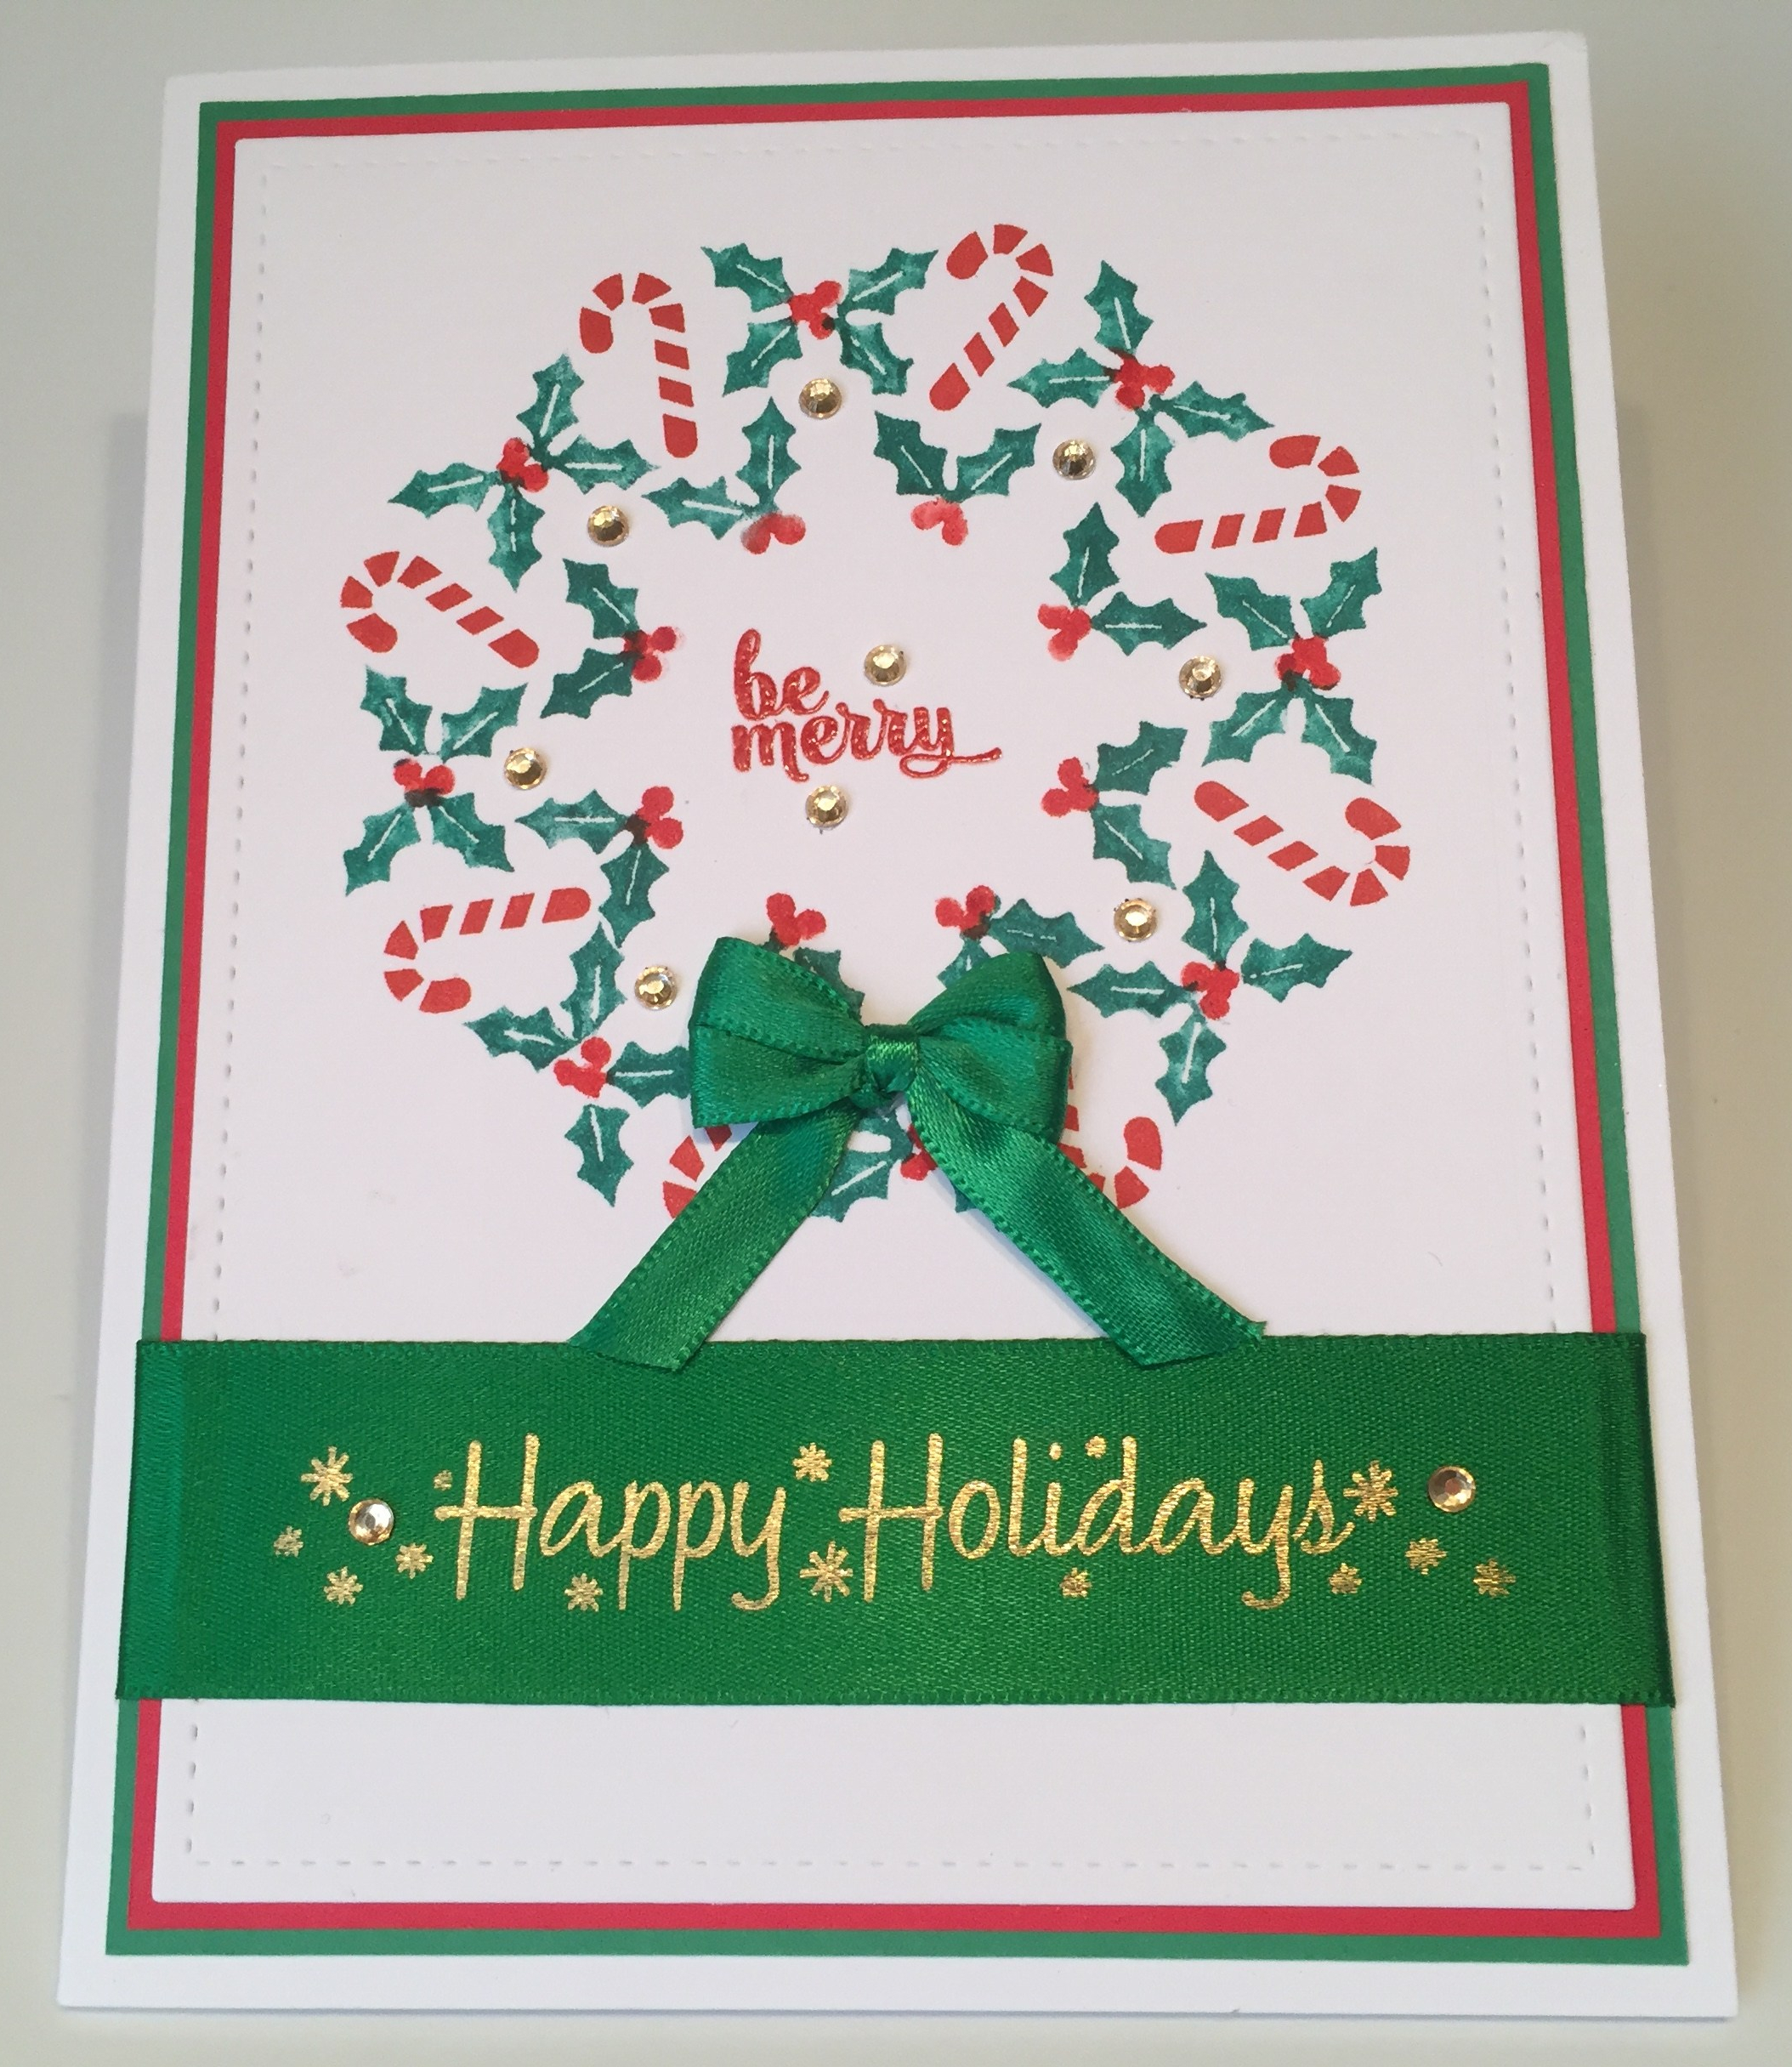
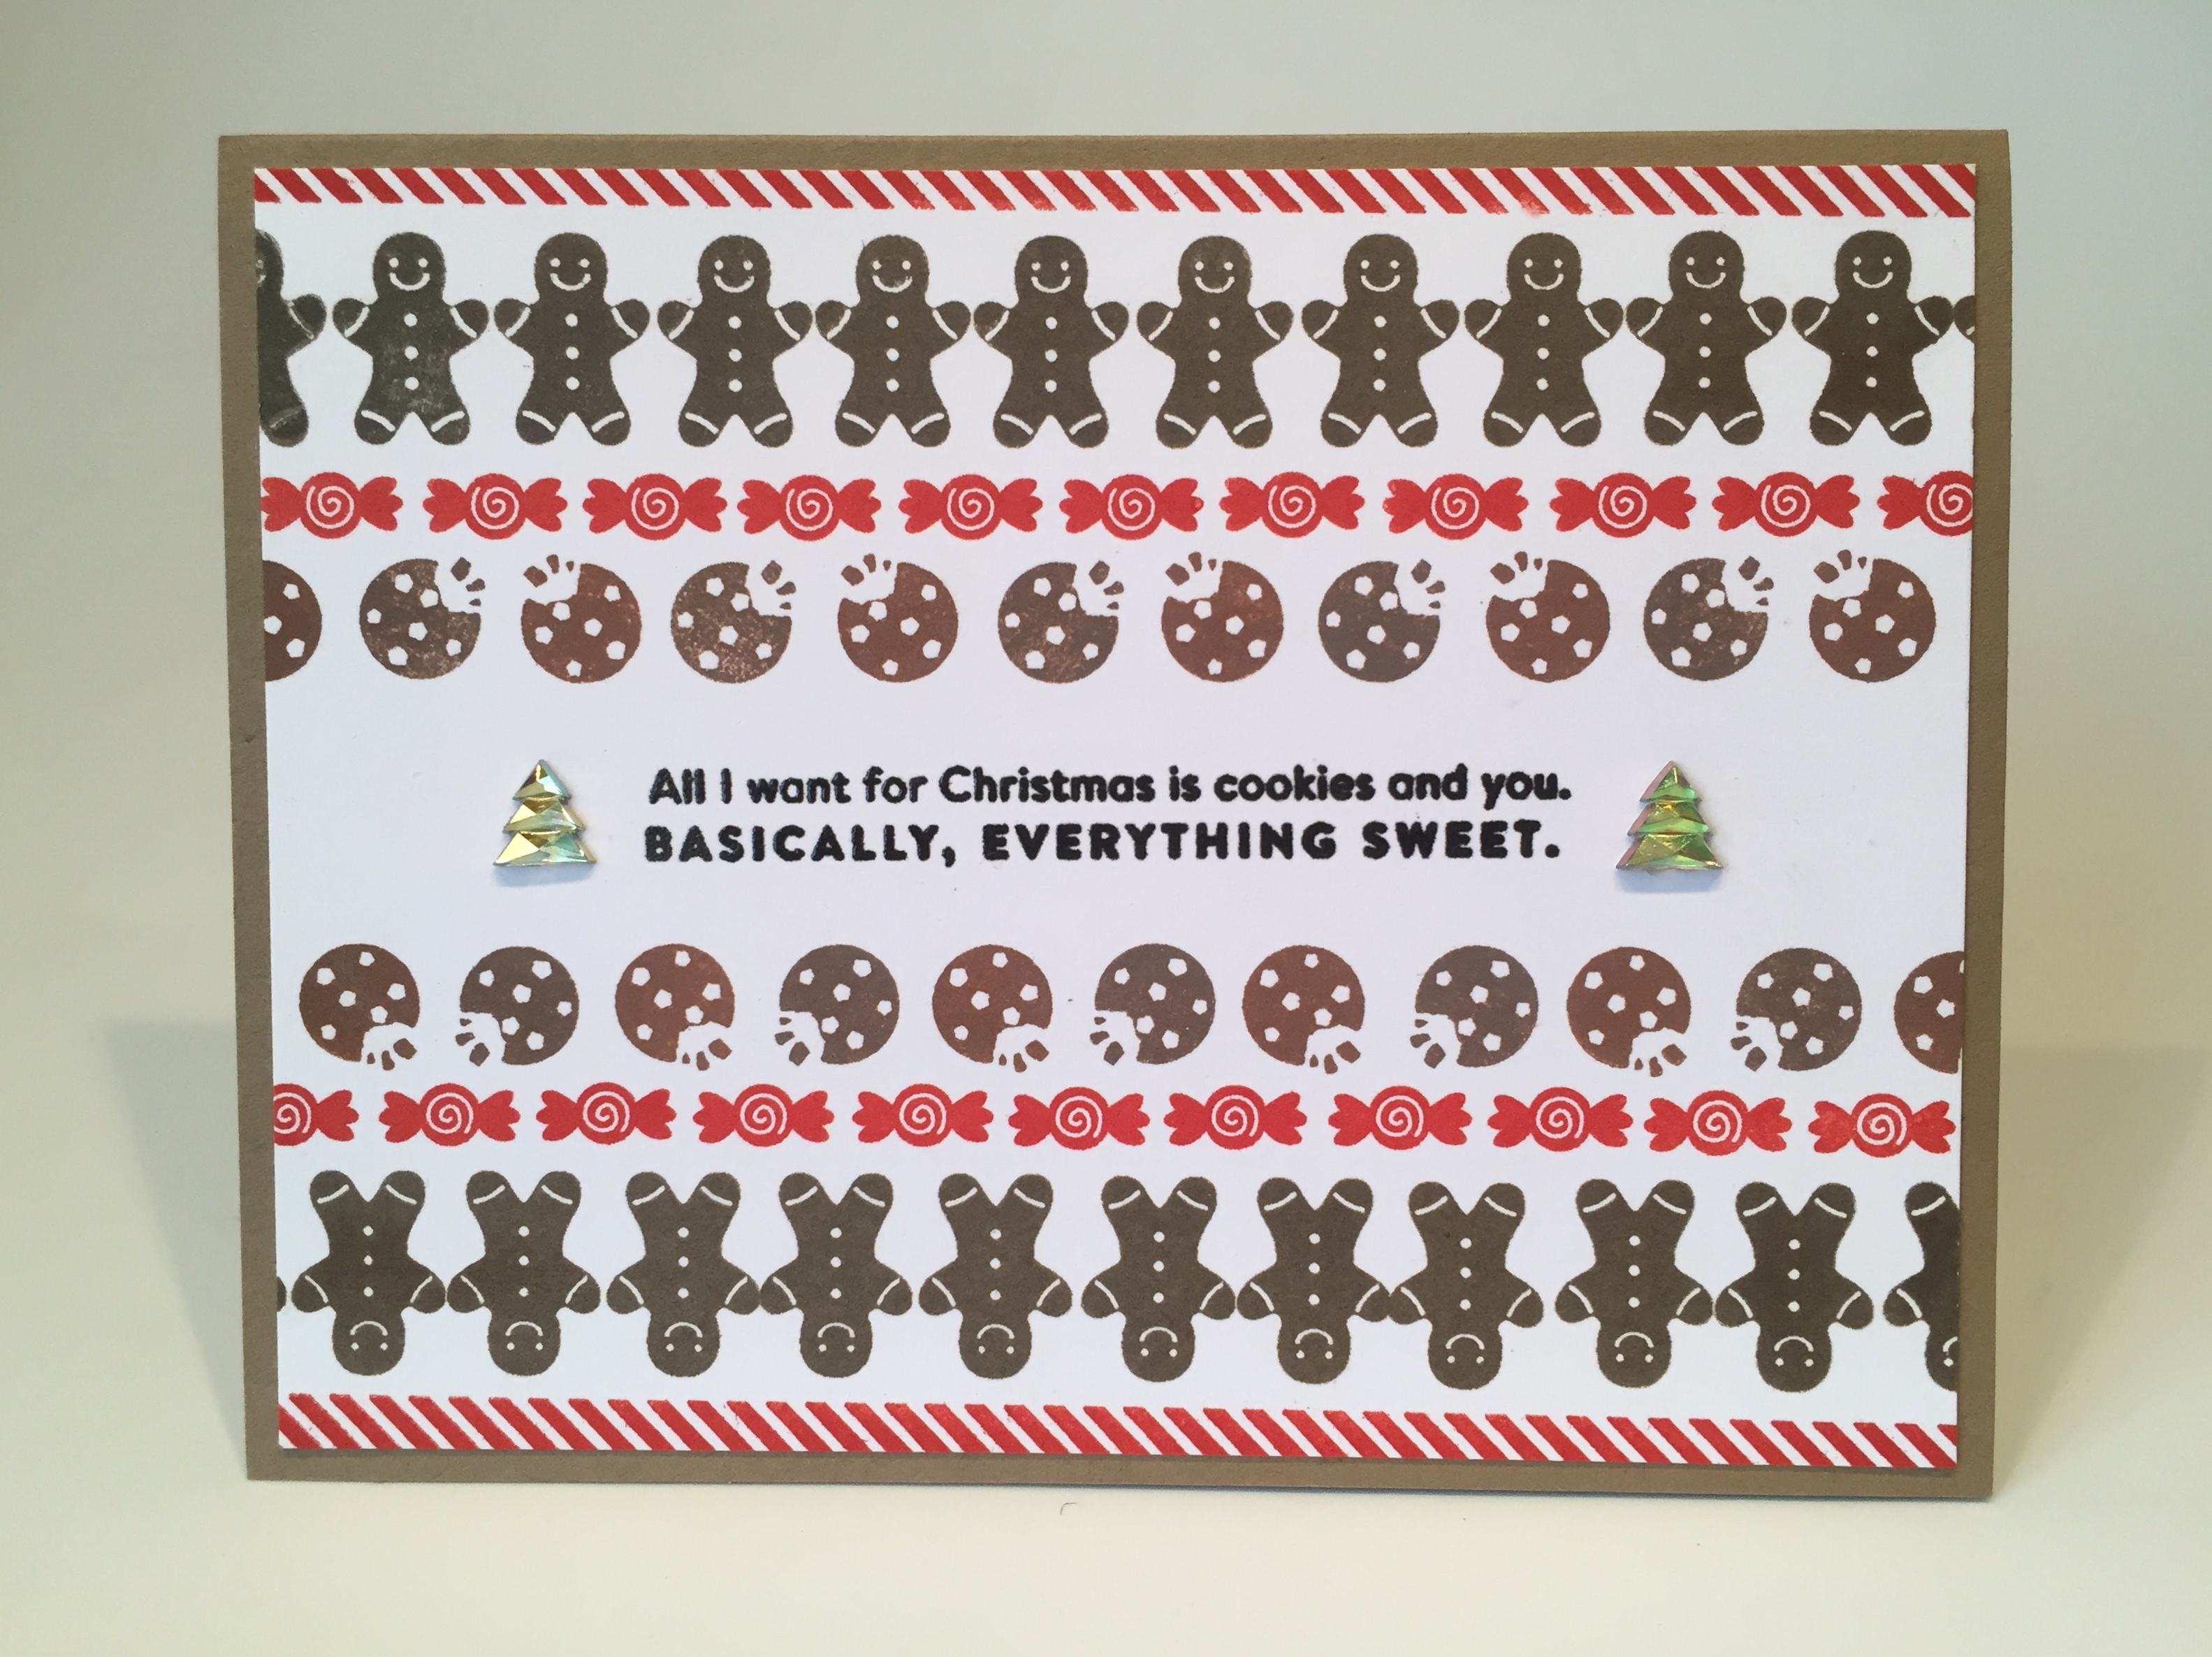
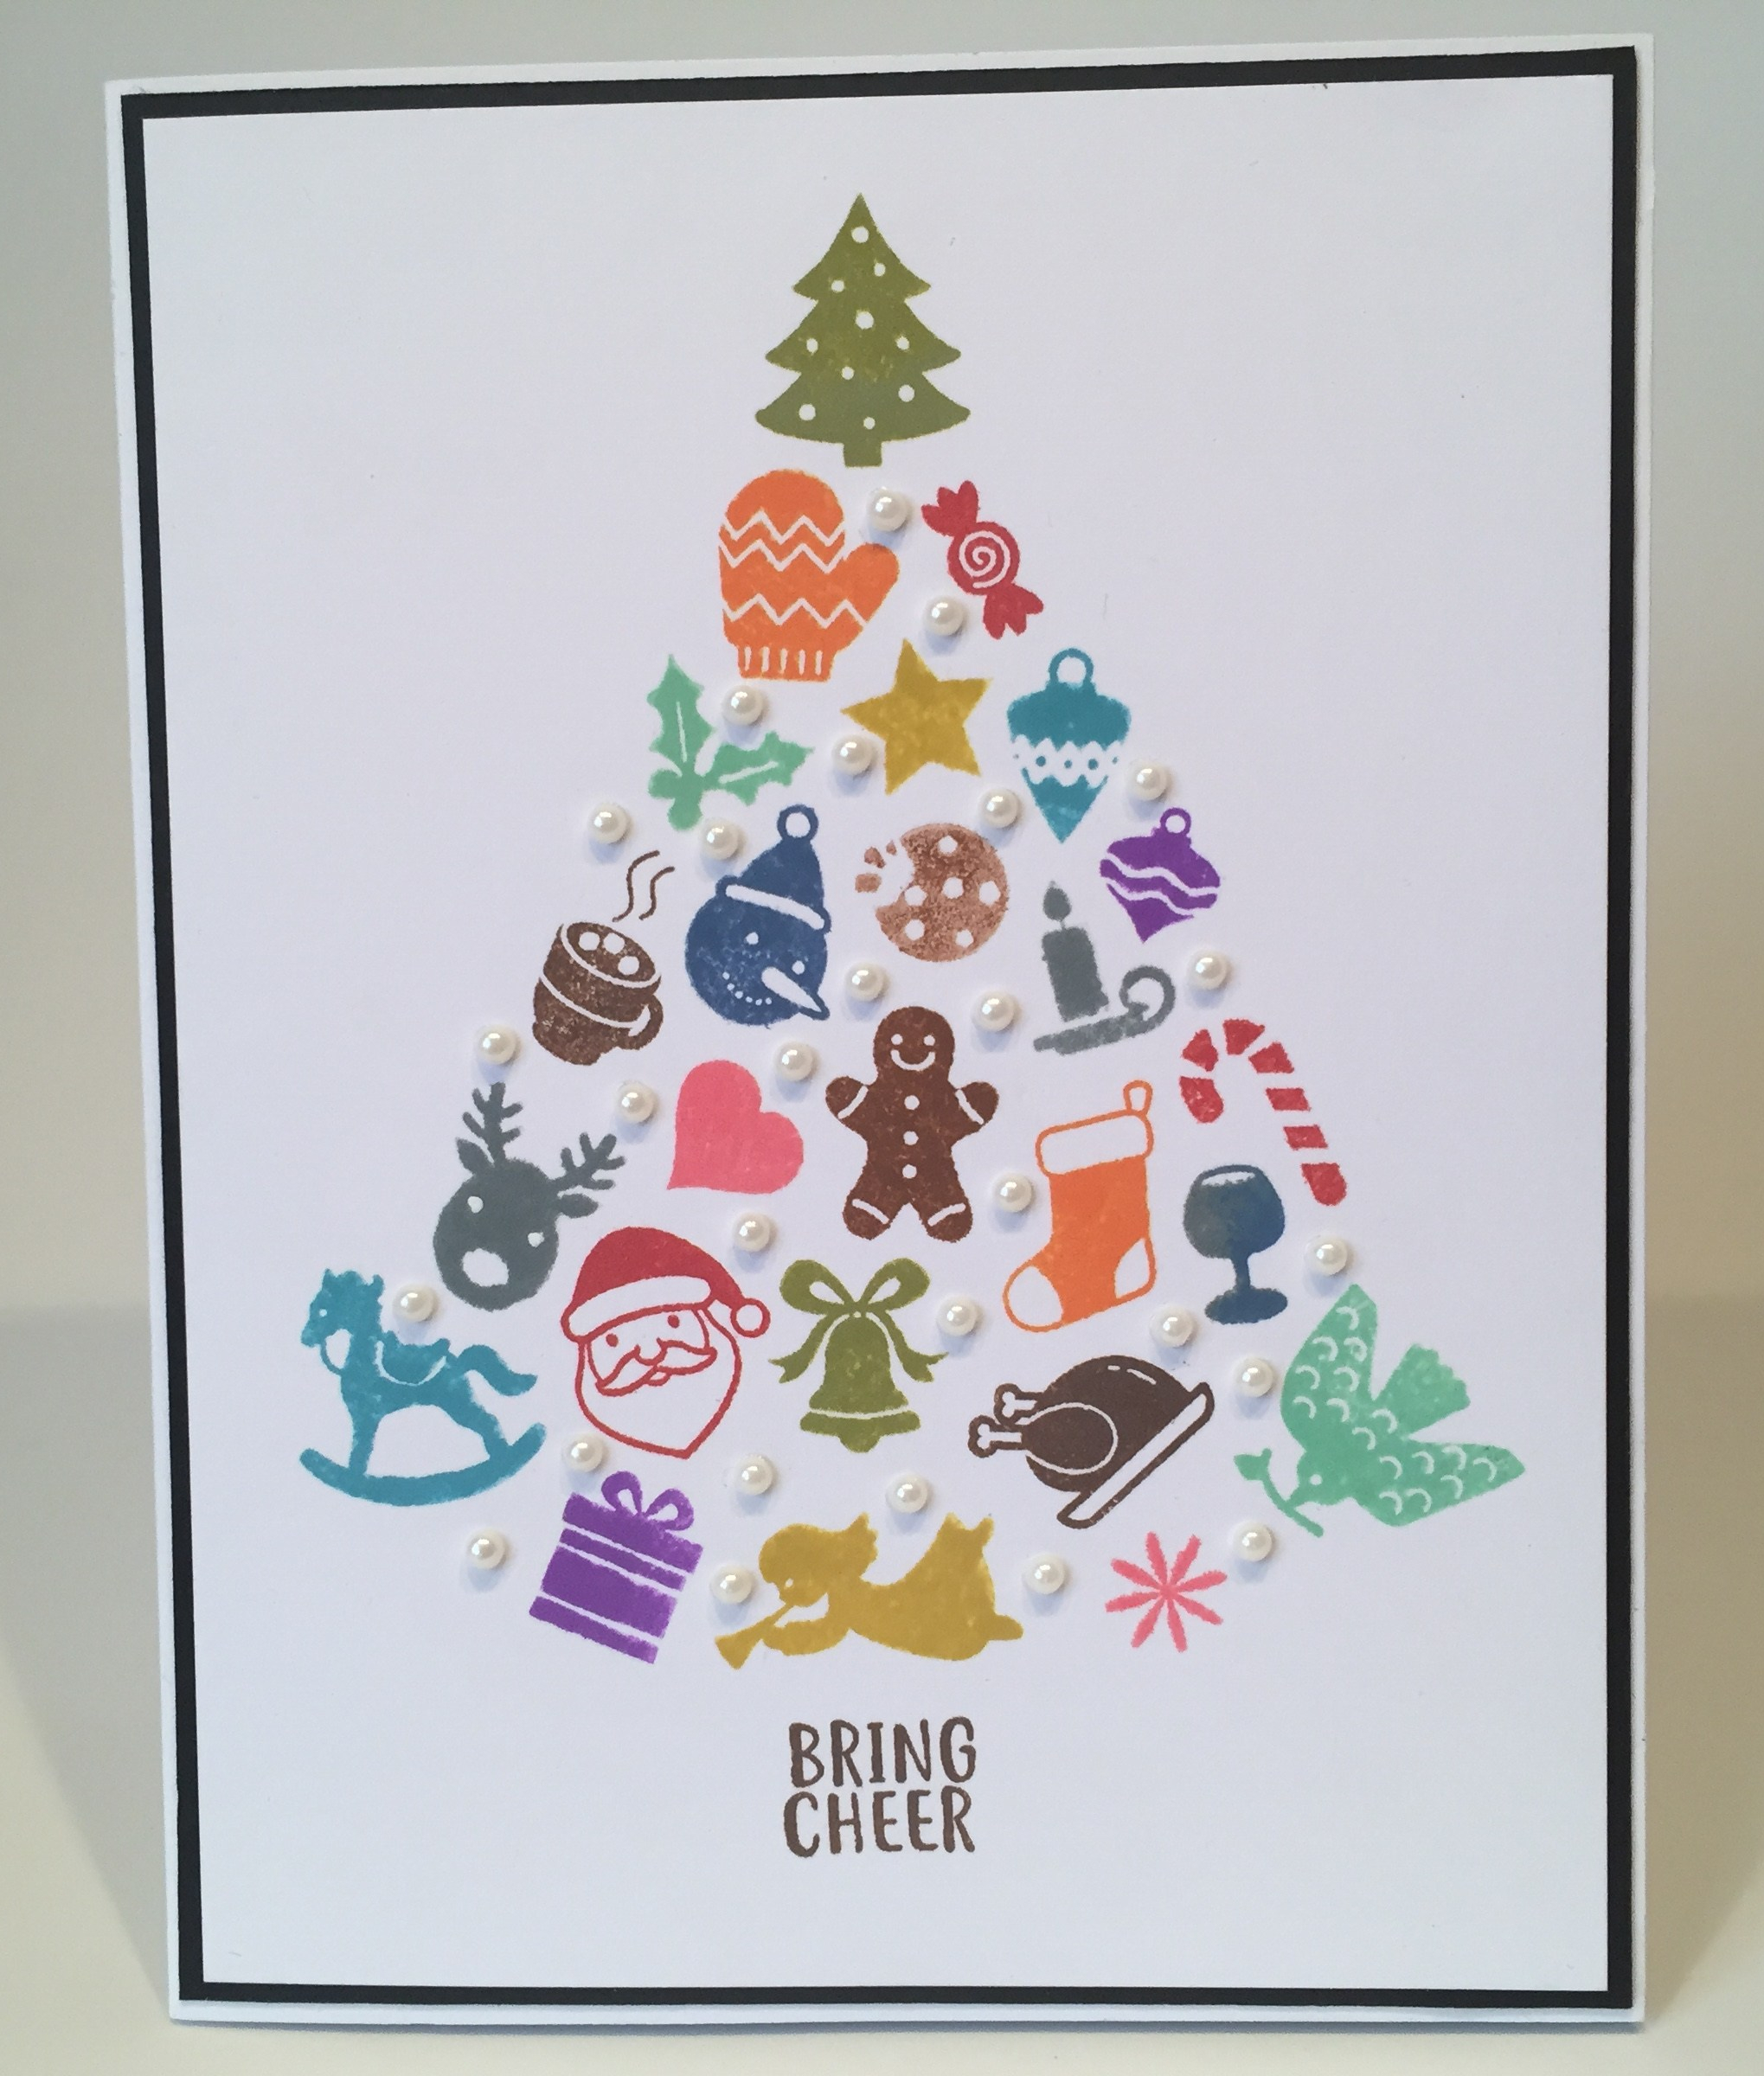
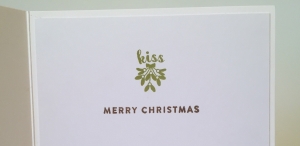 Some small white pearl embellishments from my stash add just the right shine and a little dimension to our tree. A simple thin black mat glued behind the front panel, then to a white card base and we’ve got another interesting way to use this stamp set! I didn’t want the ‘kiss’ stamp to feel left out, so I used it along with the SSS “Merry Christmas” stamp (both still in the Distress Oxide inks) for our sentiment on the inside of the card. I adore this card! Feels like I can forgive the narrow focus of this kit after making this!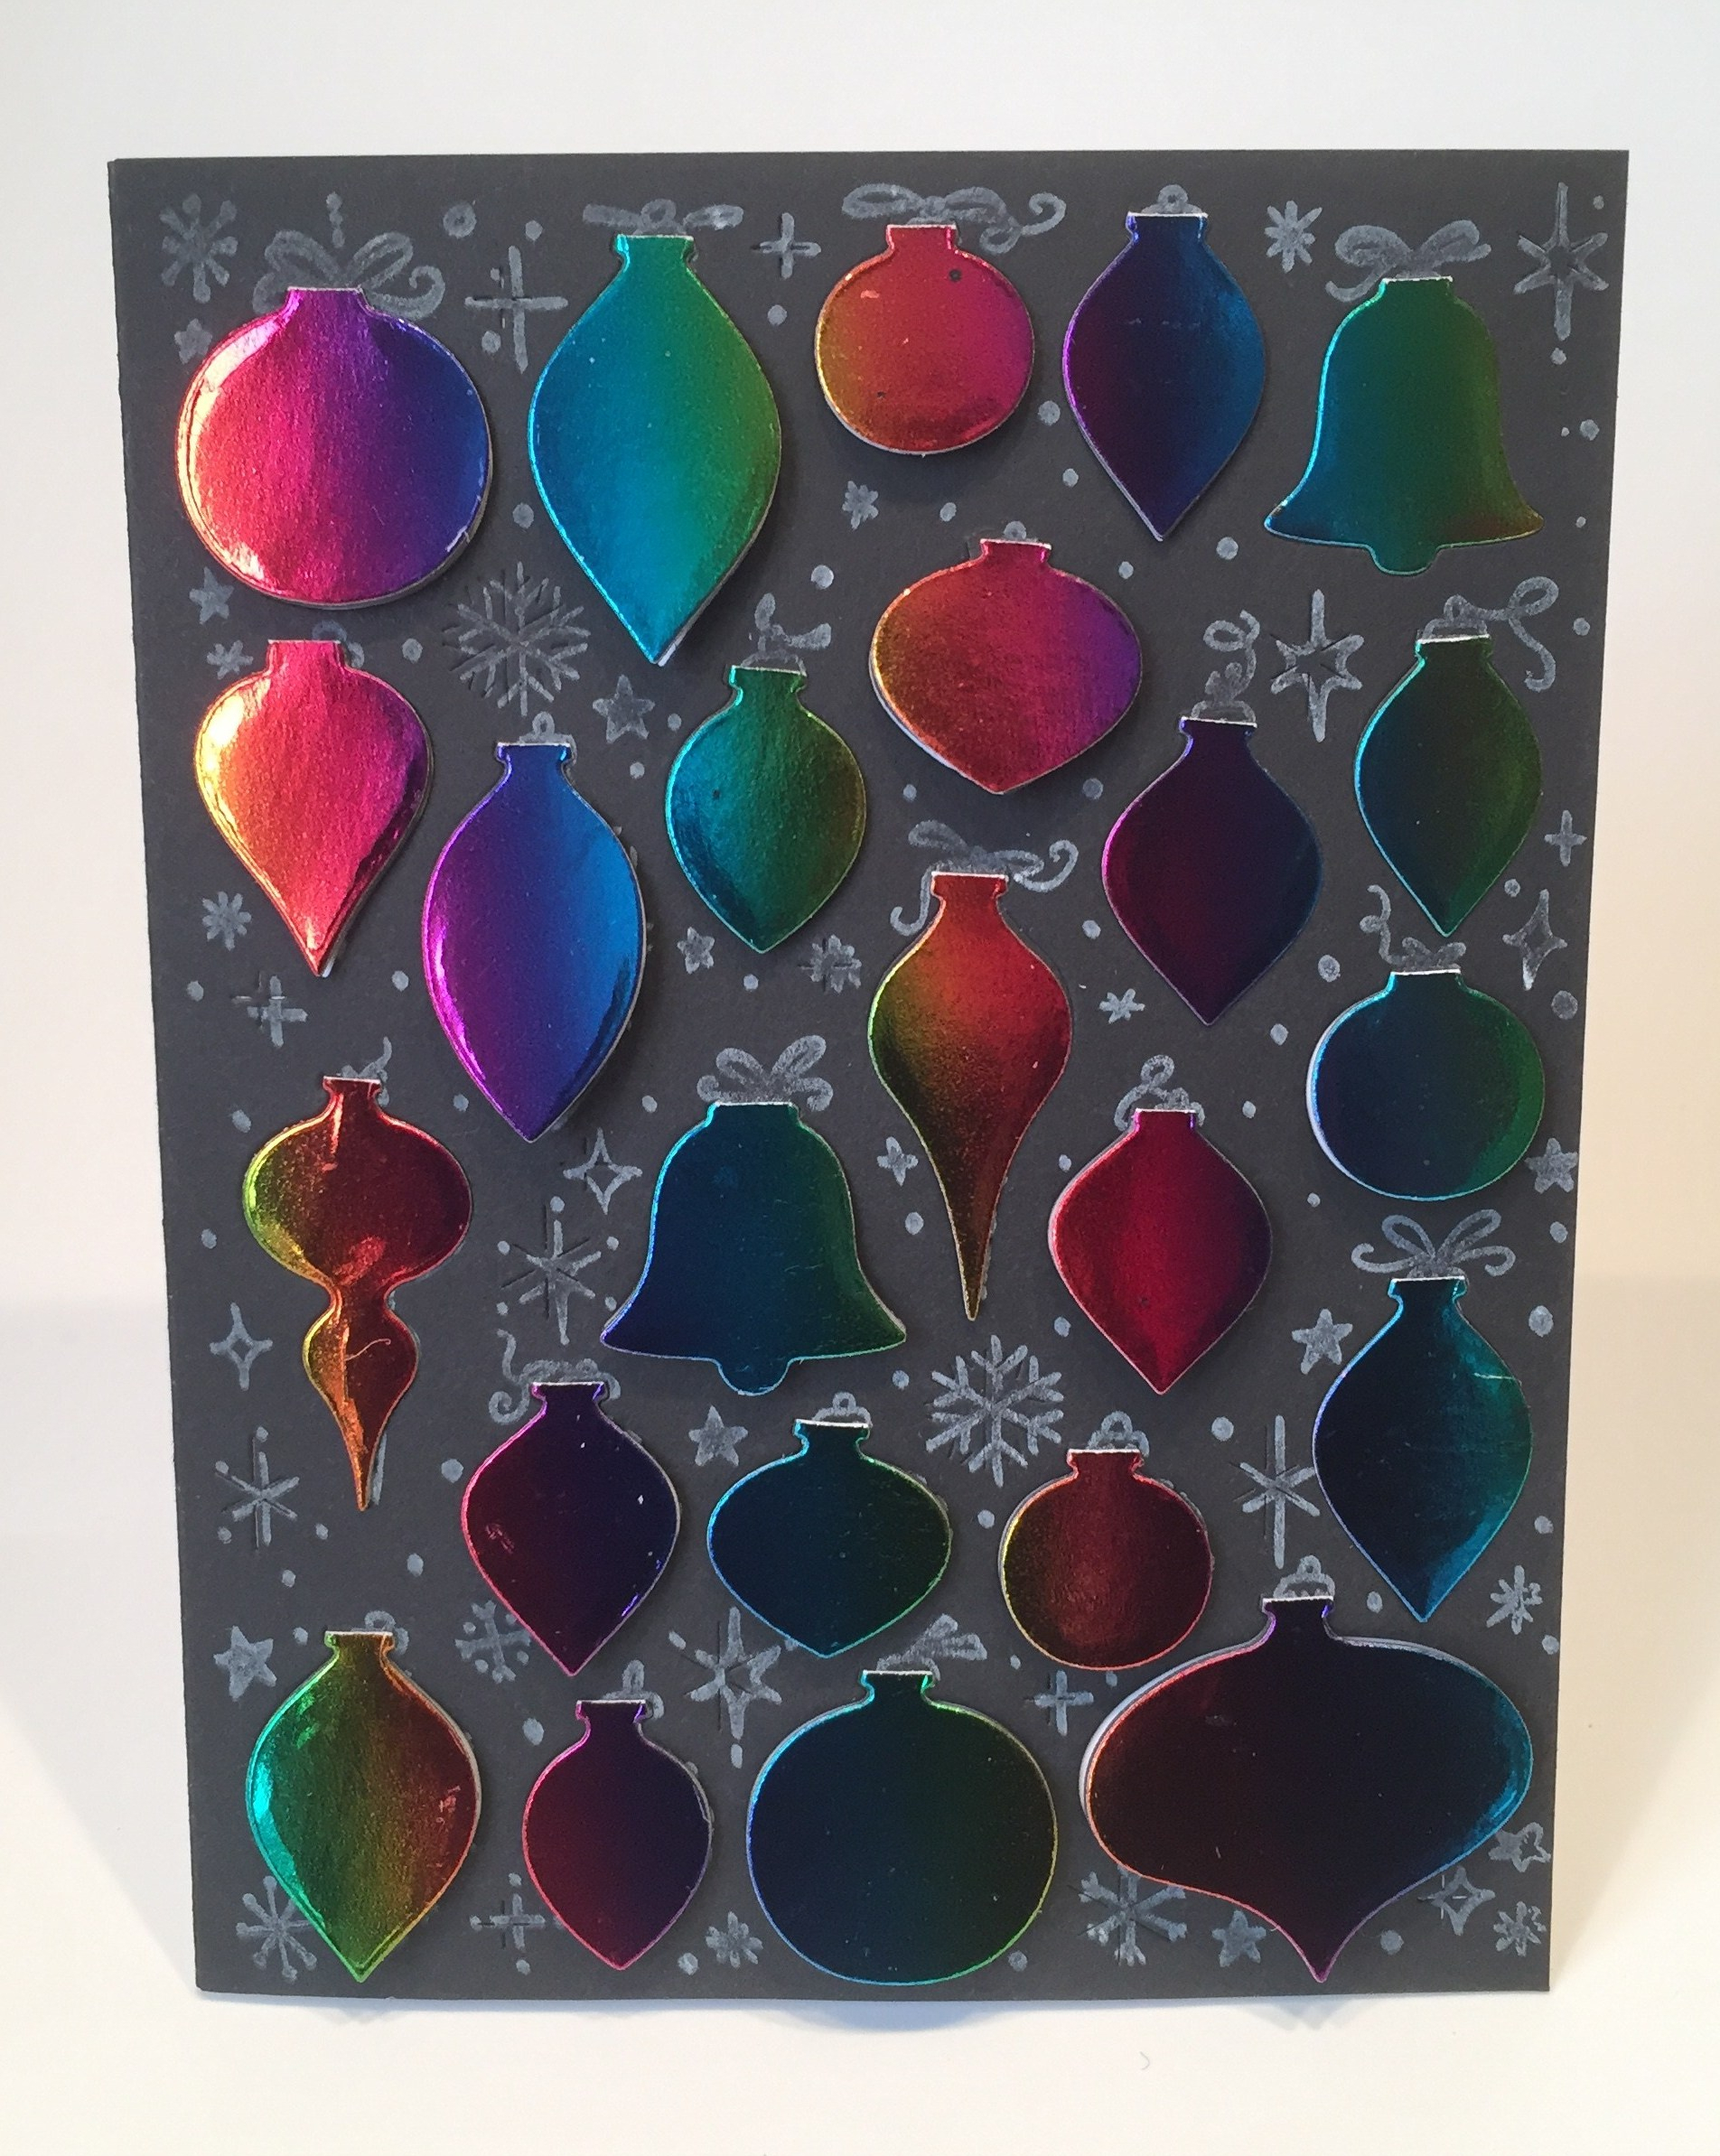

 I didn’t want to use any numbers on the ornament windows – you can open them in any order you choose – and who wants to cover up any of that lovely rainbow foil! But I did add that pretty Paper Pumpkin “Merry Christmas stamp on the inside of the card.
 Well, I did it! 10 different cards from this kit! I feel quite accomplished and very excited for the holidays after working on these cards. I’m sorry this post is a little delayed… we took a little extra time off over the Thanksgiving holiday to spend with family and friends! I do think this is a pretty good variety of Holiday cards this month – I did manage to use 32 of the 41 stamps (no numbers either) and I honestly believe that the ornament cling stamp and fancy die are worth every penny and should get lots of use over the years!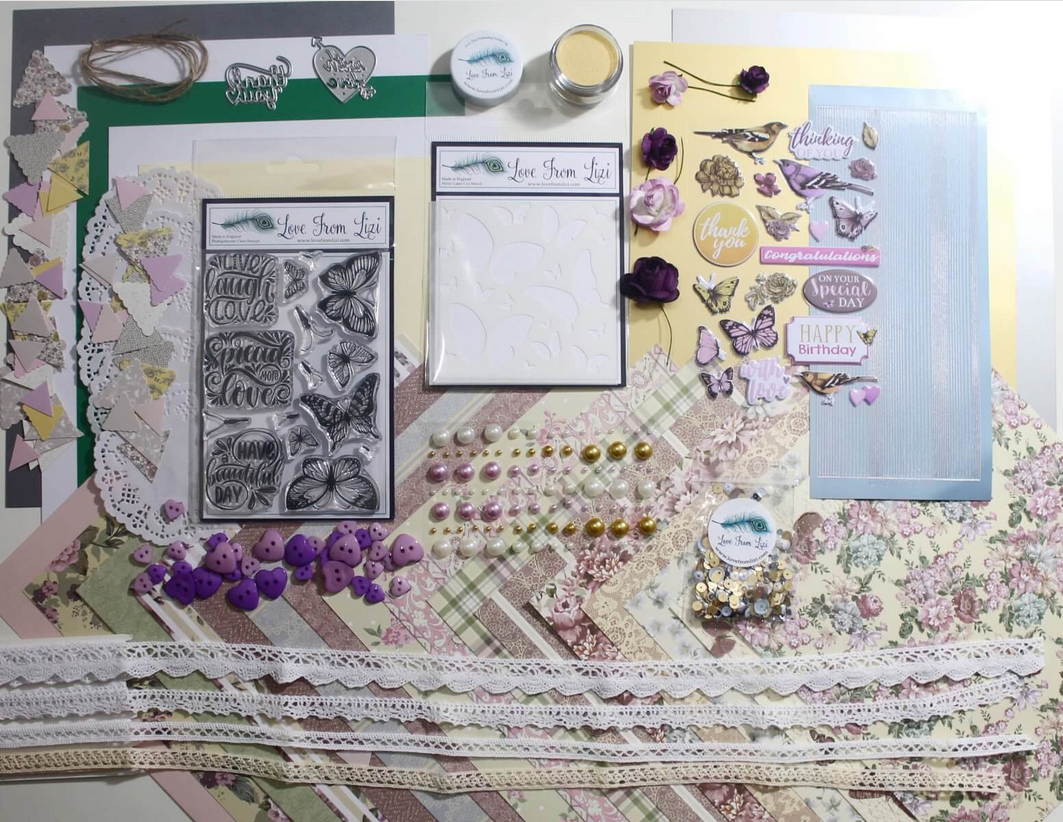
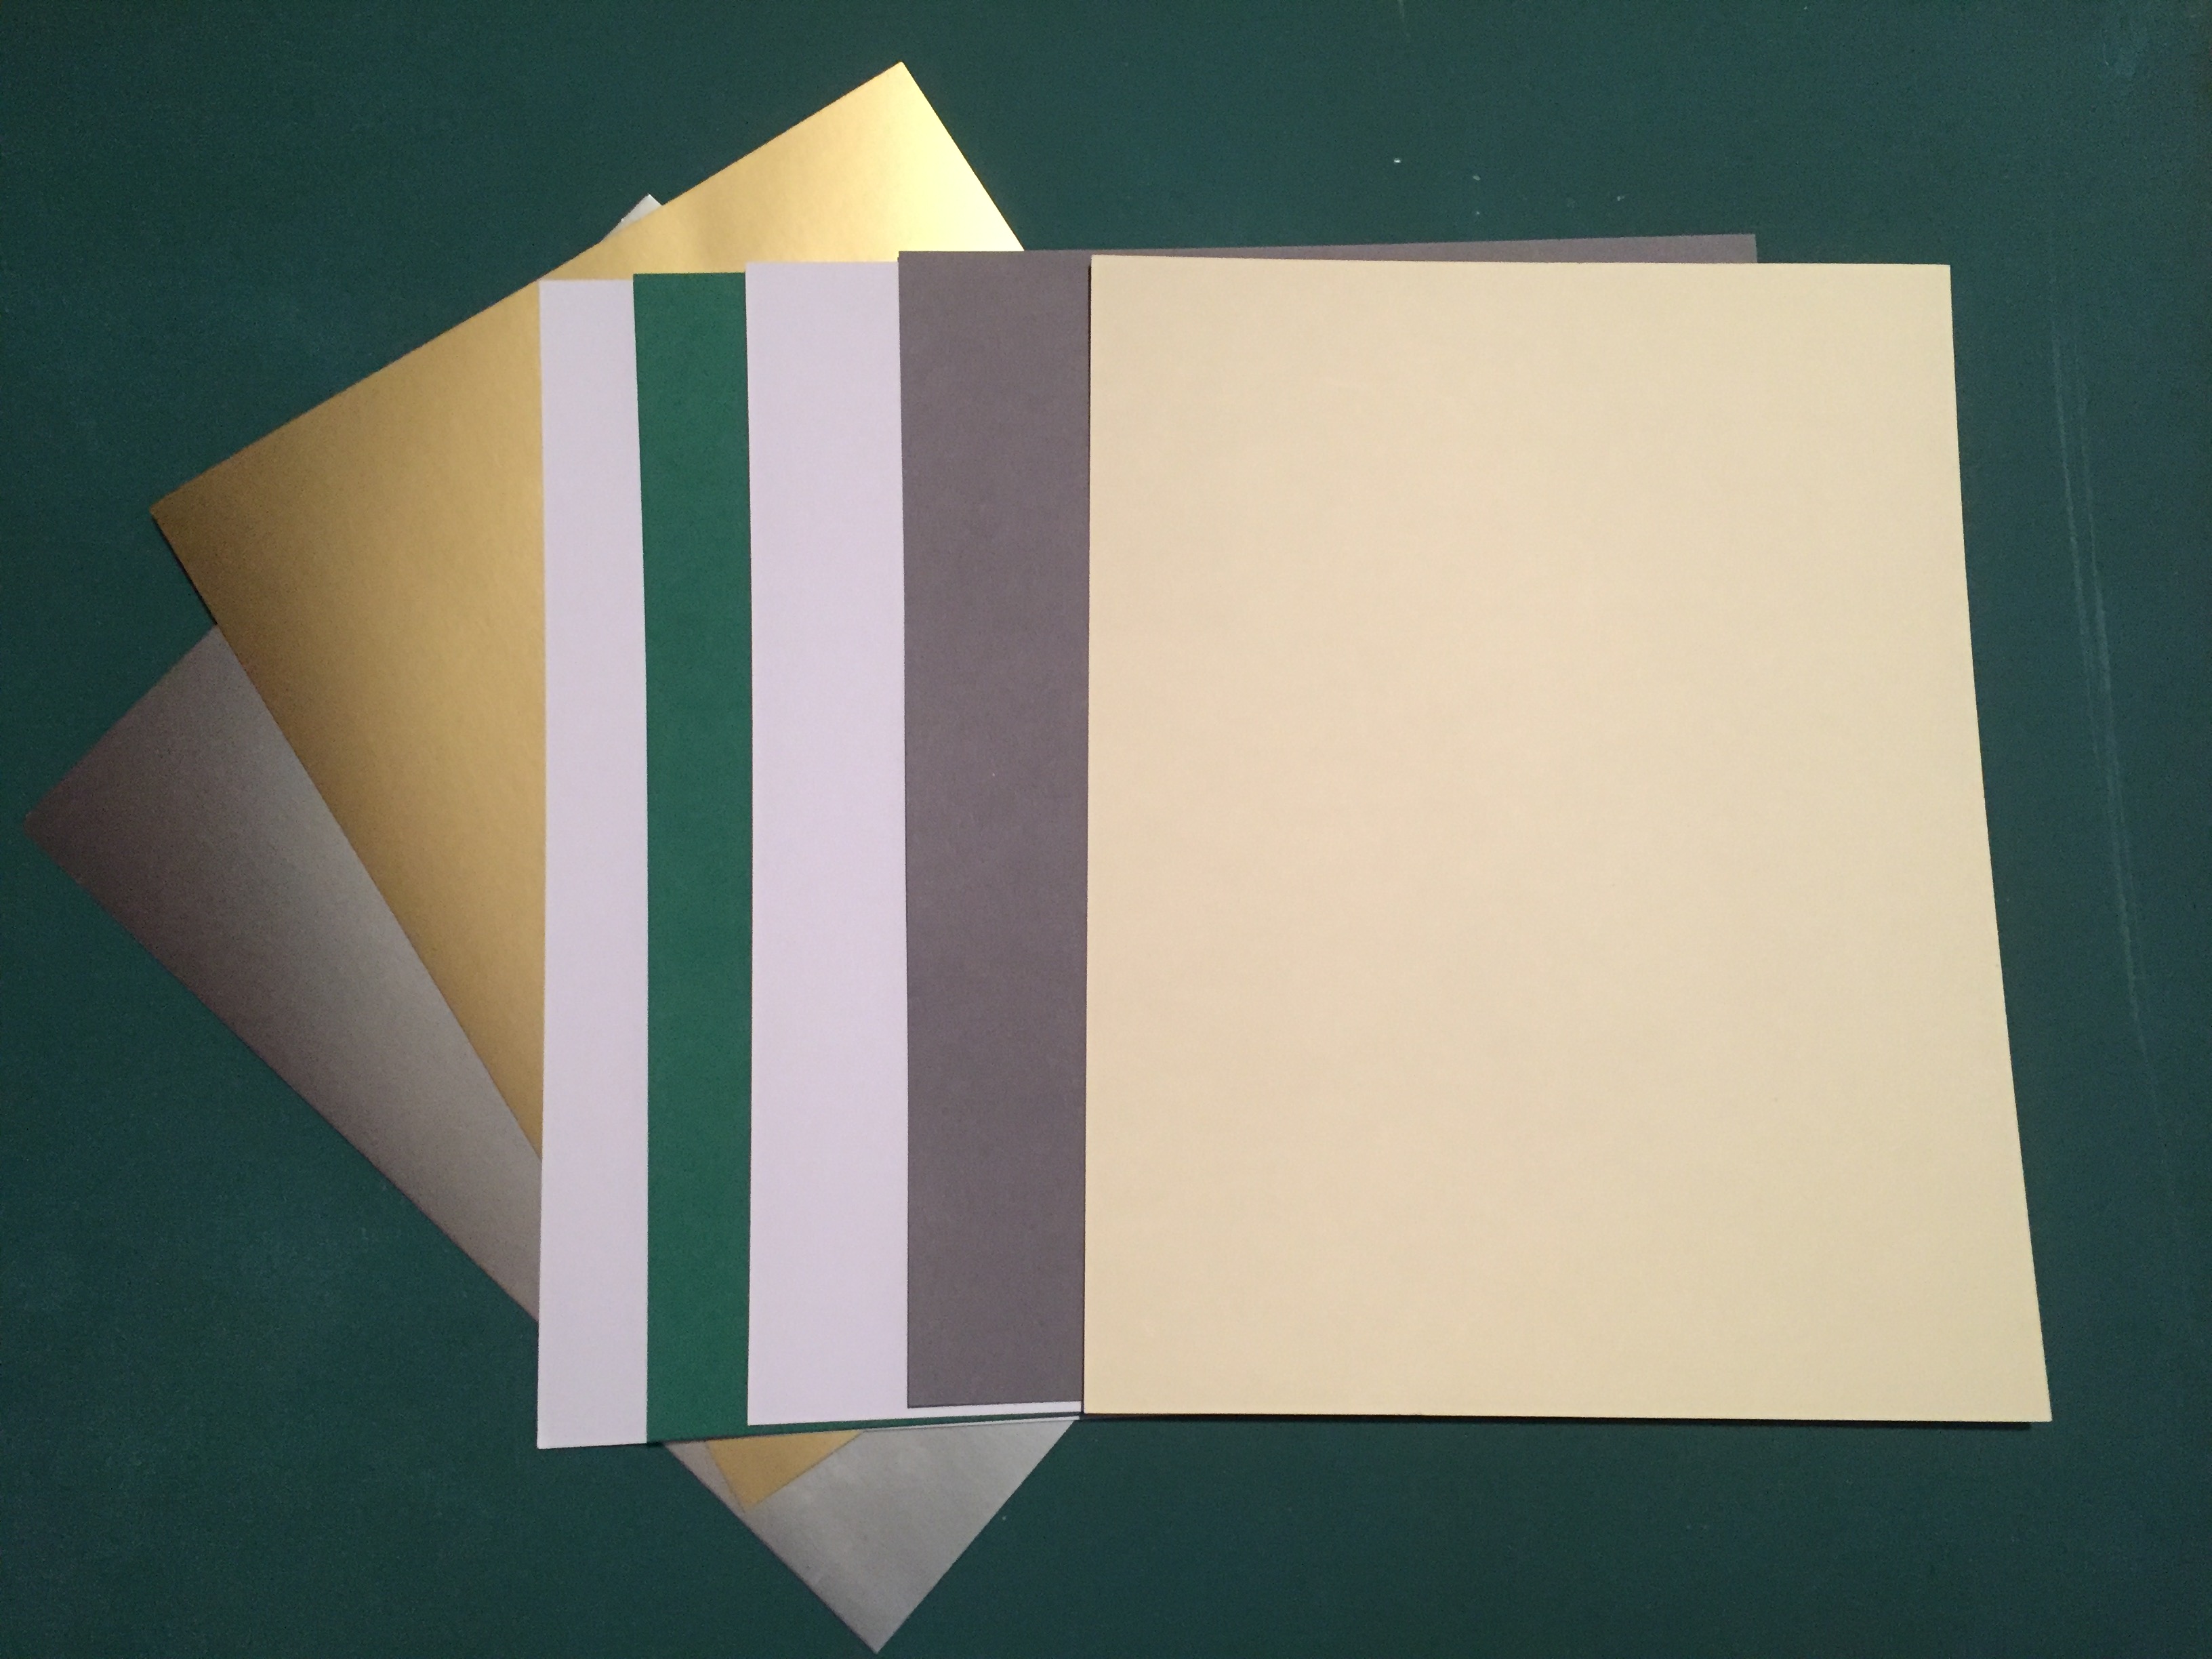
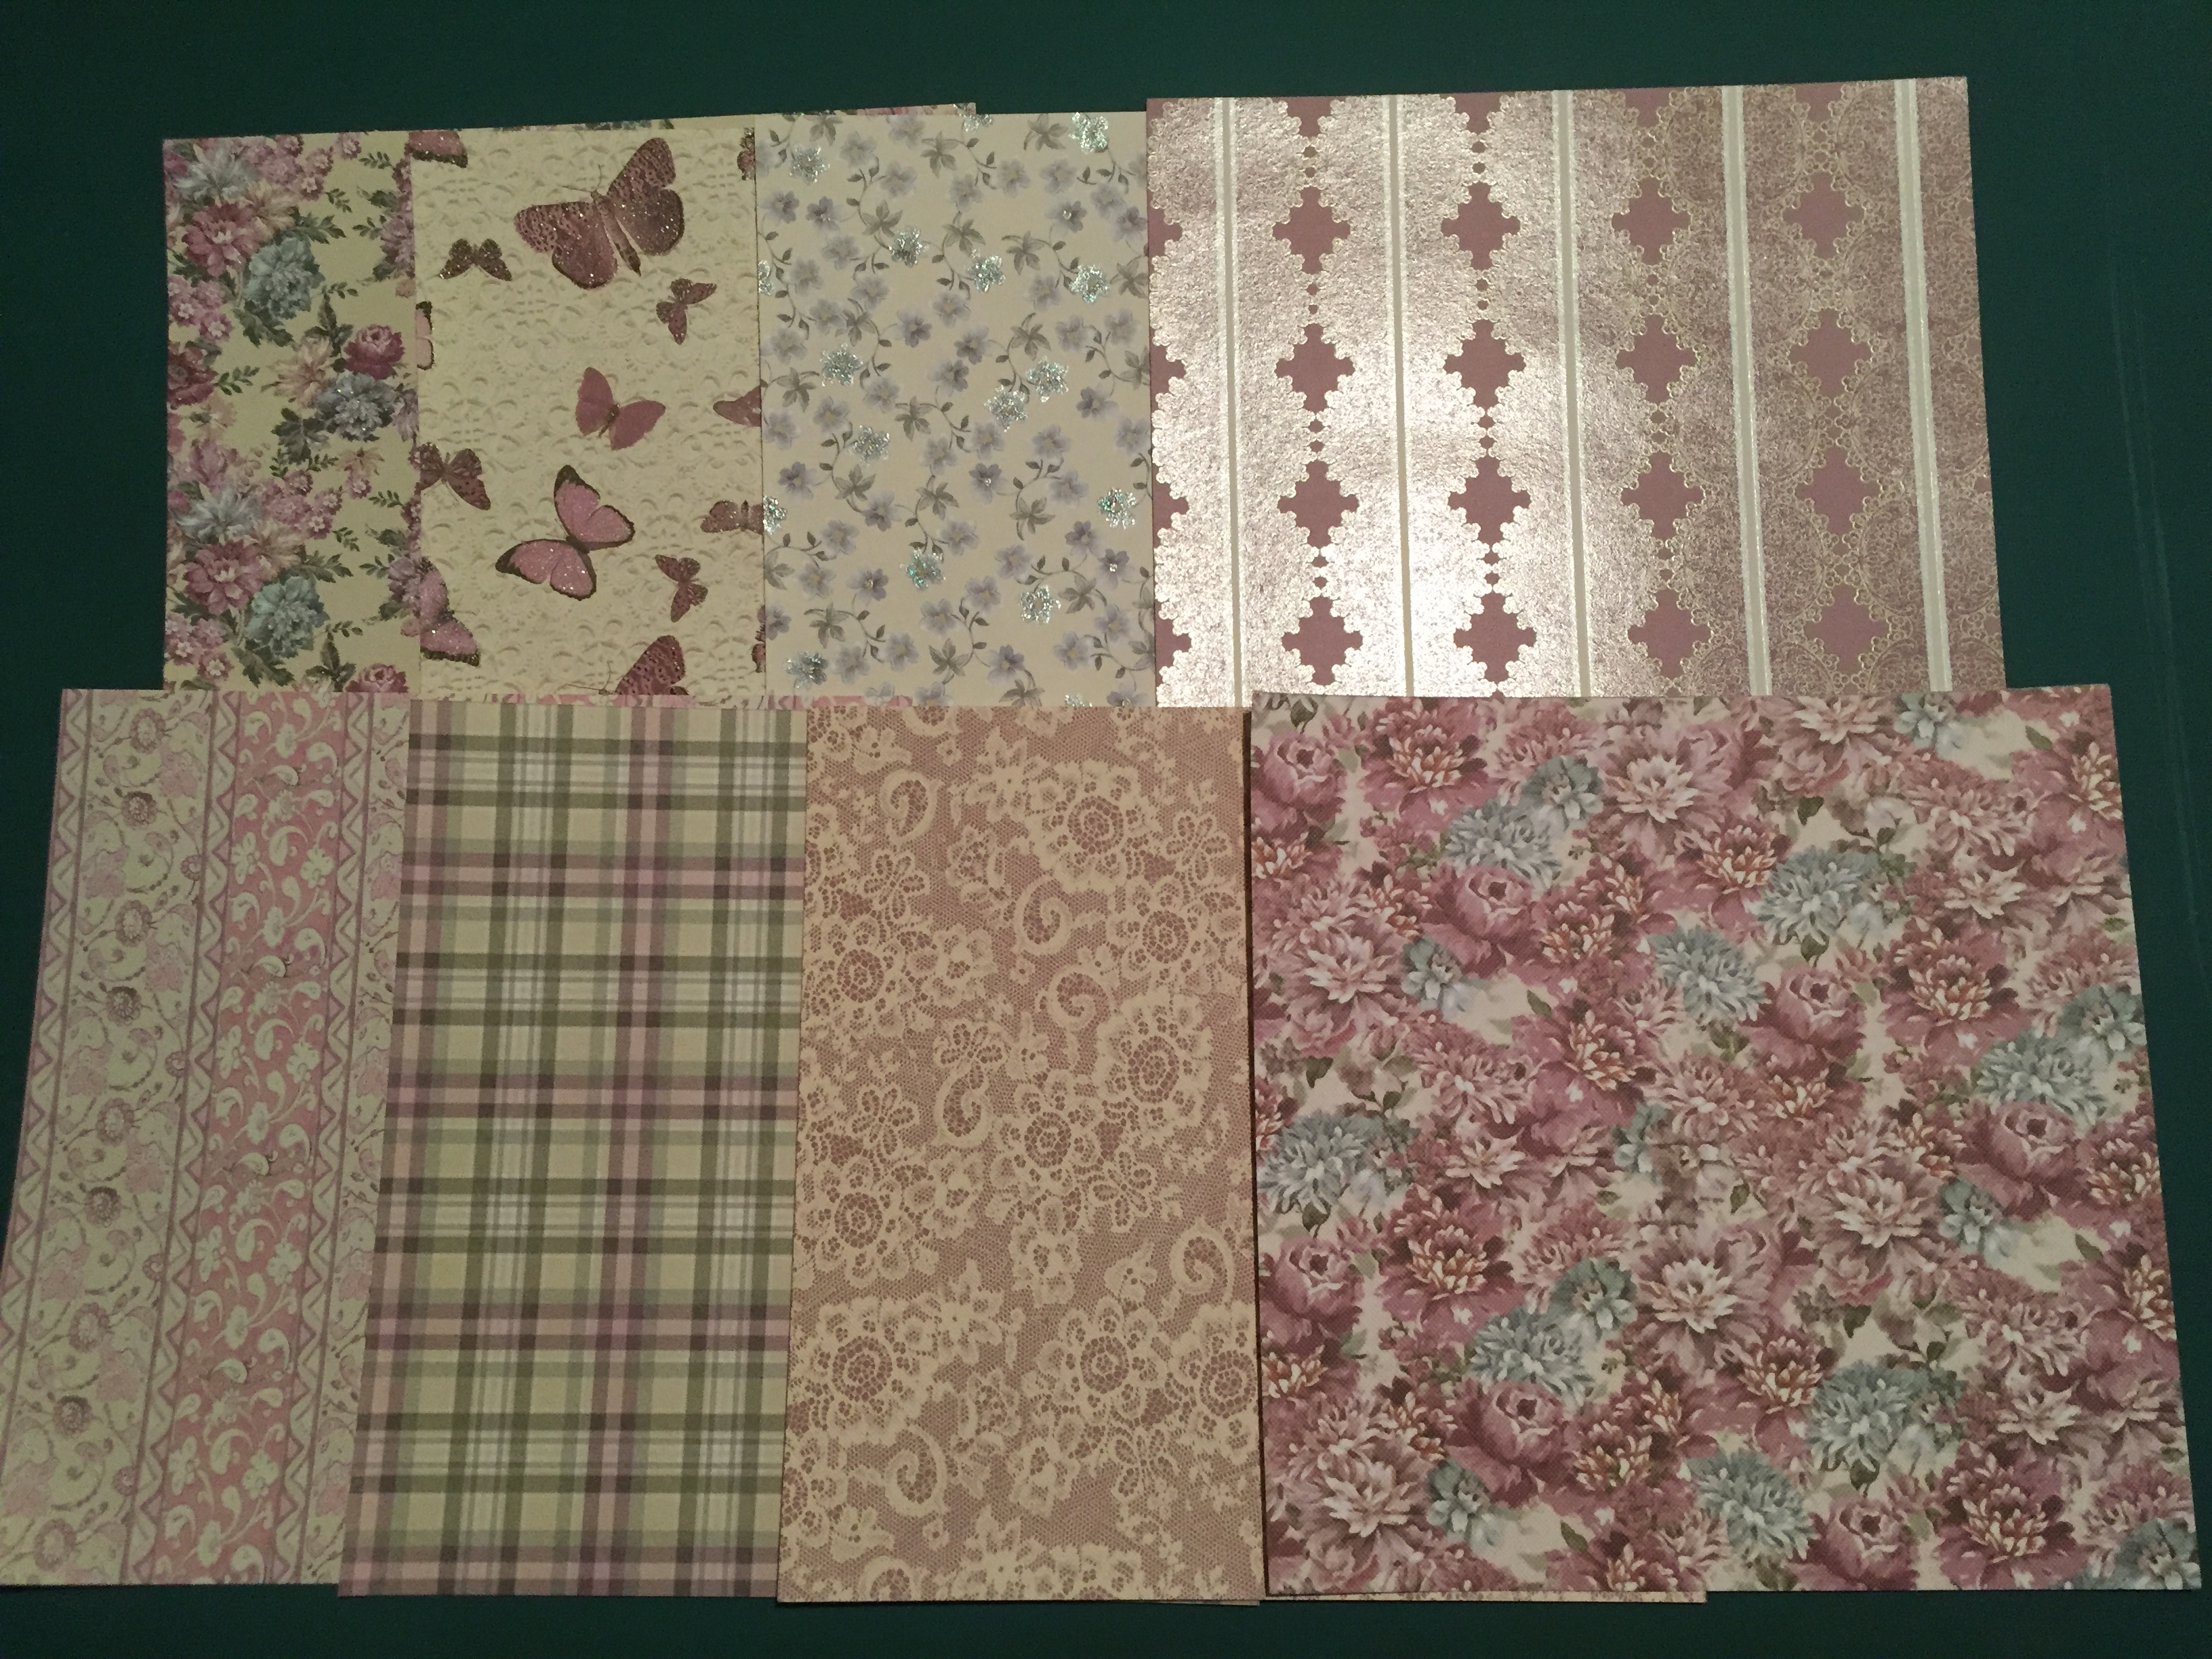
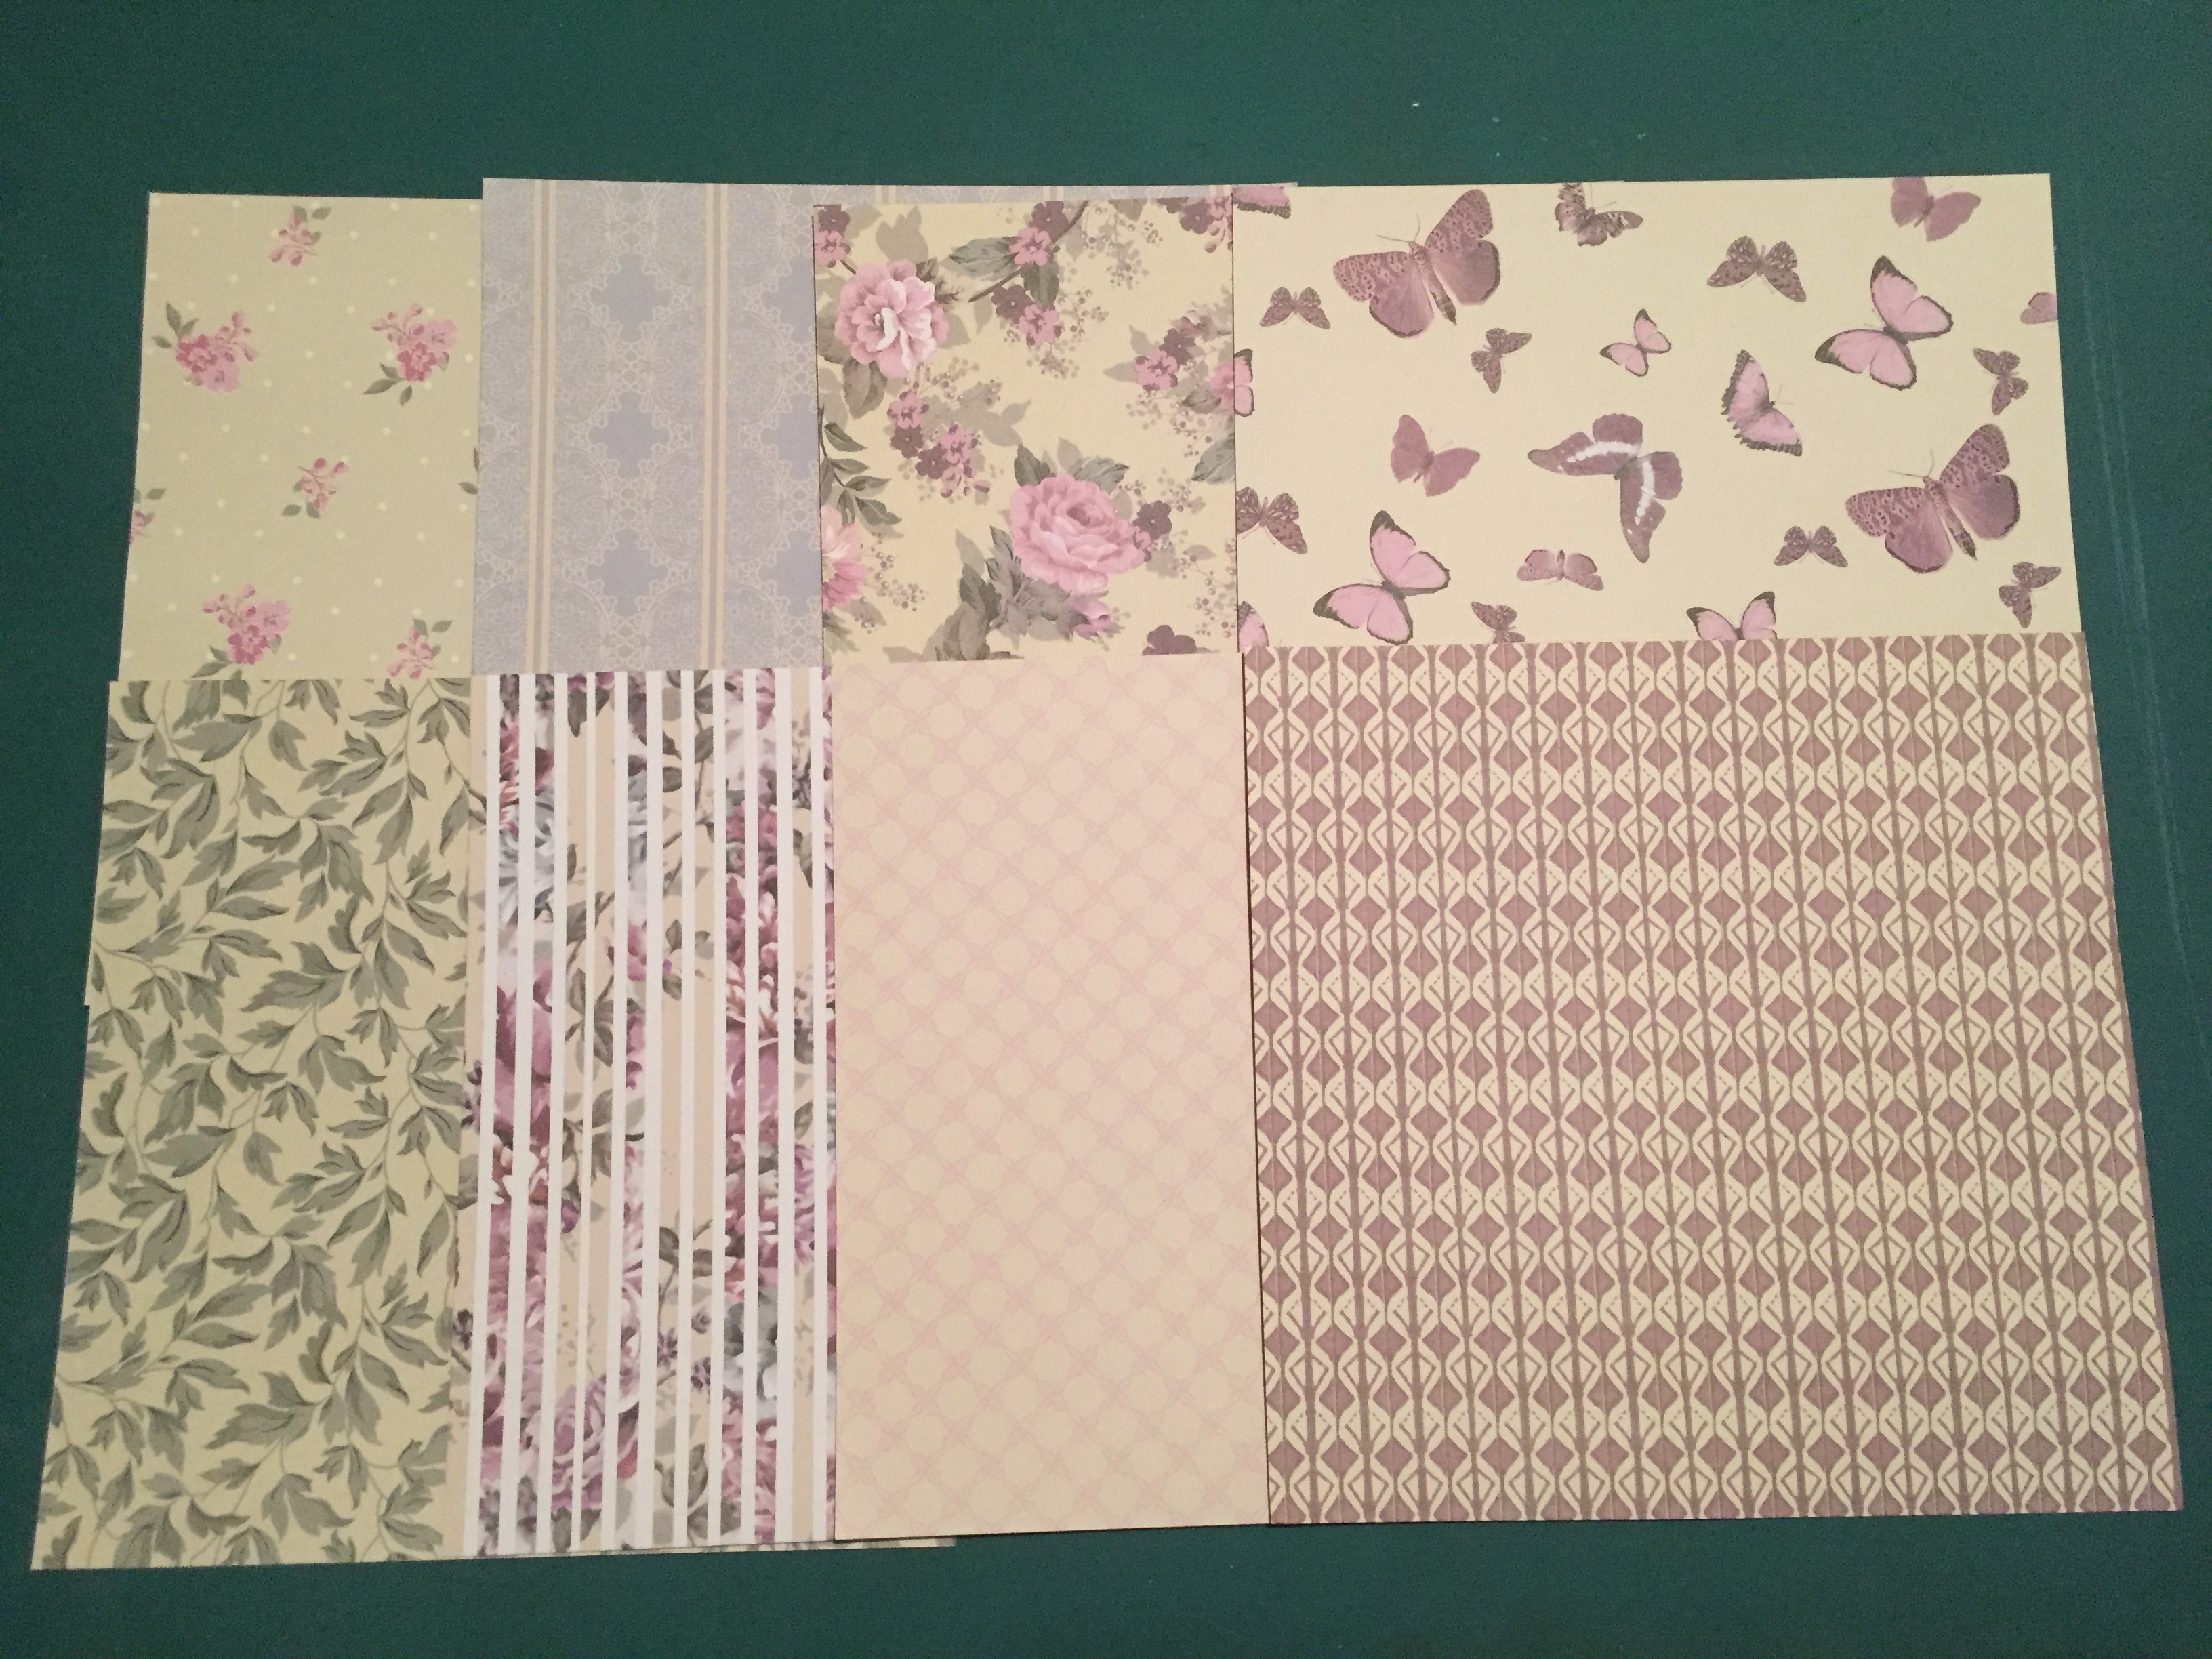
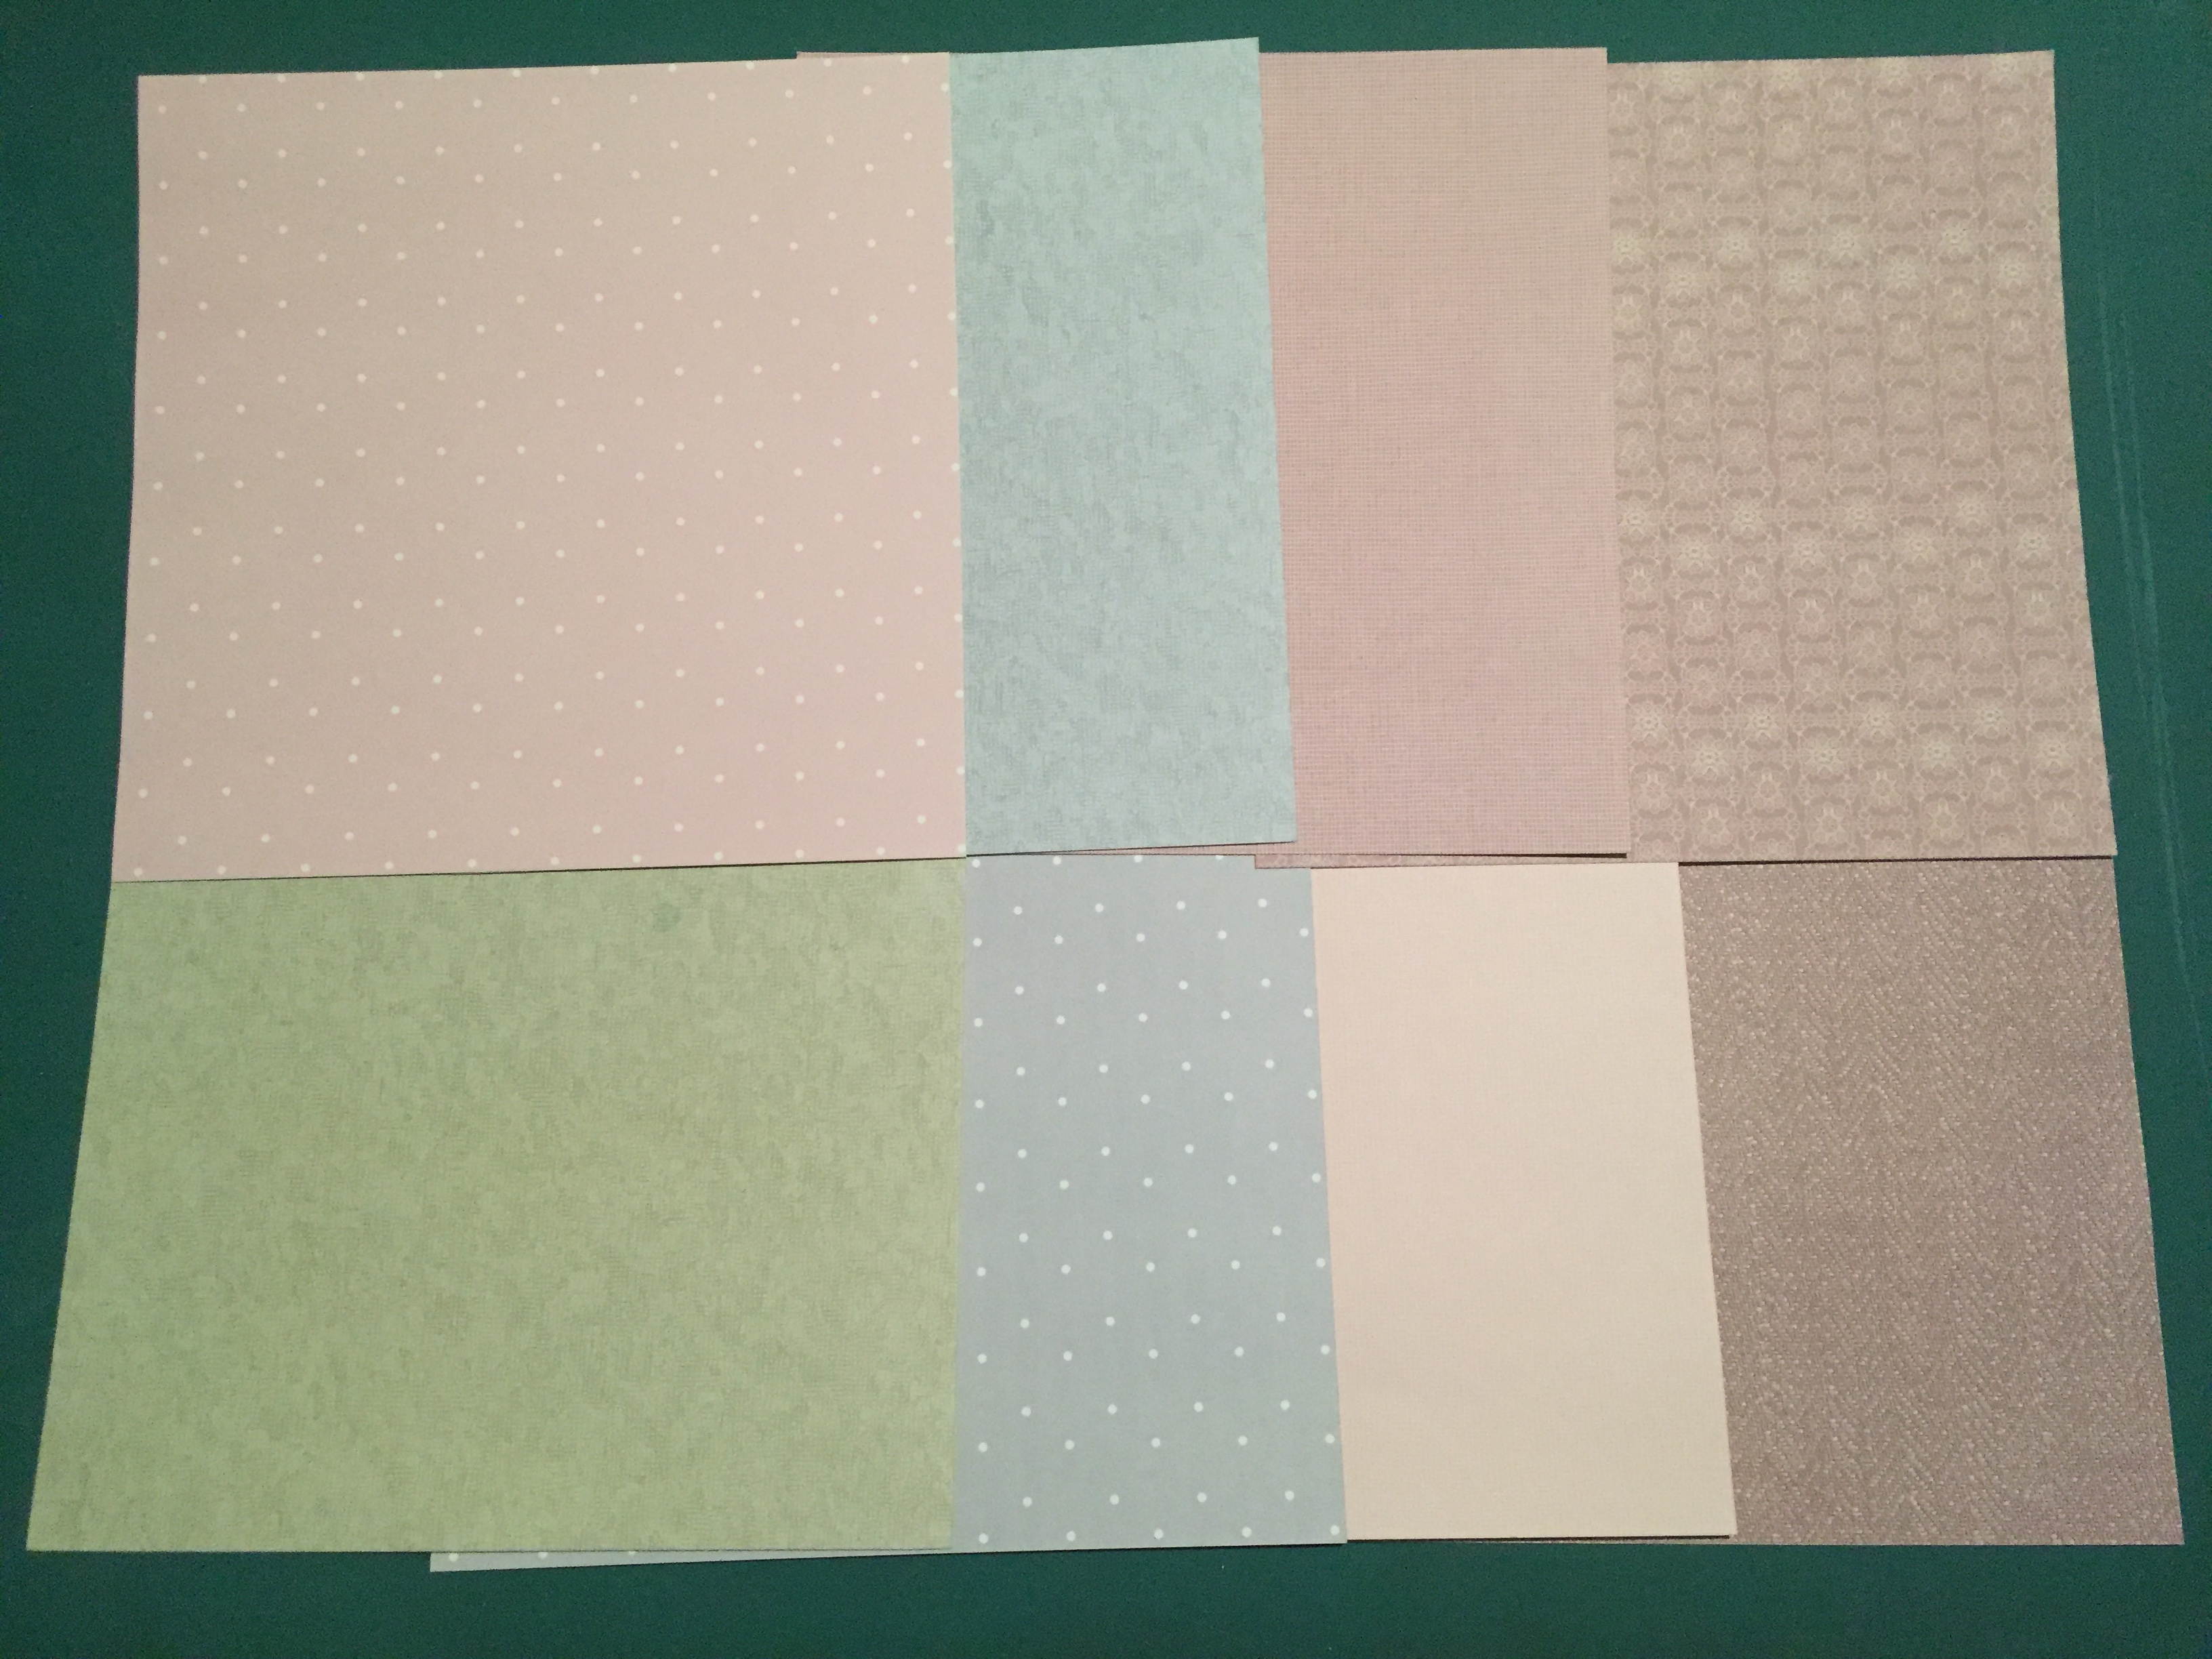
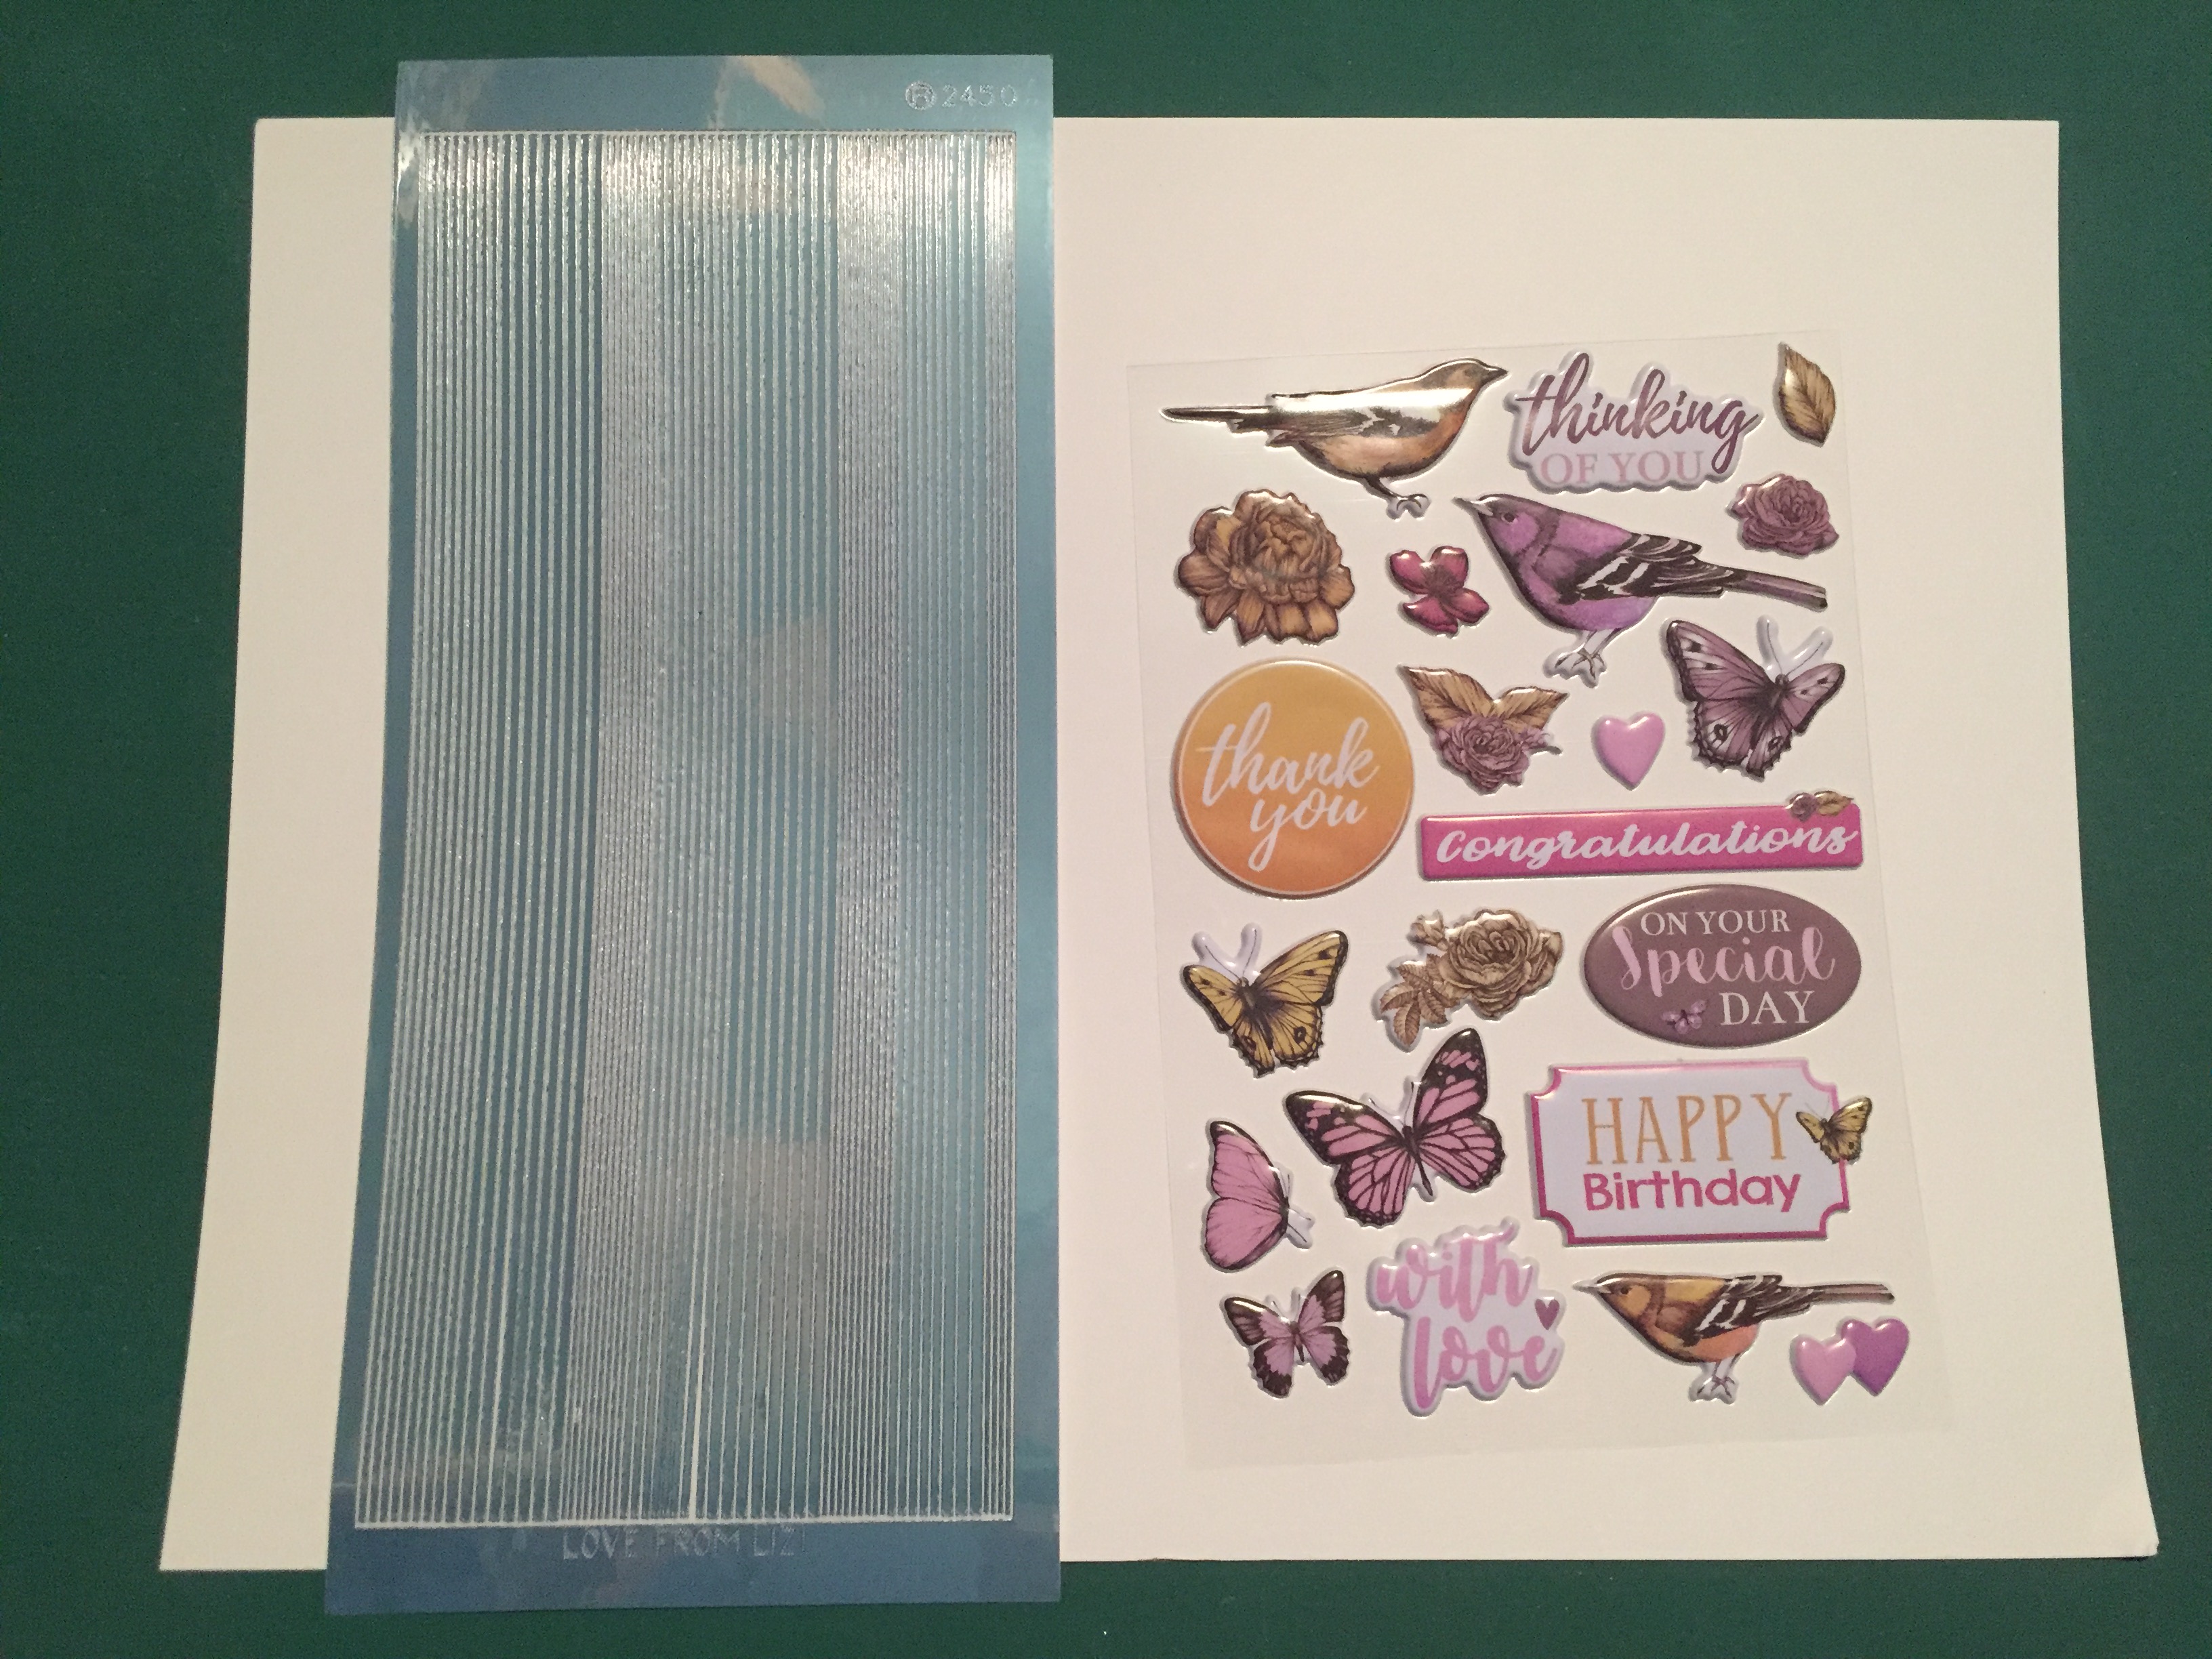
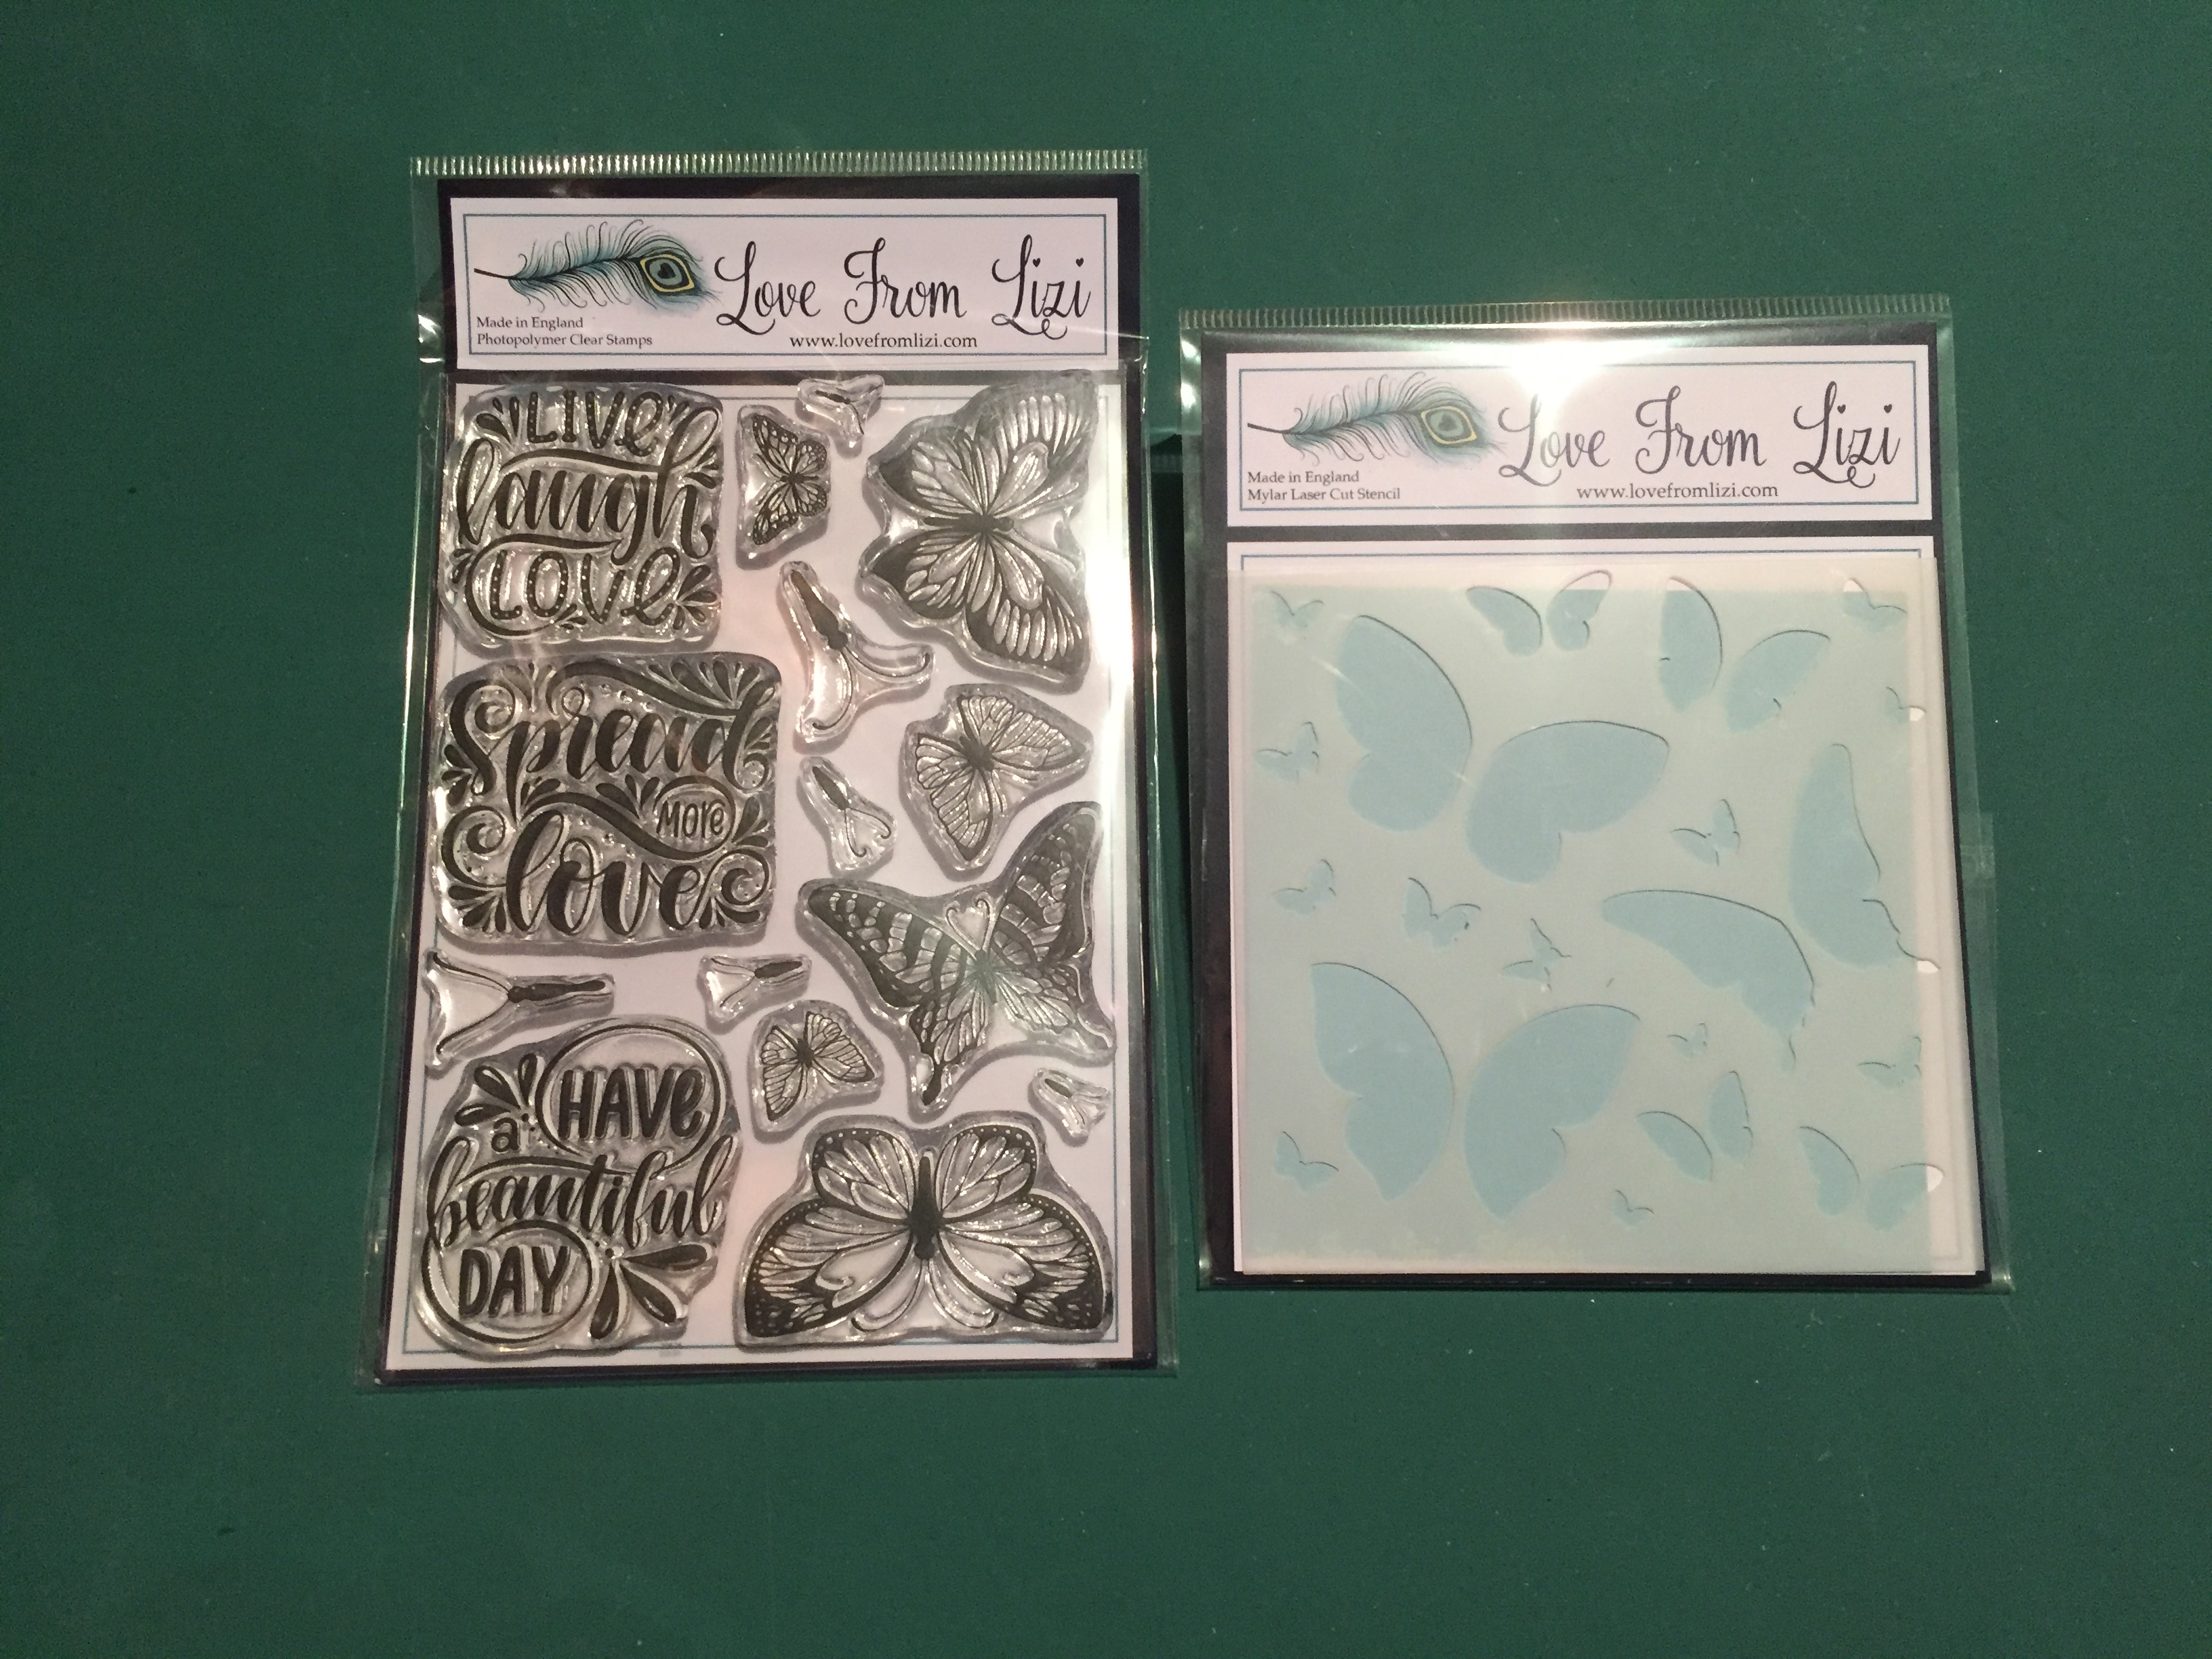
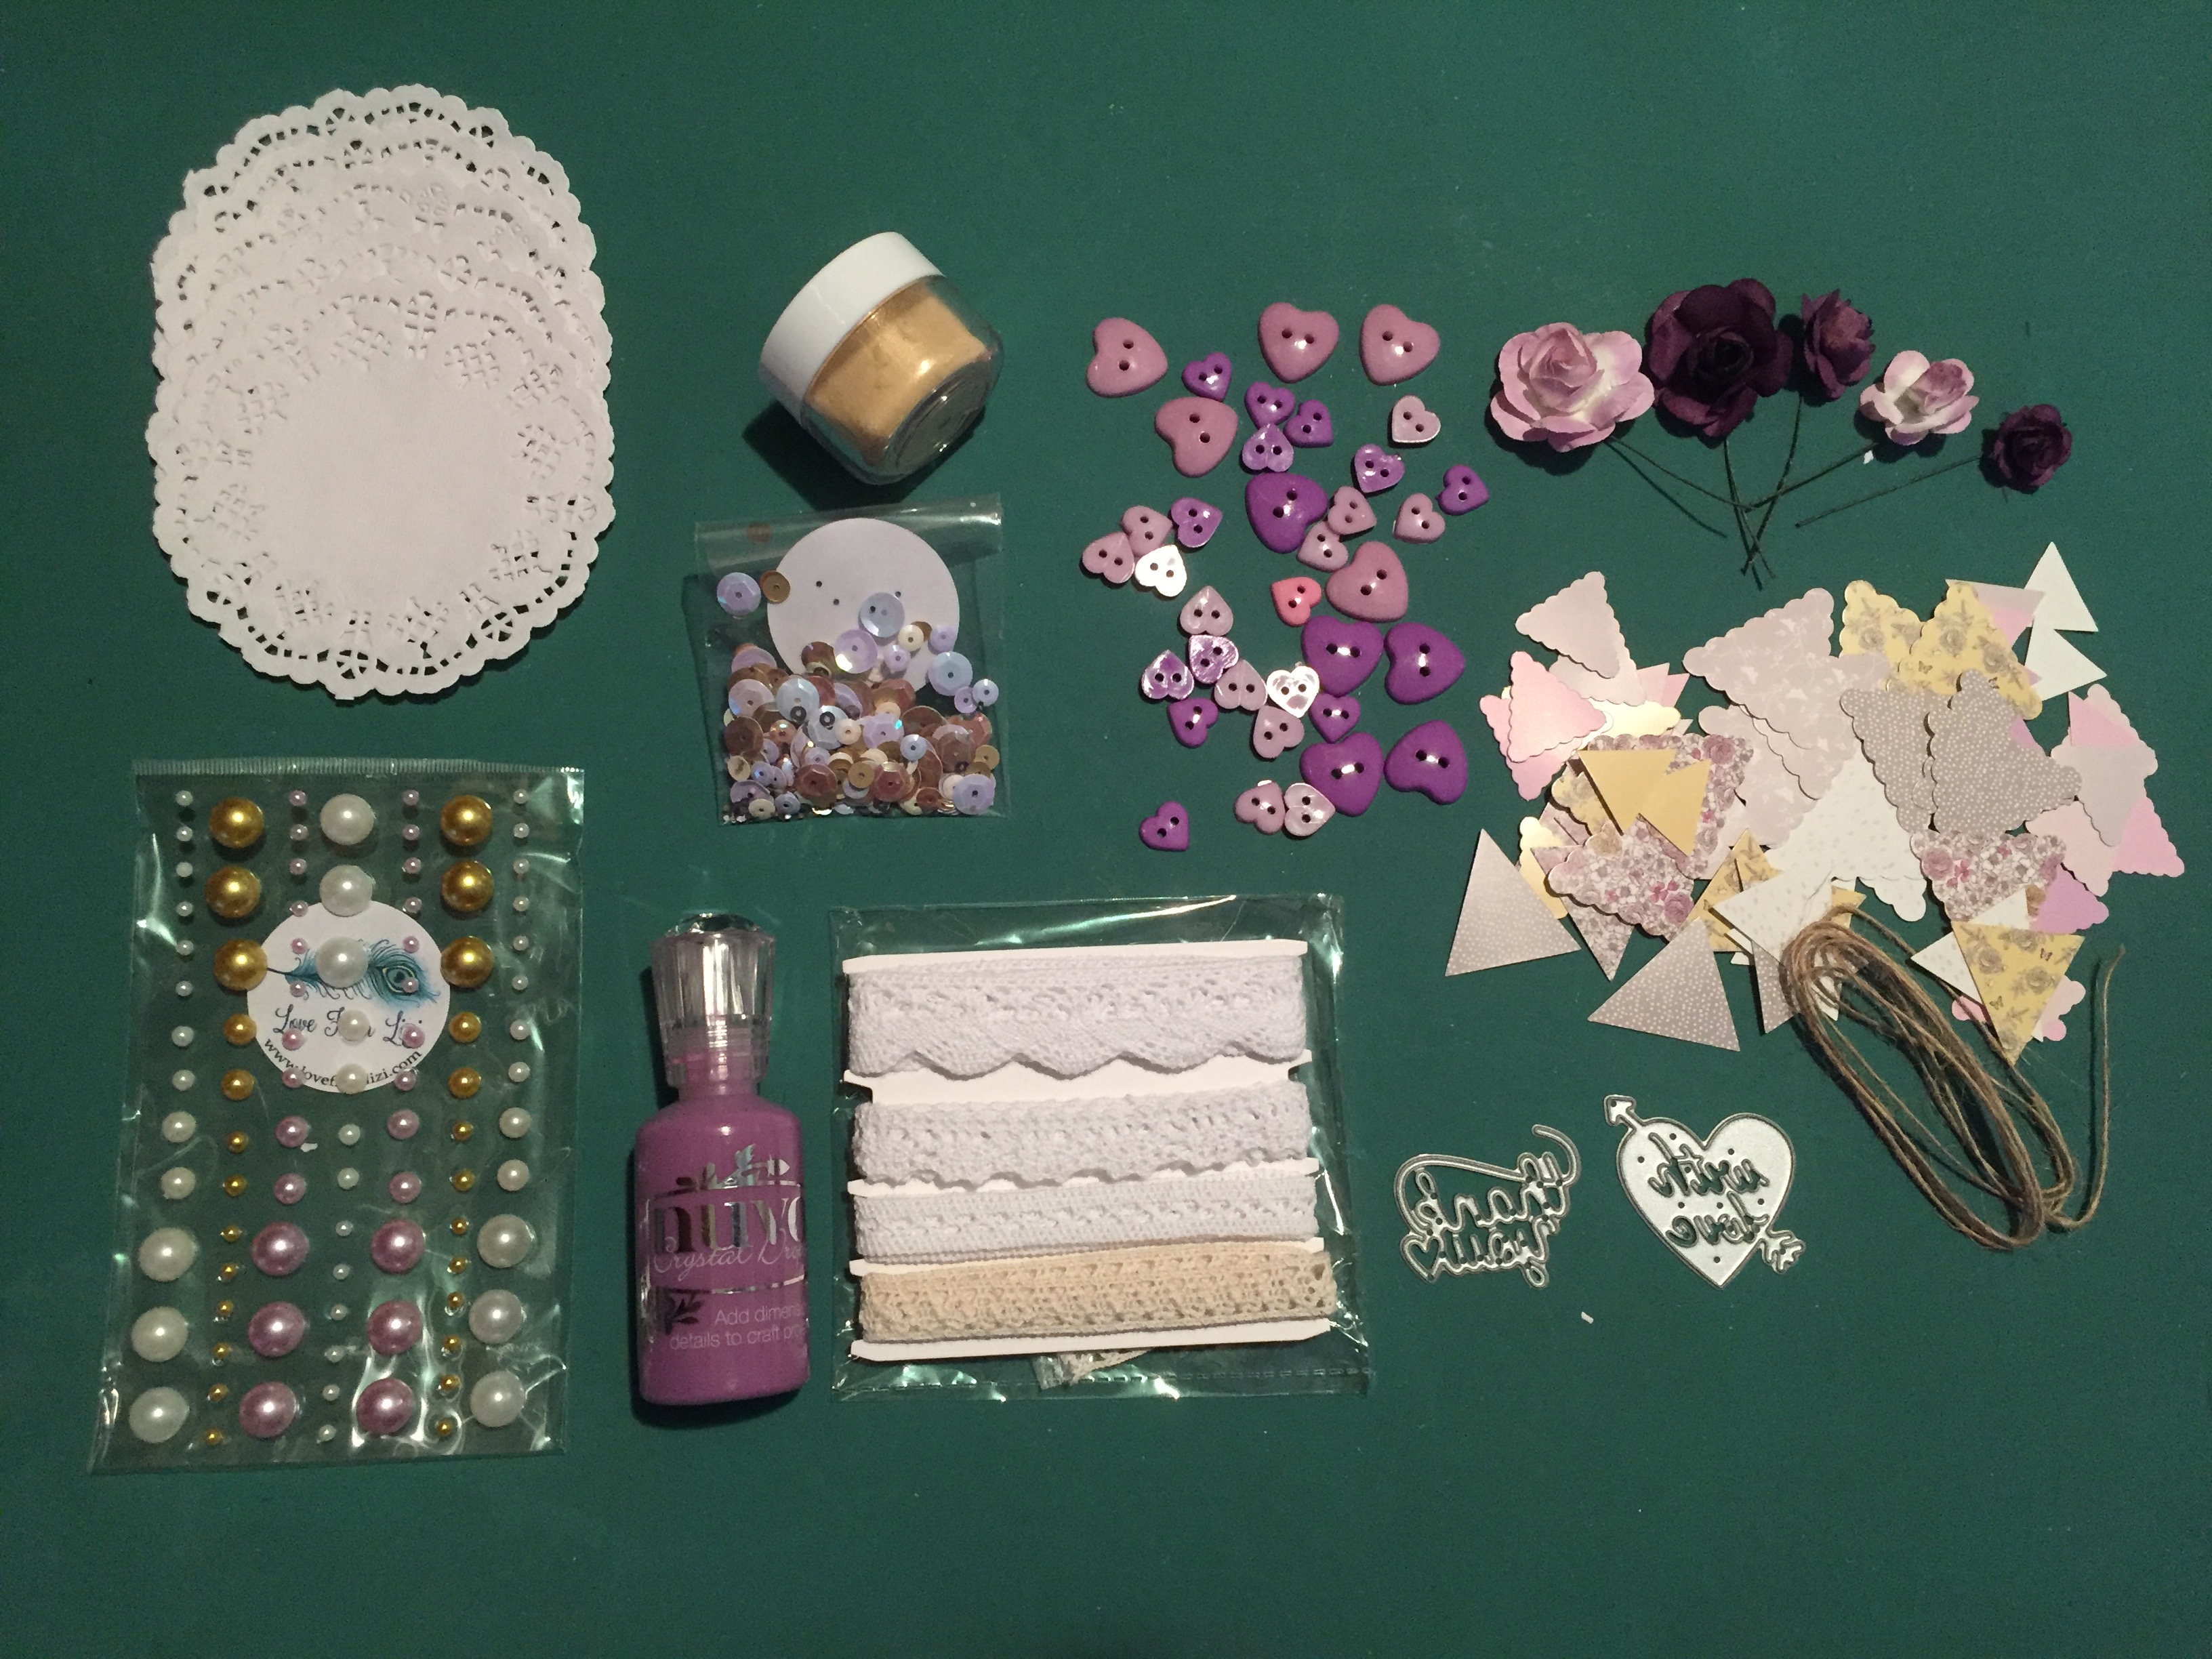
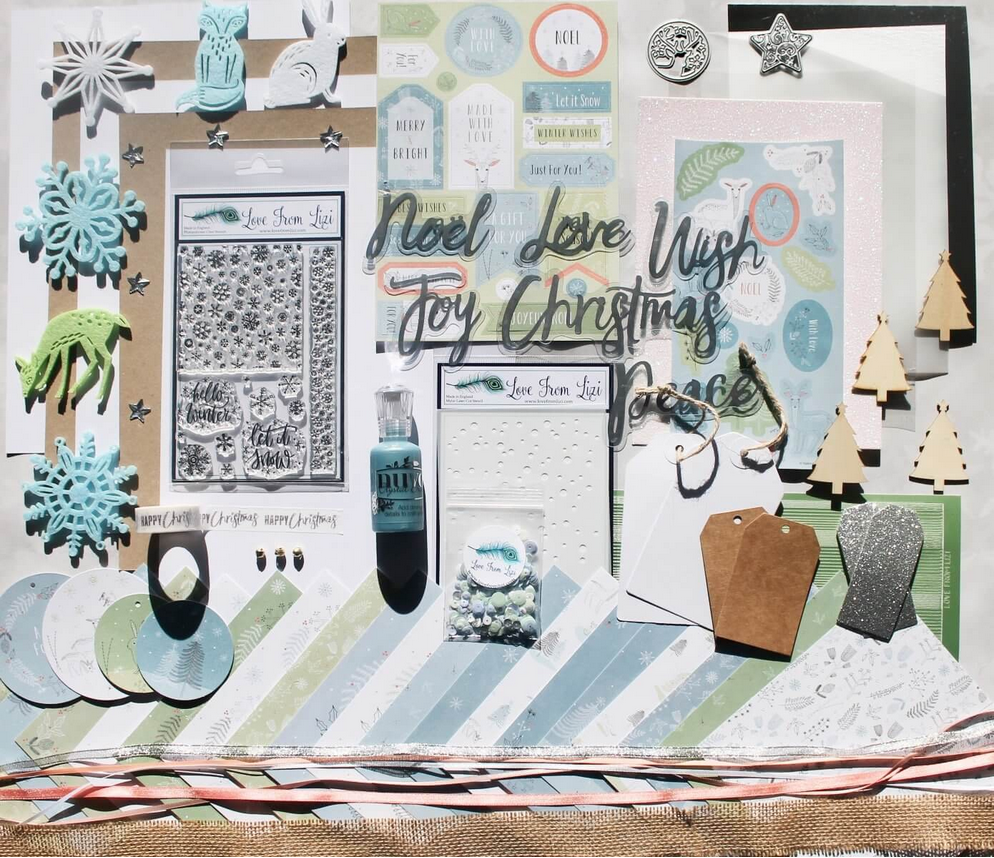
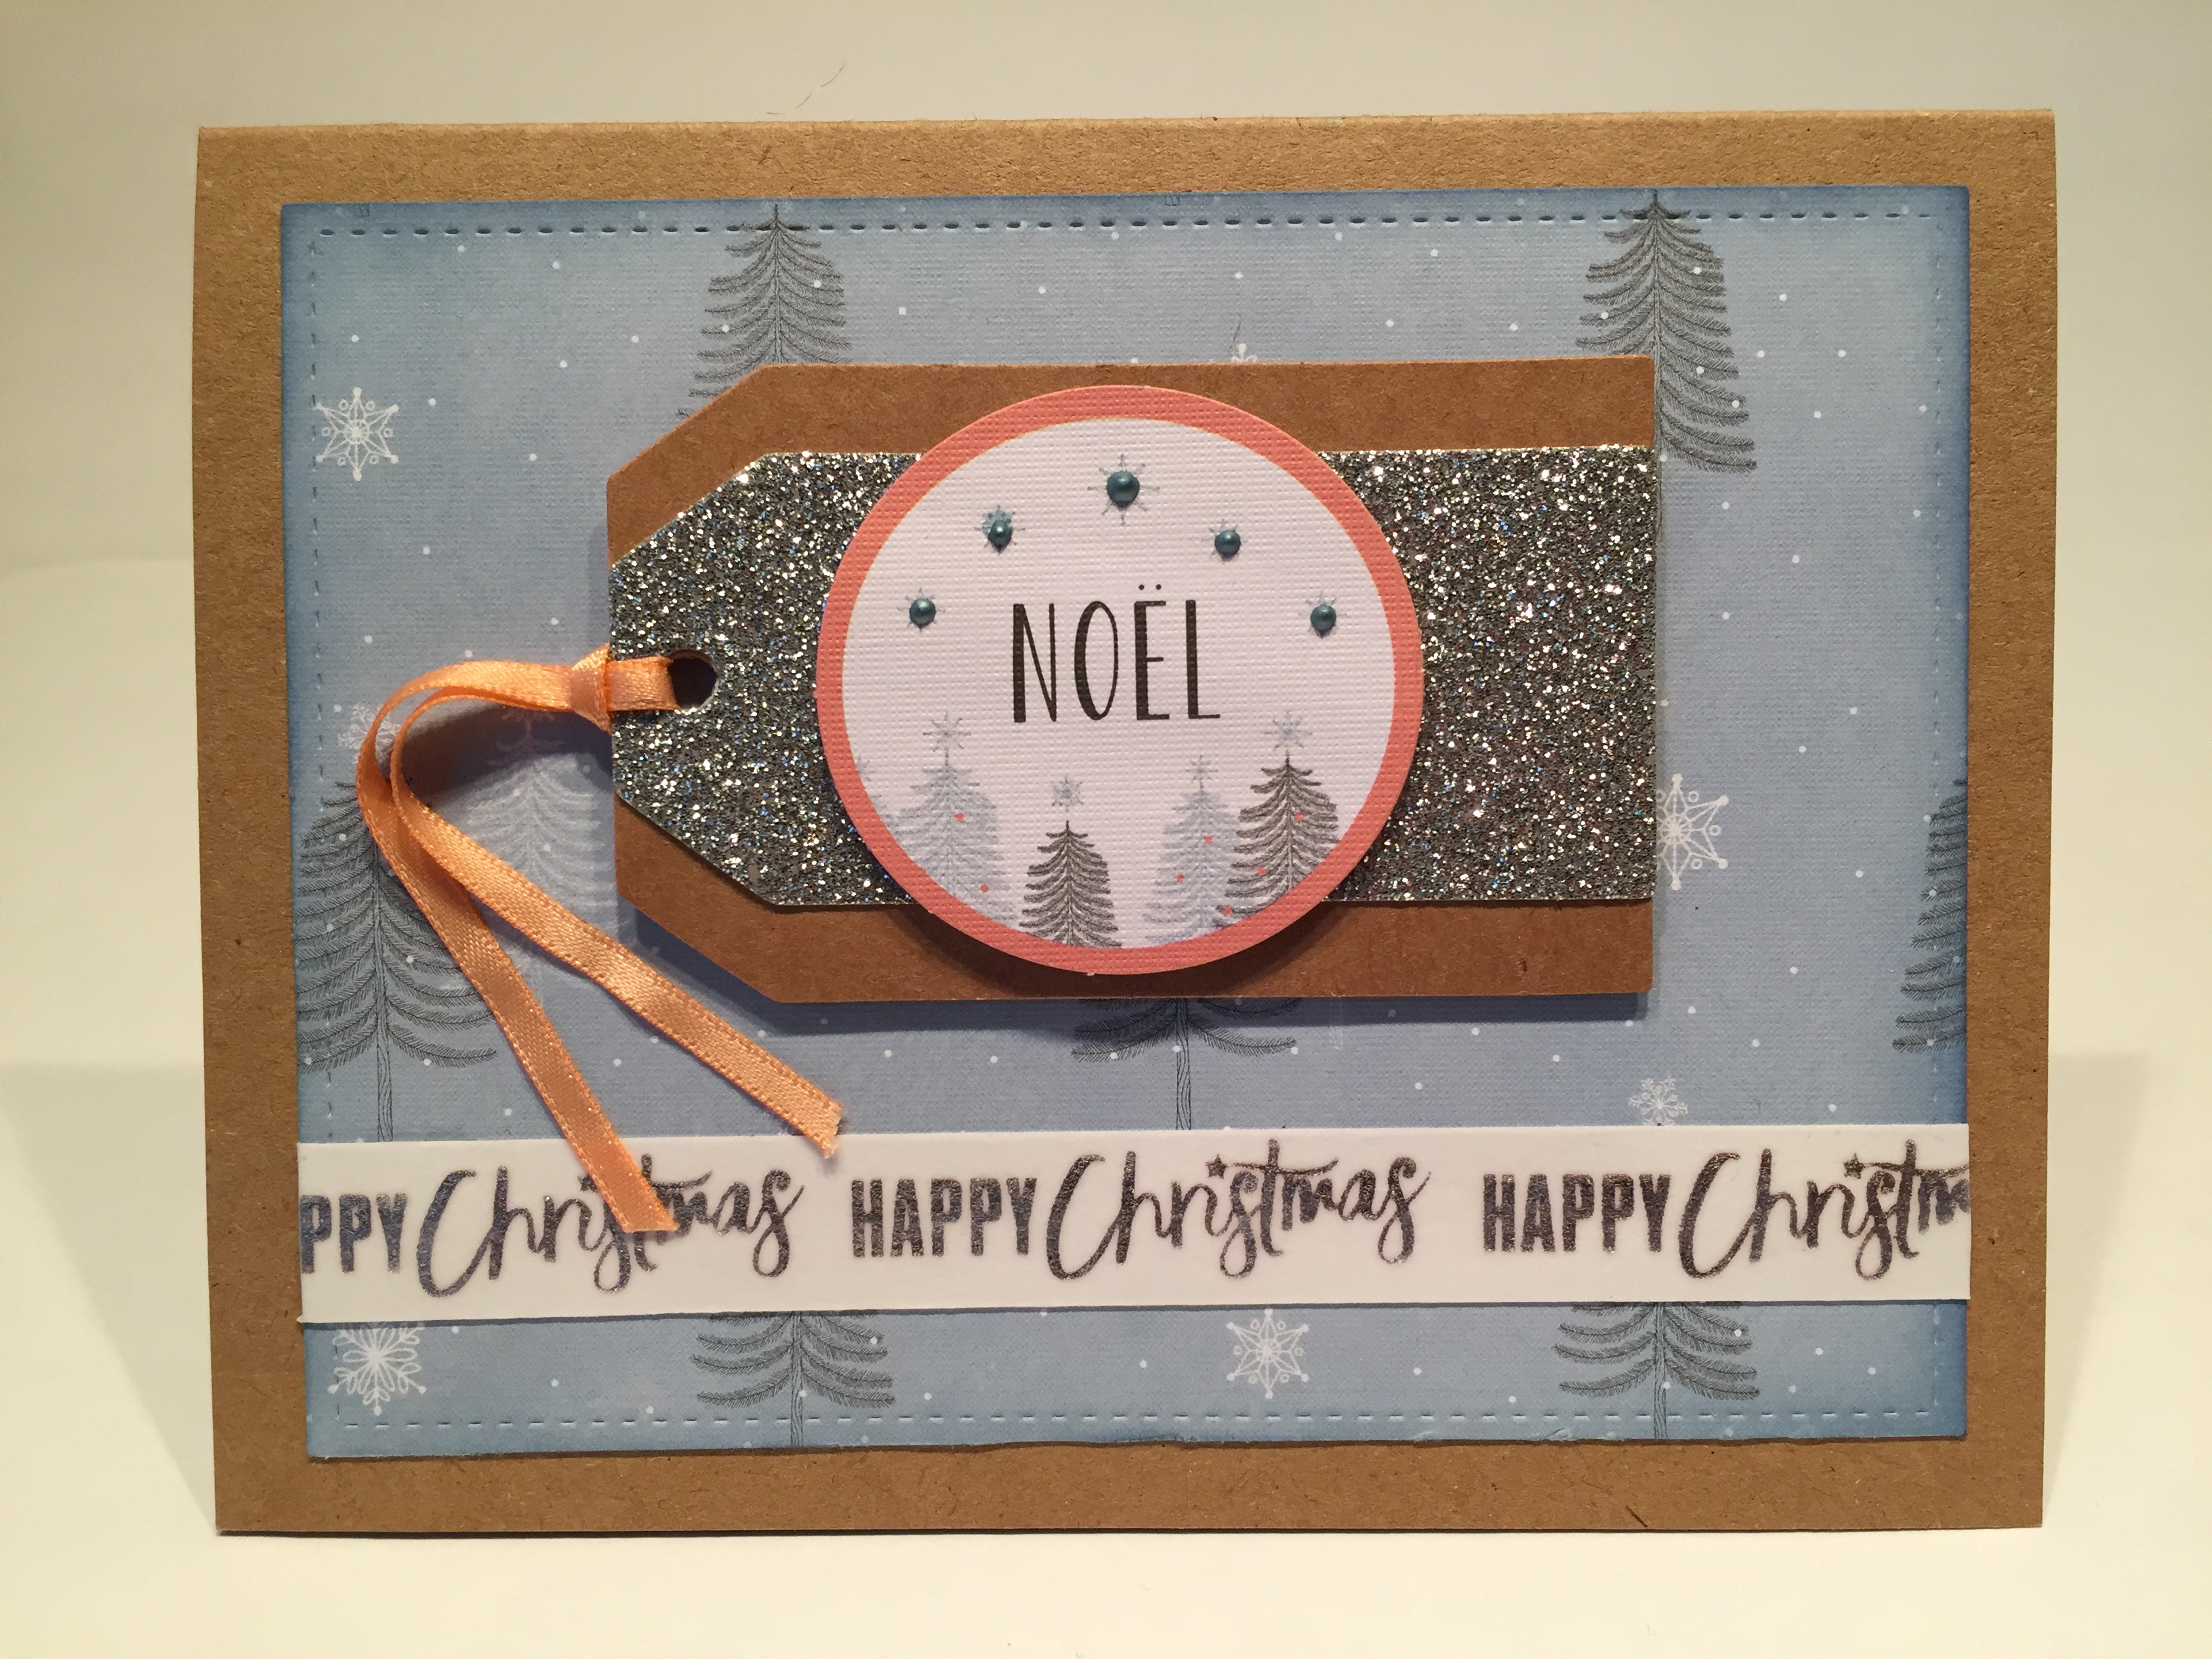
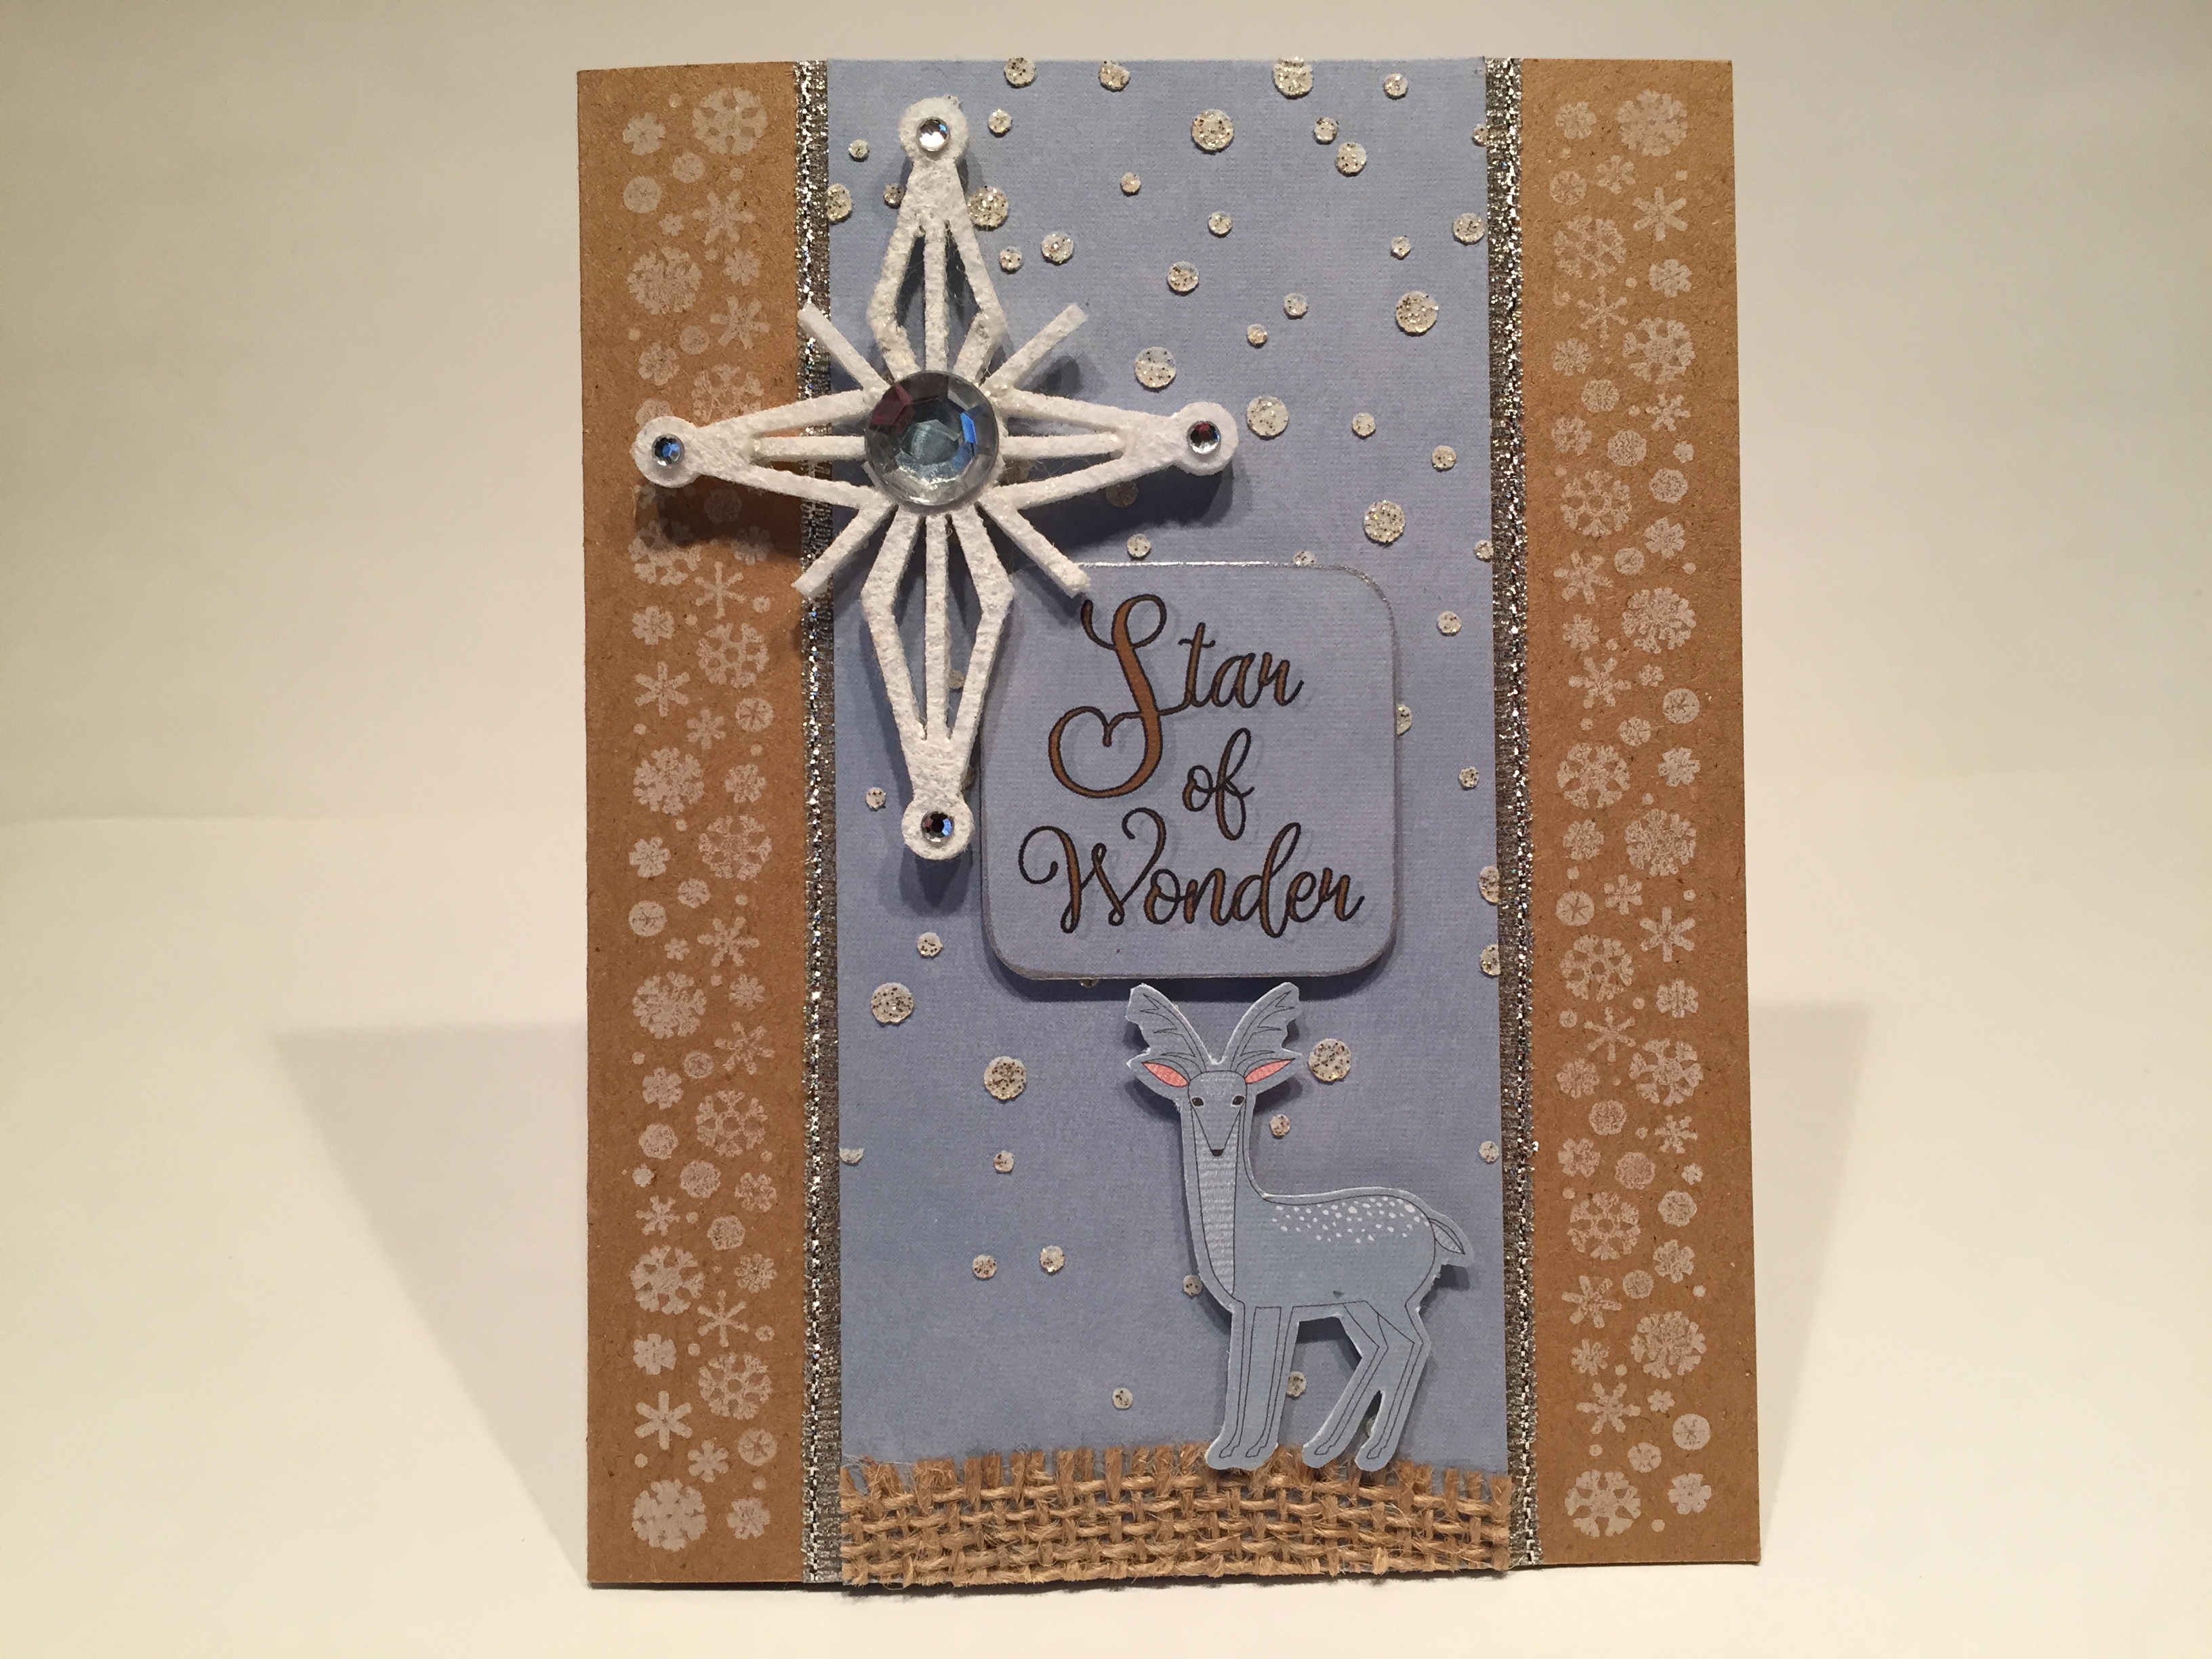
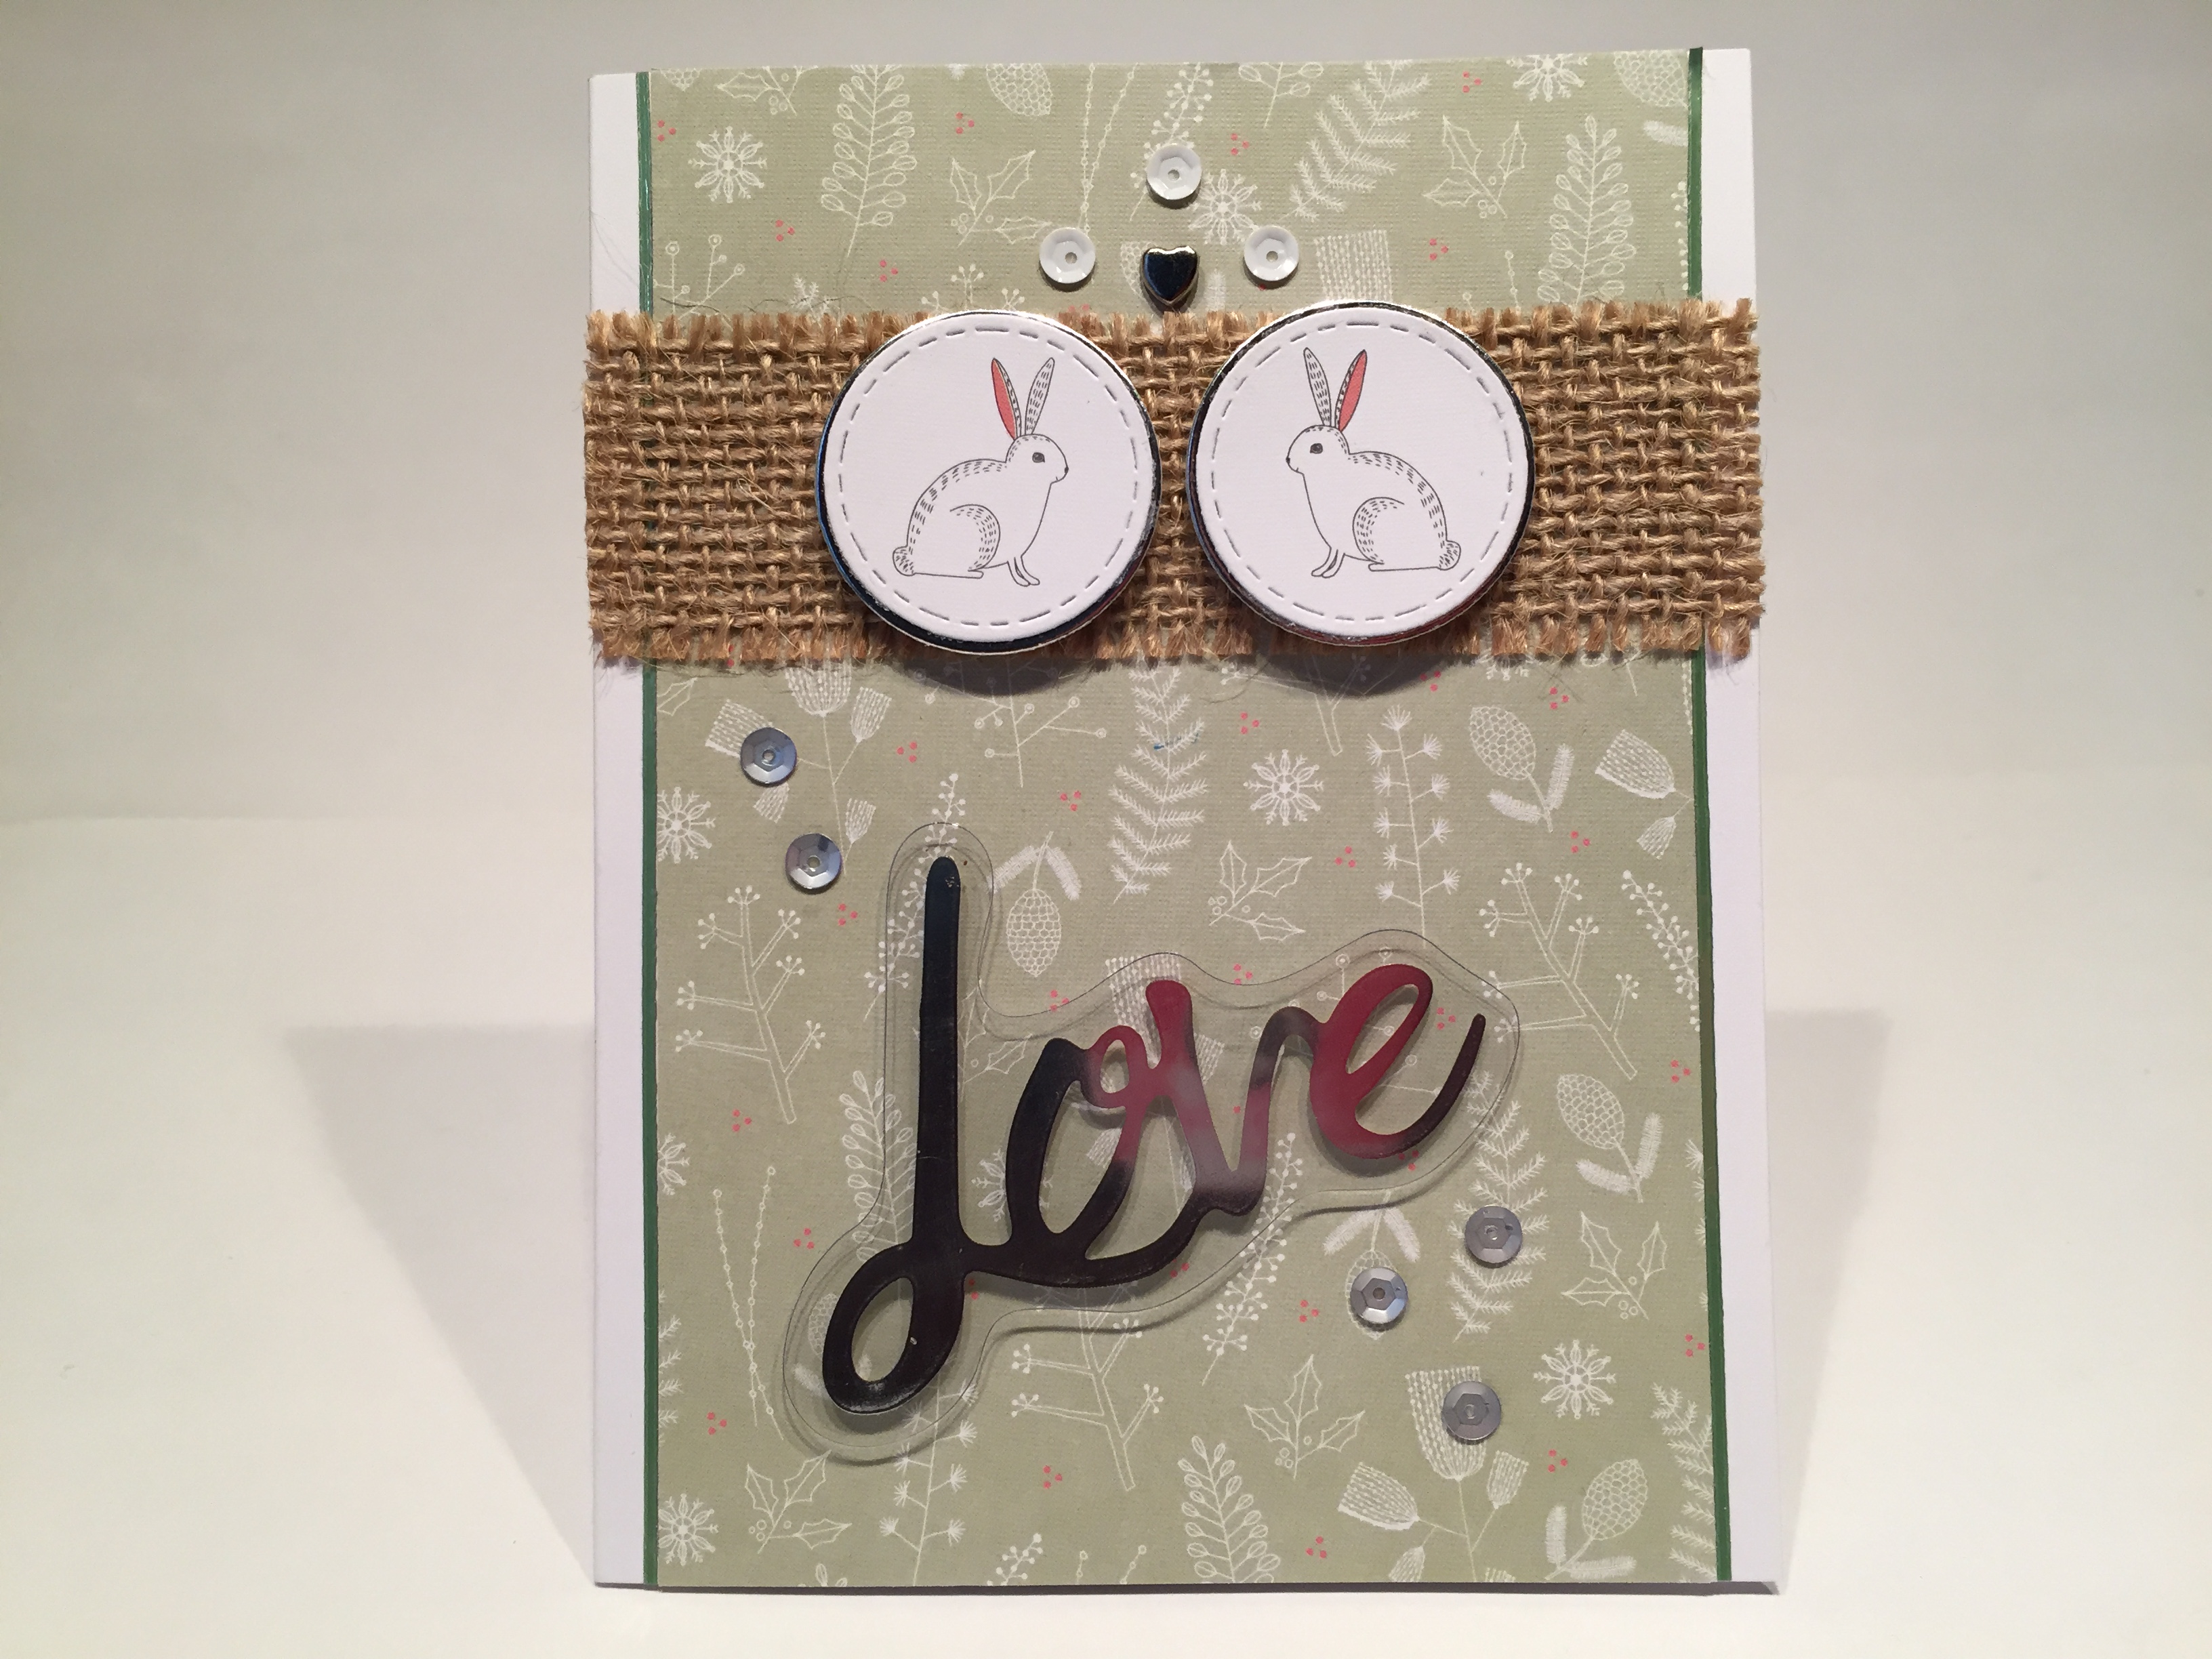
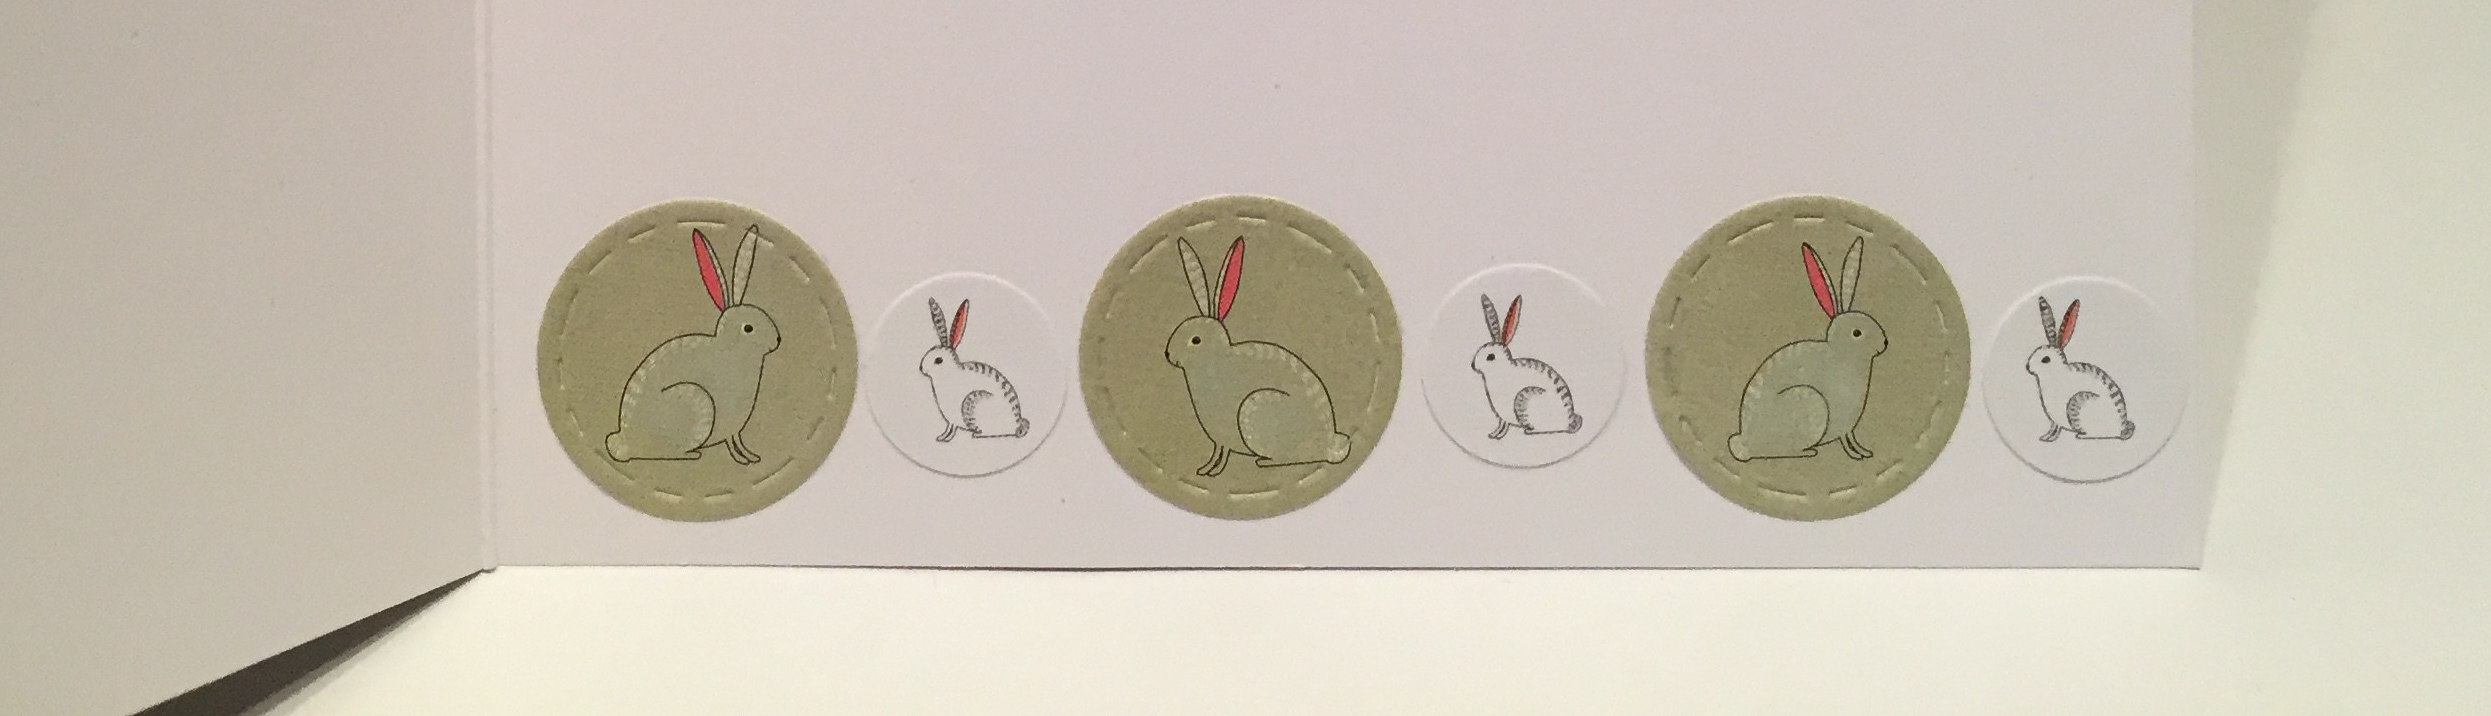
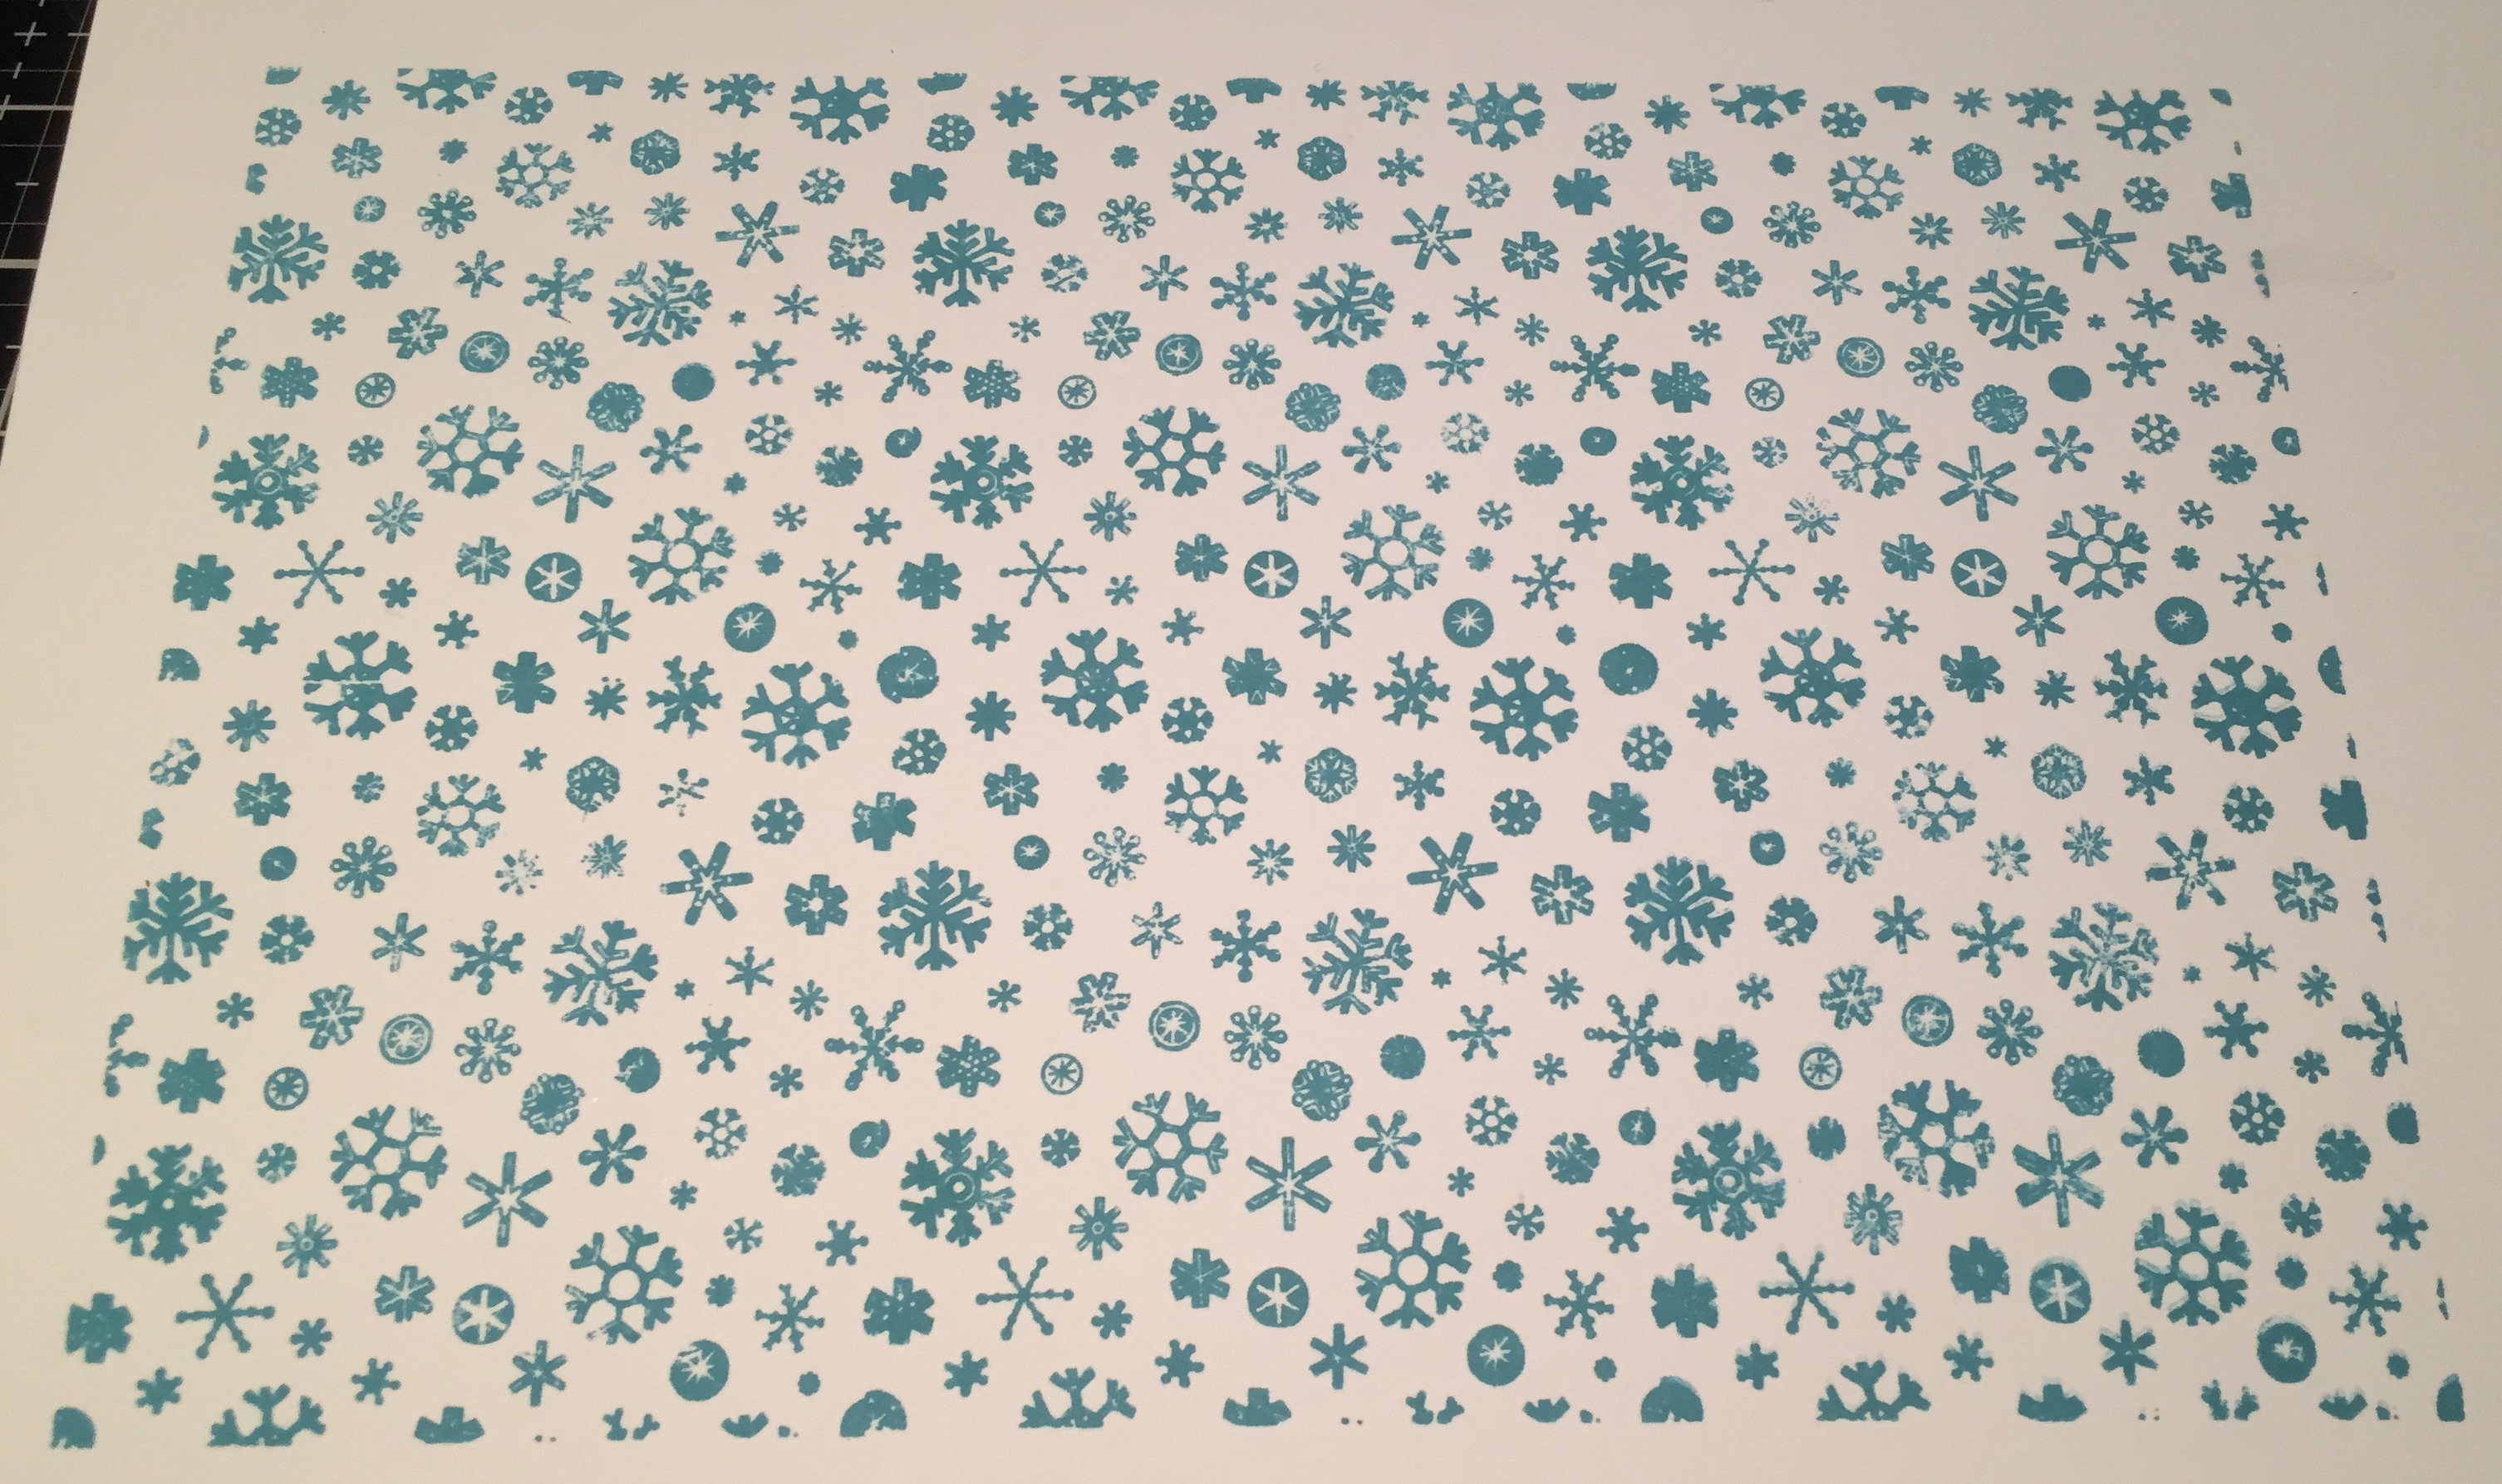
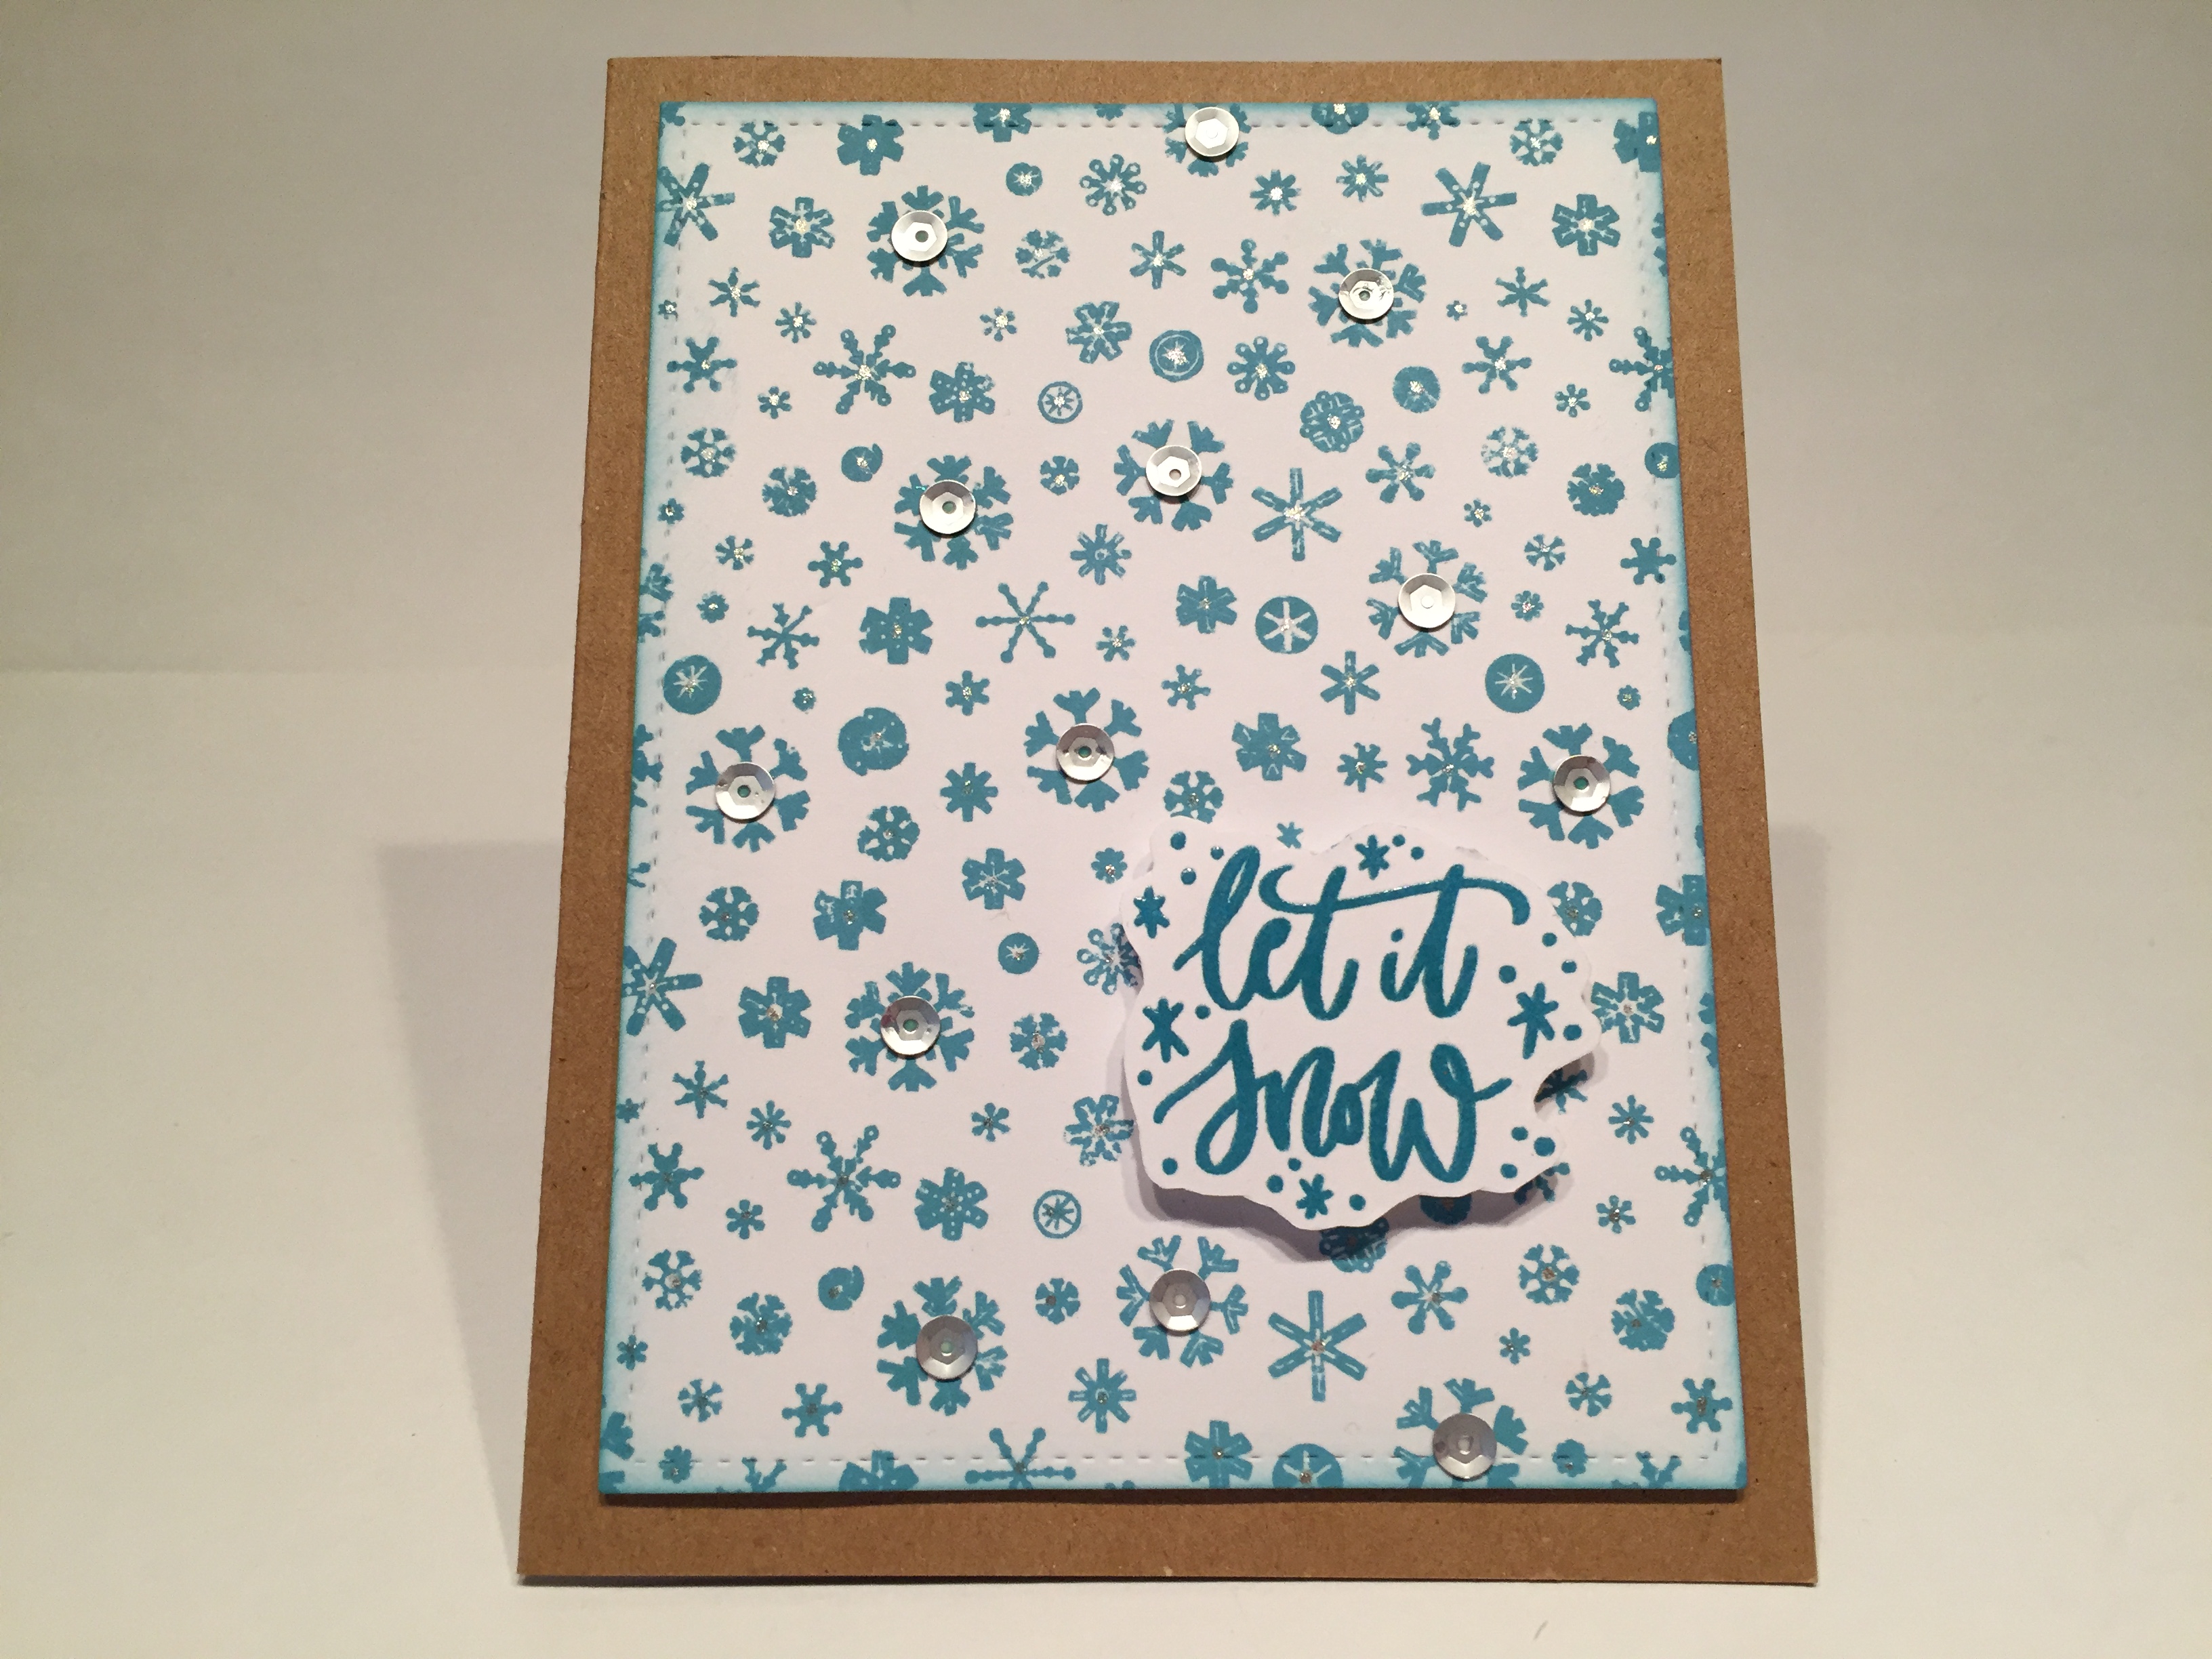
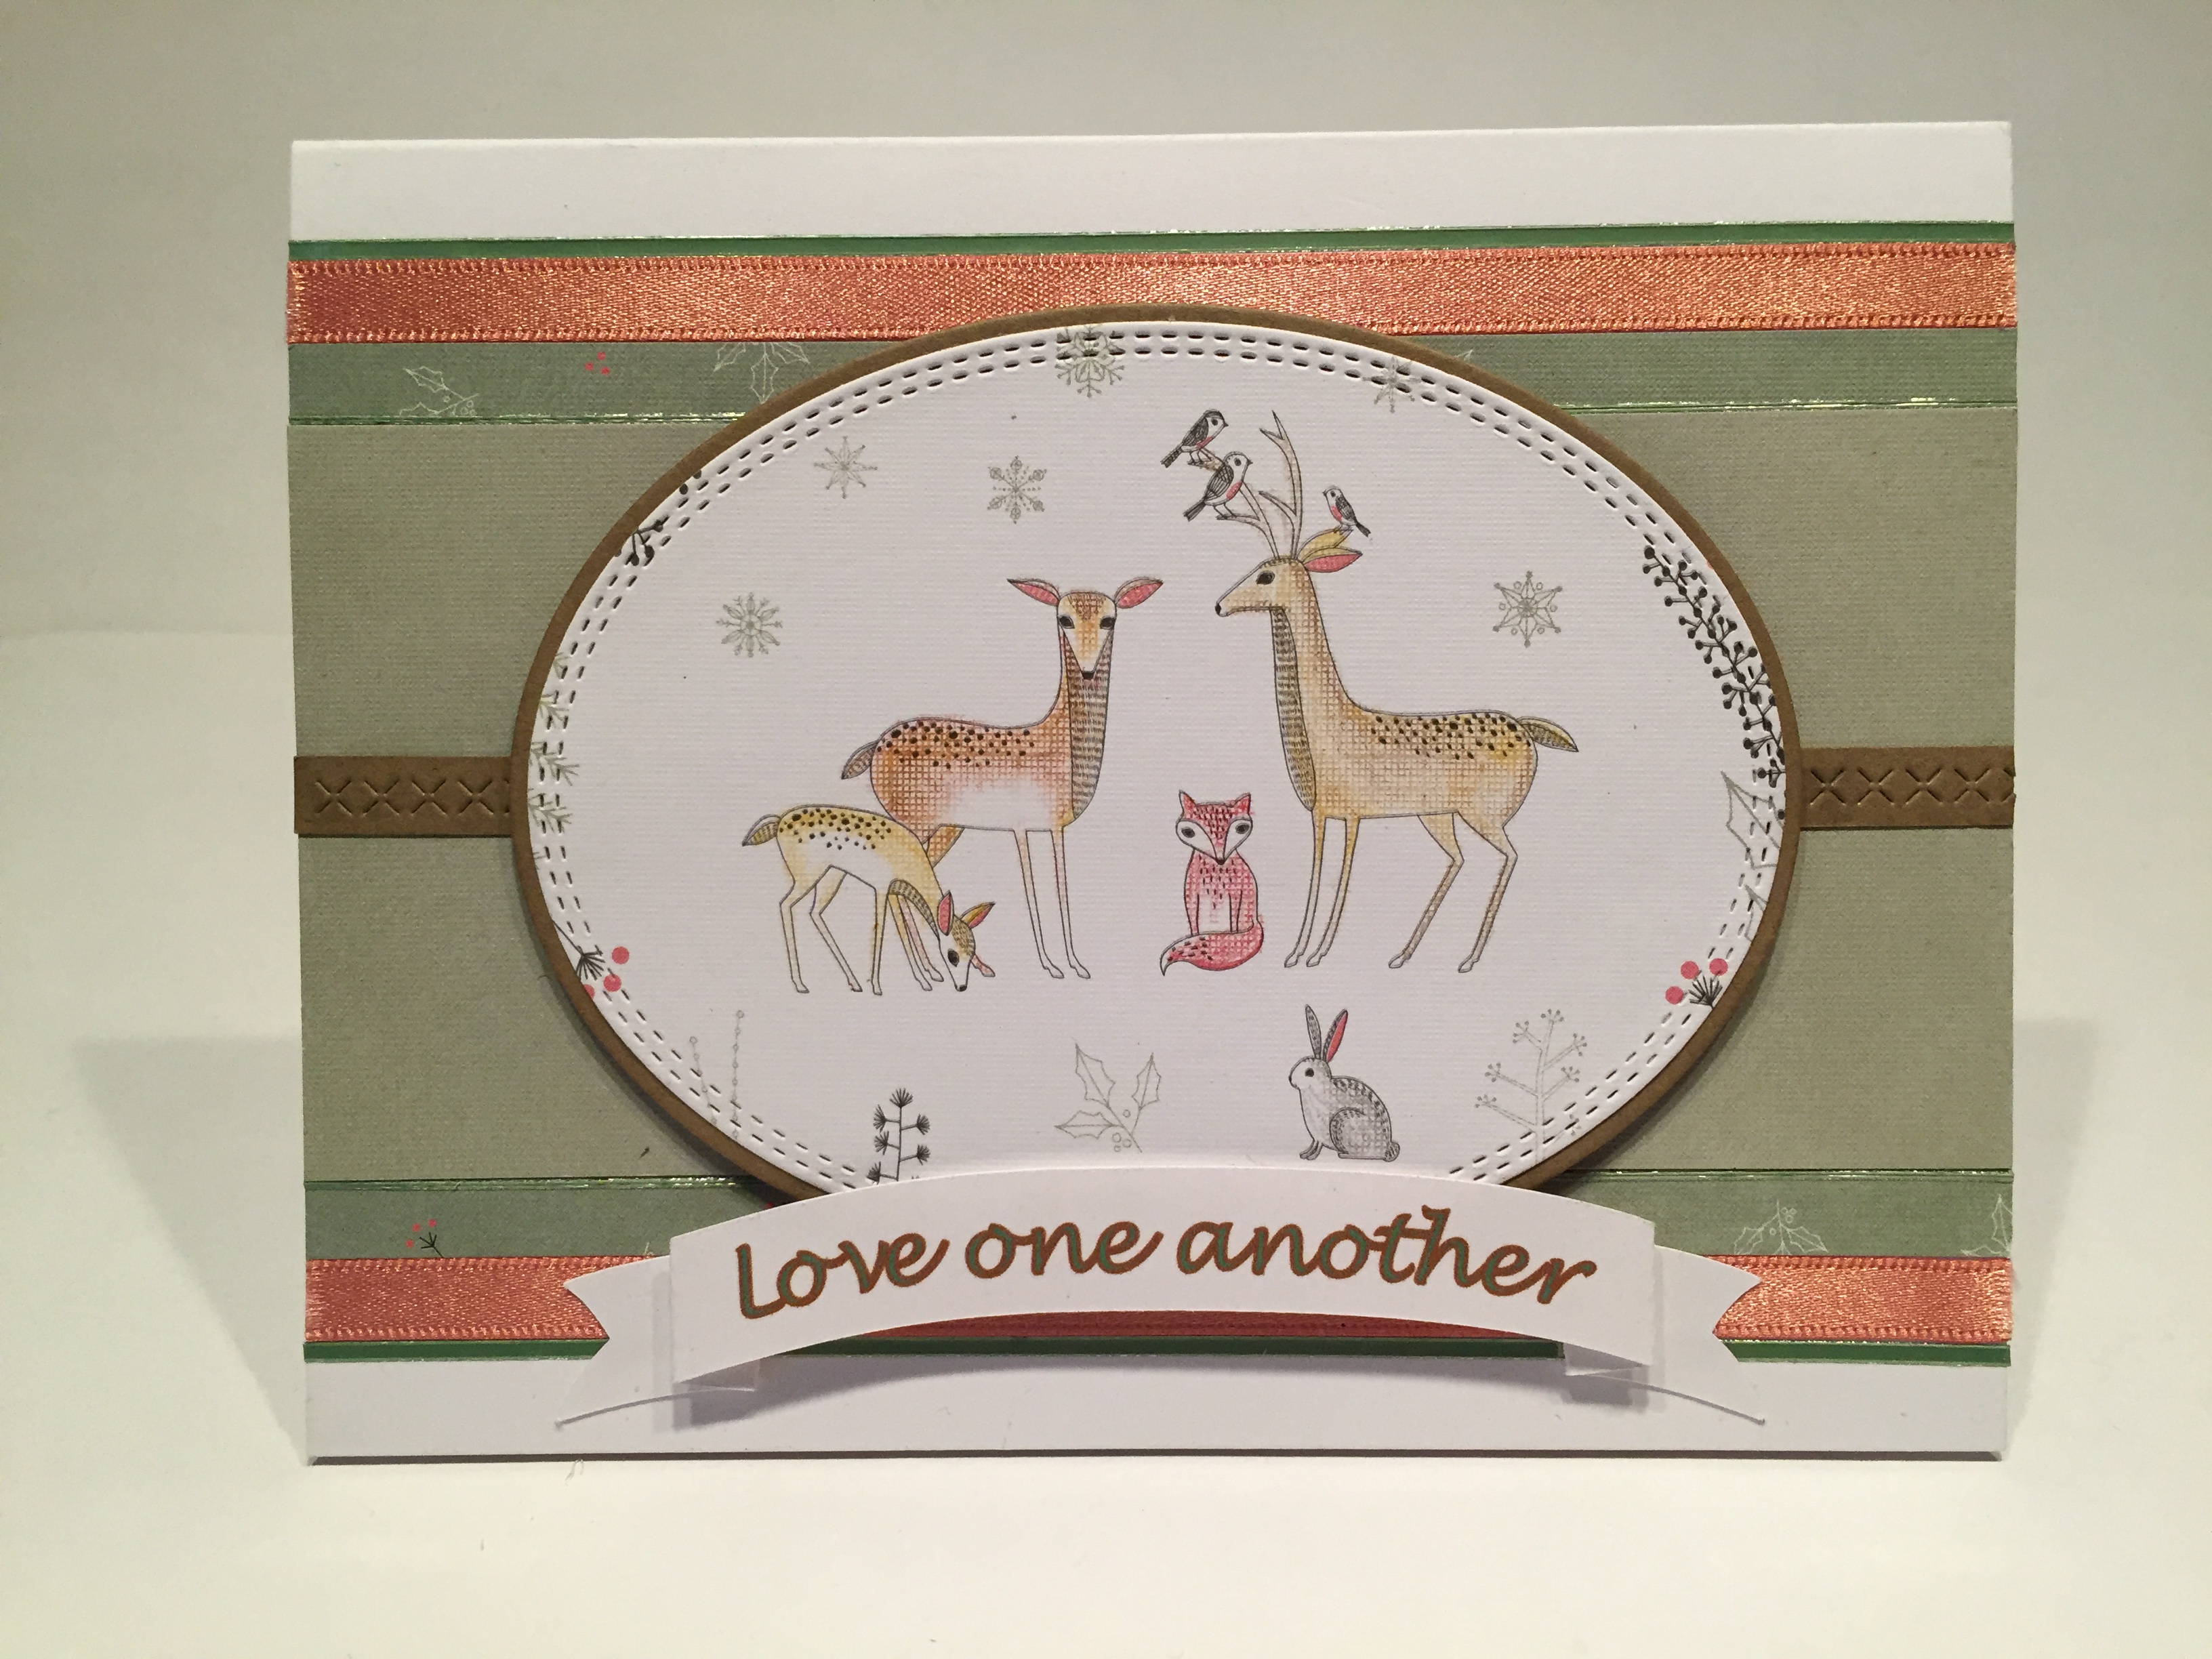
 The oval tableaux and the banner are attached to the card front with foam tape. Of course this is a perfect sentiment for the holidays, so I added a Merry Christmas on the inside of the card using the die we got in last year’s LFL Christmas kit cut from a scrap of kraft card stock. This card is very, very pretty. I love the added color on the animals, and this sentiment seems extra inspiring and very pertinent these days..!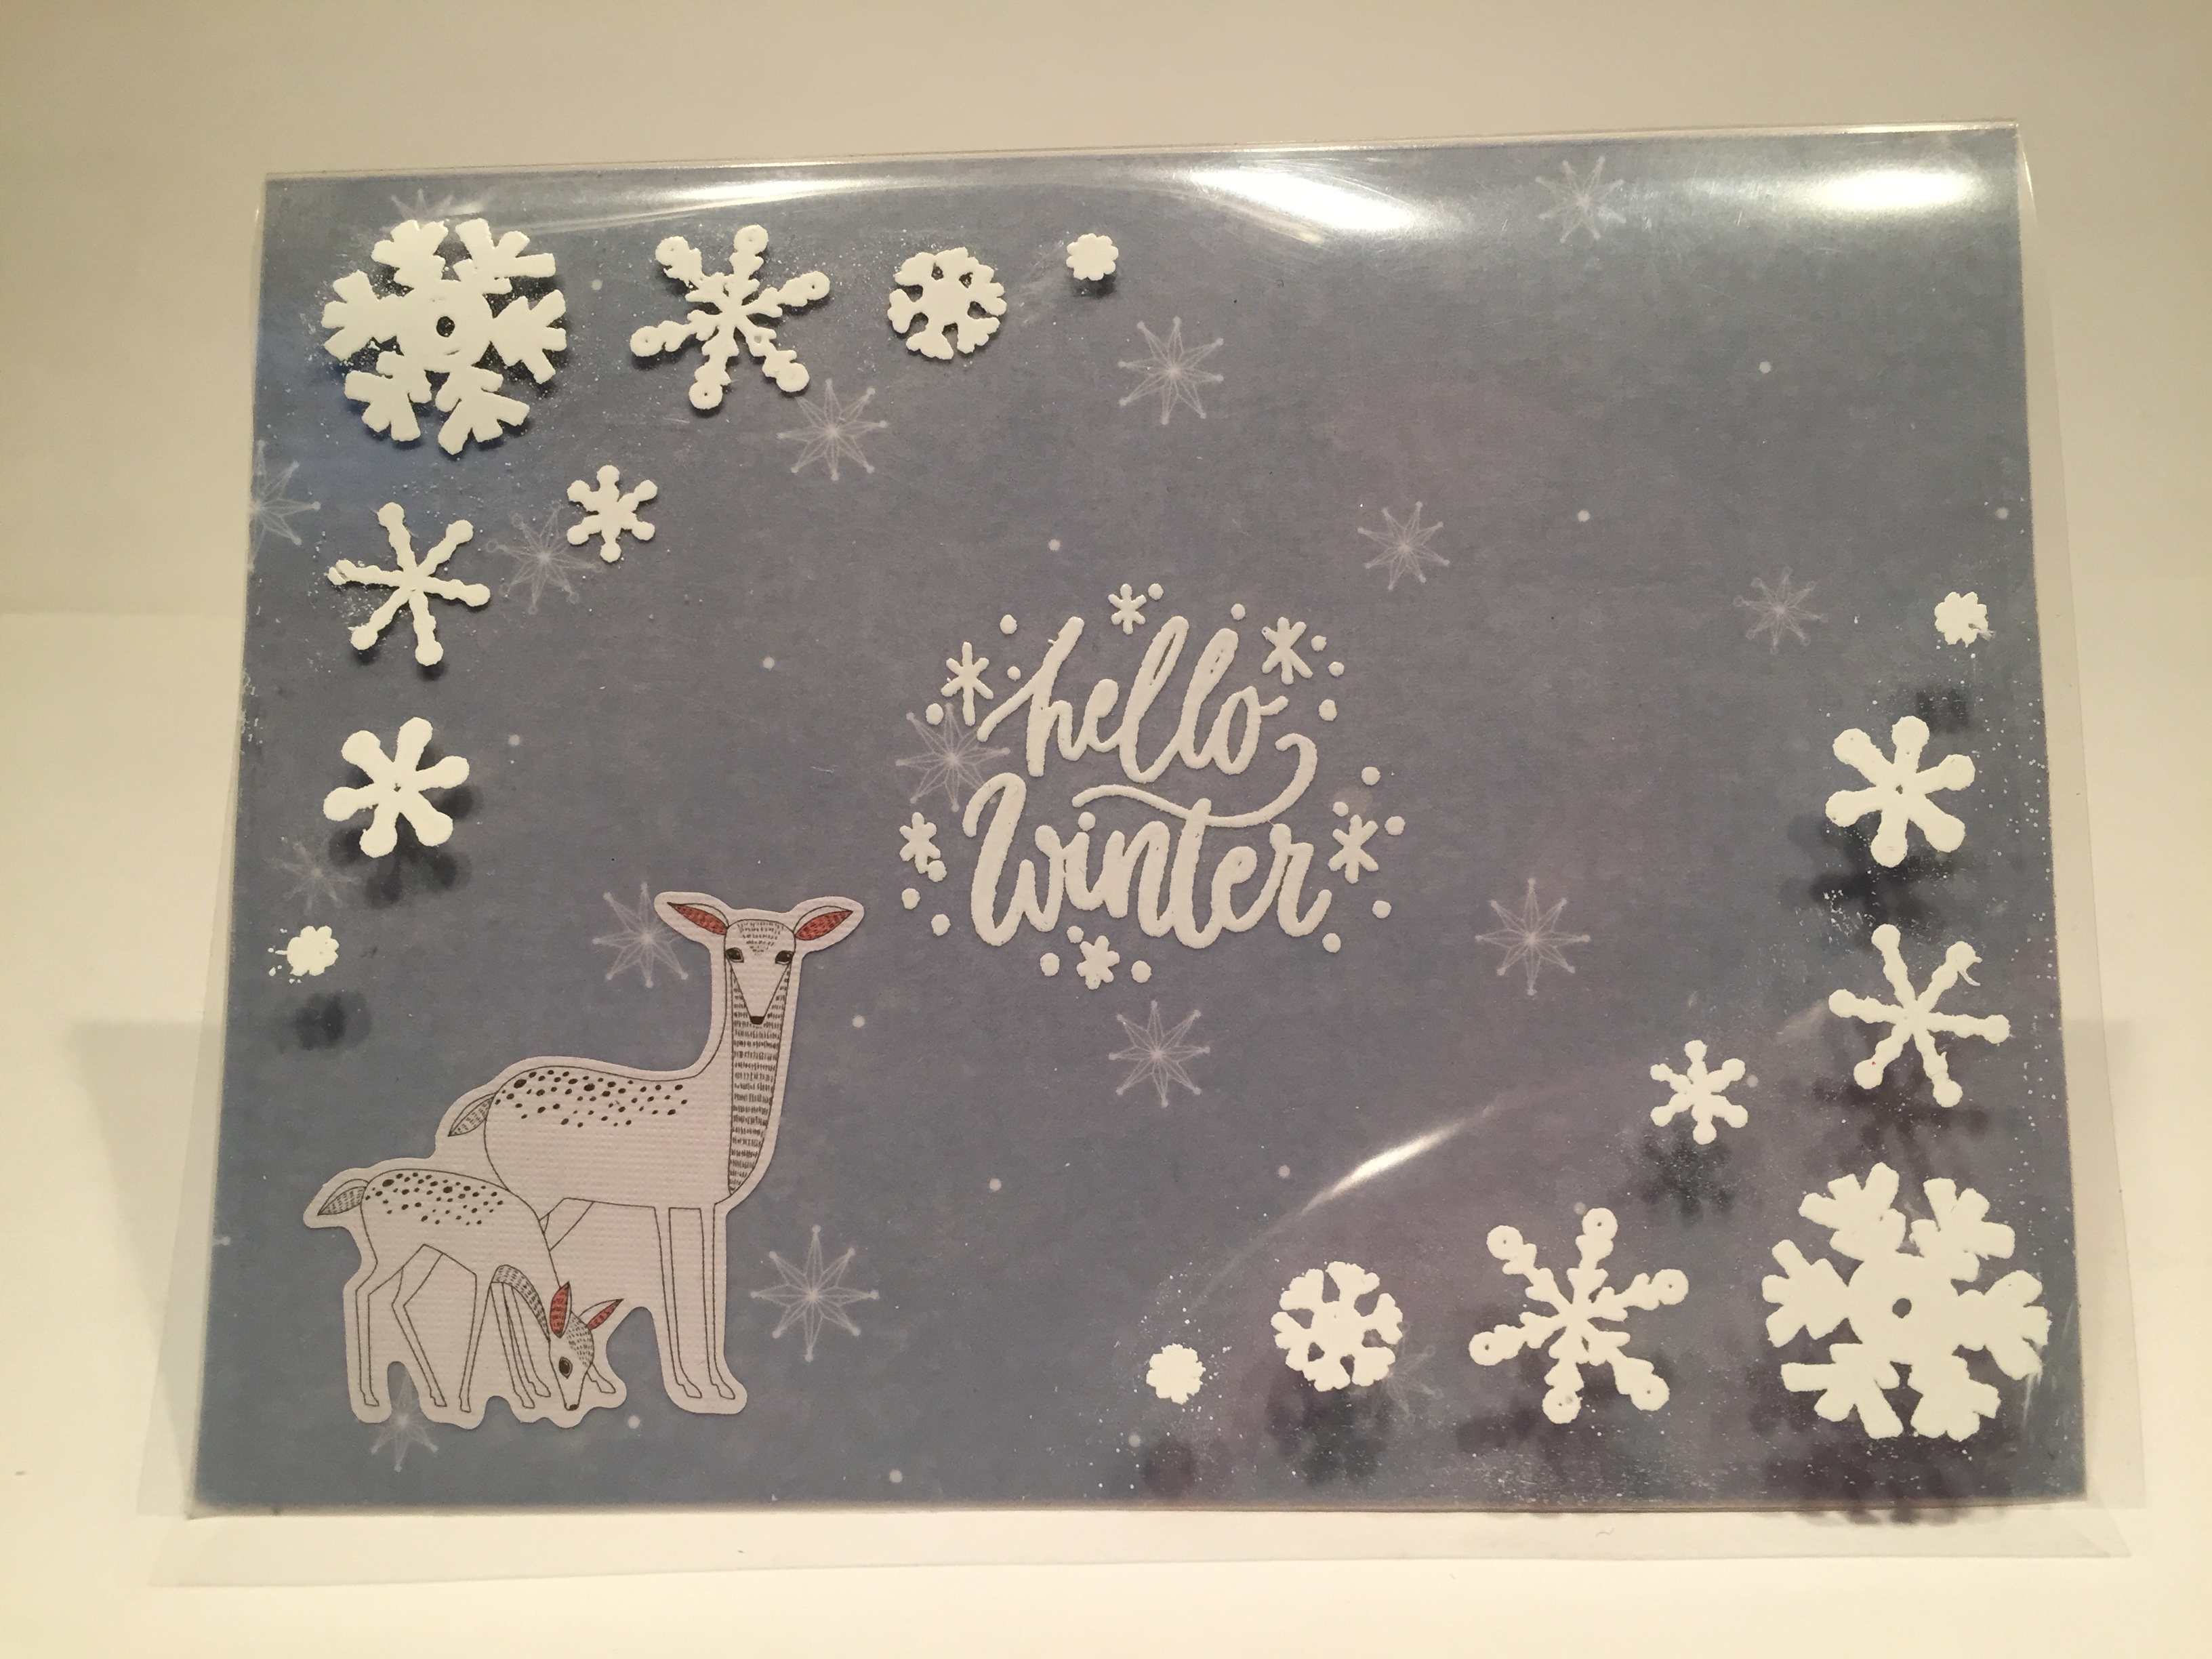
 I placed a piece of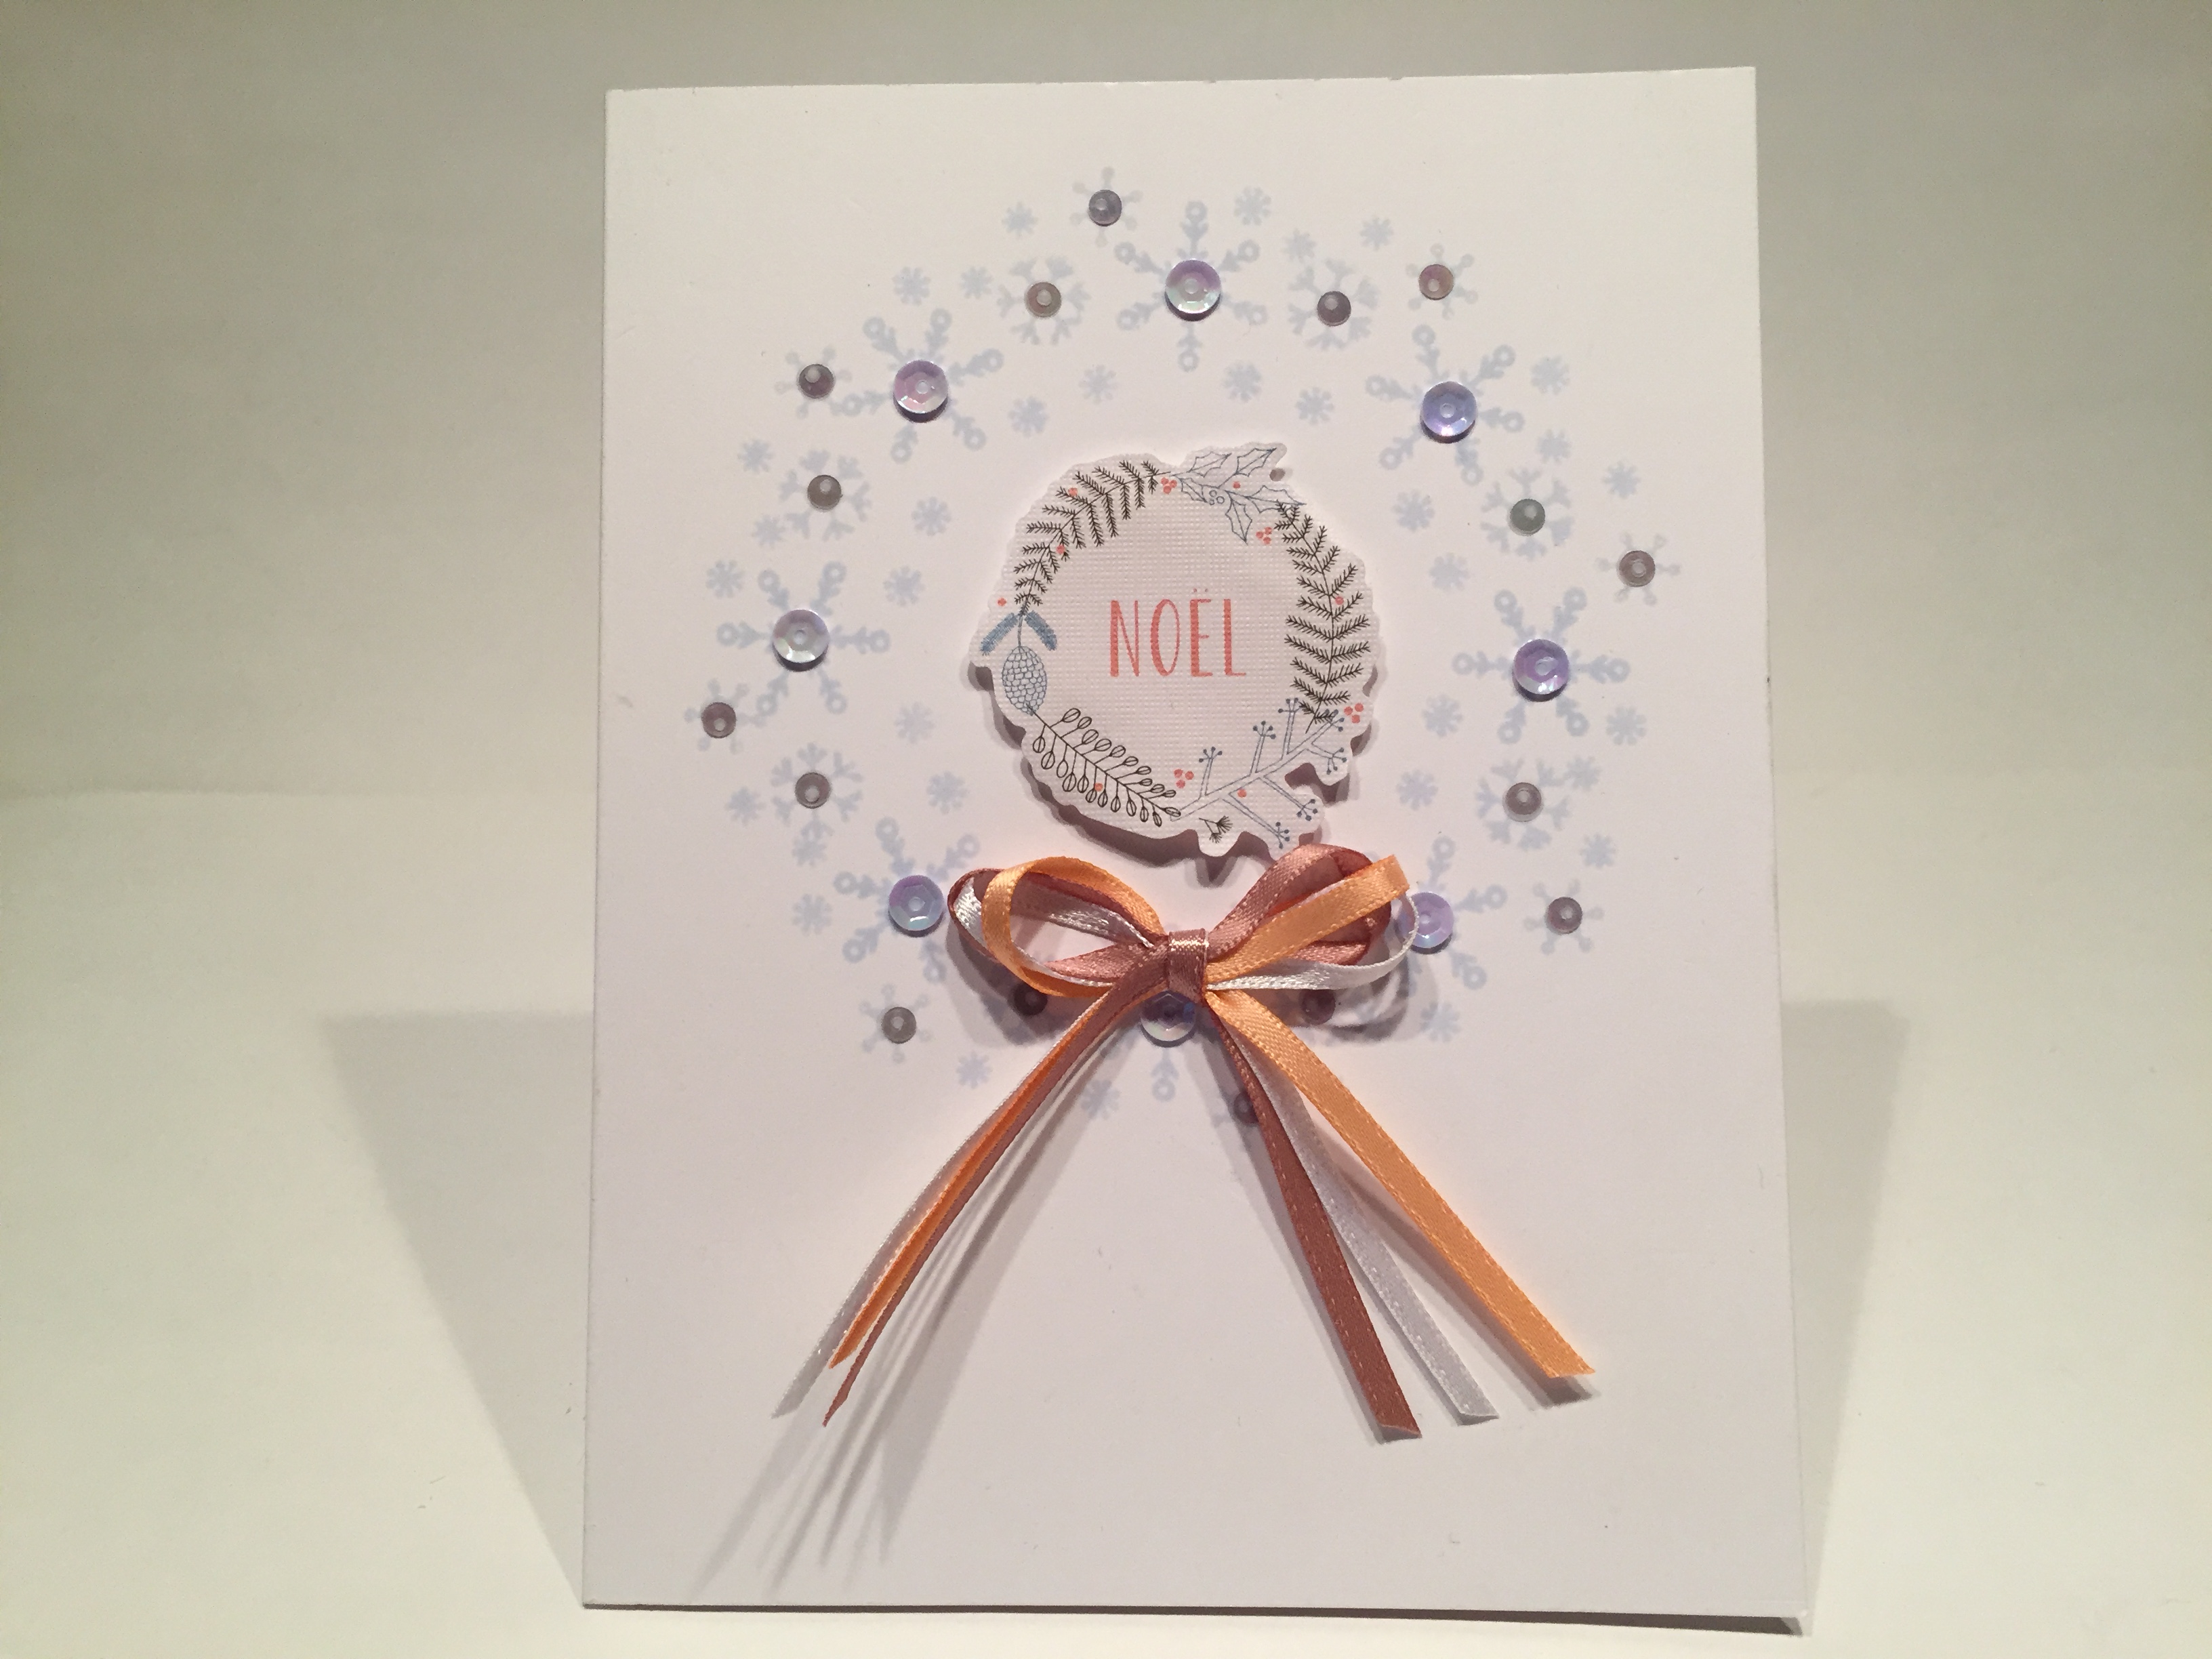
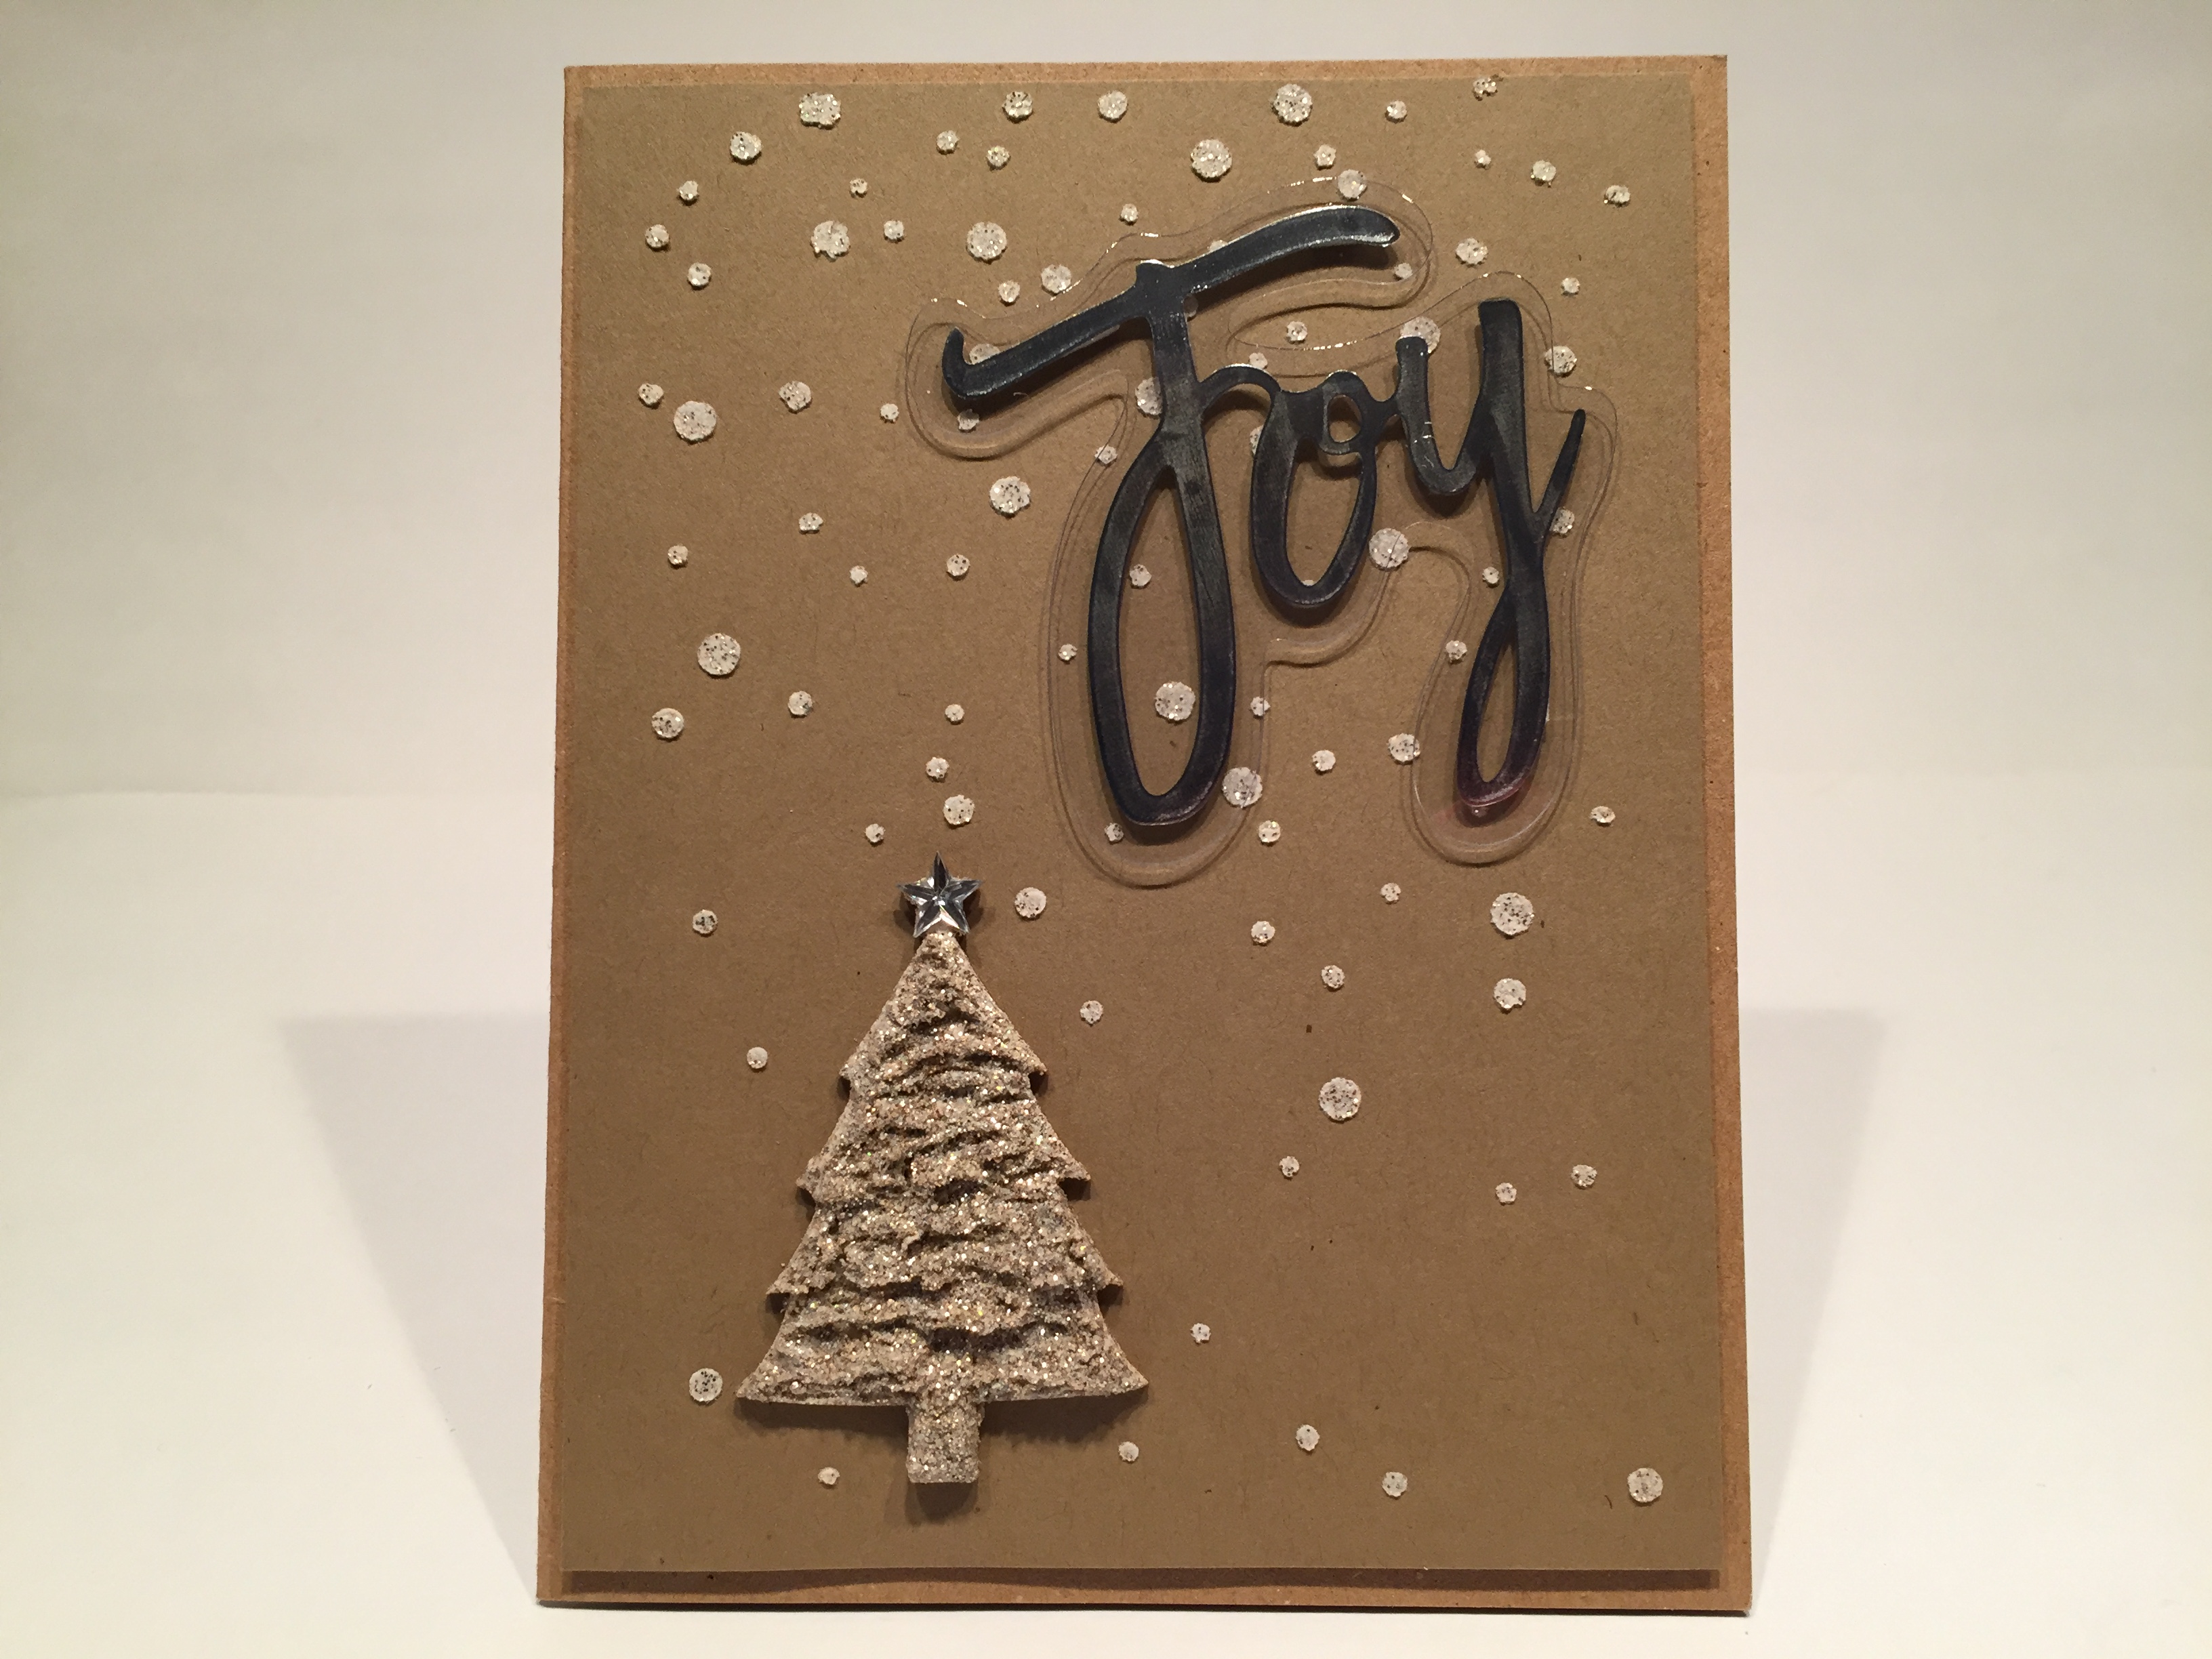
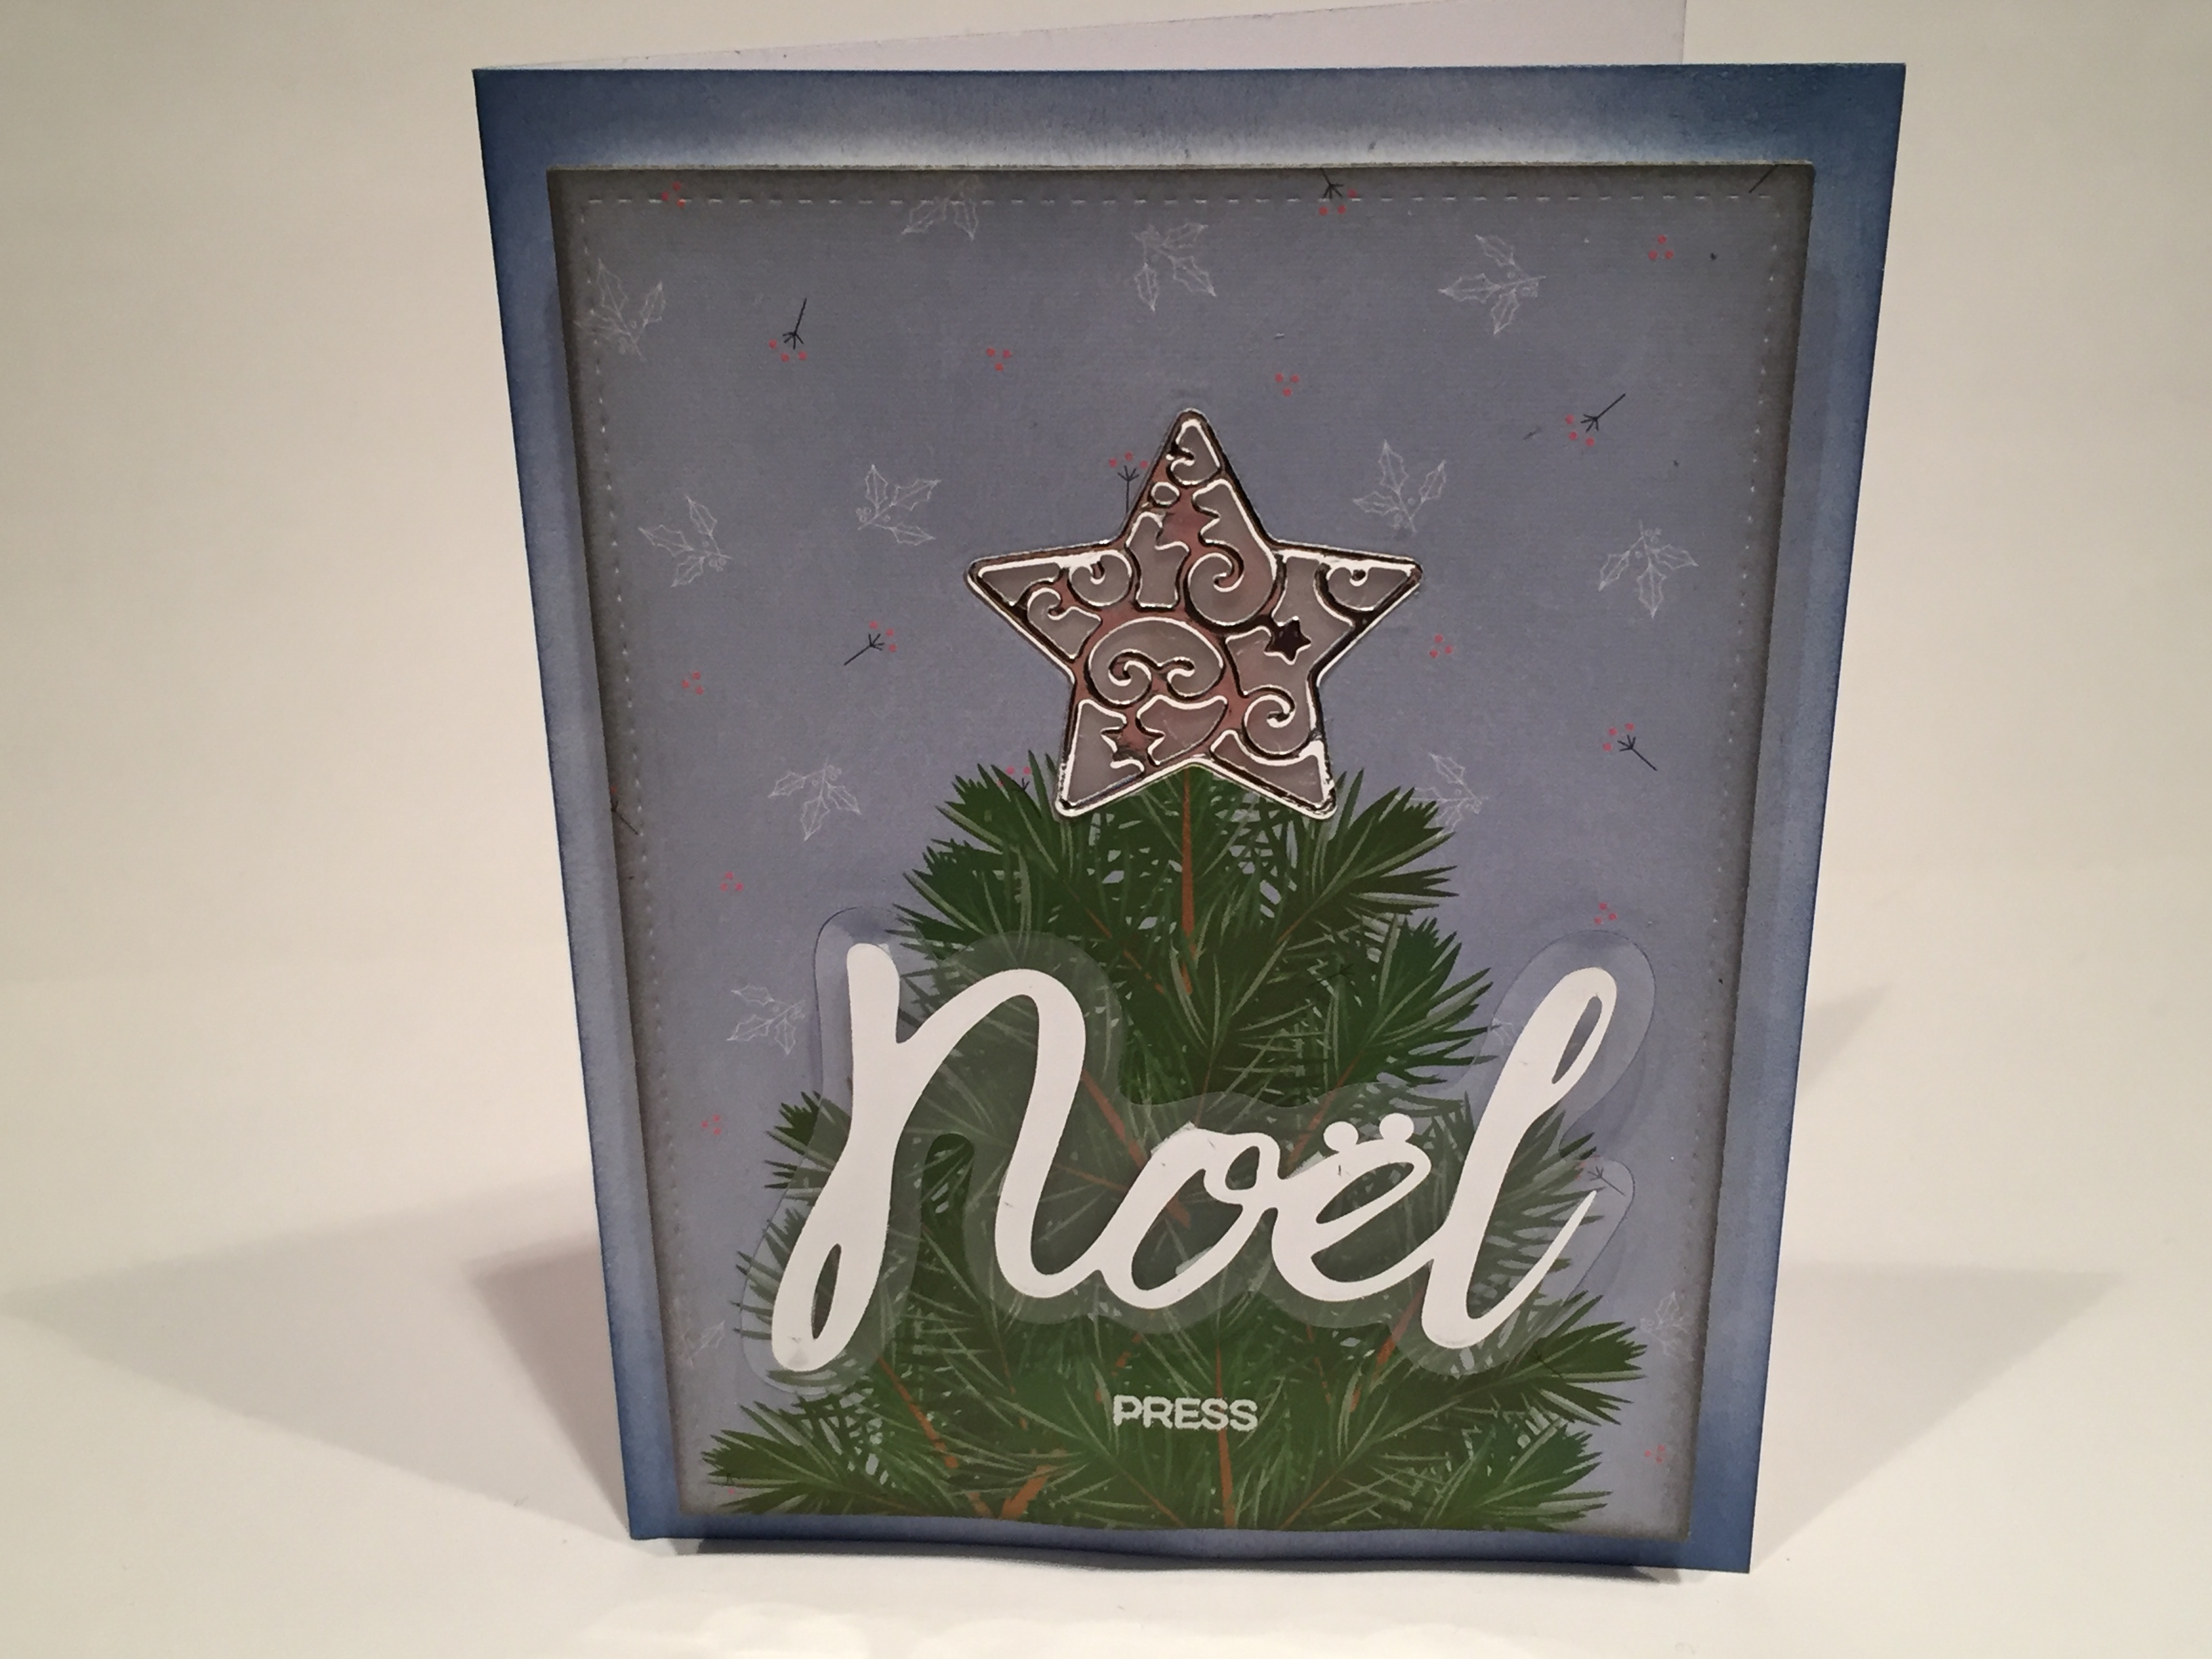
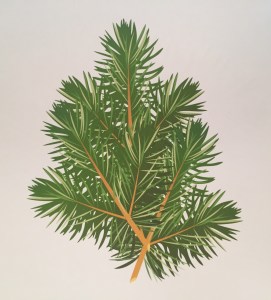 I knew I had a really nice ‘pine bough’ clip art in my image stash so, using my Silhouette Software, I created this tree top and printed it directly on a piece of the blue-grey pattern paper. I die-cut the star from the top of the tree and die-cut the pattern paper with a LFSRD. I cut another plain piece of 110# card stock with the same rectangle die and cut the star out of the second piece in the exact same place as the patterned paper. I glued a piece of vellum between the two card stock pieces and sponged the edges with
 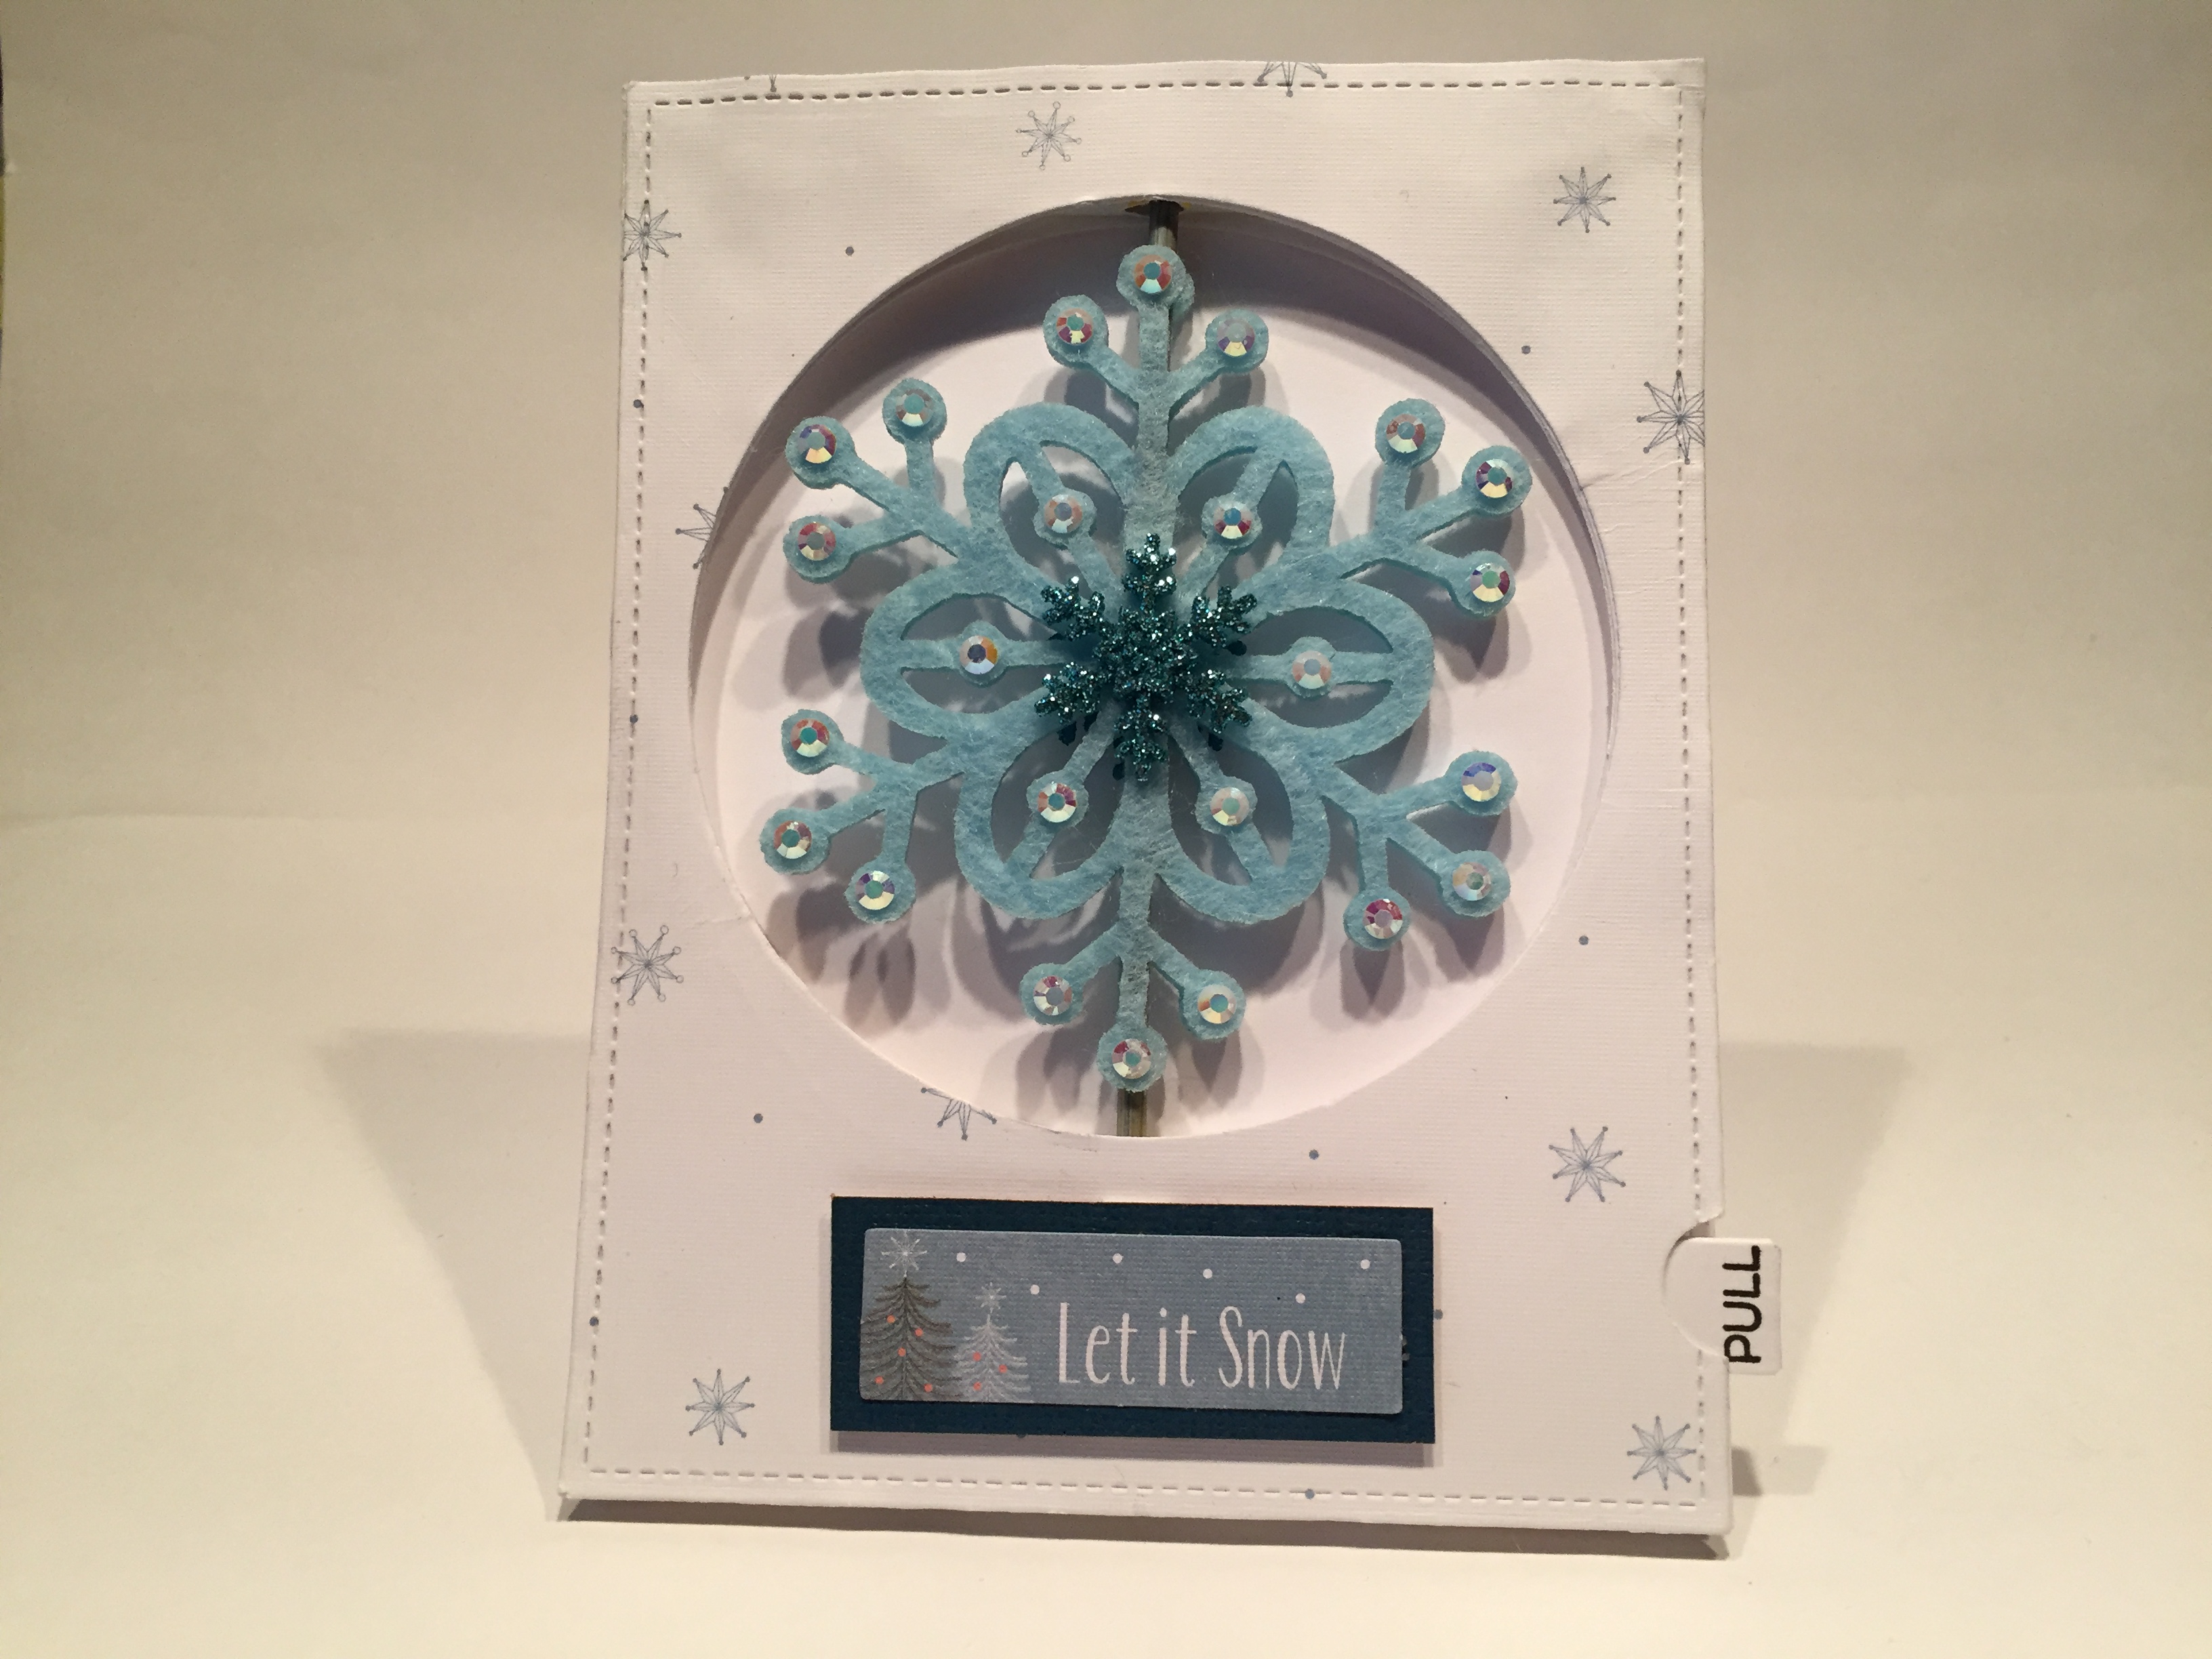 I had to take this card apart and put it back together three or four times and had to keep adjusting and changing things before I could get a reliable operation – that’s why it’s a little lumpy and wrinkly..!! I used the iridescent crystals from last month’s LFL kit to decorate every rounded point on both sides of the snowflake, and found this great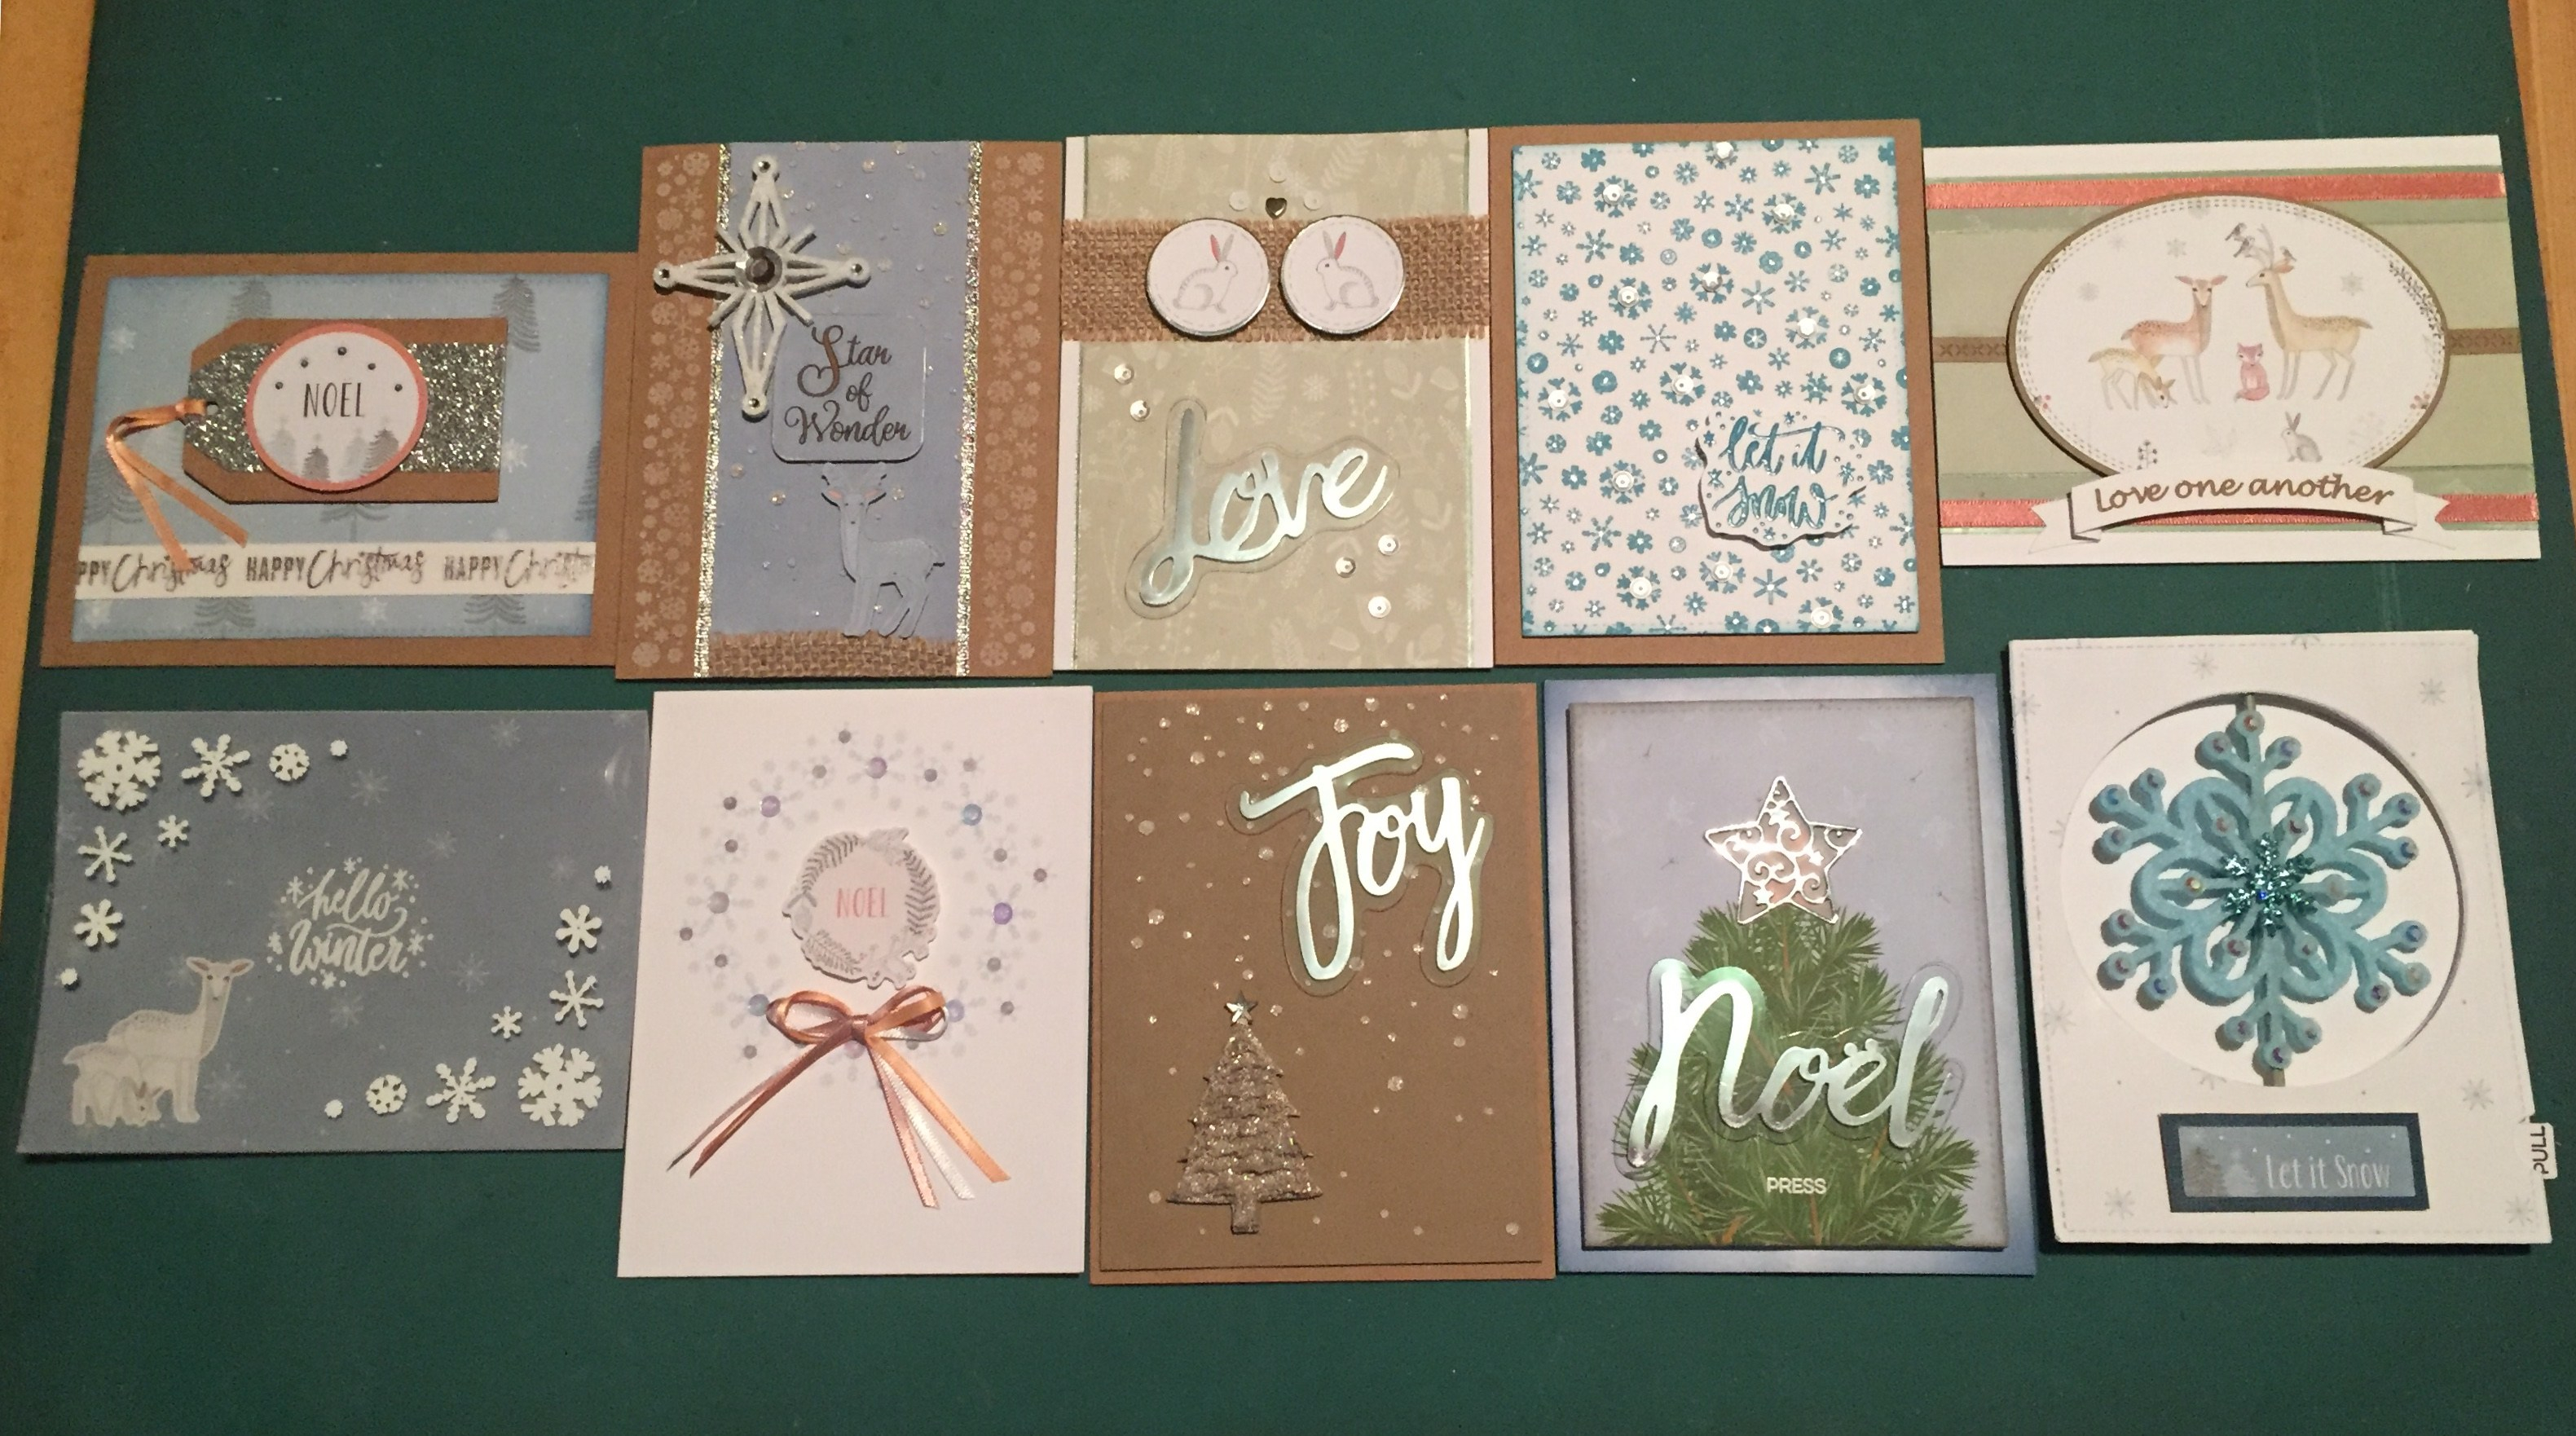
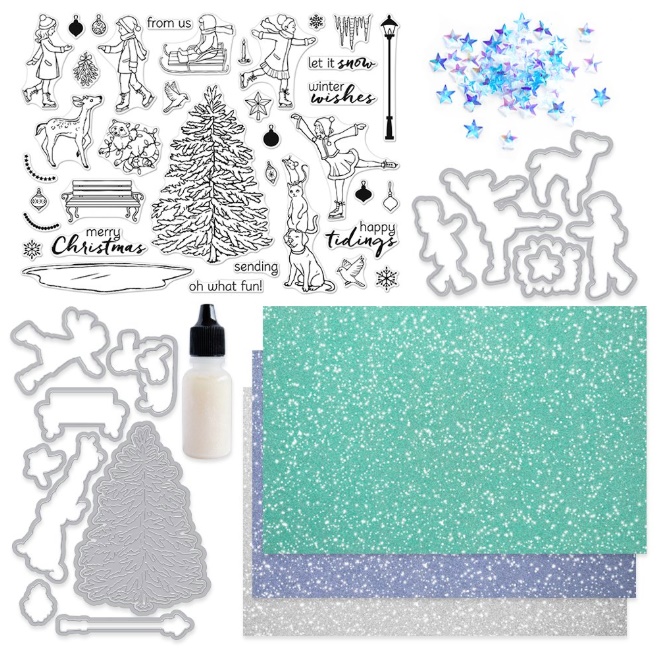 This is a Christmas / winter themed kit with a 6″ x 8″ stamp set highlighting four youthful ice skaters, a boy on a sled, some assorted animals, a frozen pond, park bench and lamp post, and a great big evergreen tree with some ornaments as well. Of course we get matching frame dies and an incredibly interesting Paper Layering Tree Die with Frame. I don’t think I have anything like this in my stash! Out kit is rounded out with six 5.5″ x 8.5″ sheets of Glitter Paper in Silver, Twilight, and Sea Glass – lovely super-smooth glitter stock – and a small package of Iridescent Star Embellishments and a .5 oz. container of Iridescent Ink (like a Wink of Stella shimmer pen). Looks like some good holiday/wintry fun this month!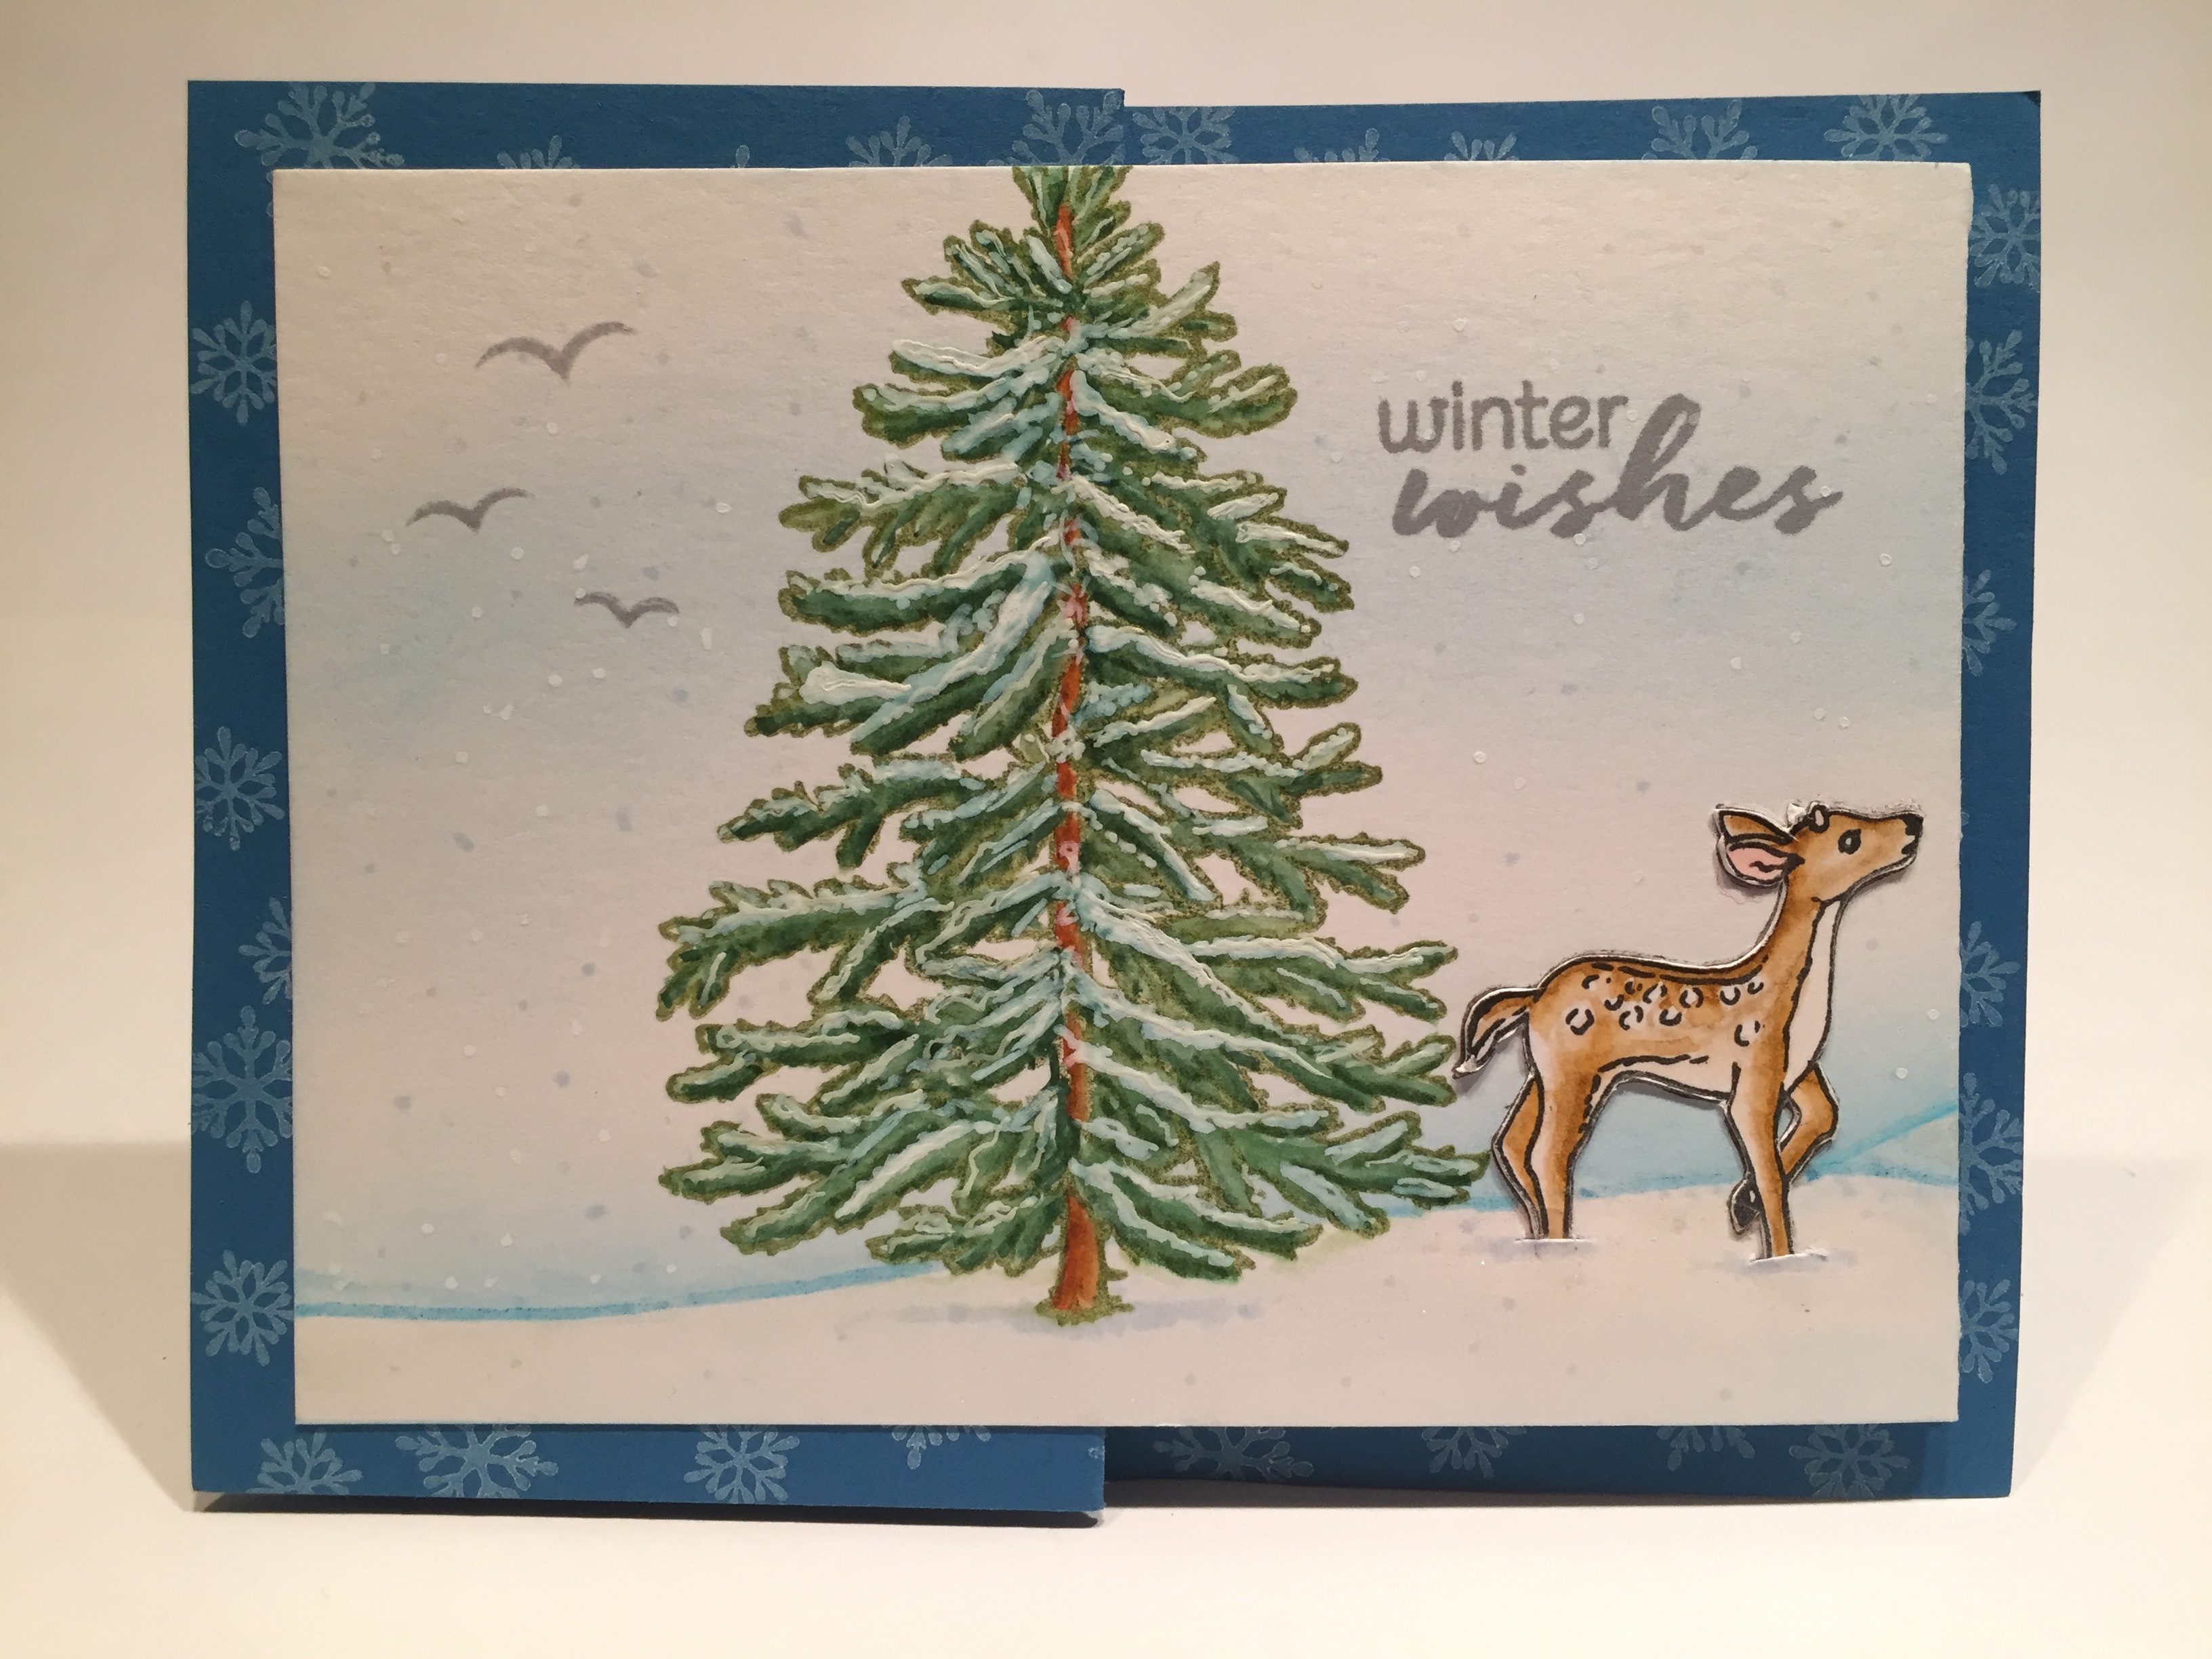
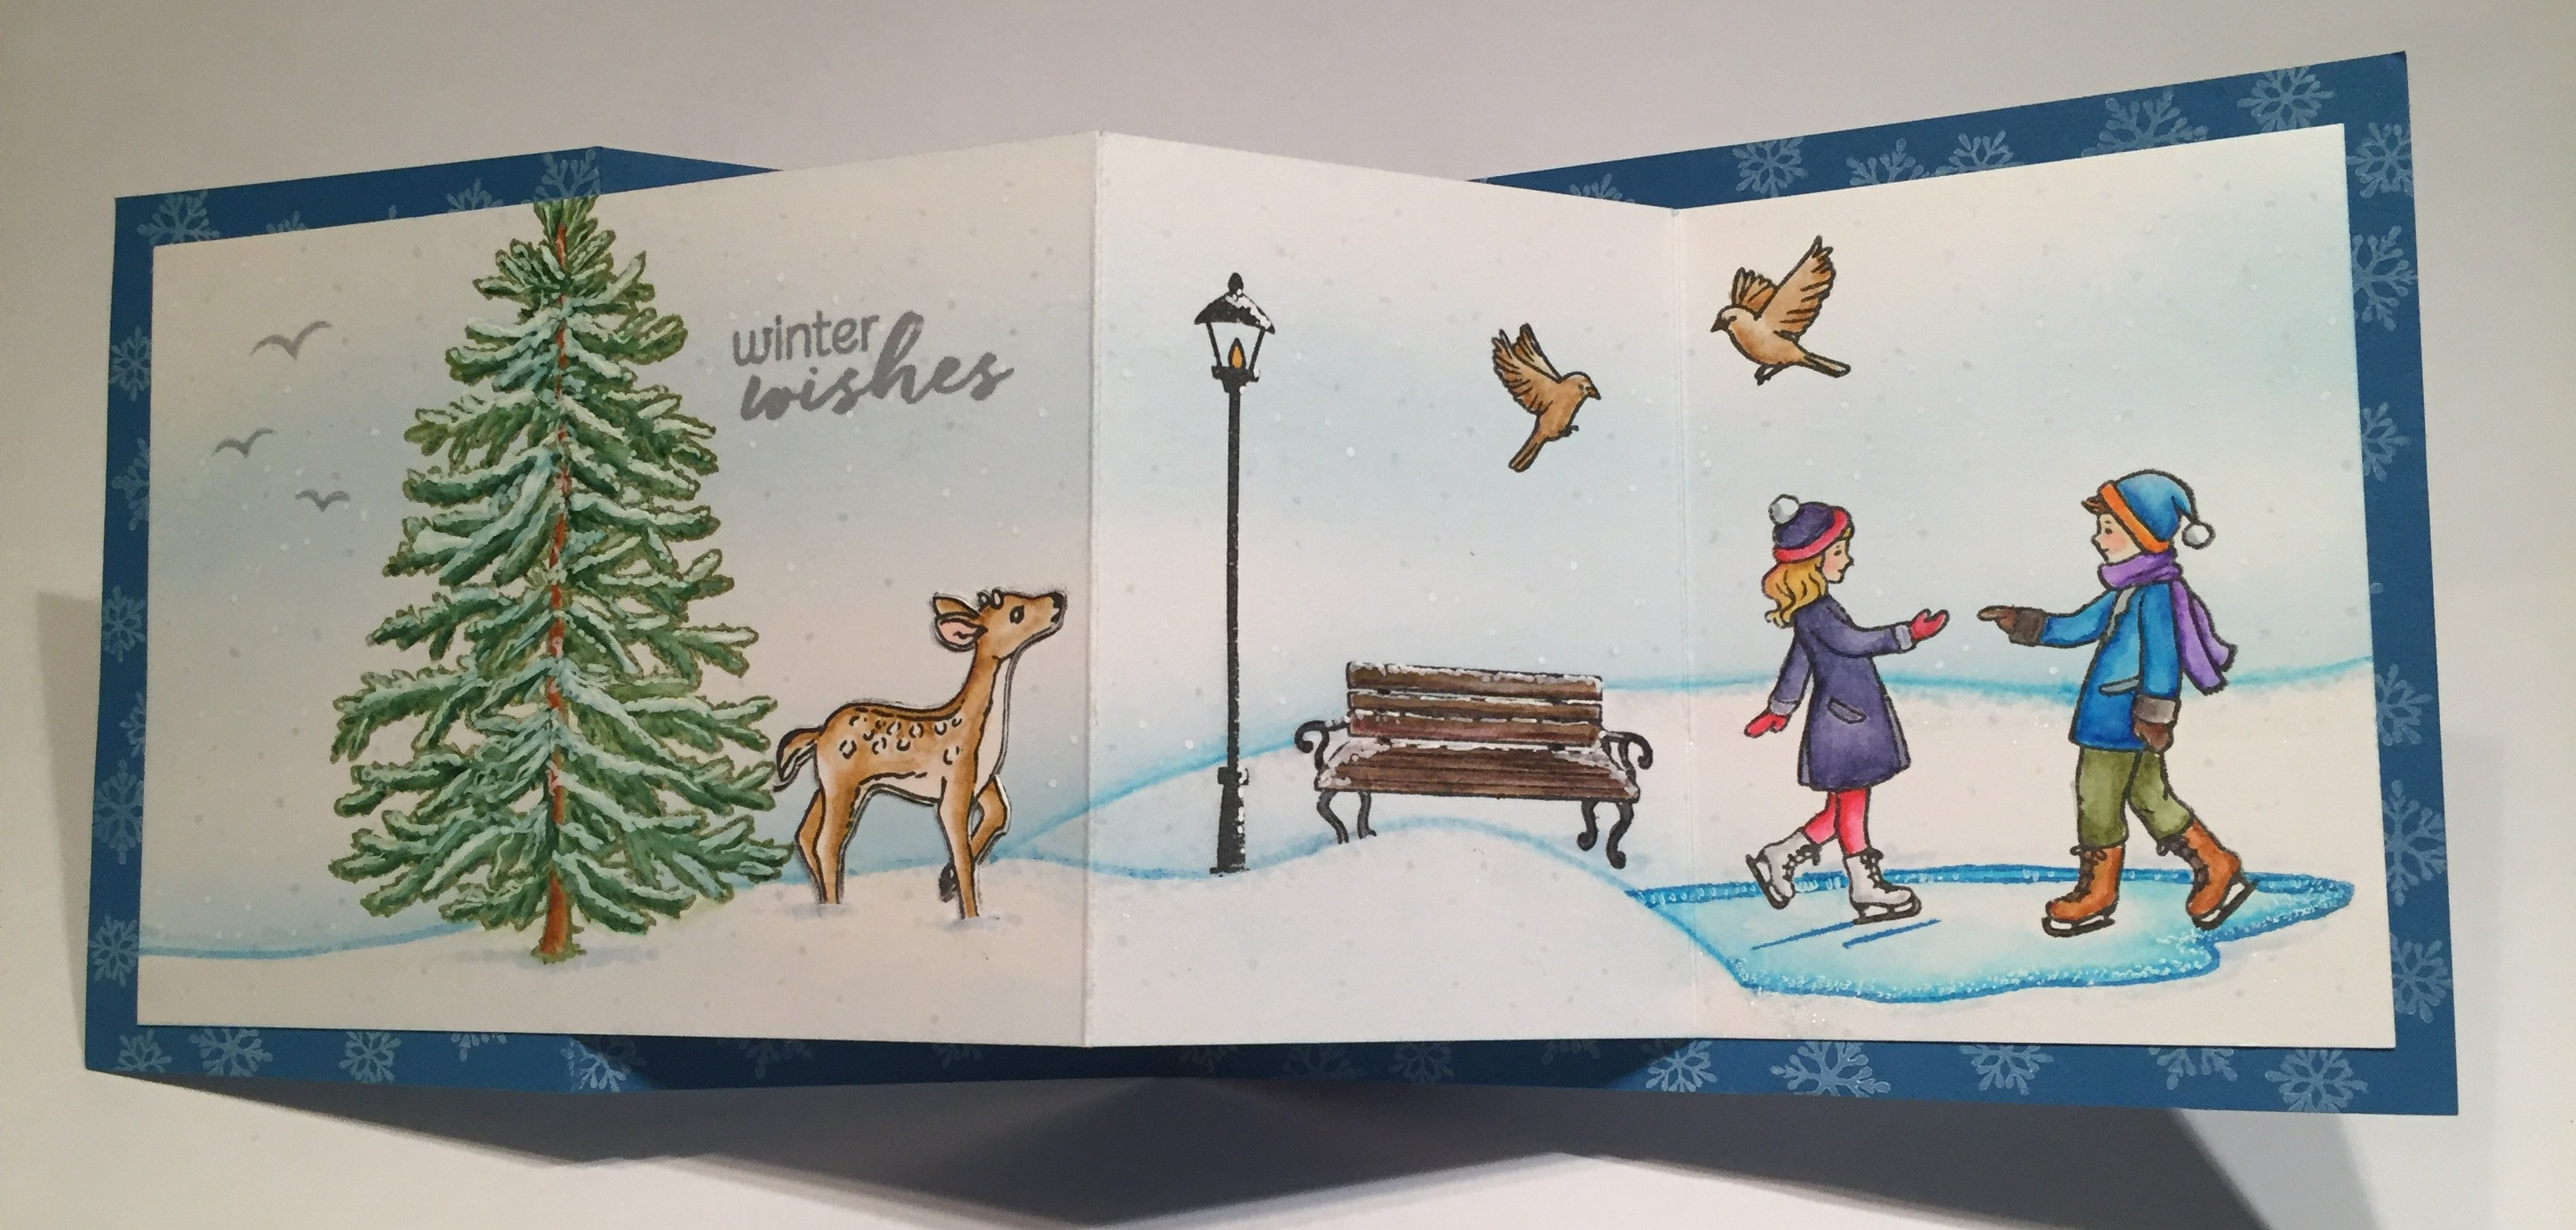
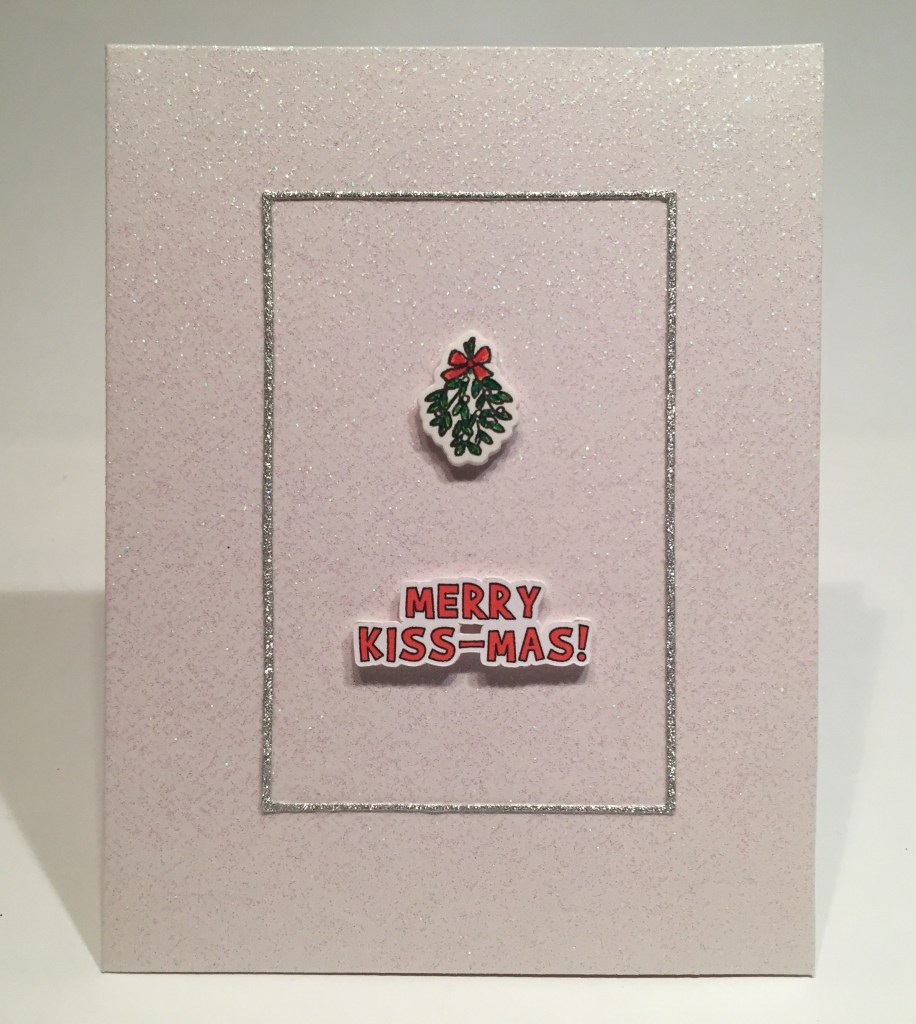
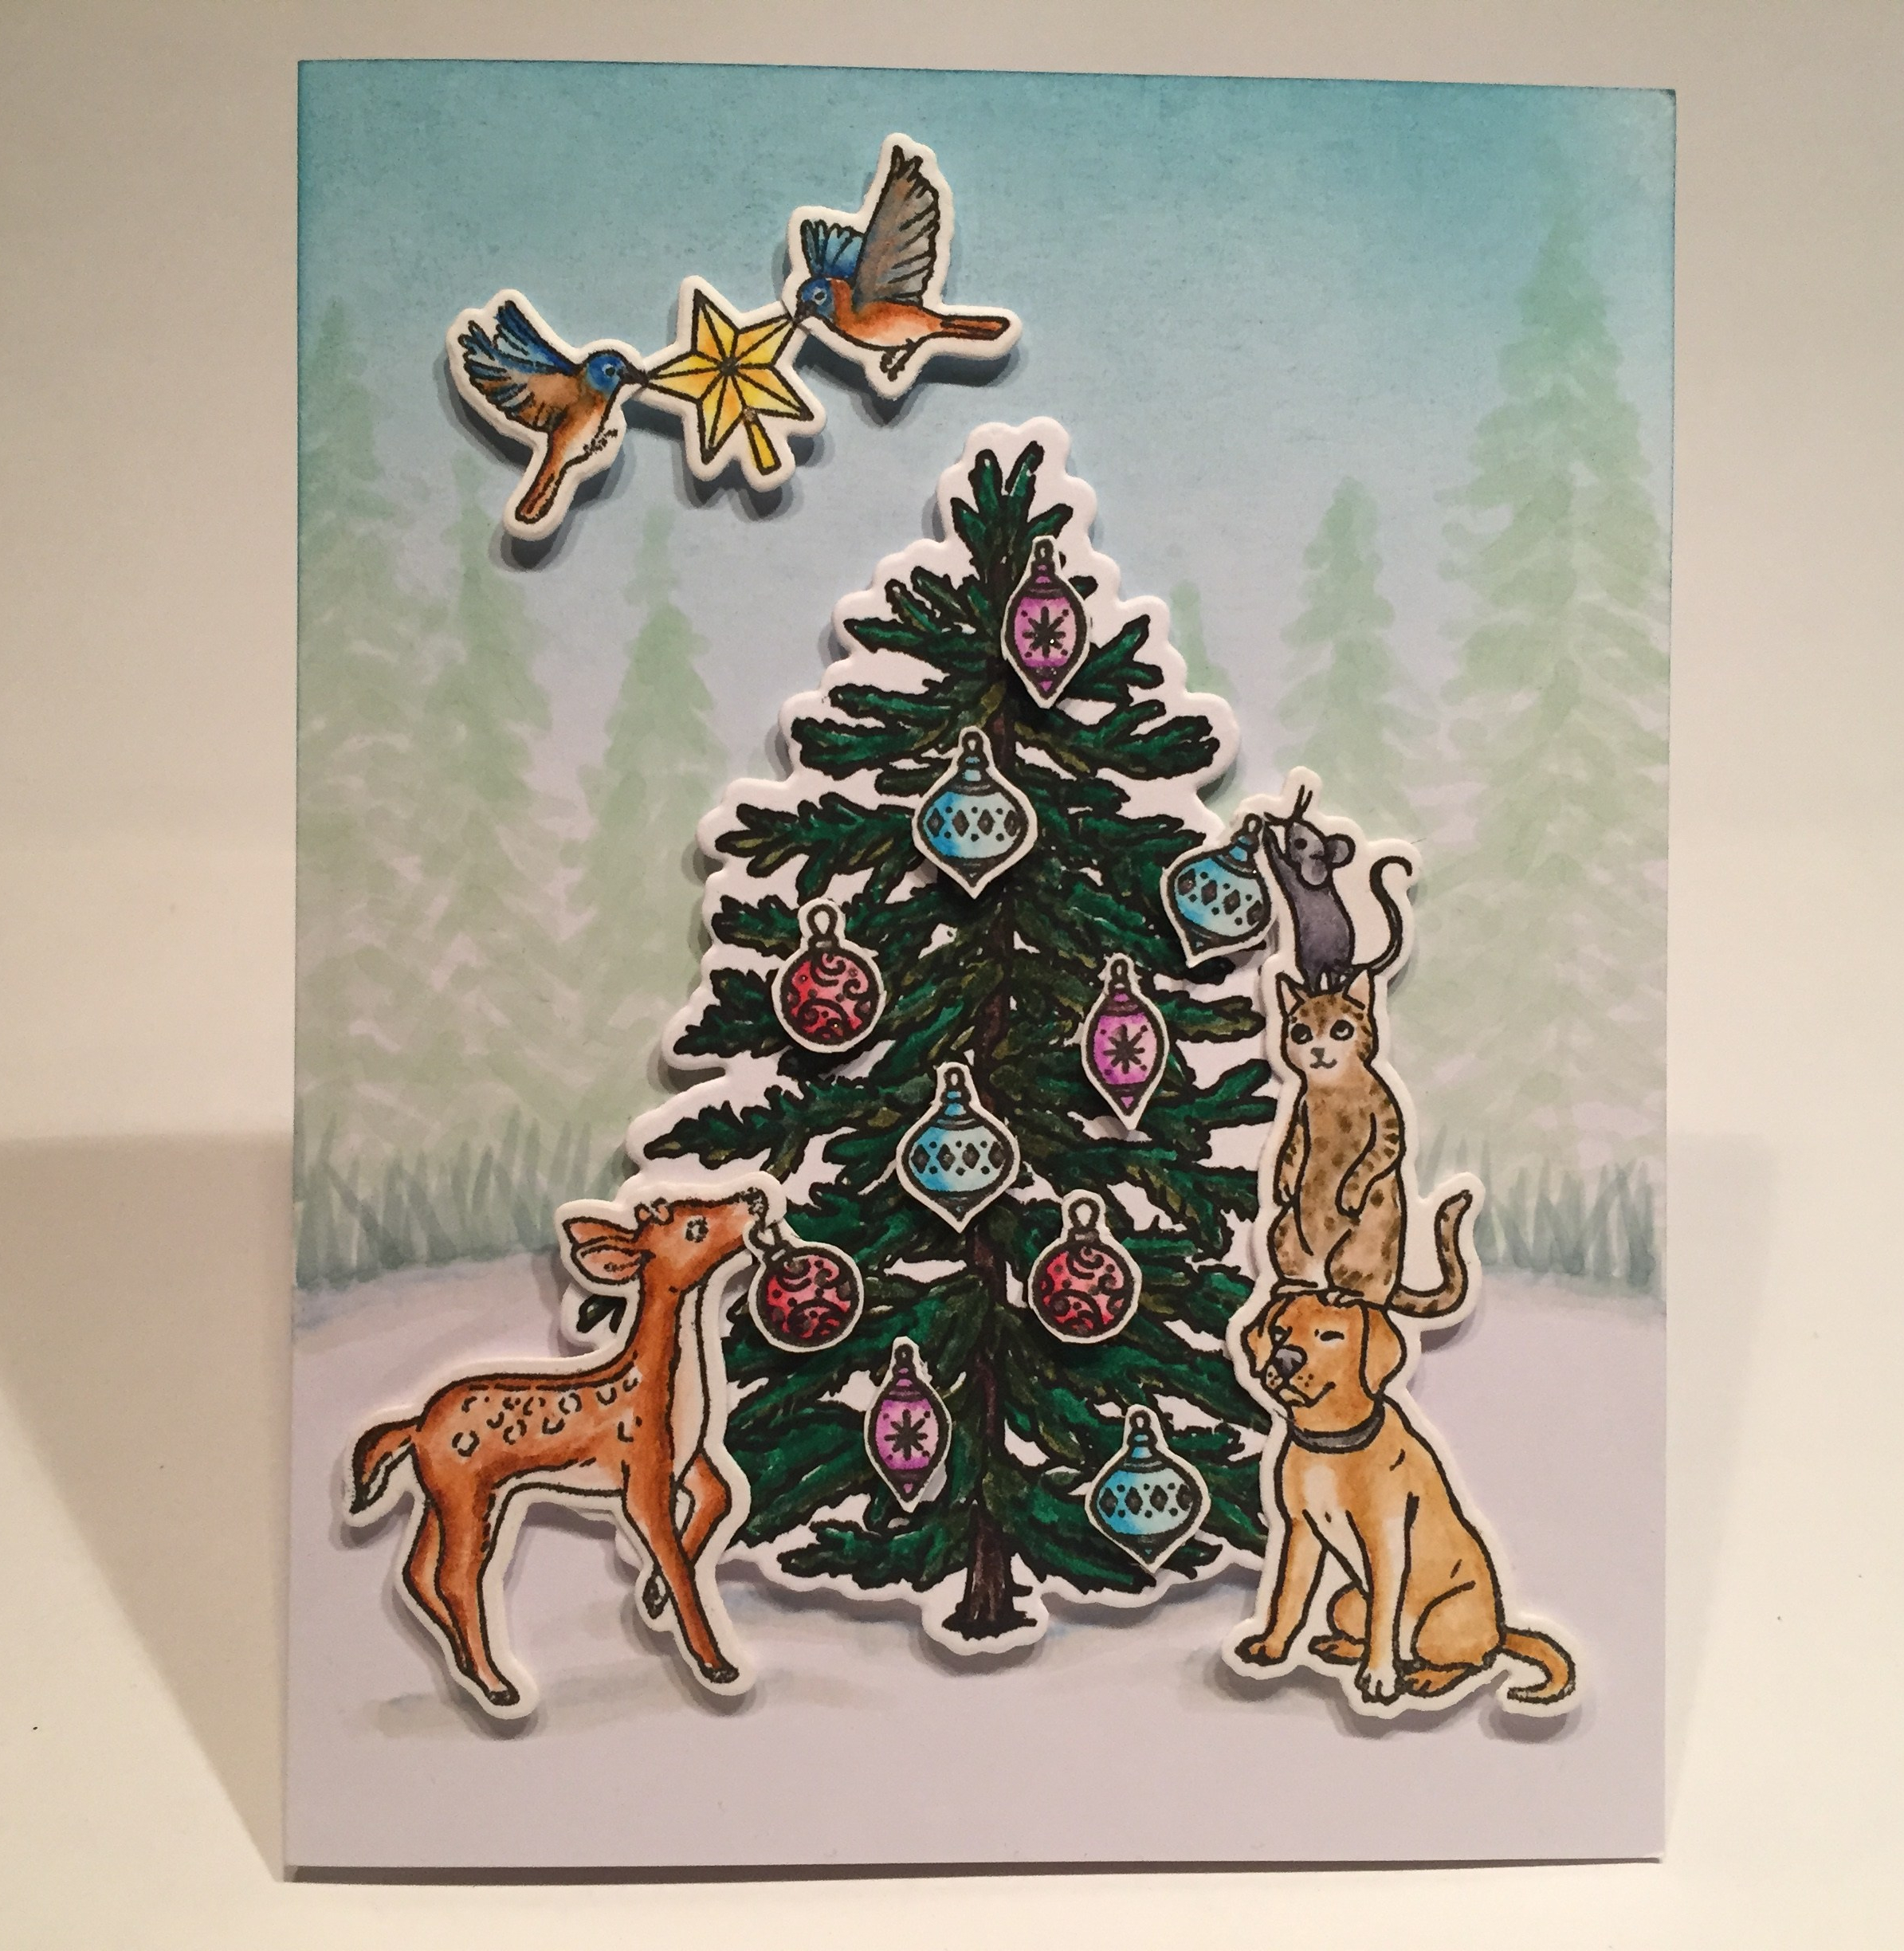
 I arranged the ornaments on the tree and gave all of the animals an ornament of their own to add to the decorating. I love the birds carrying the star to the top of the tree, and even the fawn is pitching in! All of the images are foam taped to the card front, and I added little touches of my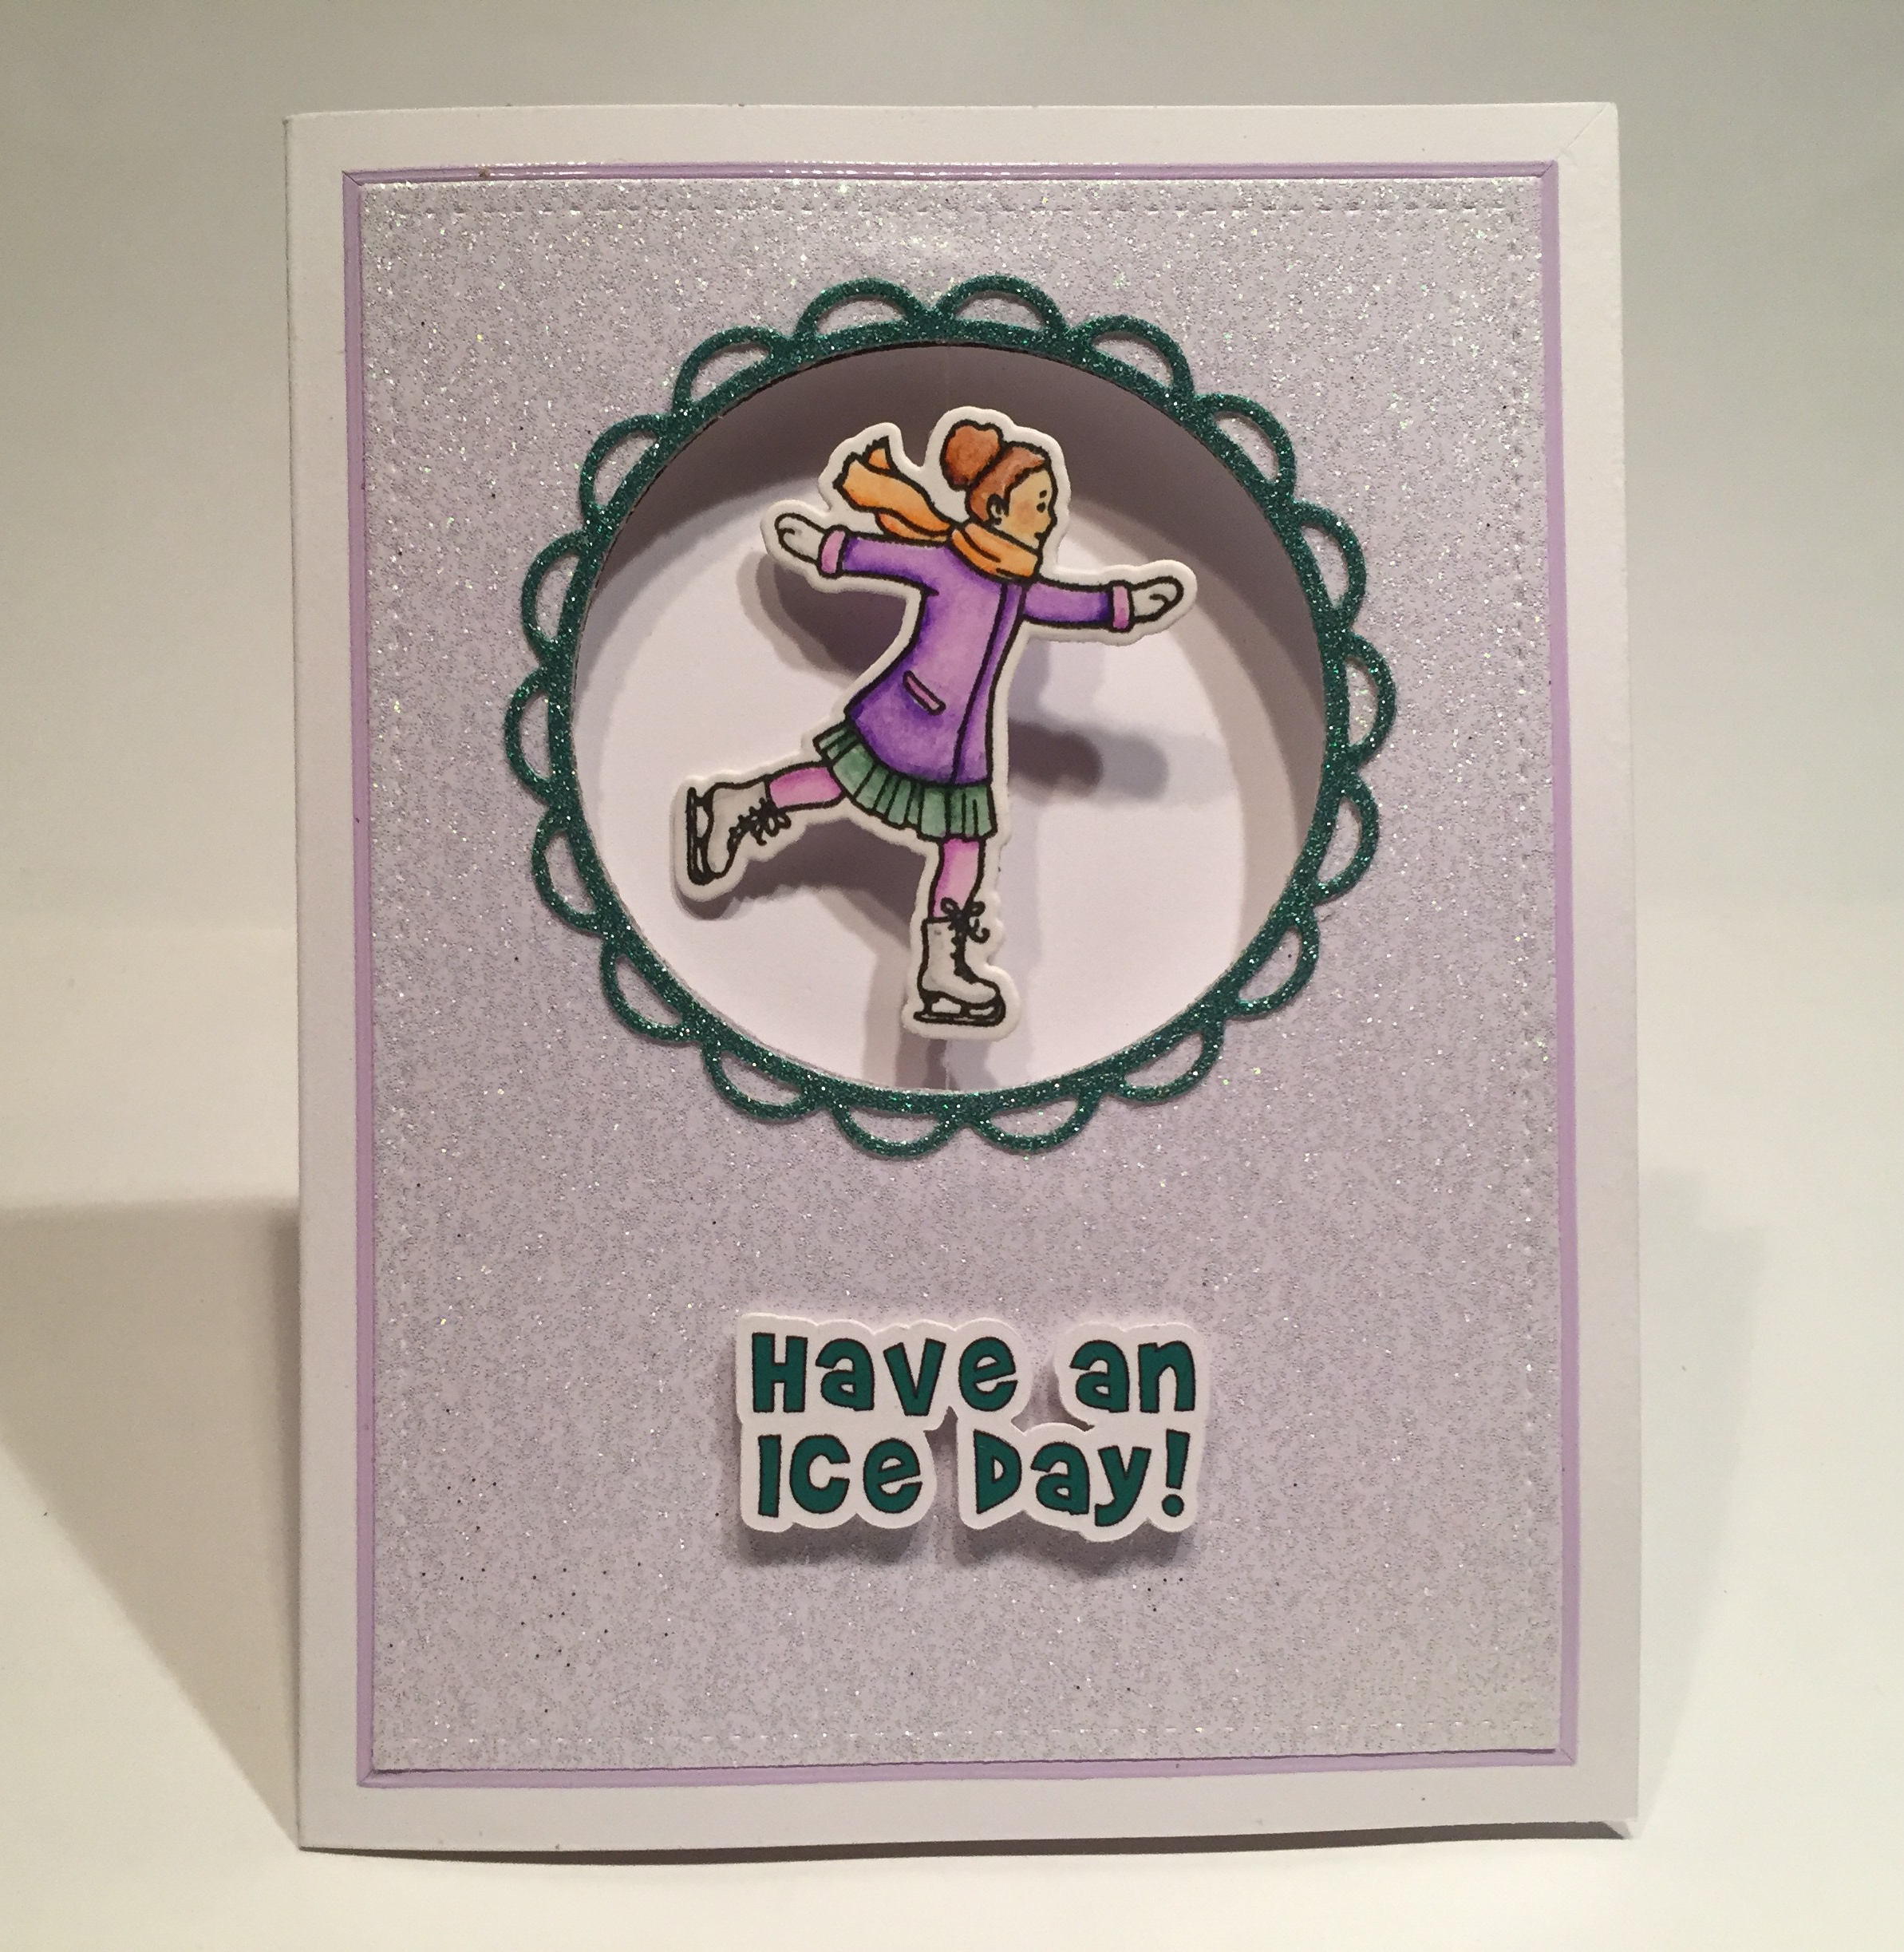
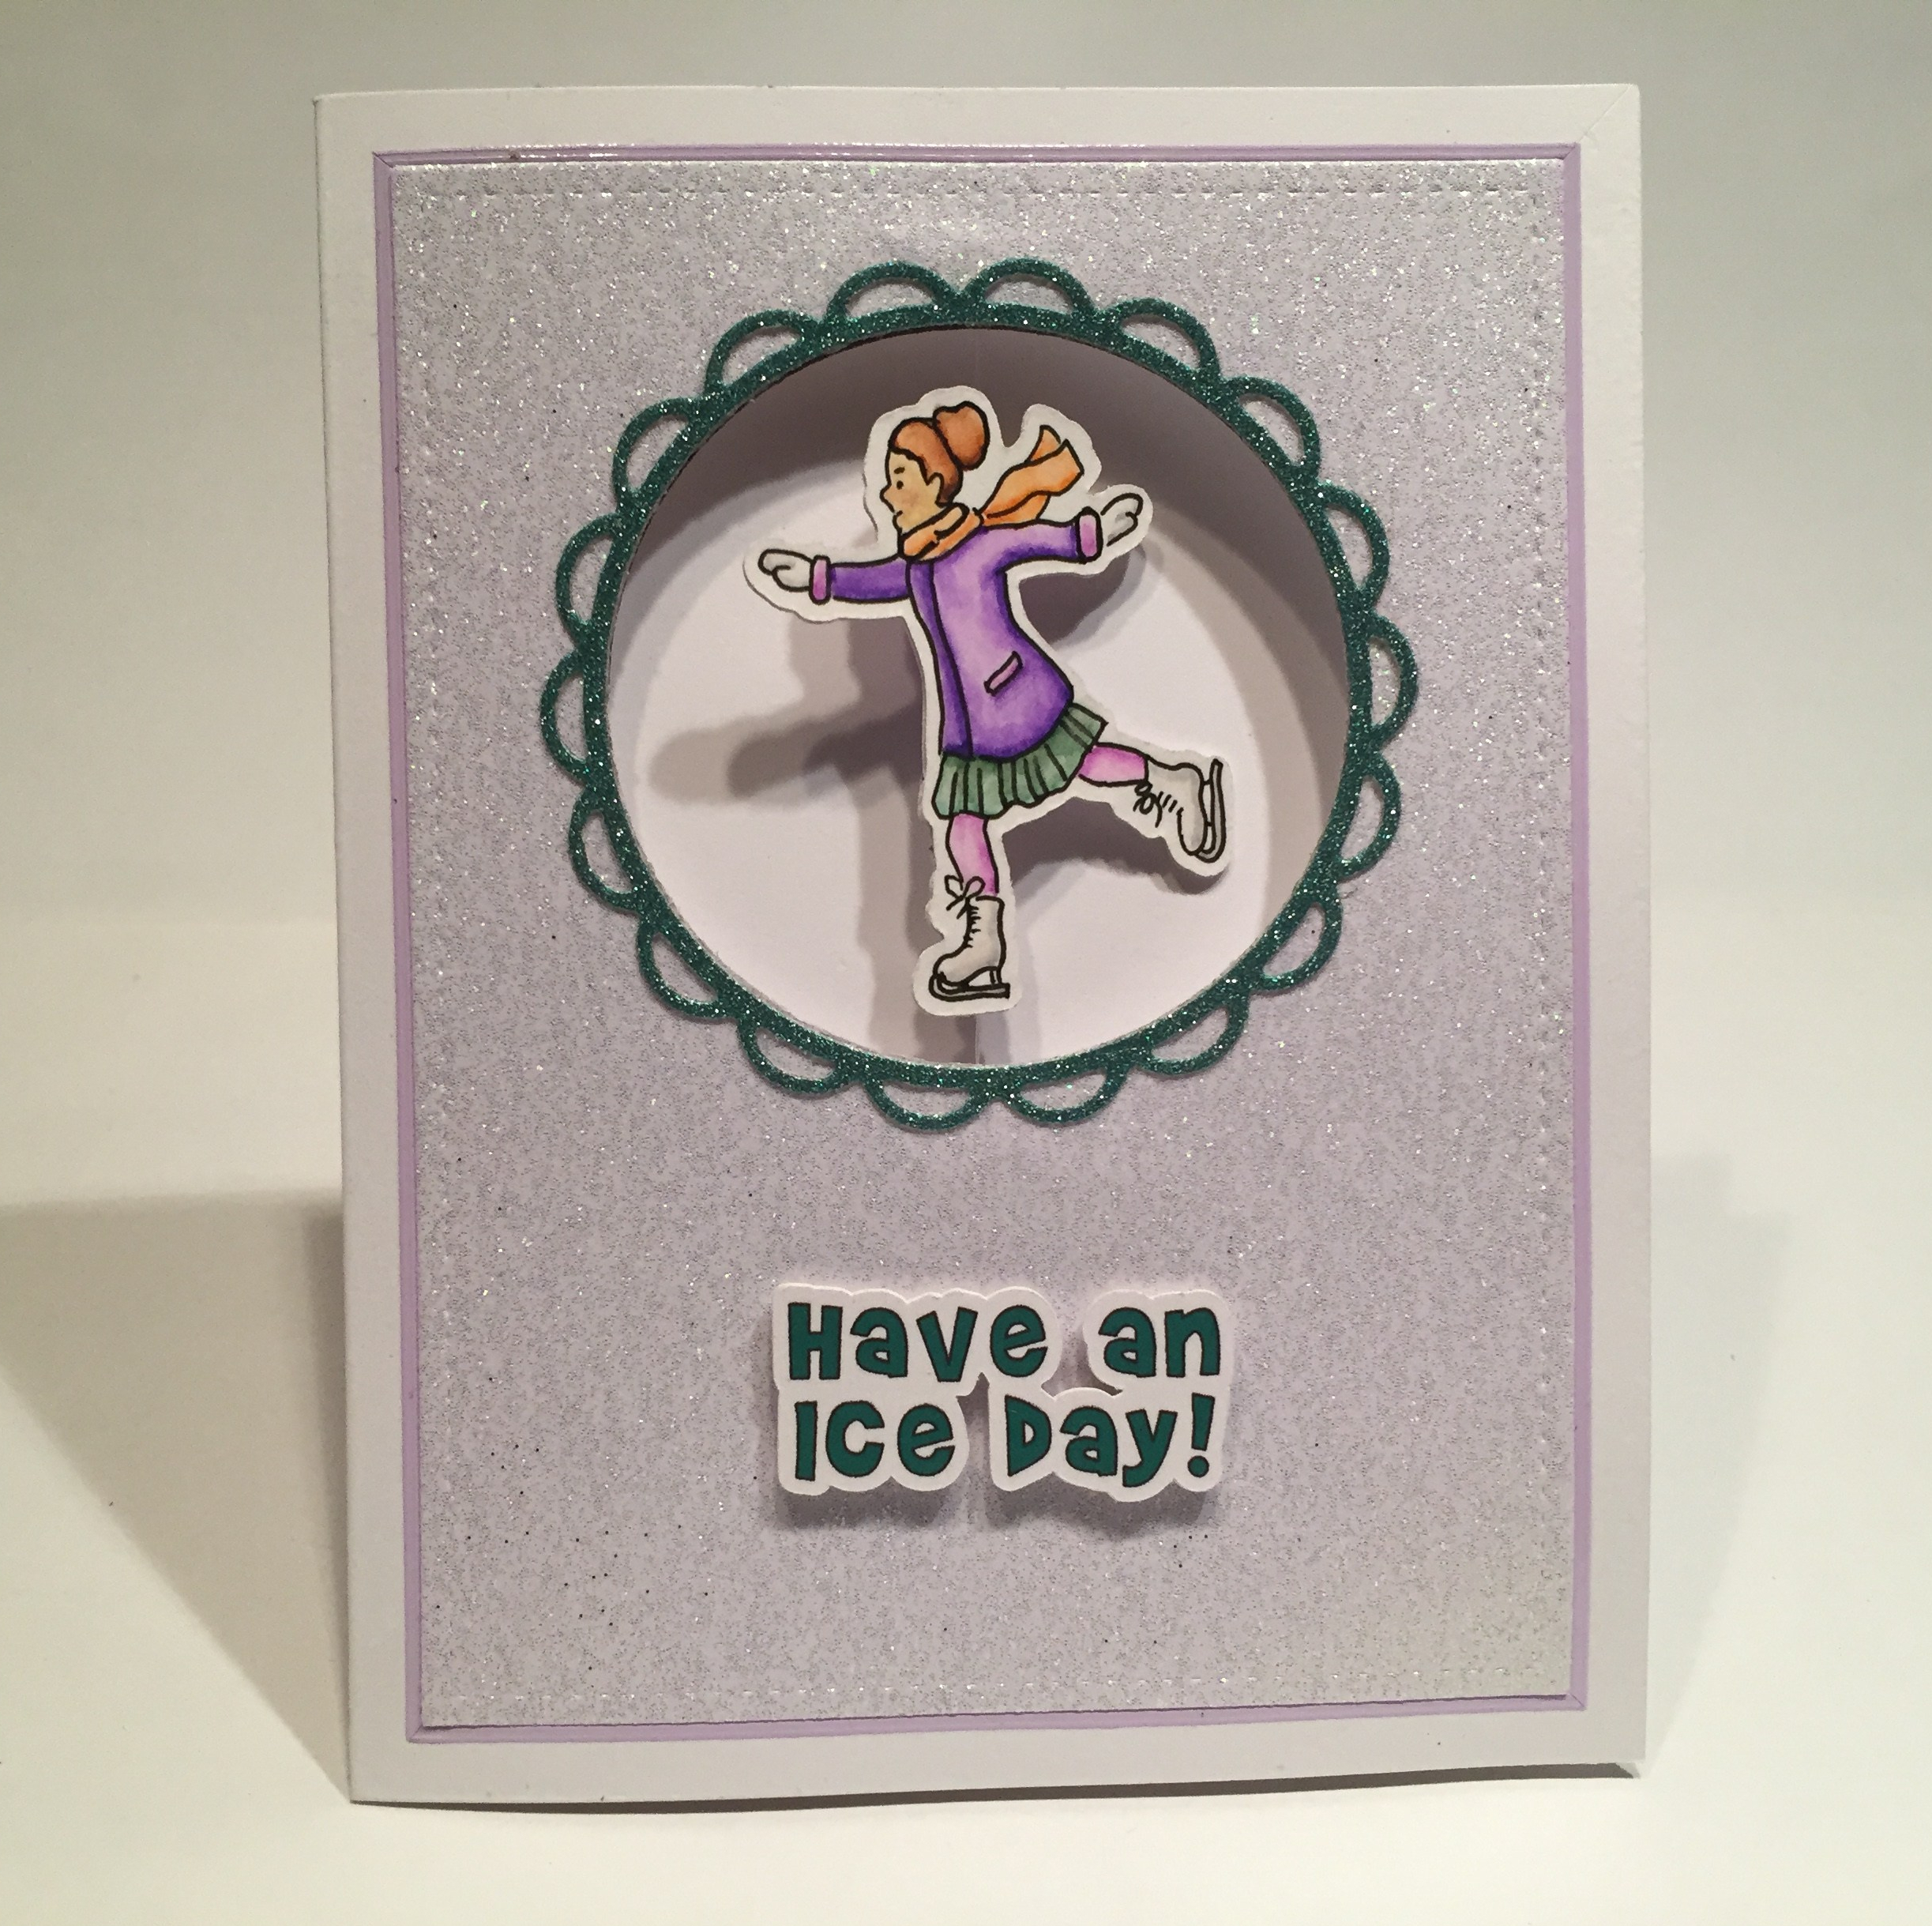
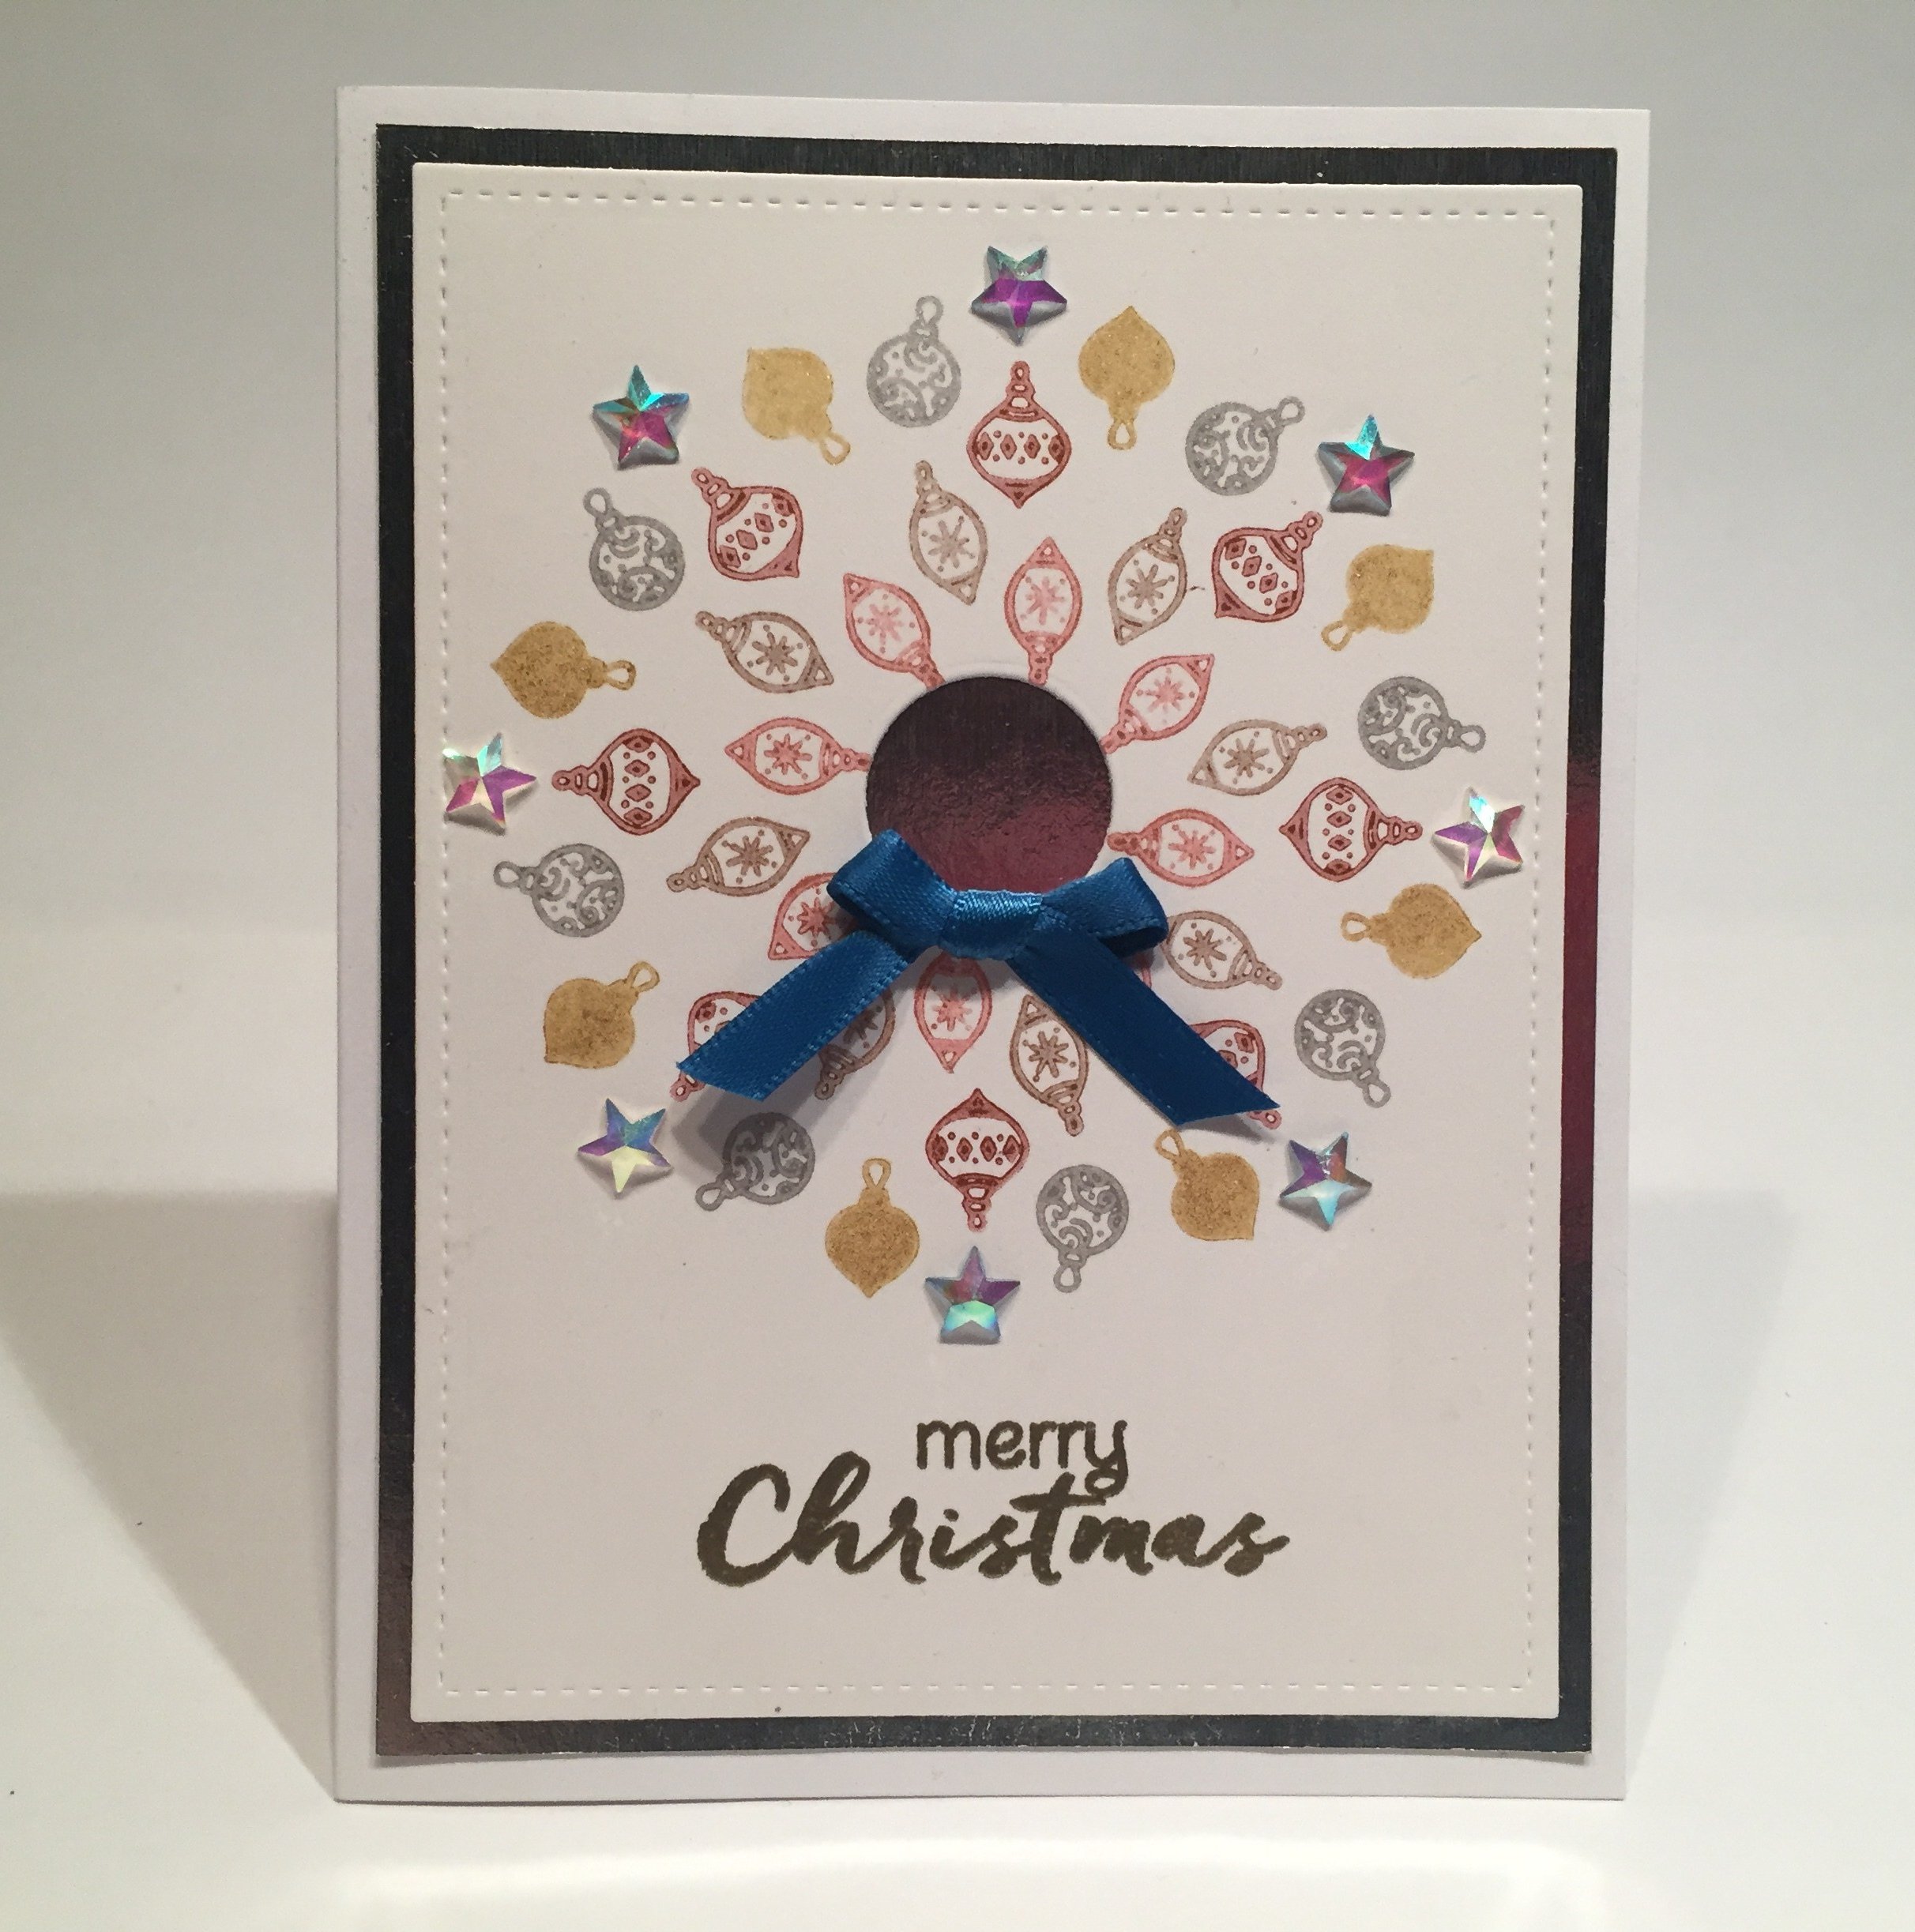
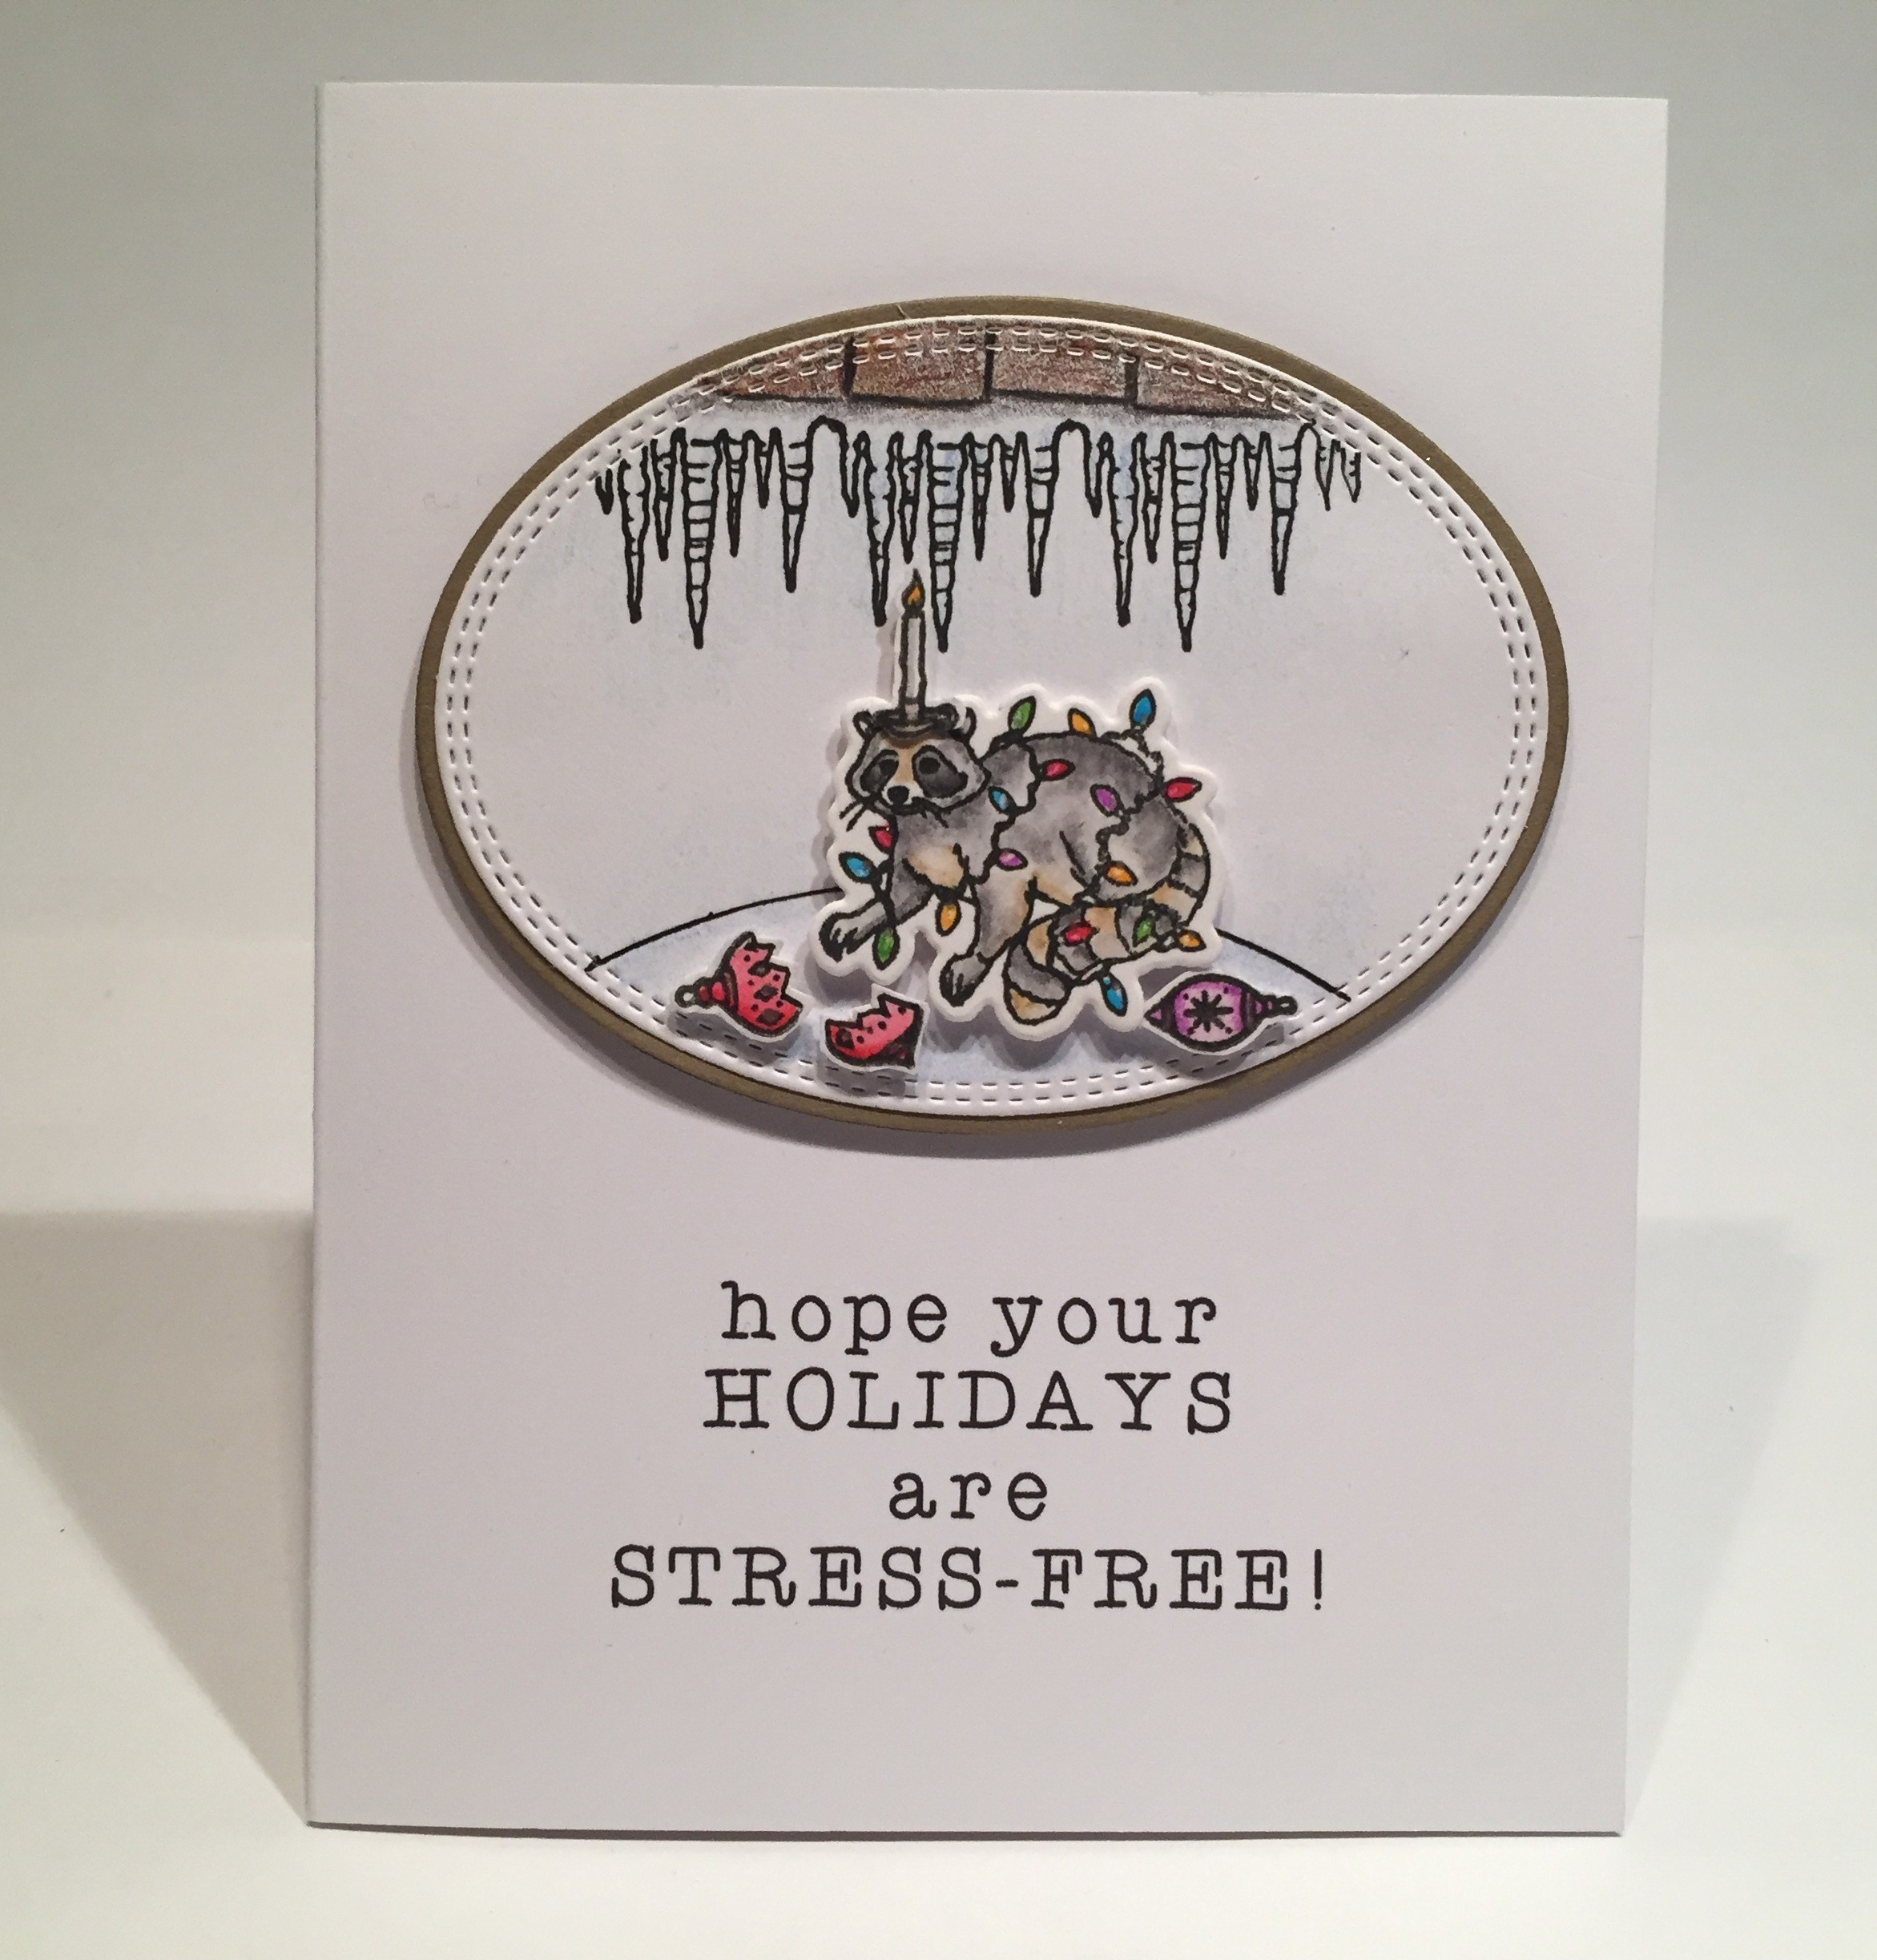
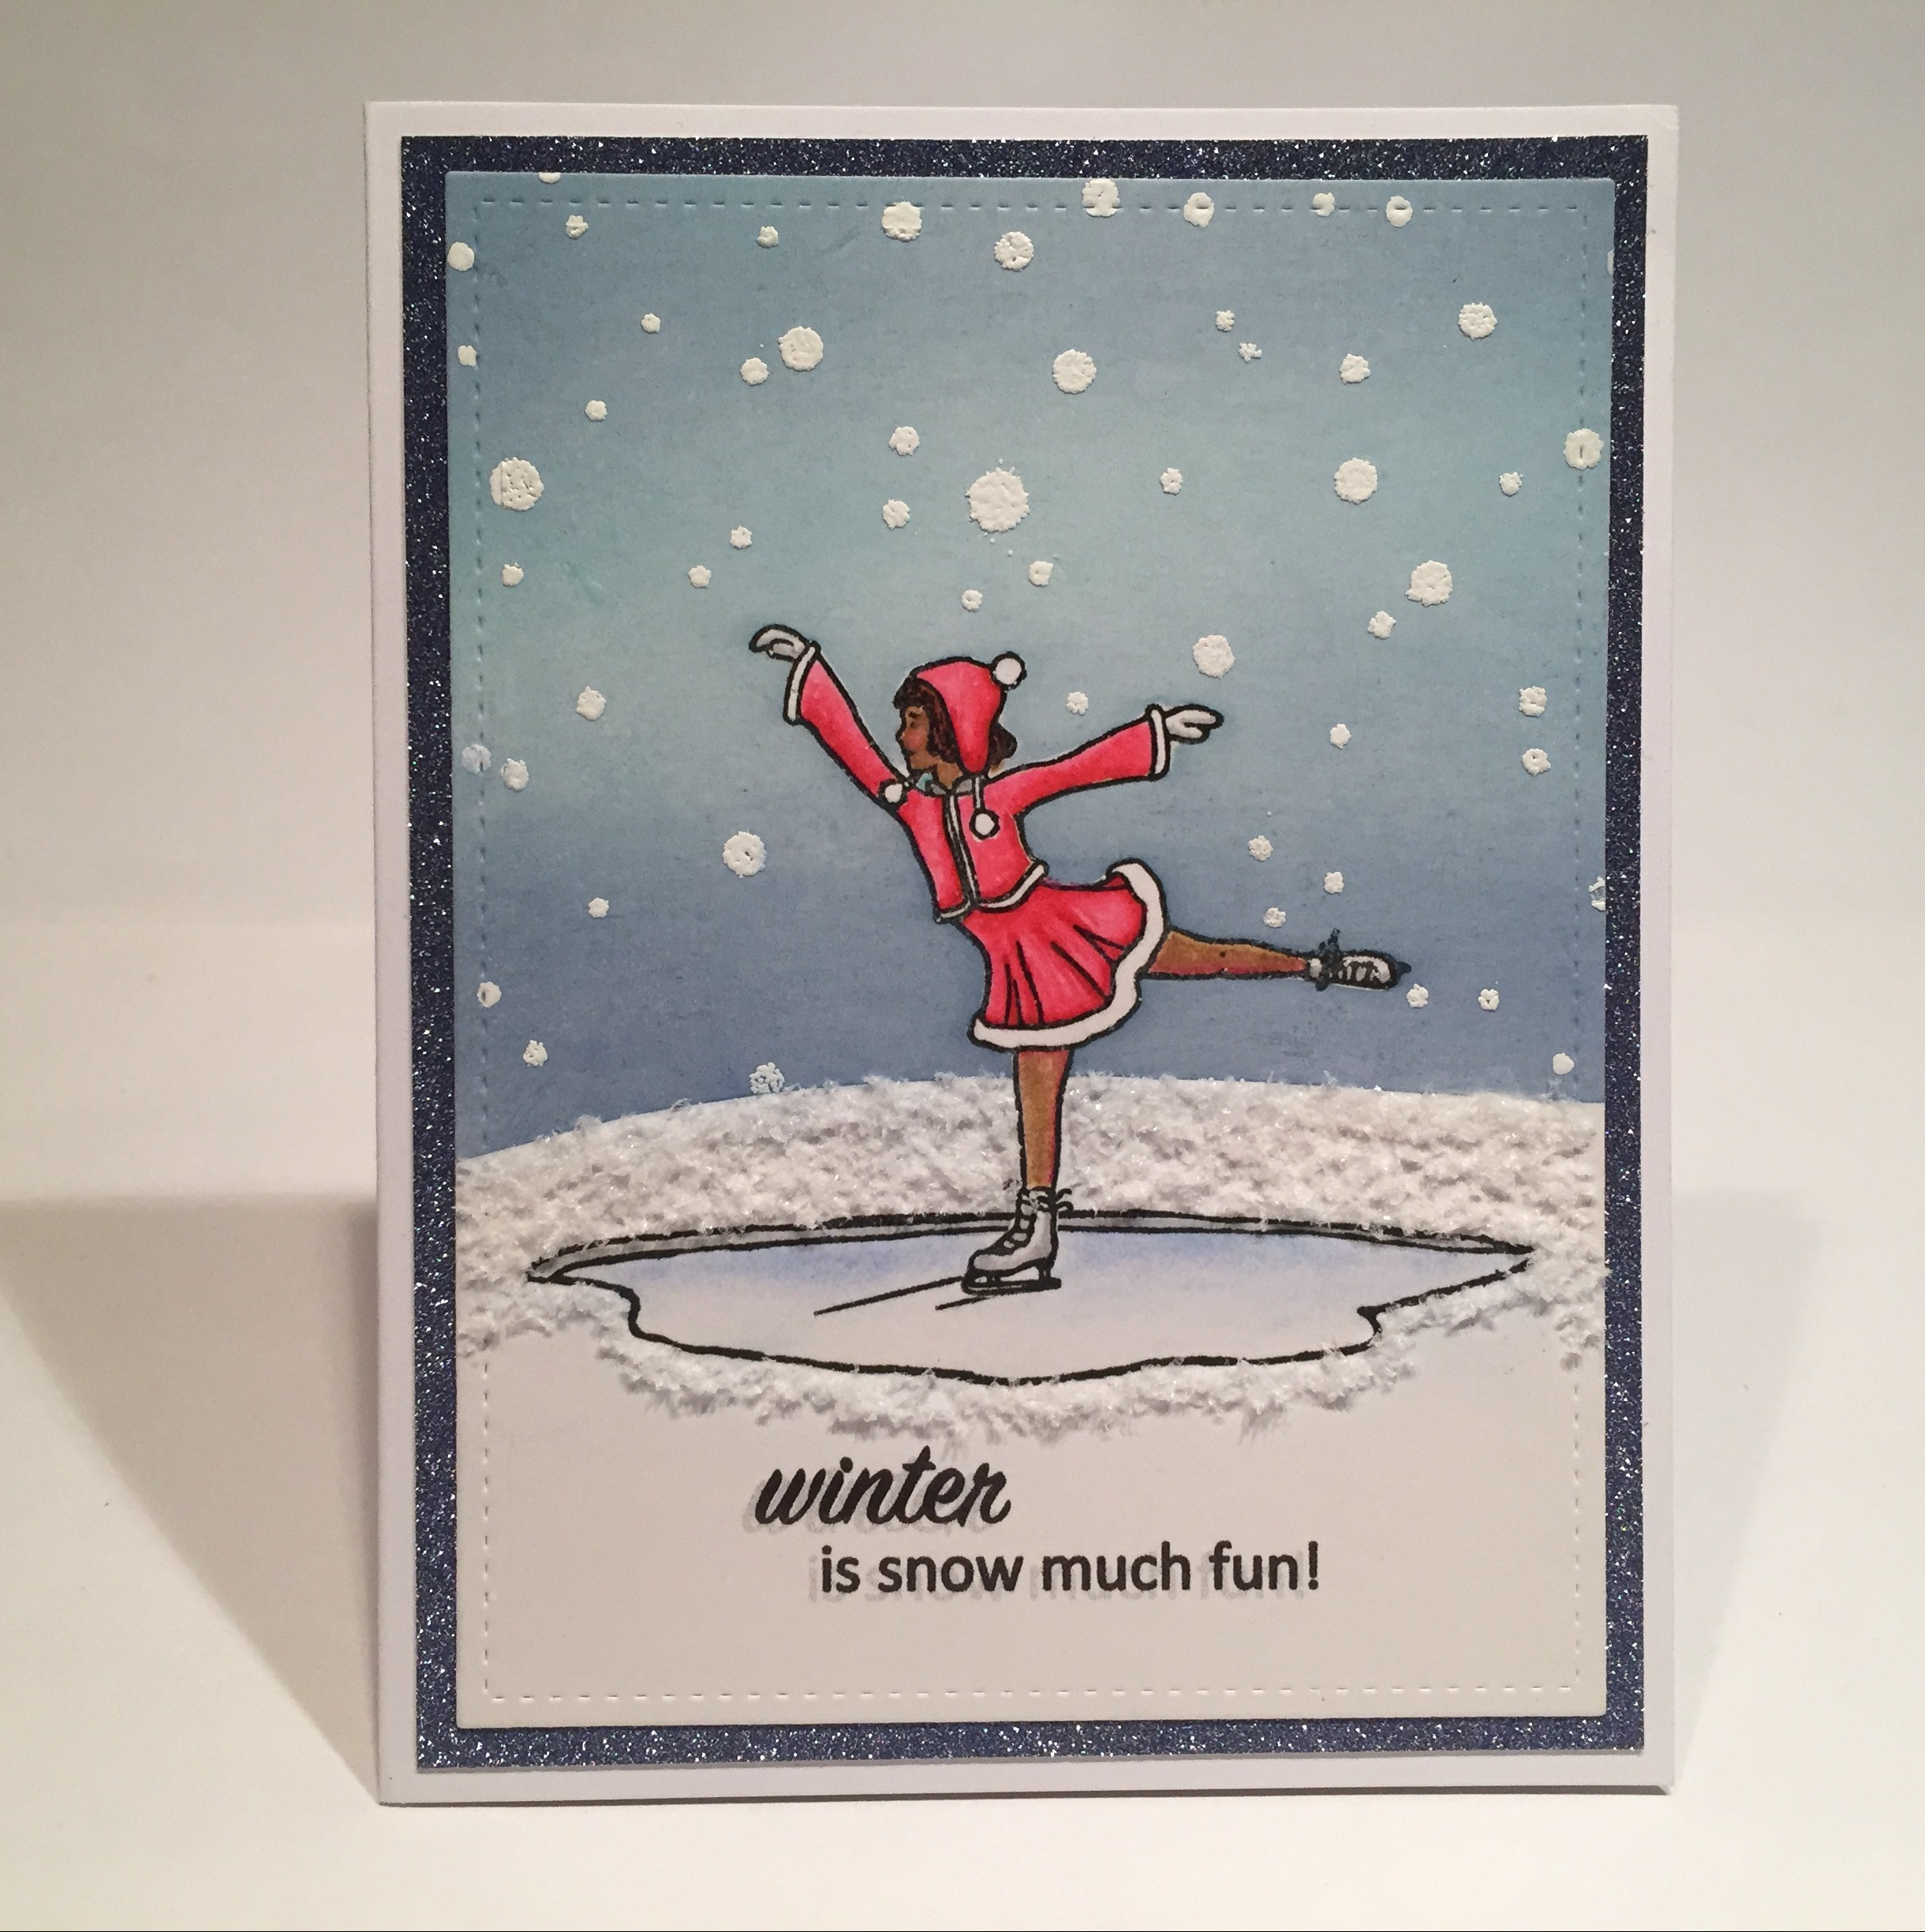
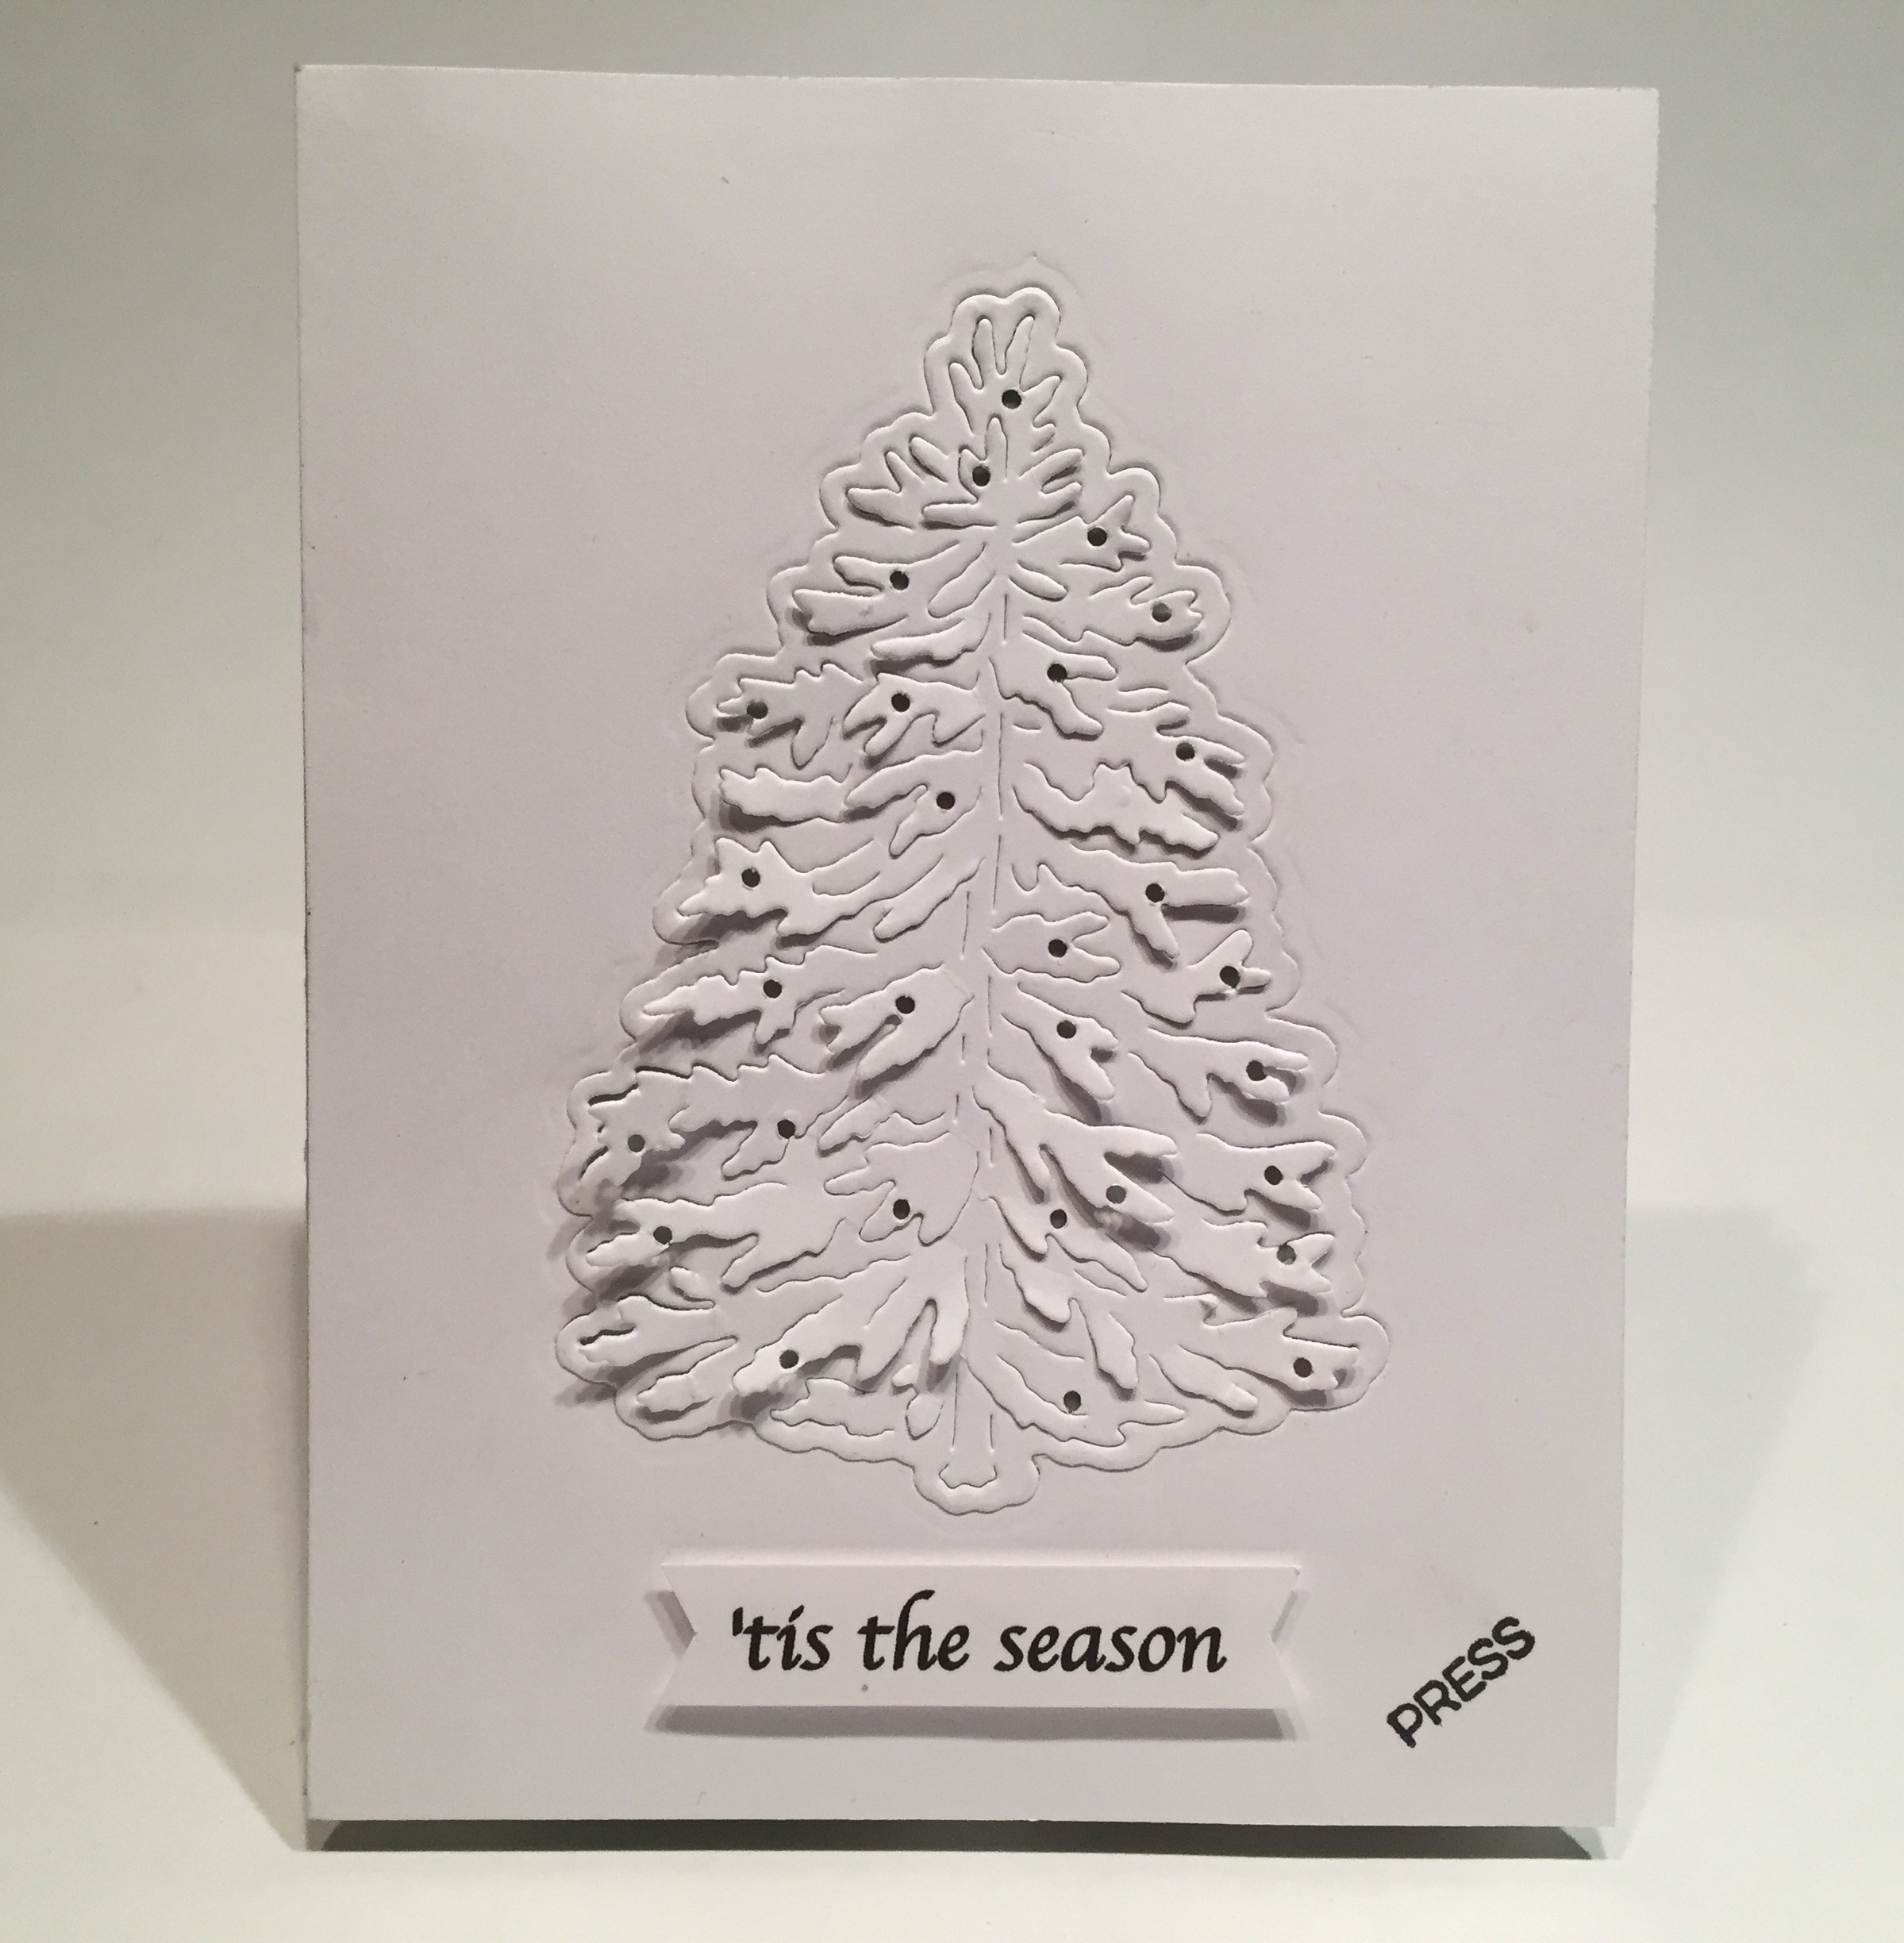
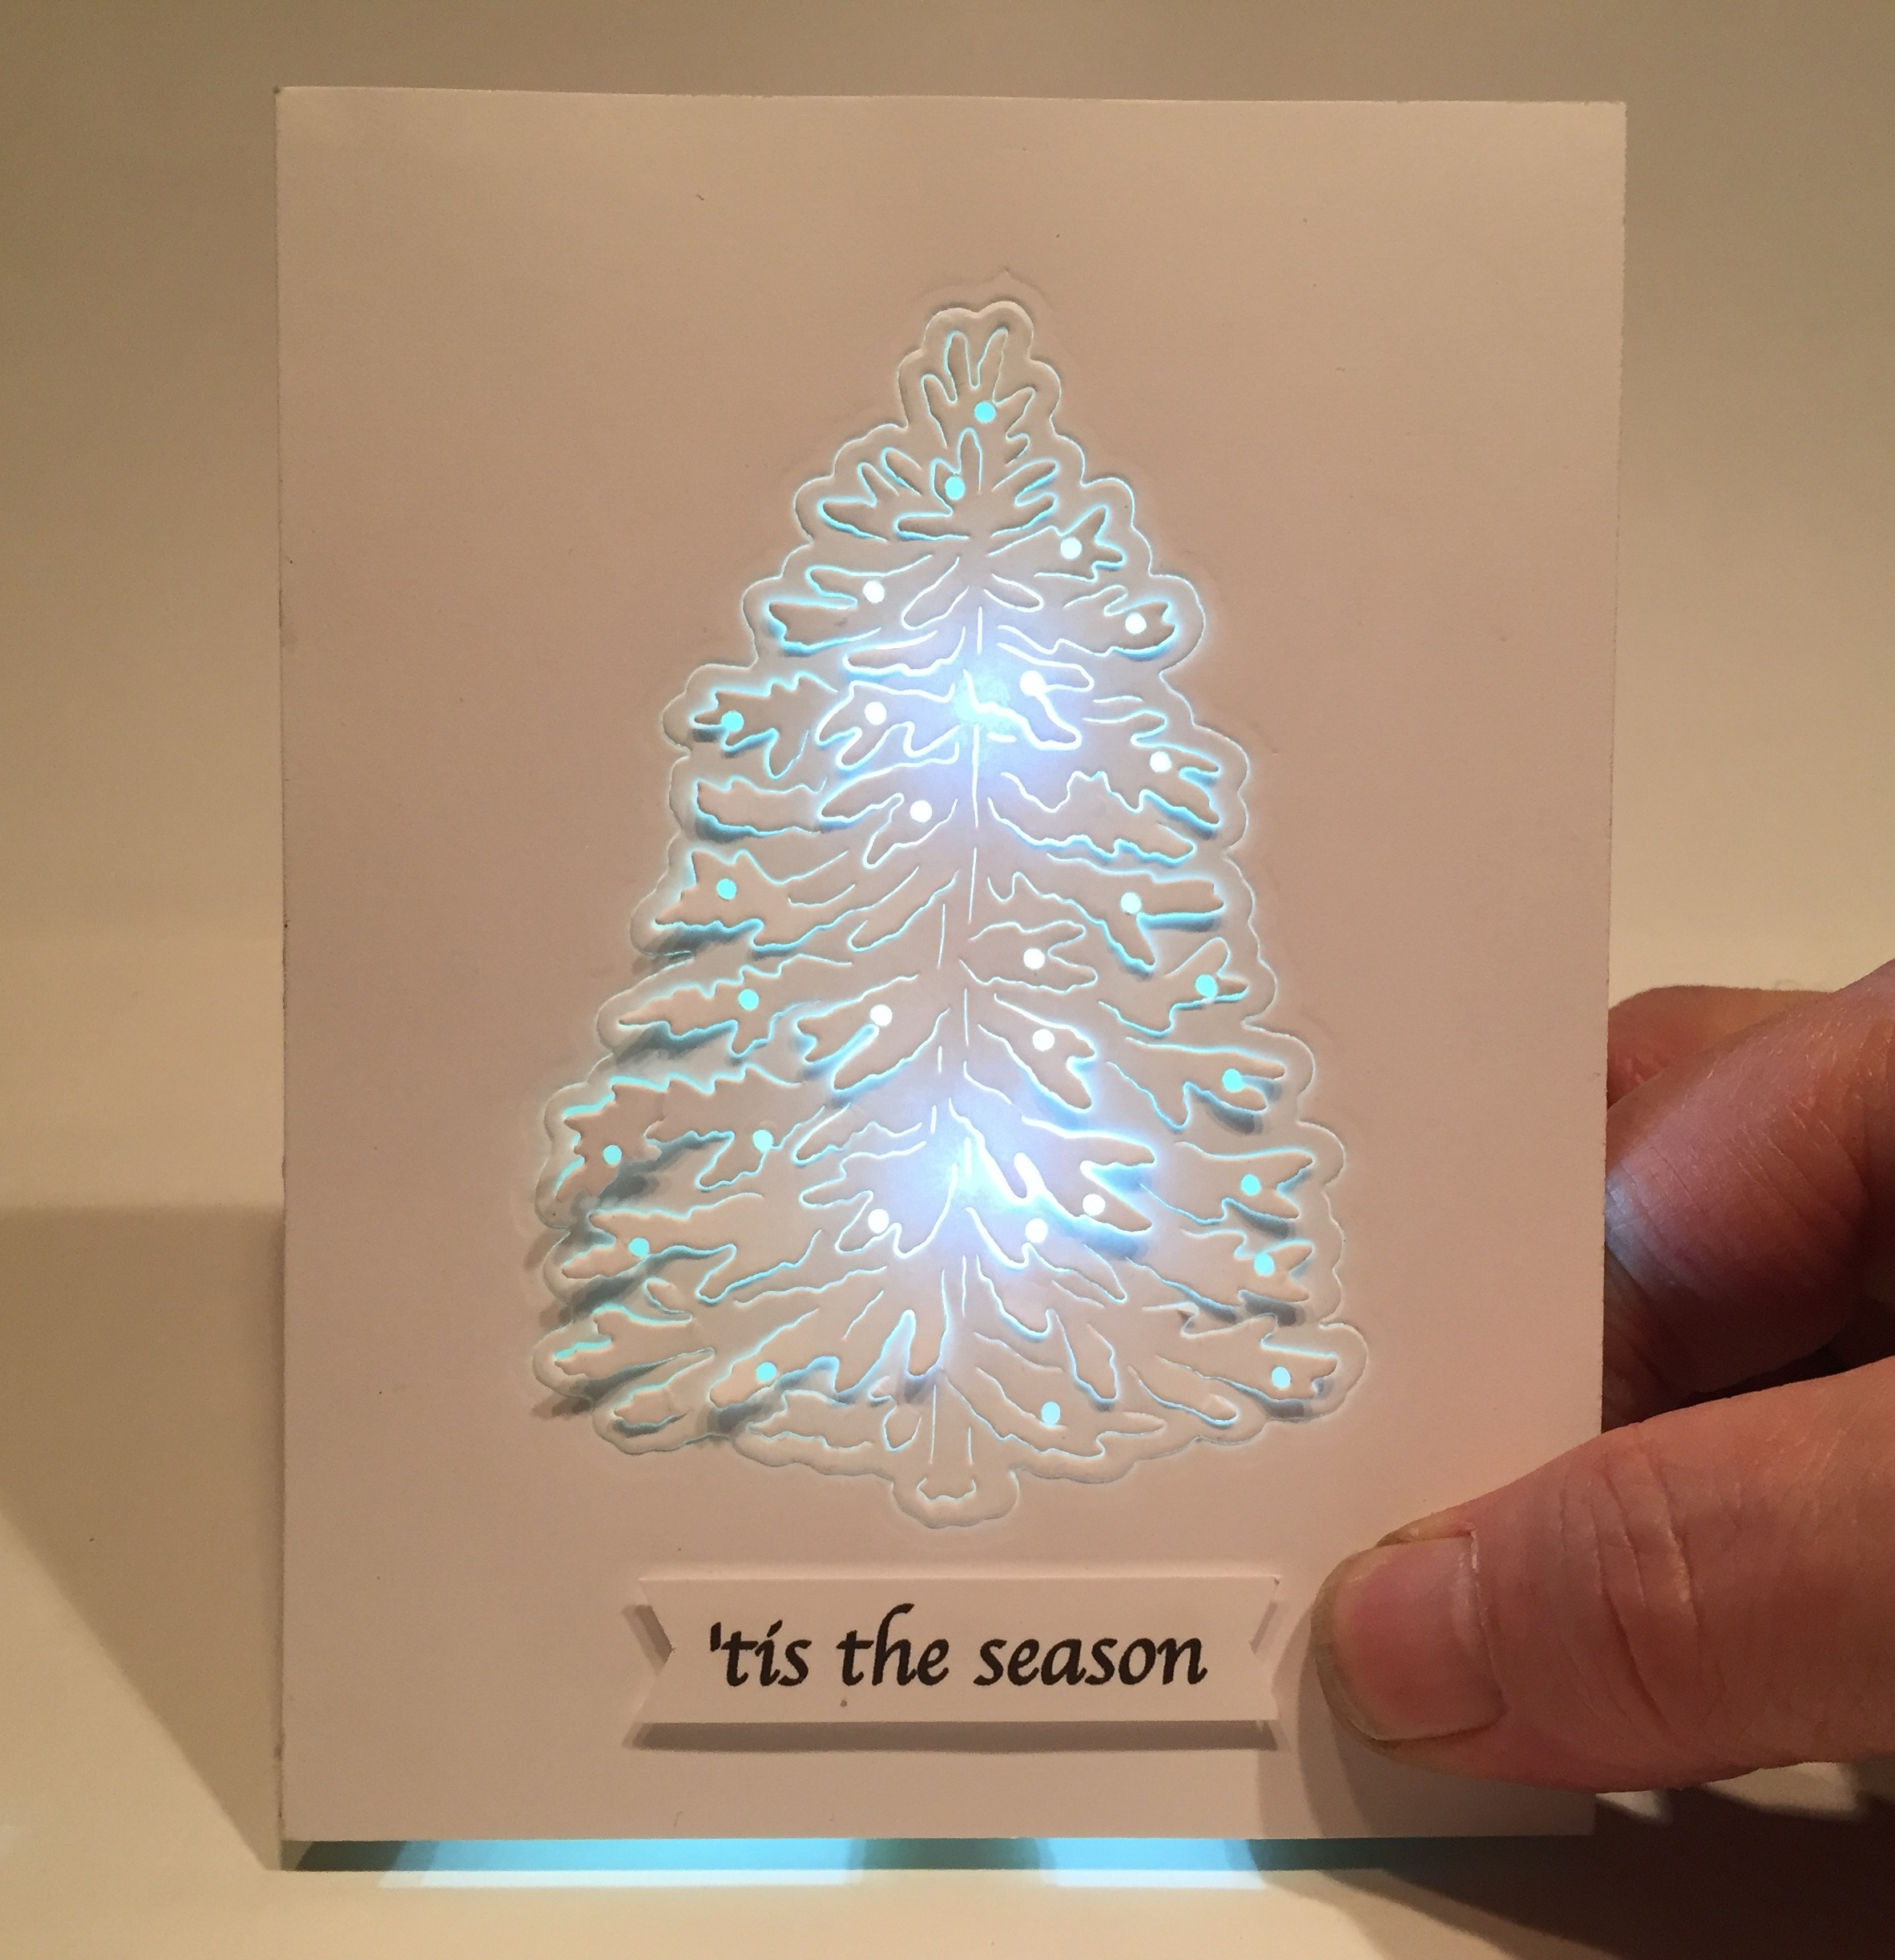
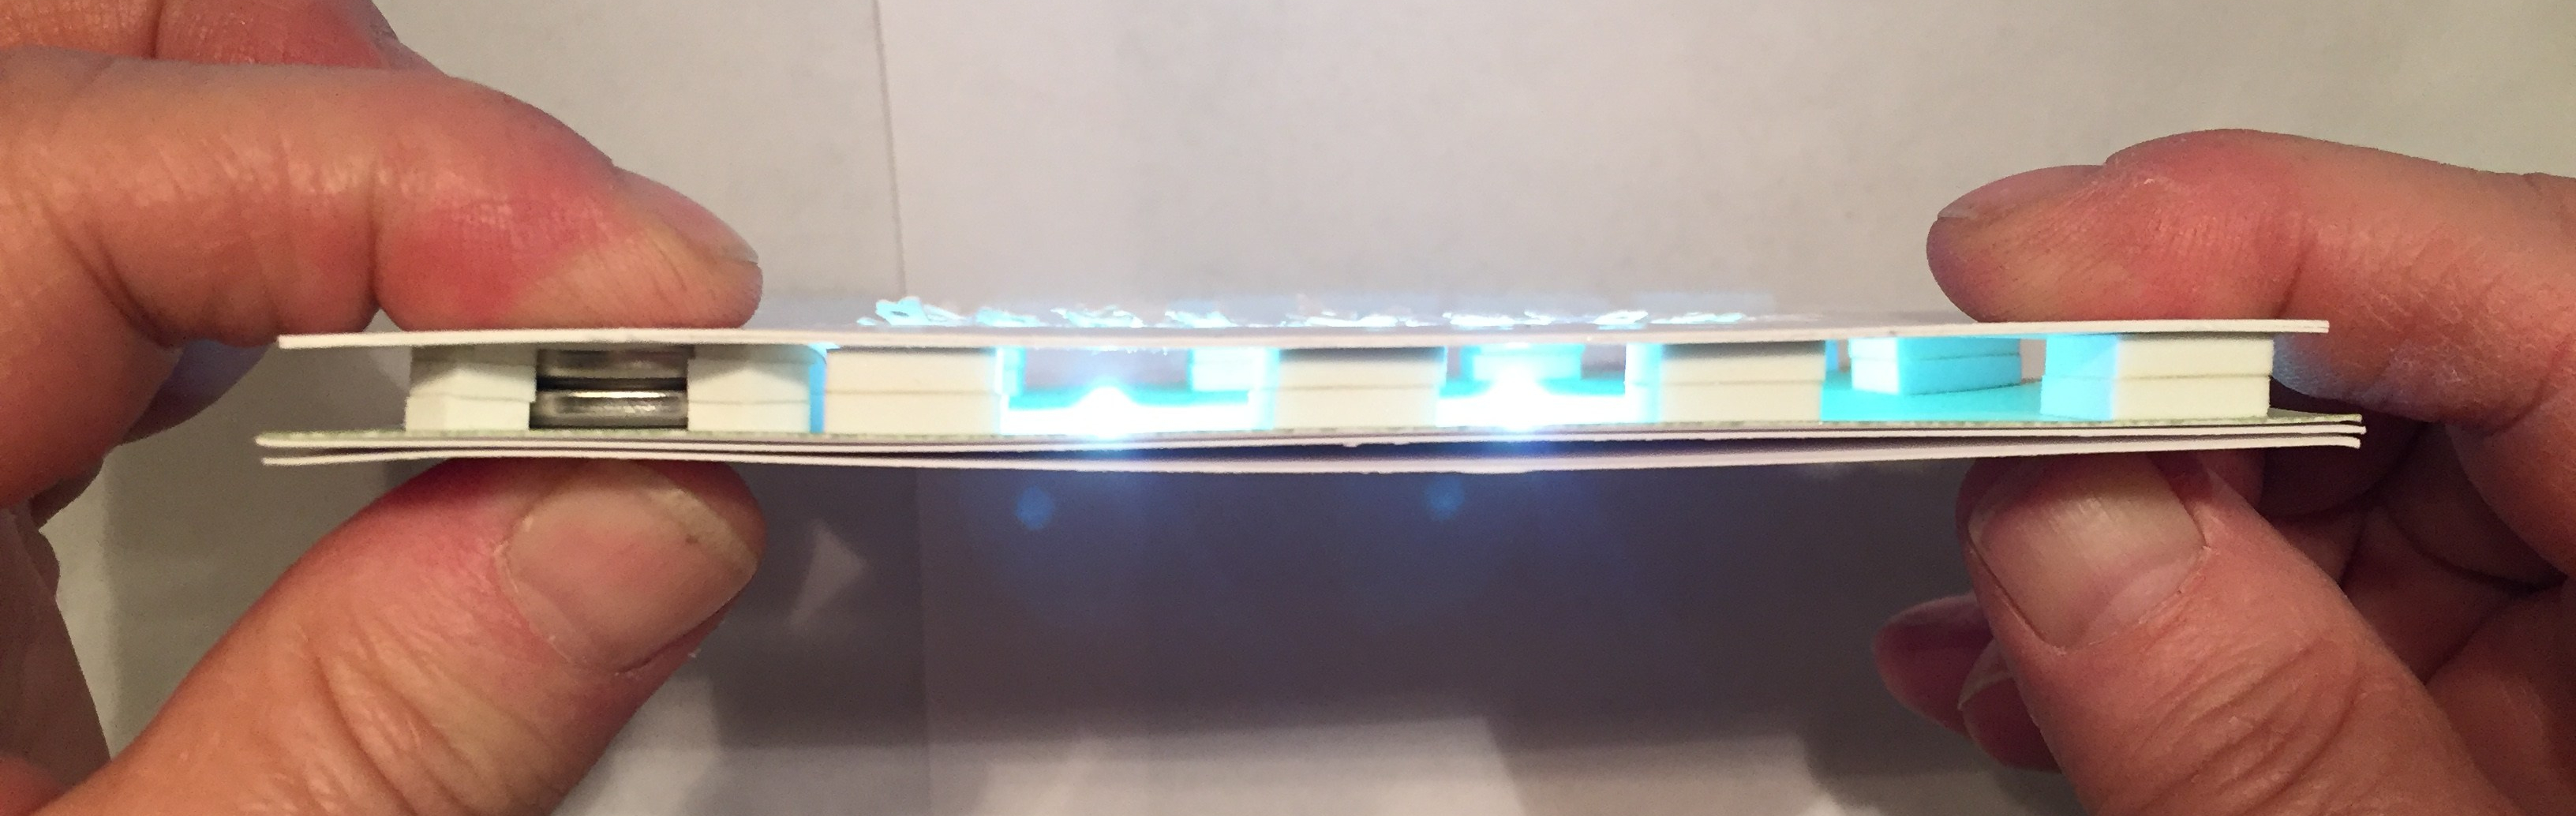
 and attached everything down to a plain white card base. I printed the sentiments using my Silhouette software and the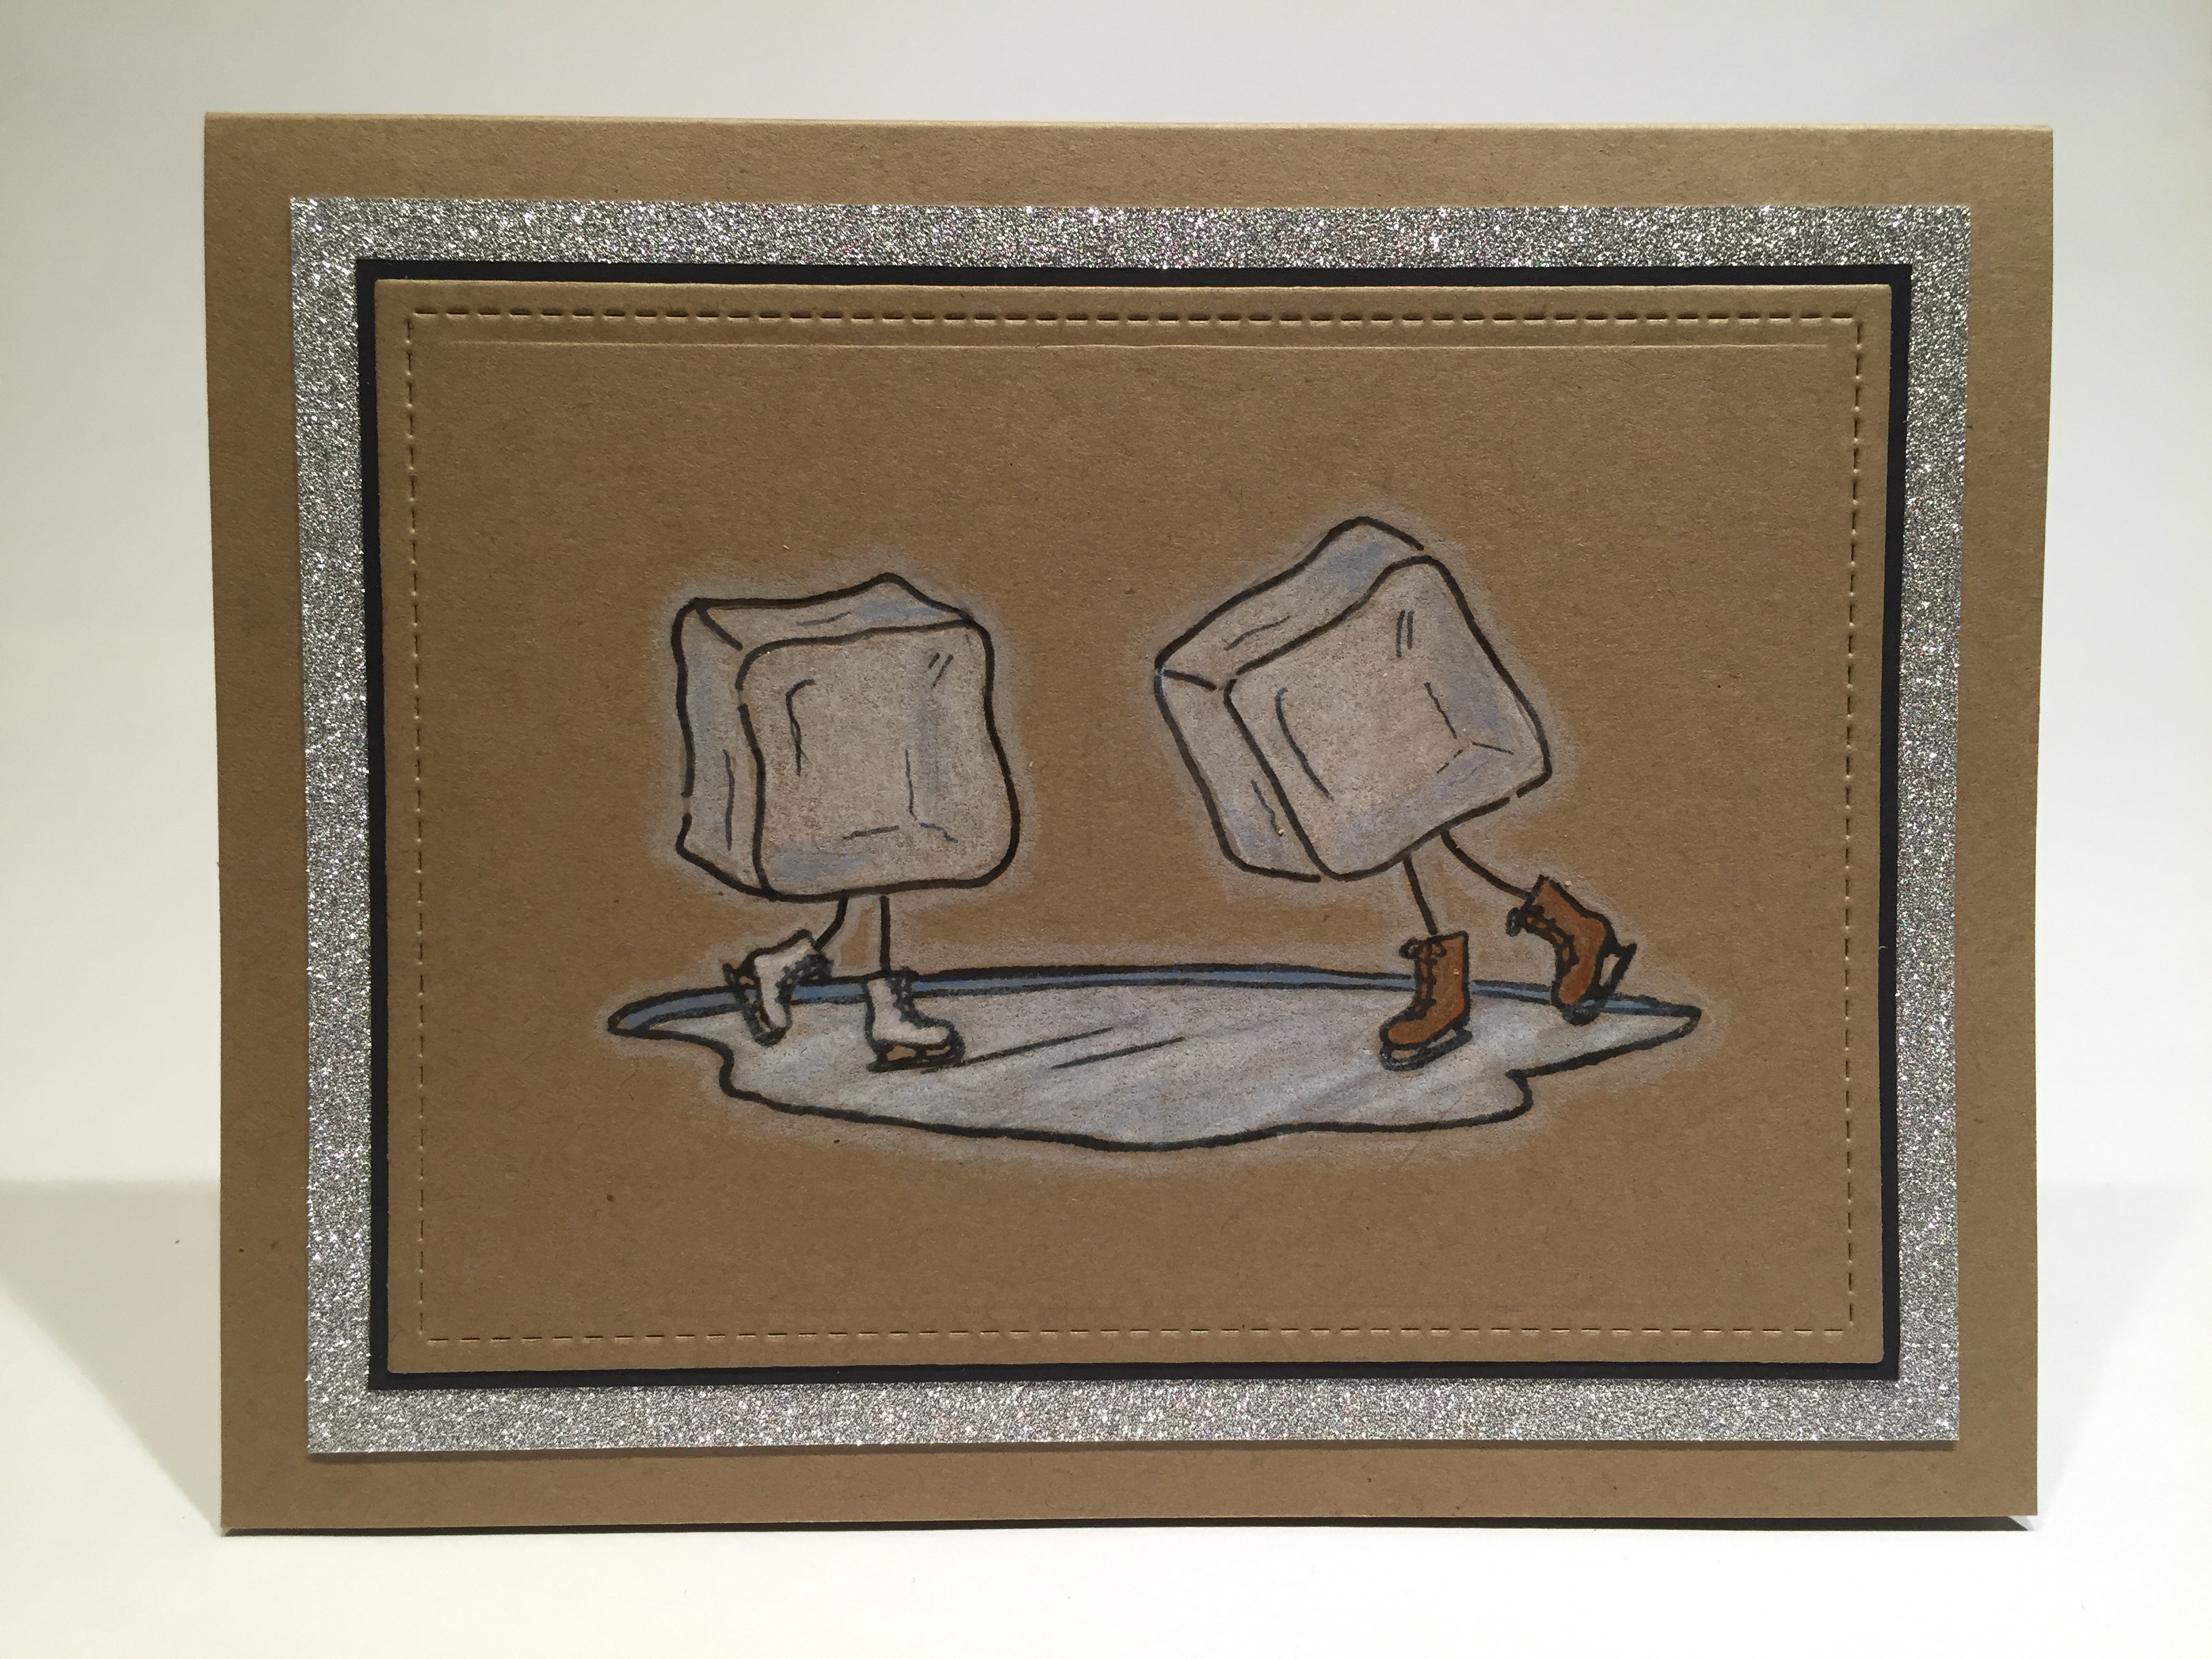
 Of course, I did add some sparkle to the ice cubes with the Iridescent watercolor ink. Now, I don’t want anyone to miss the (obvious) pun here, so I printed the sentiment on the inside of the card using my Silhouette software and the Sign Painter font. I love the vignette quality of this little scene and this picture-pun makes me giggle.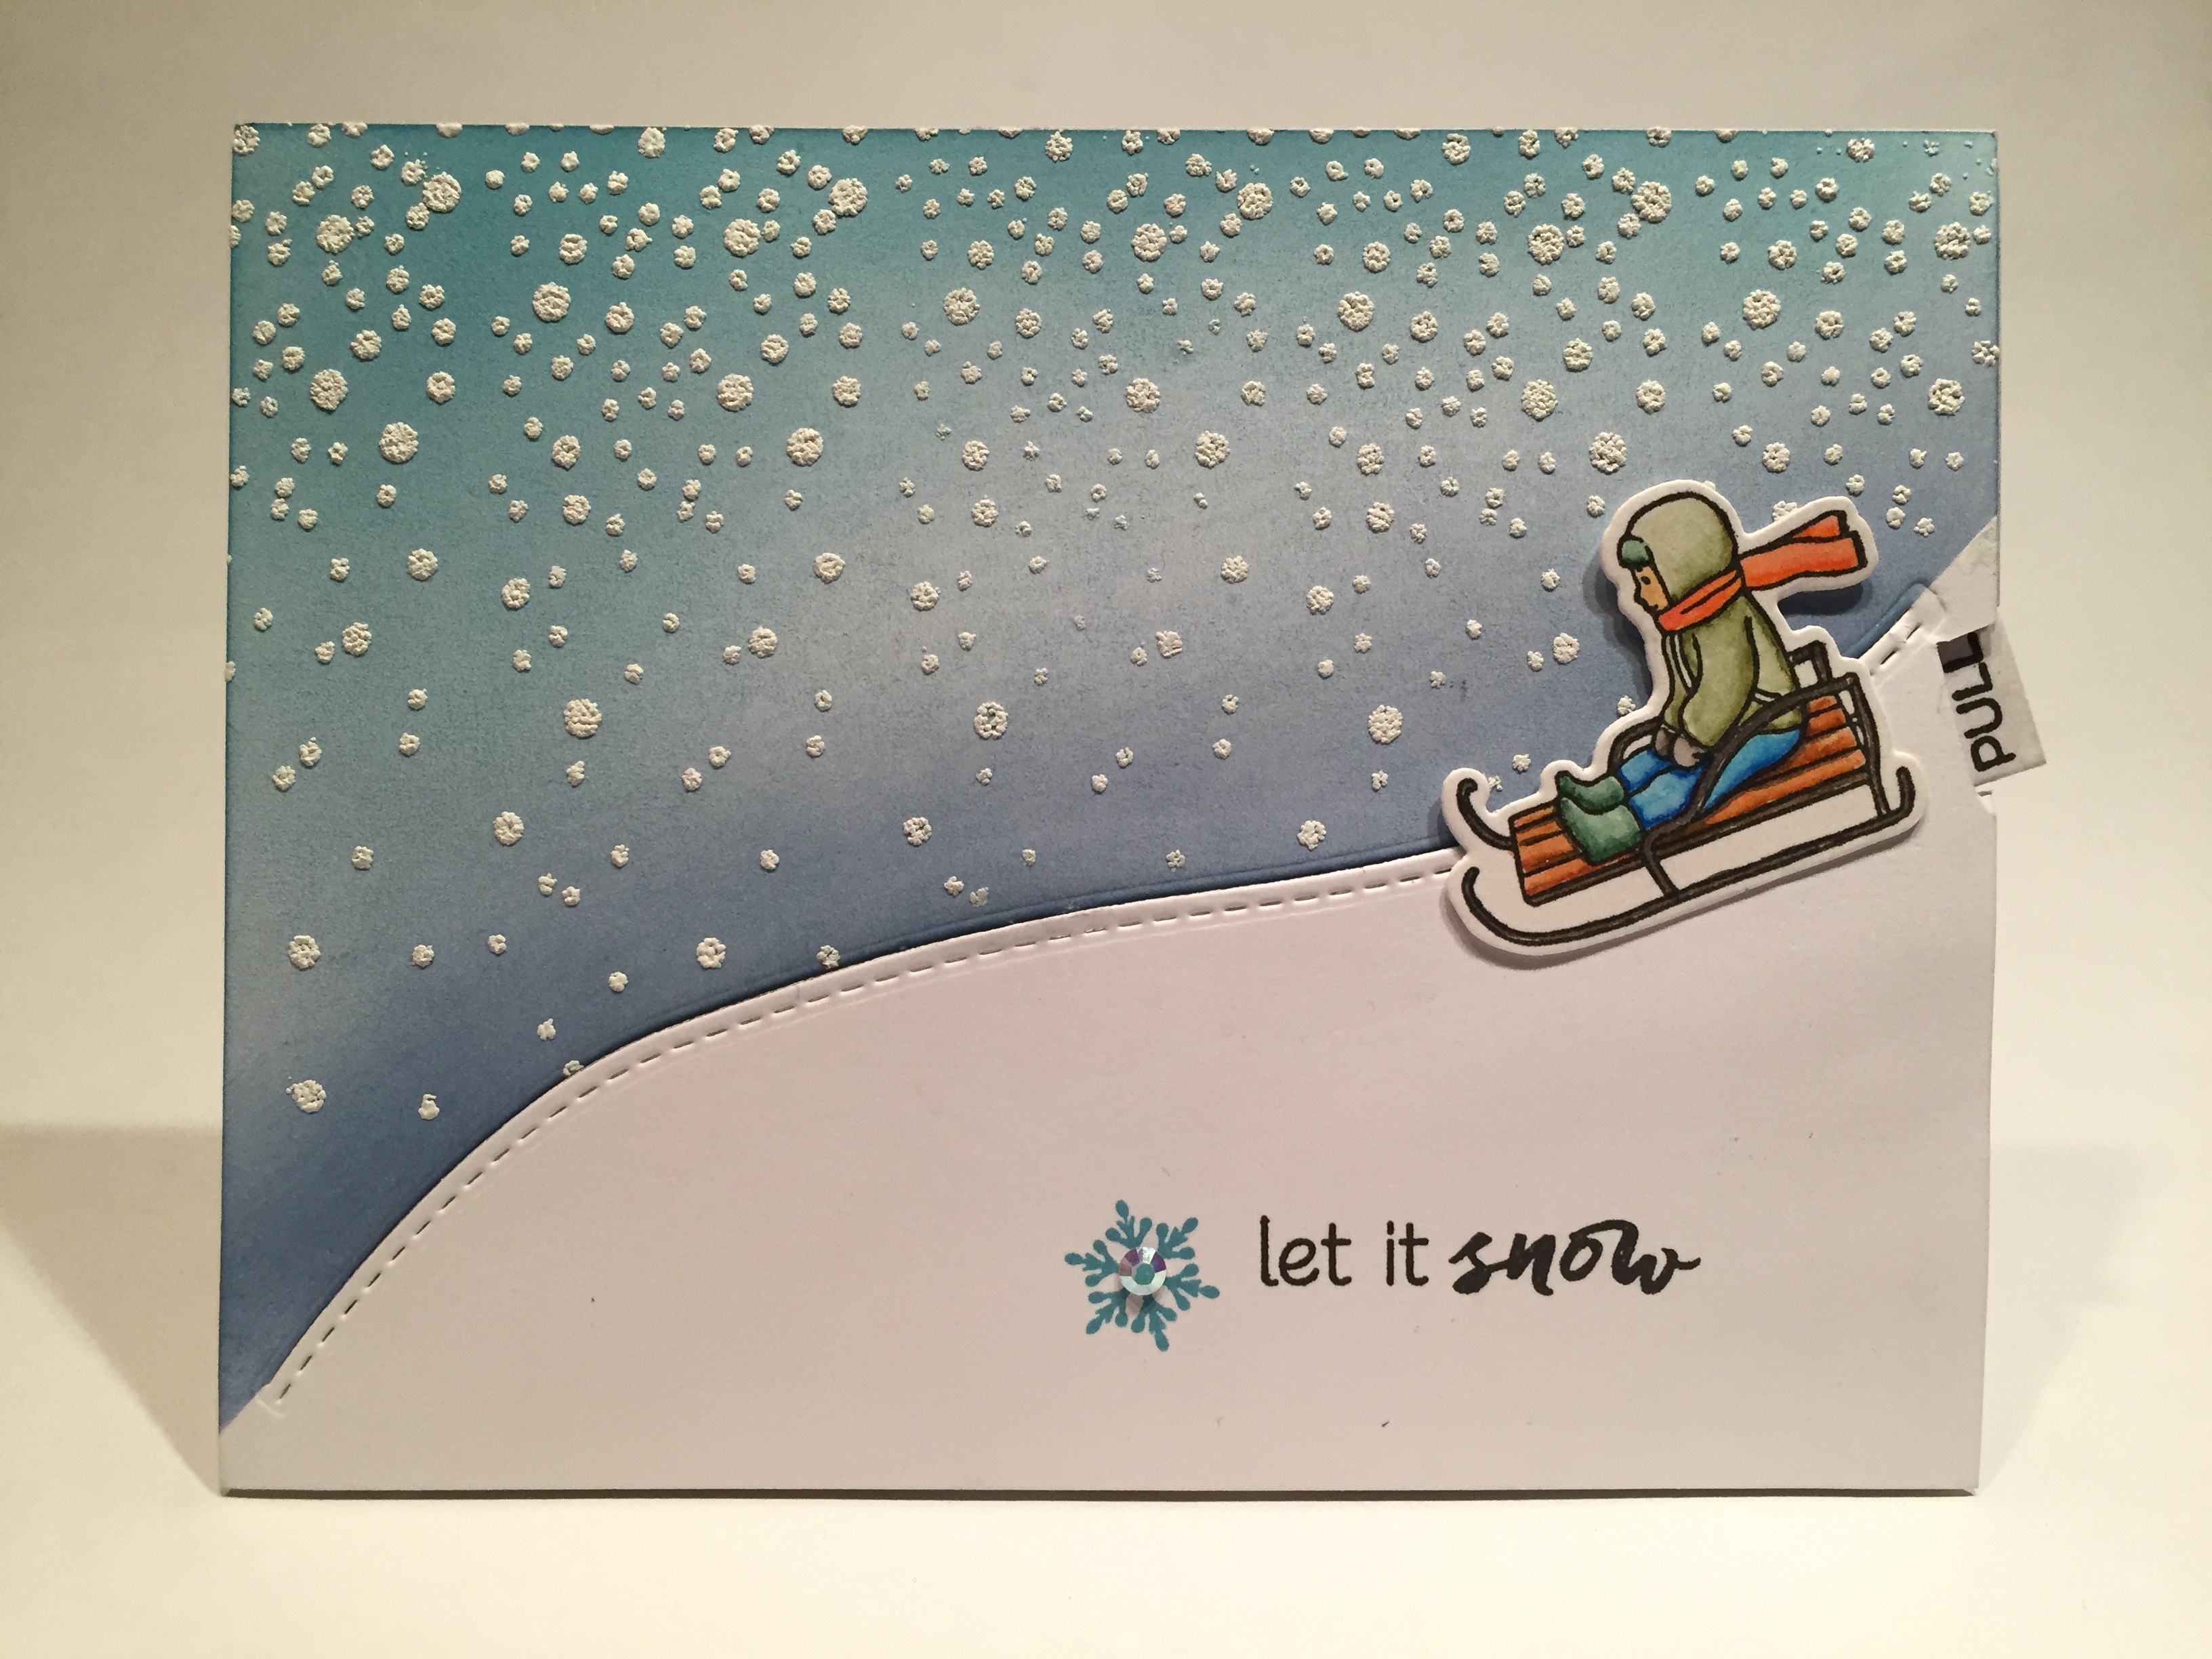
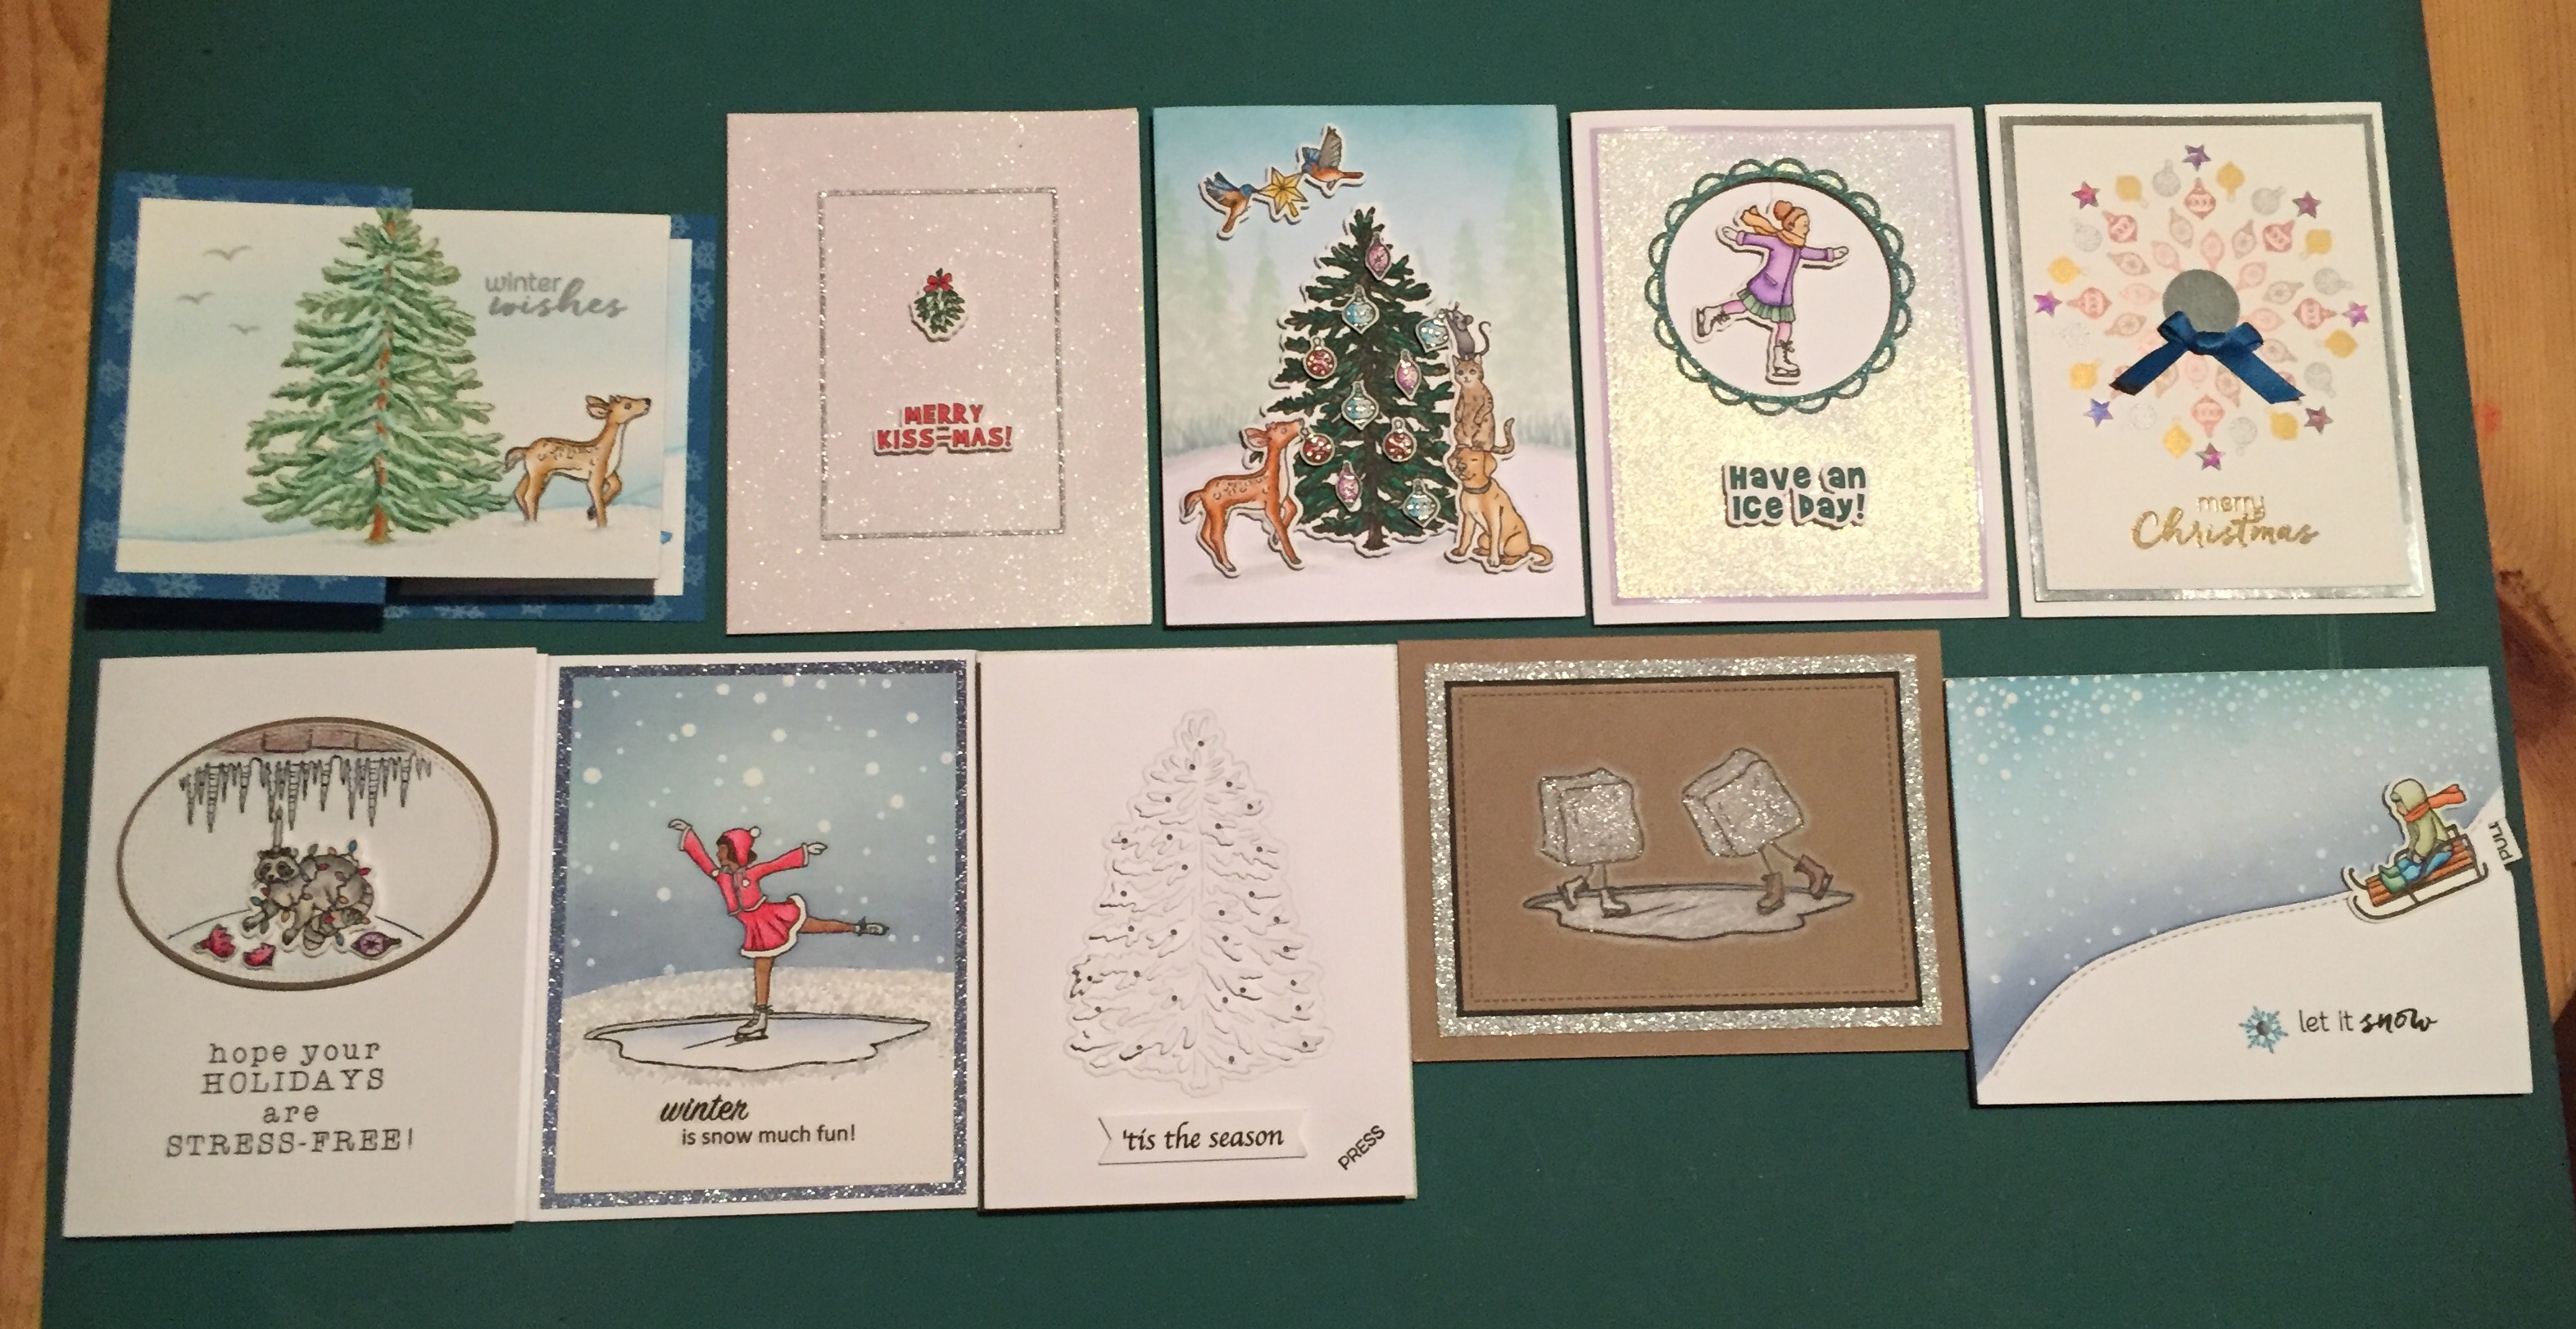
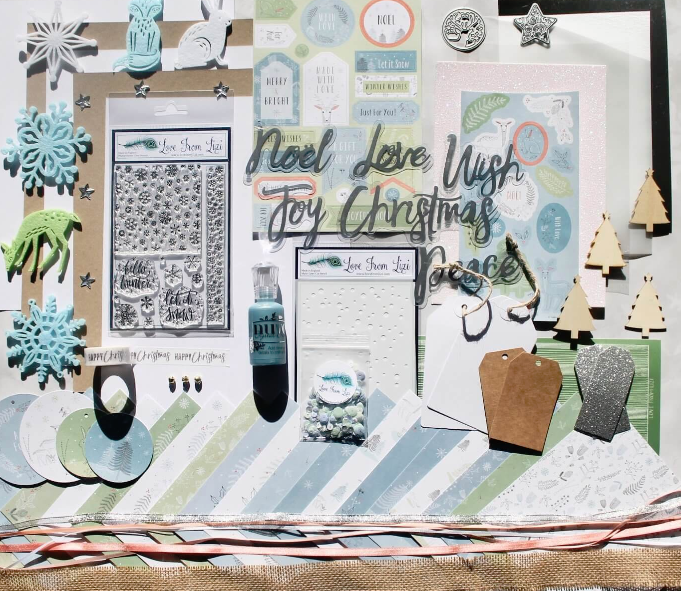
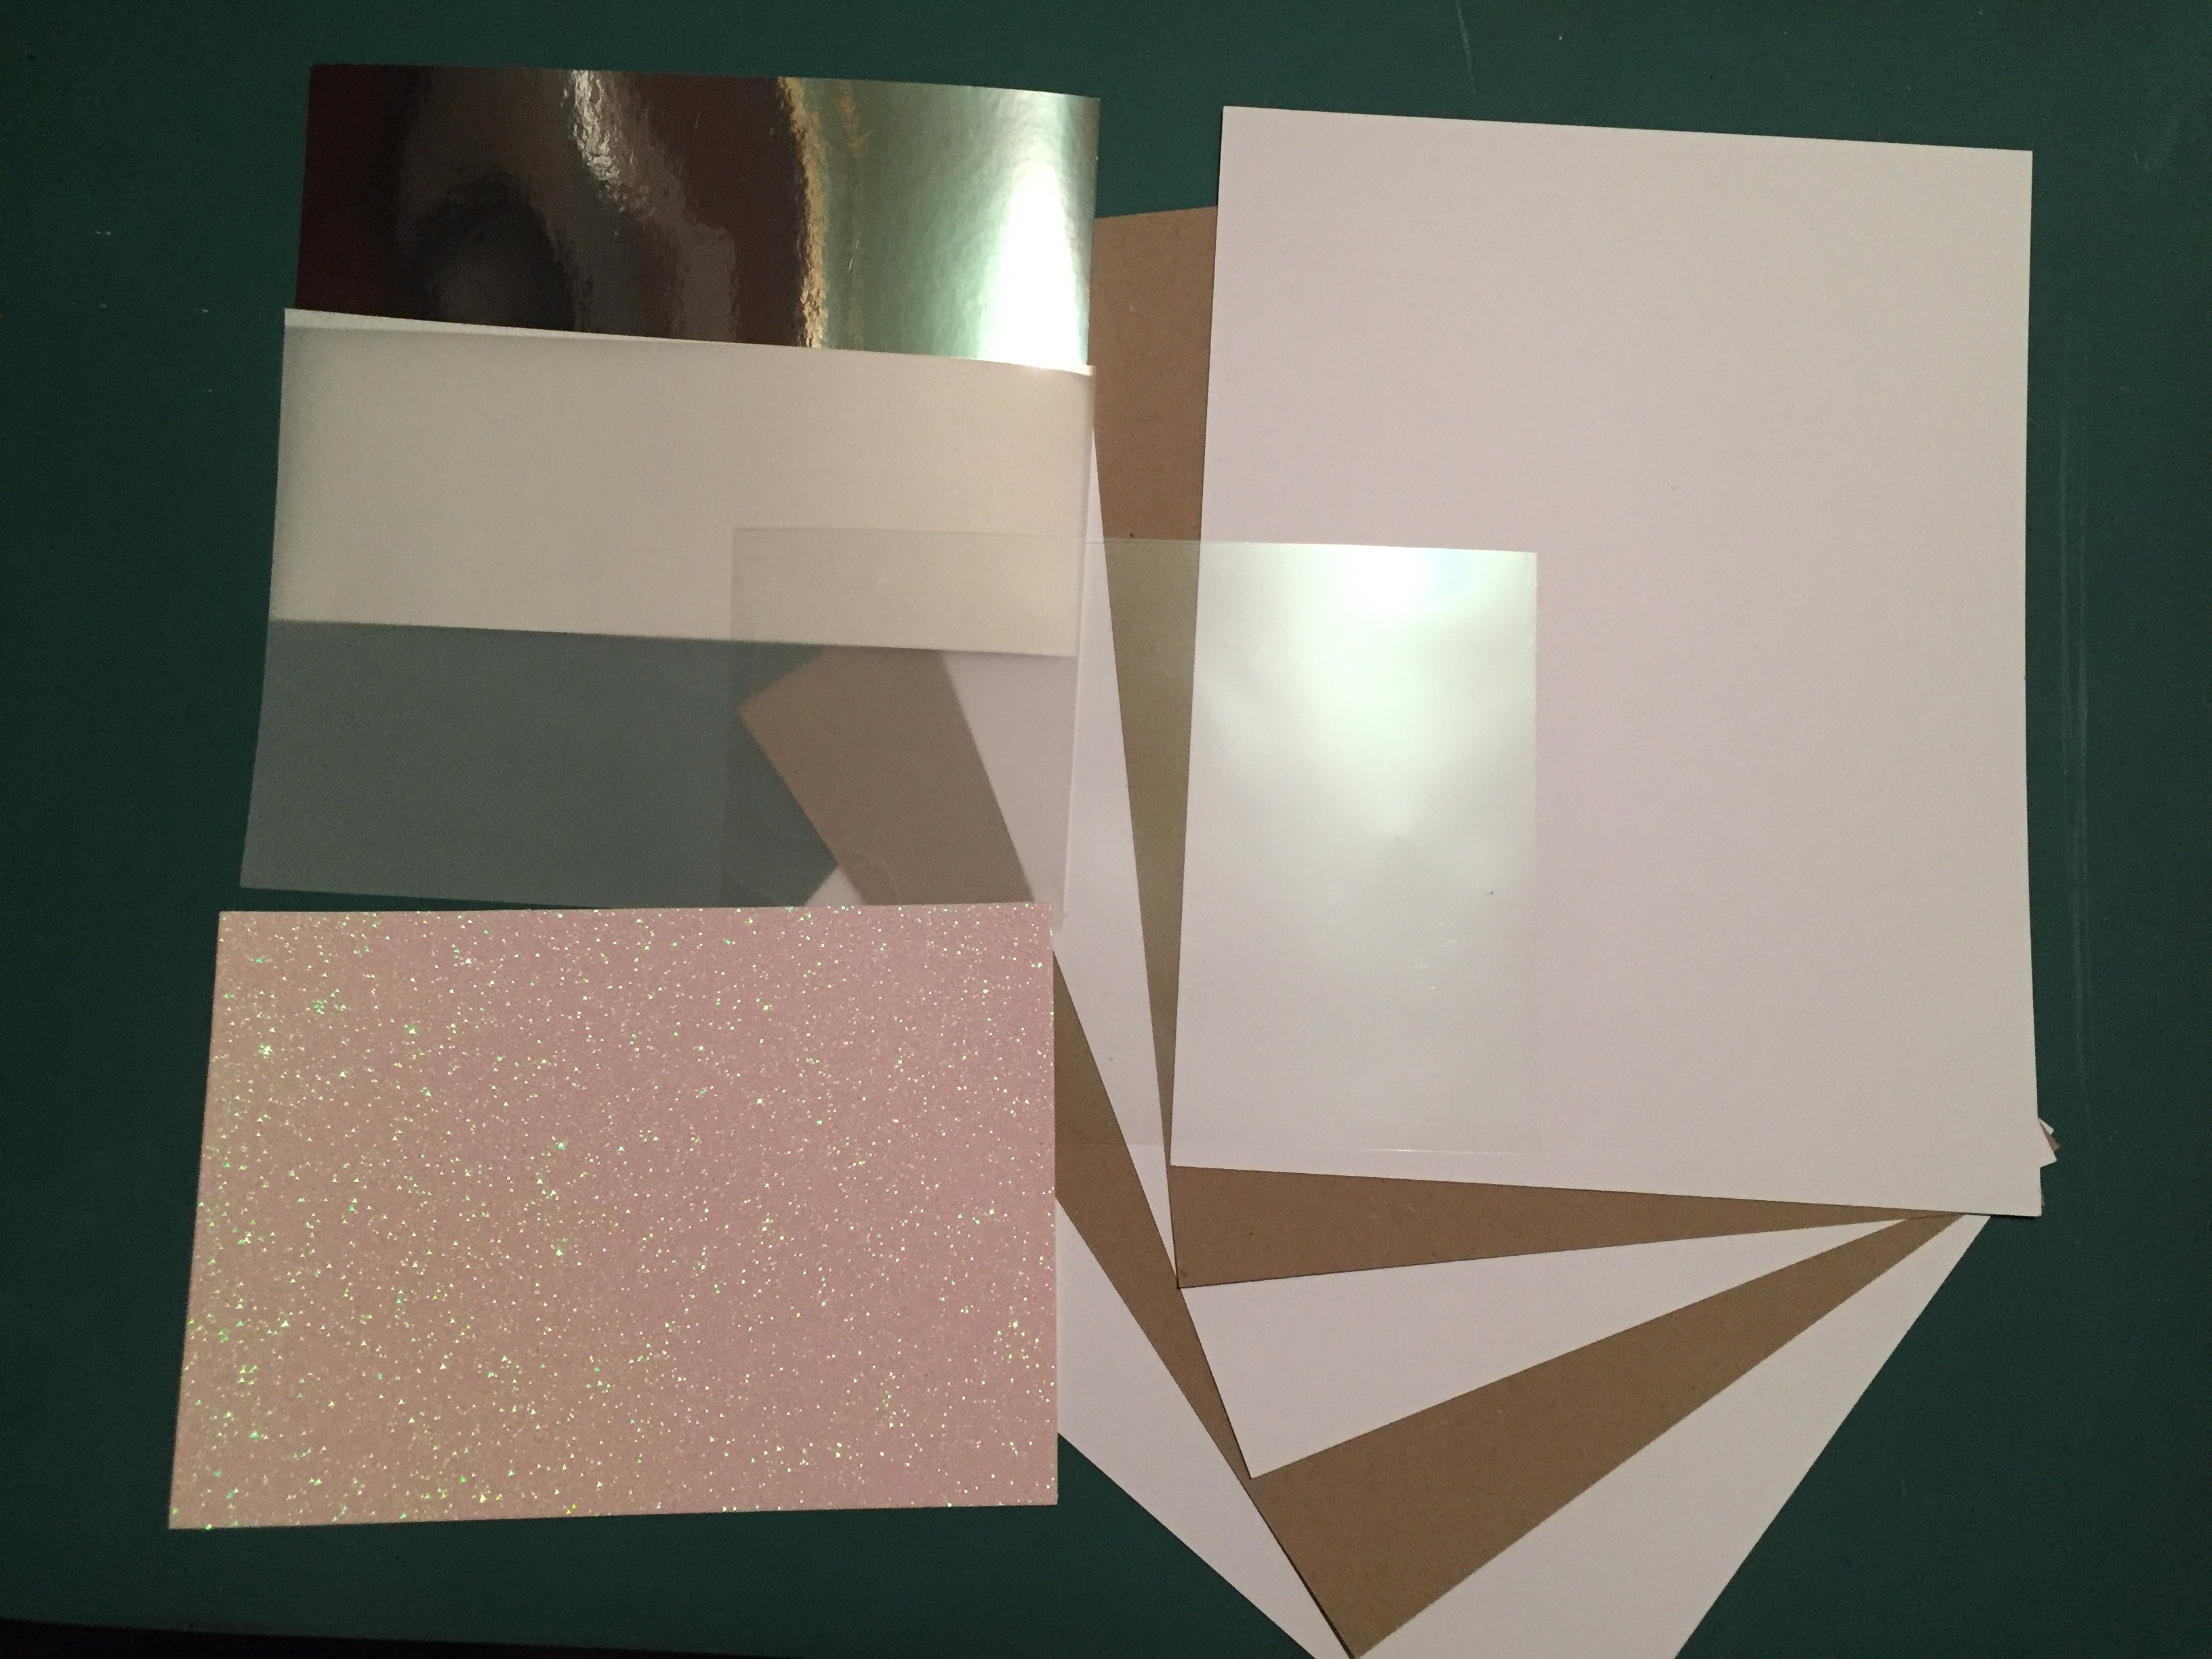
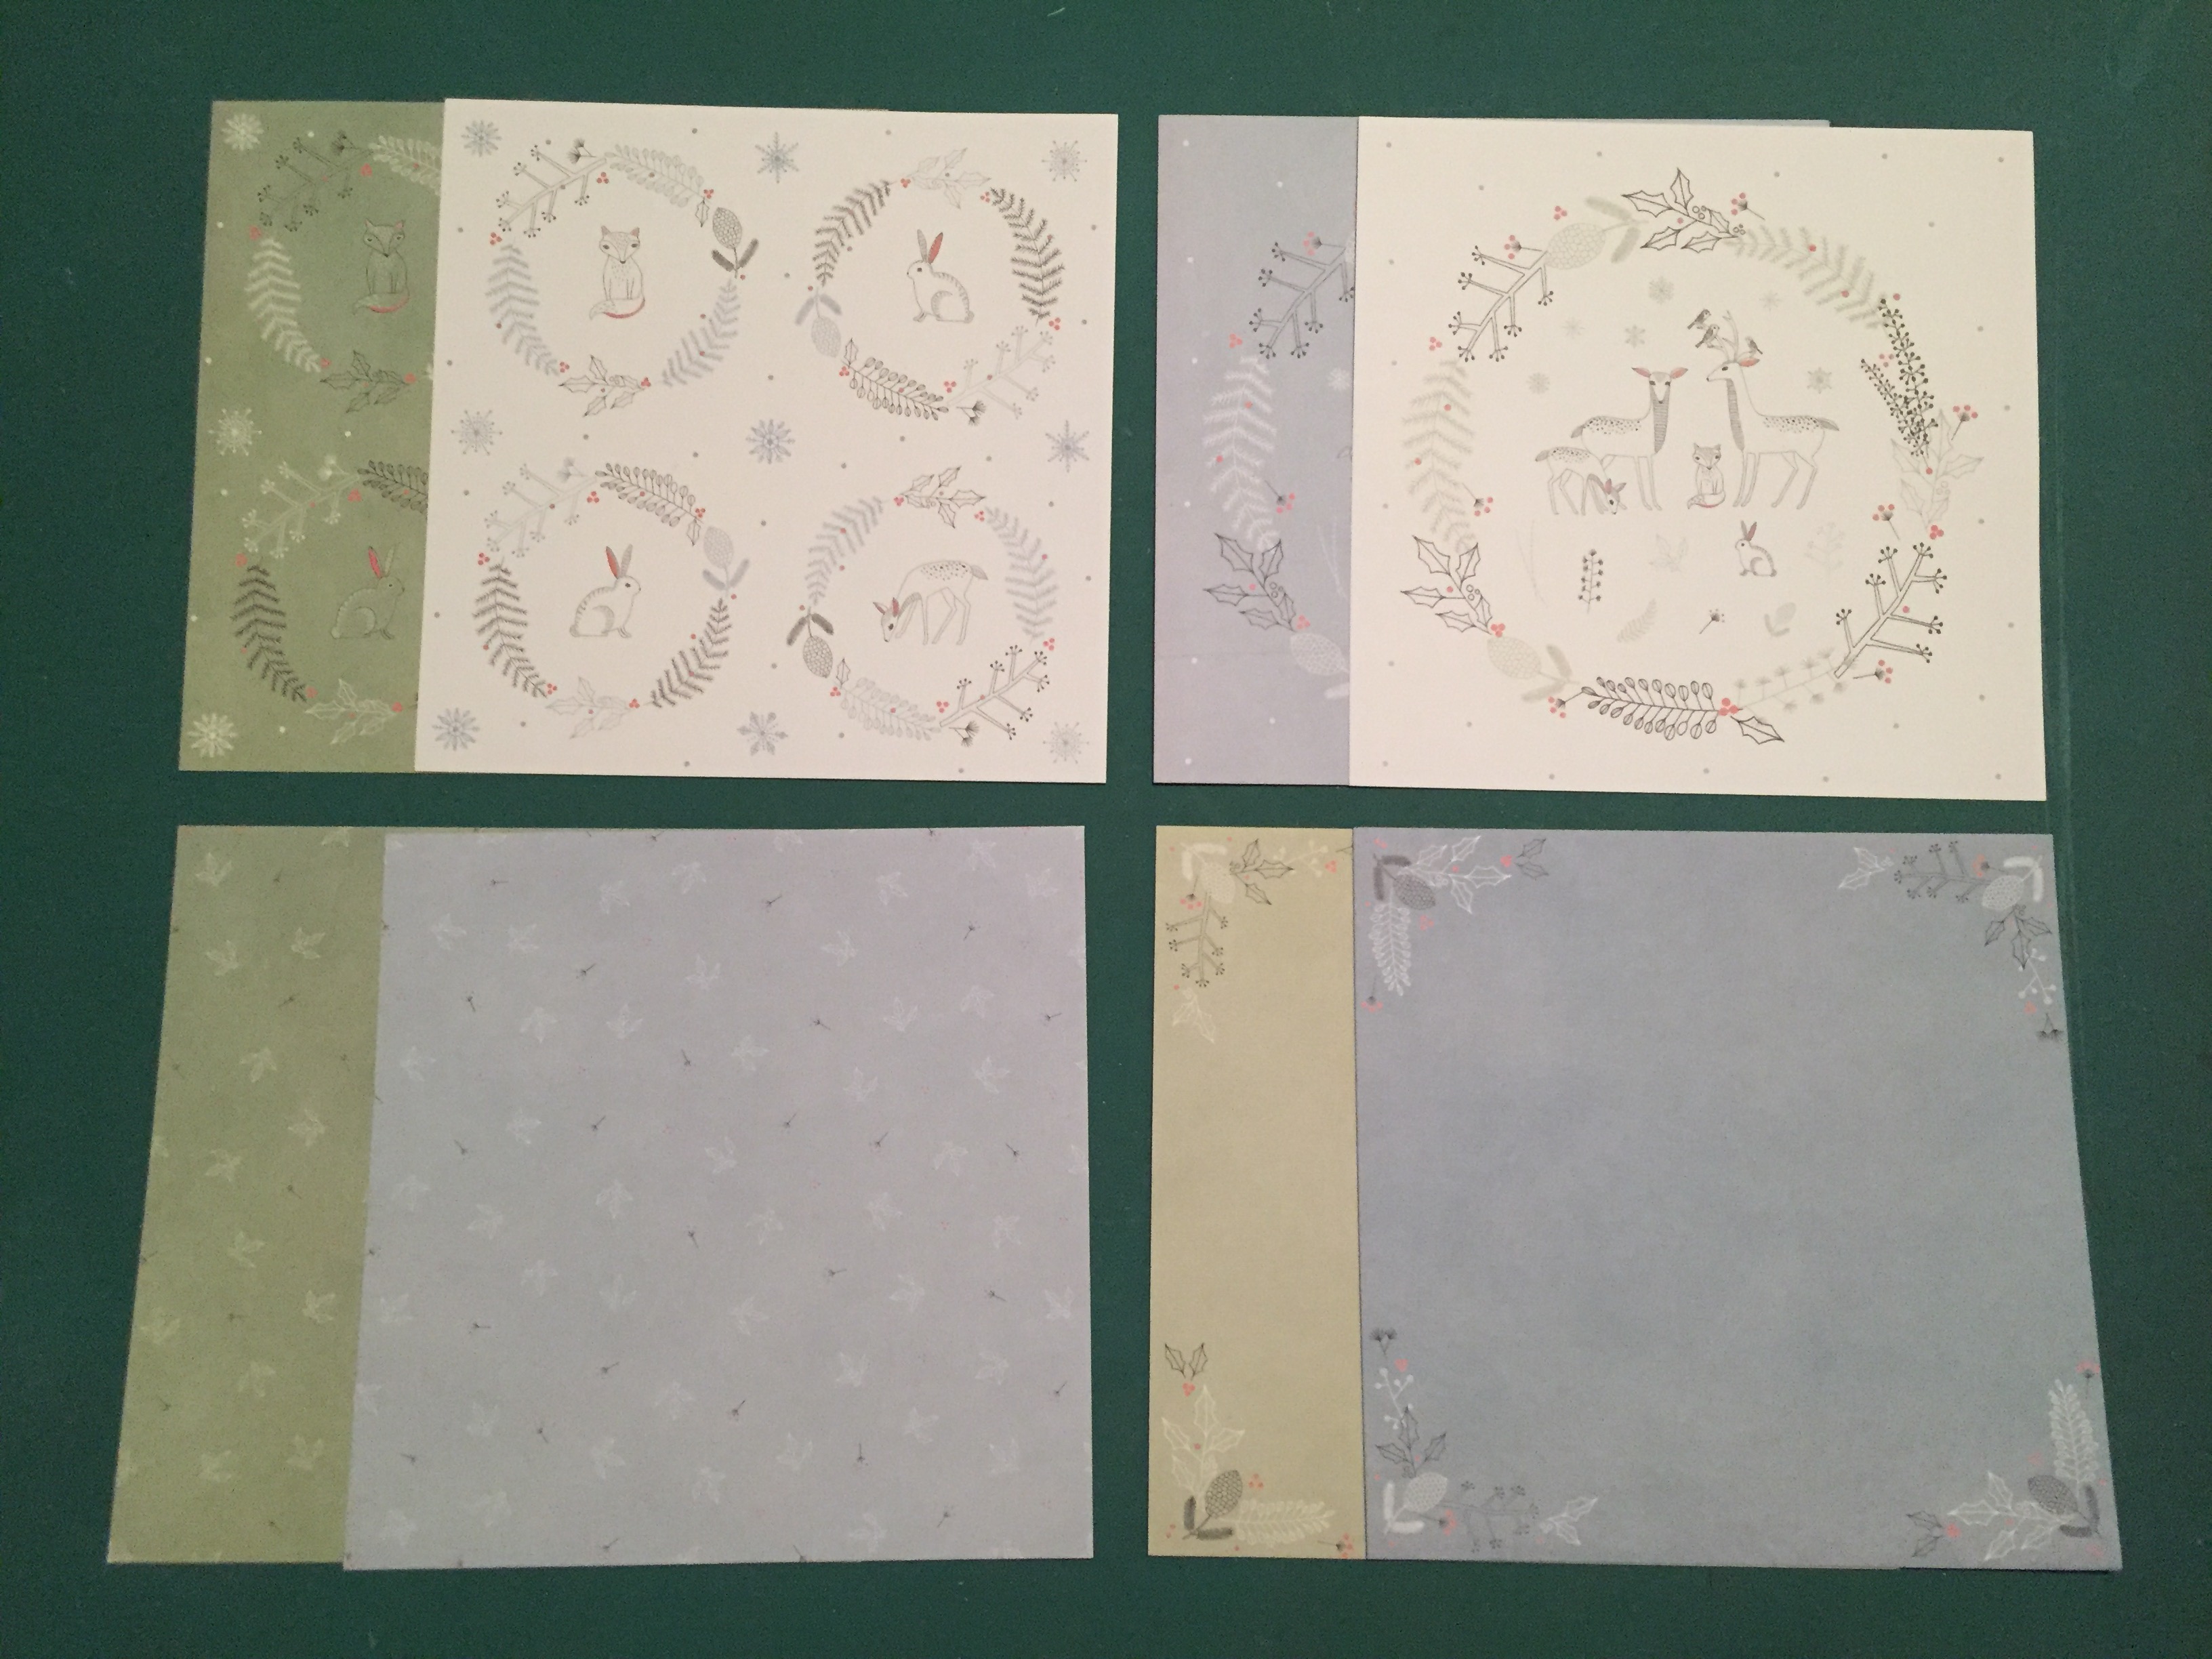
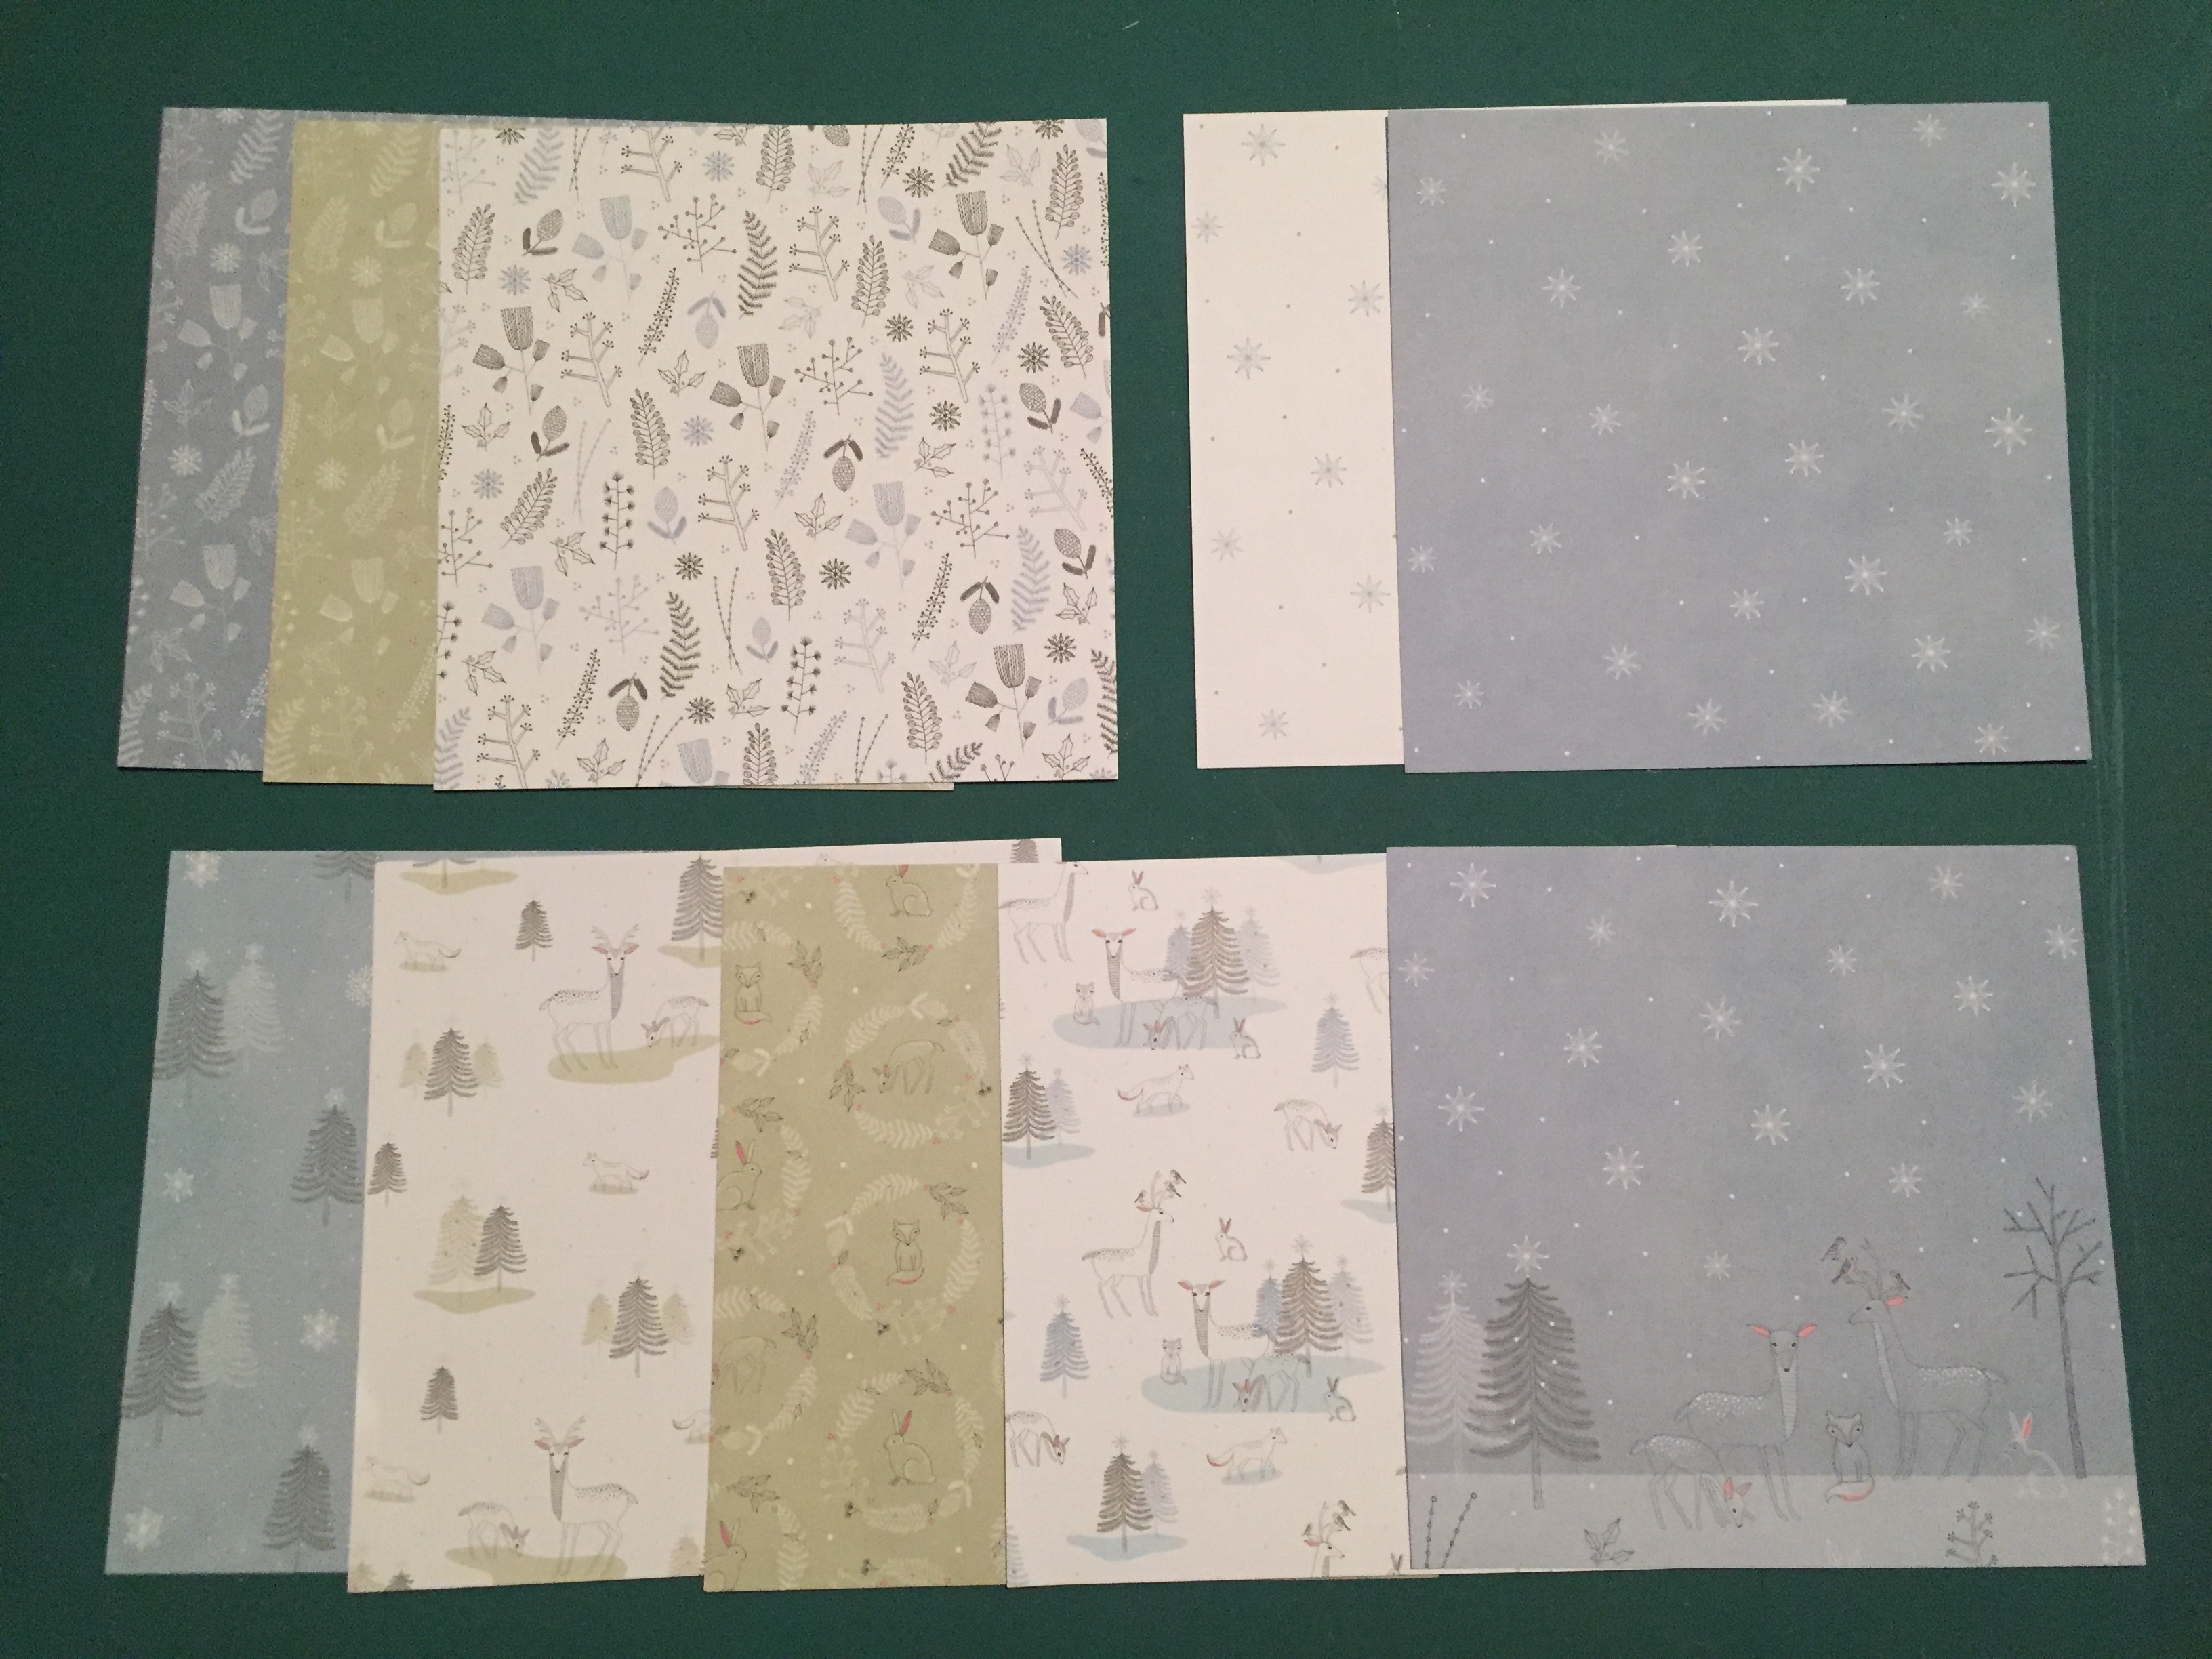
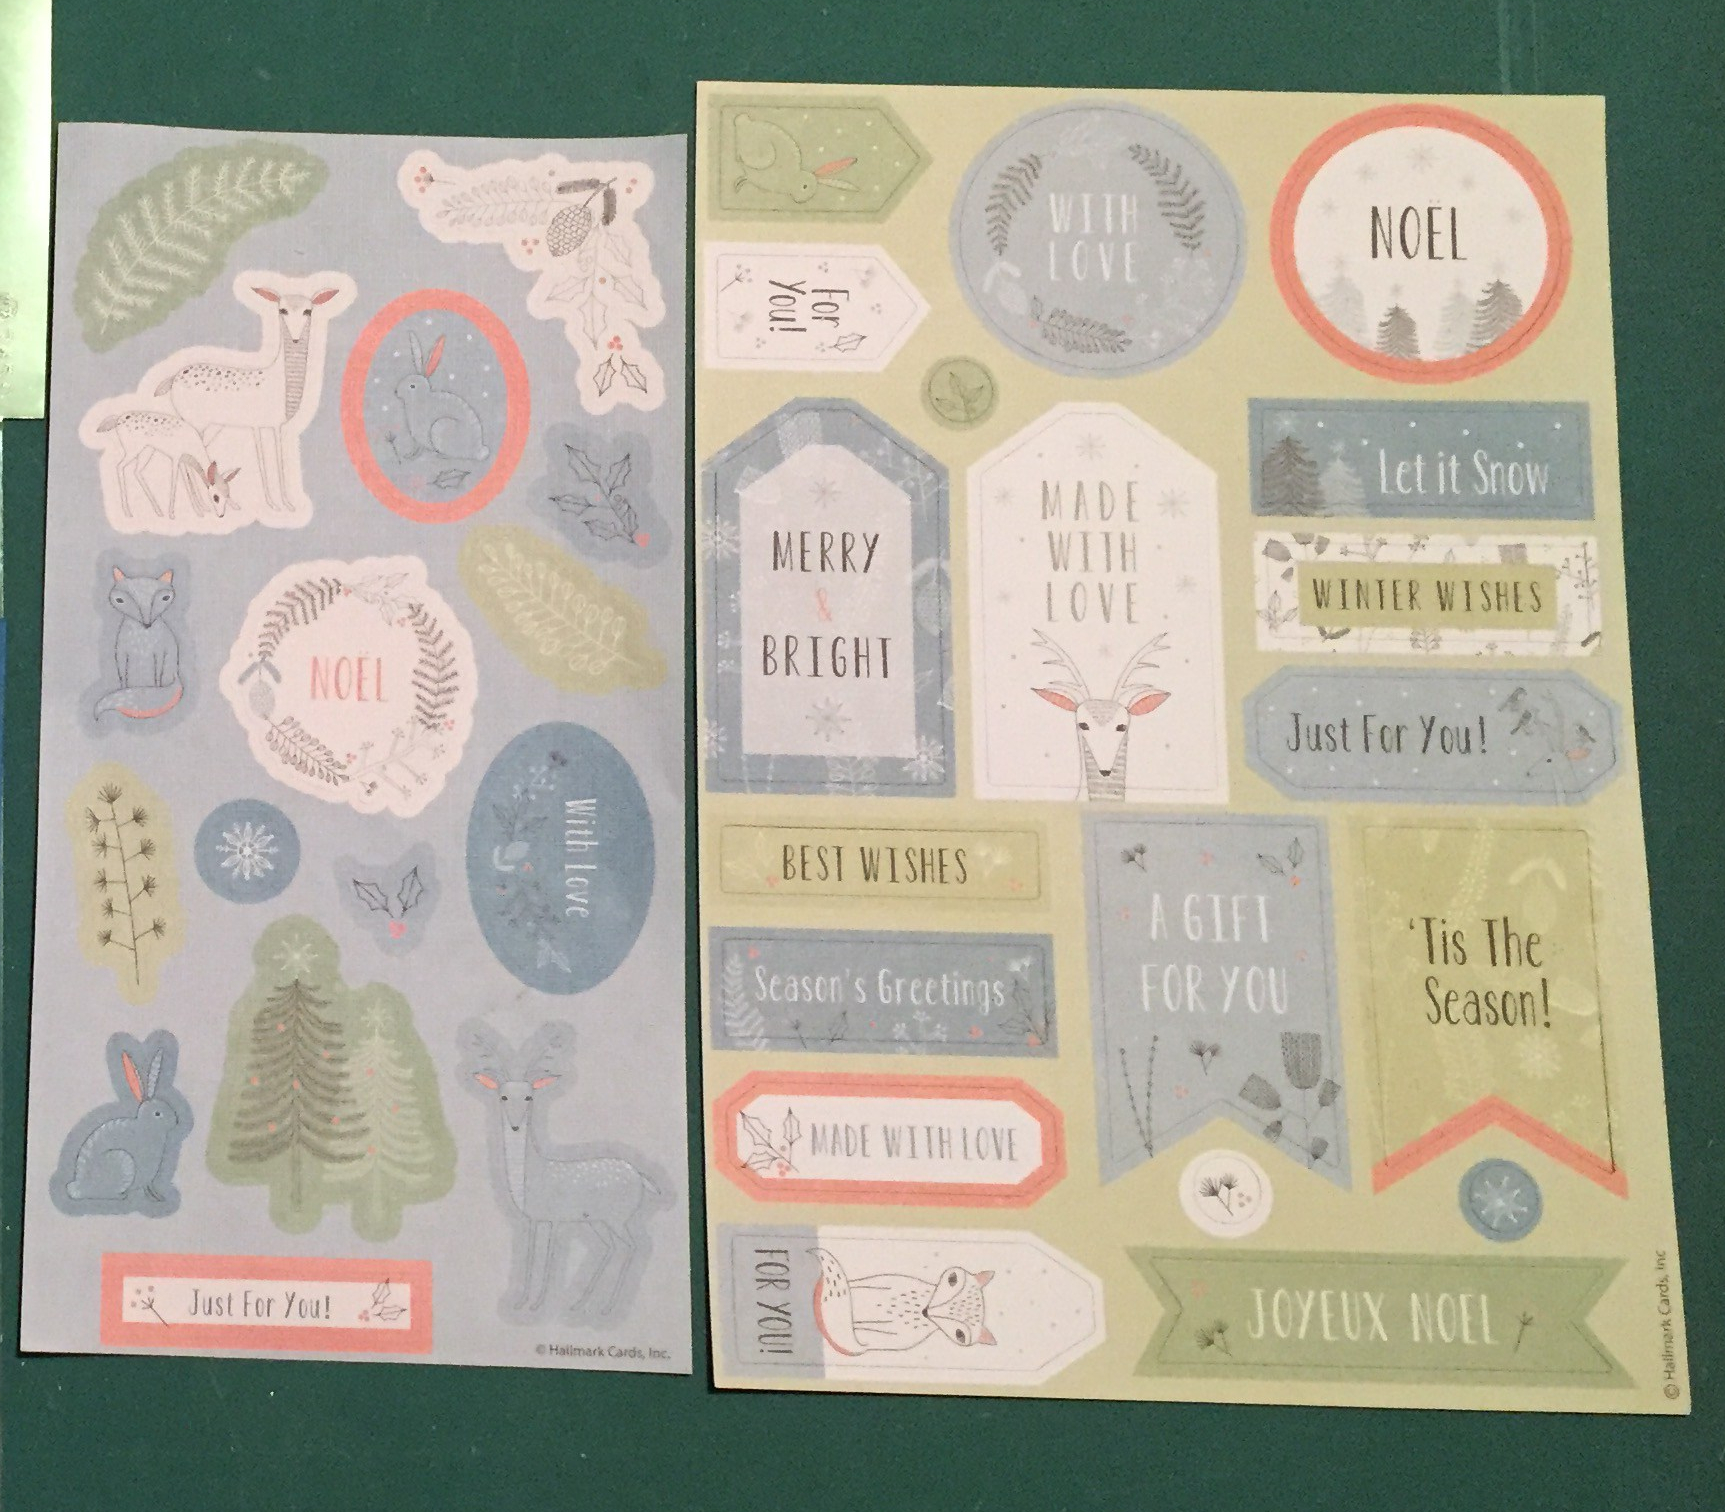
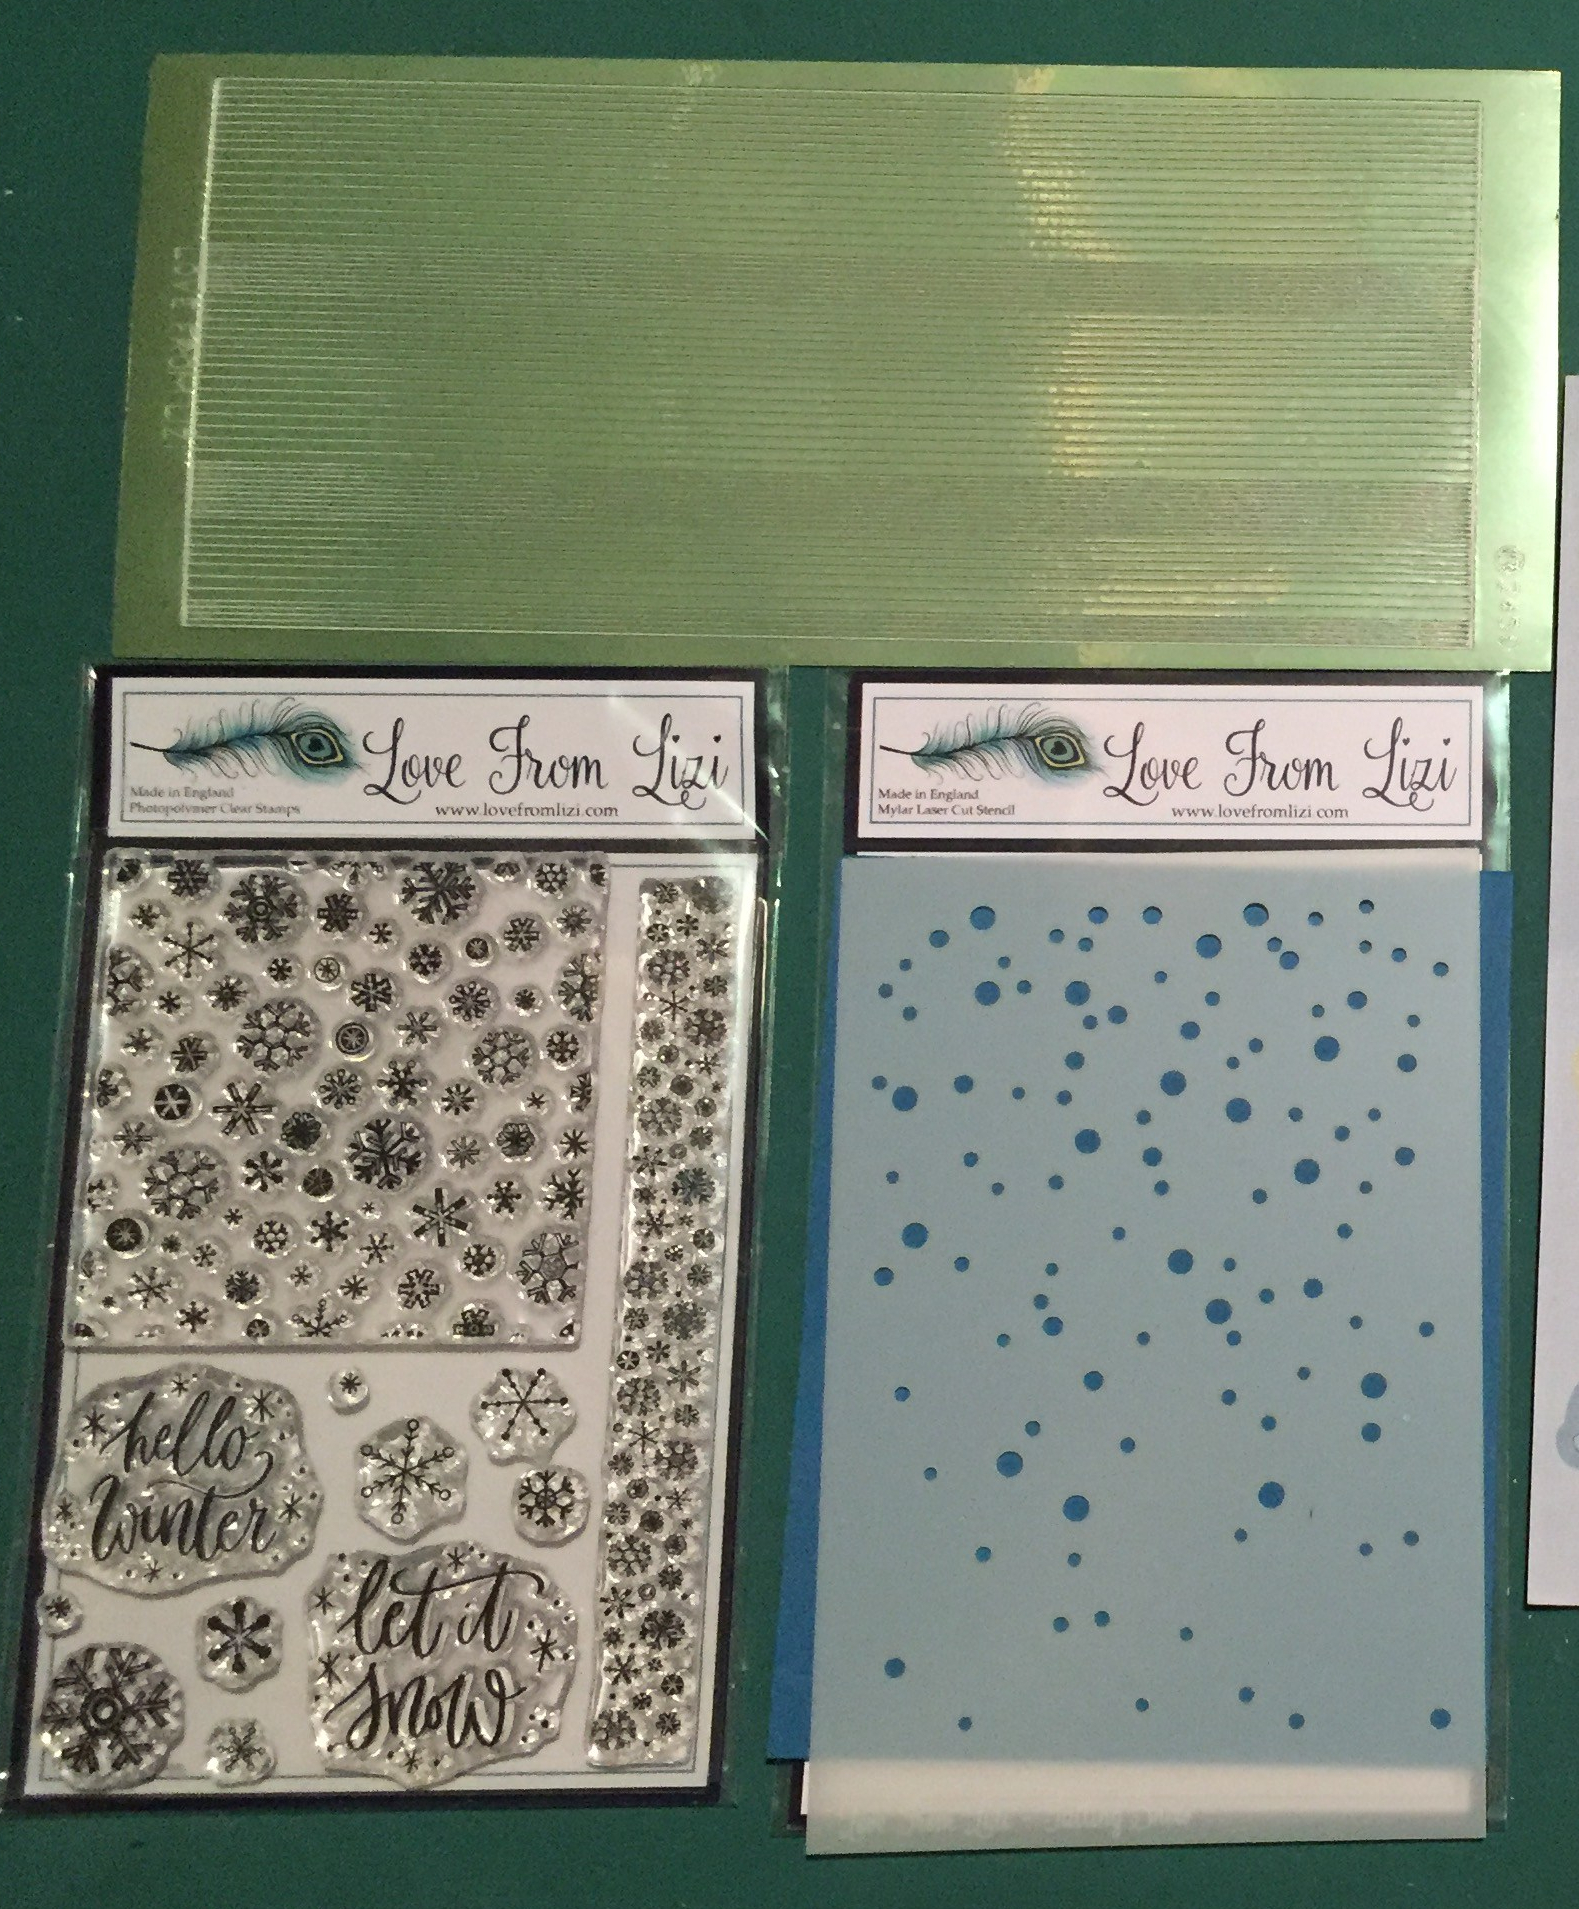
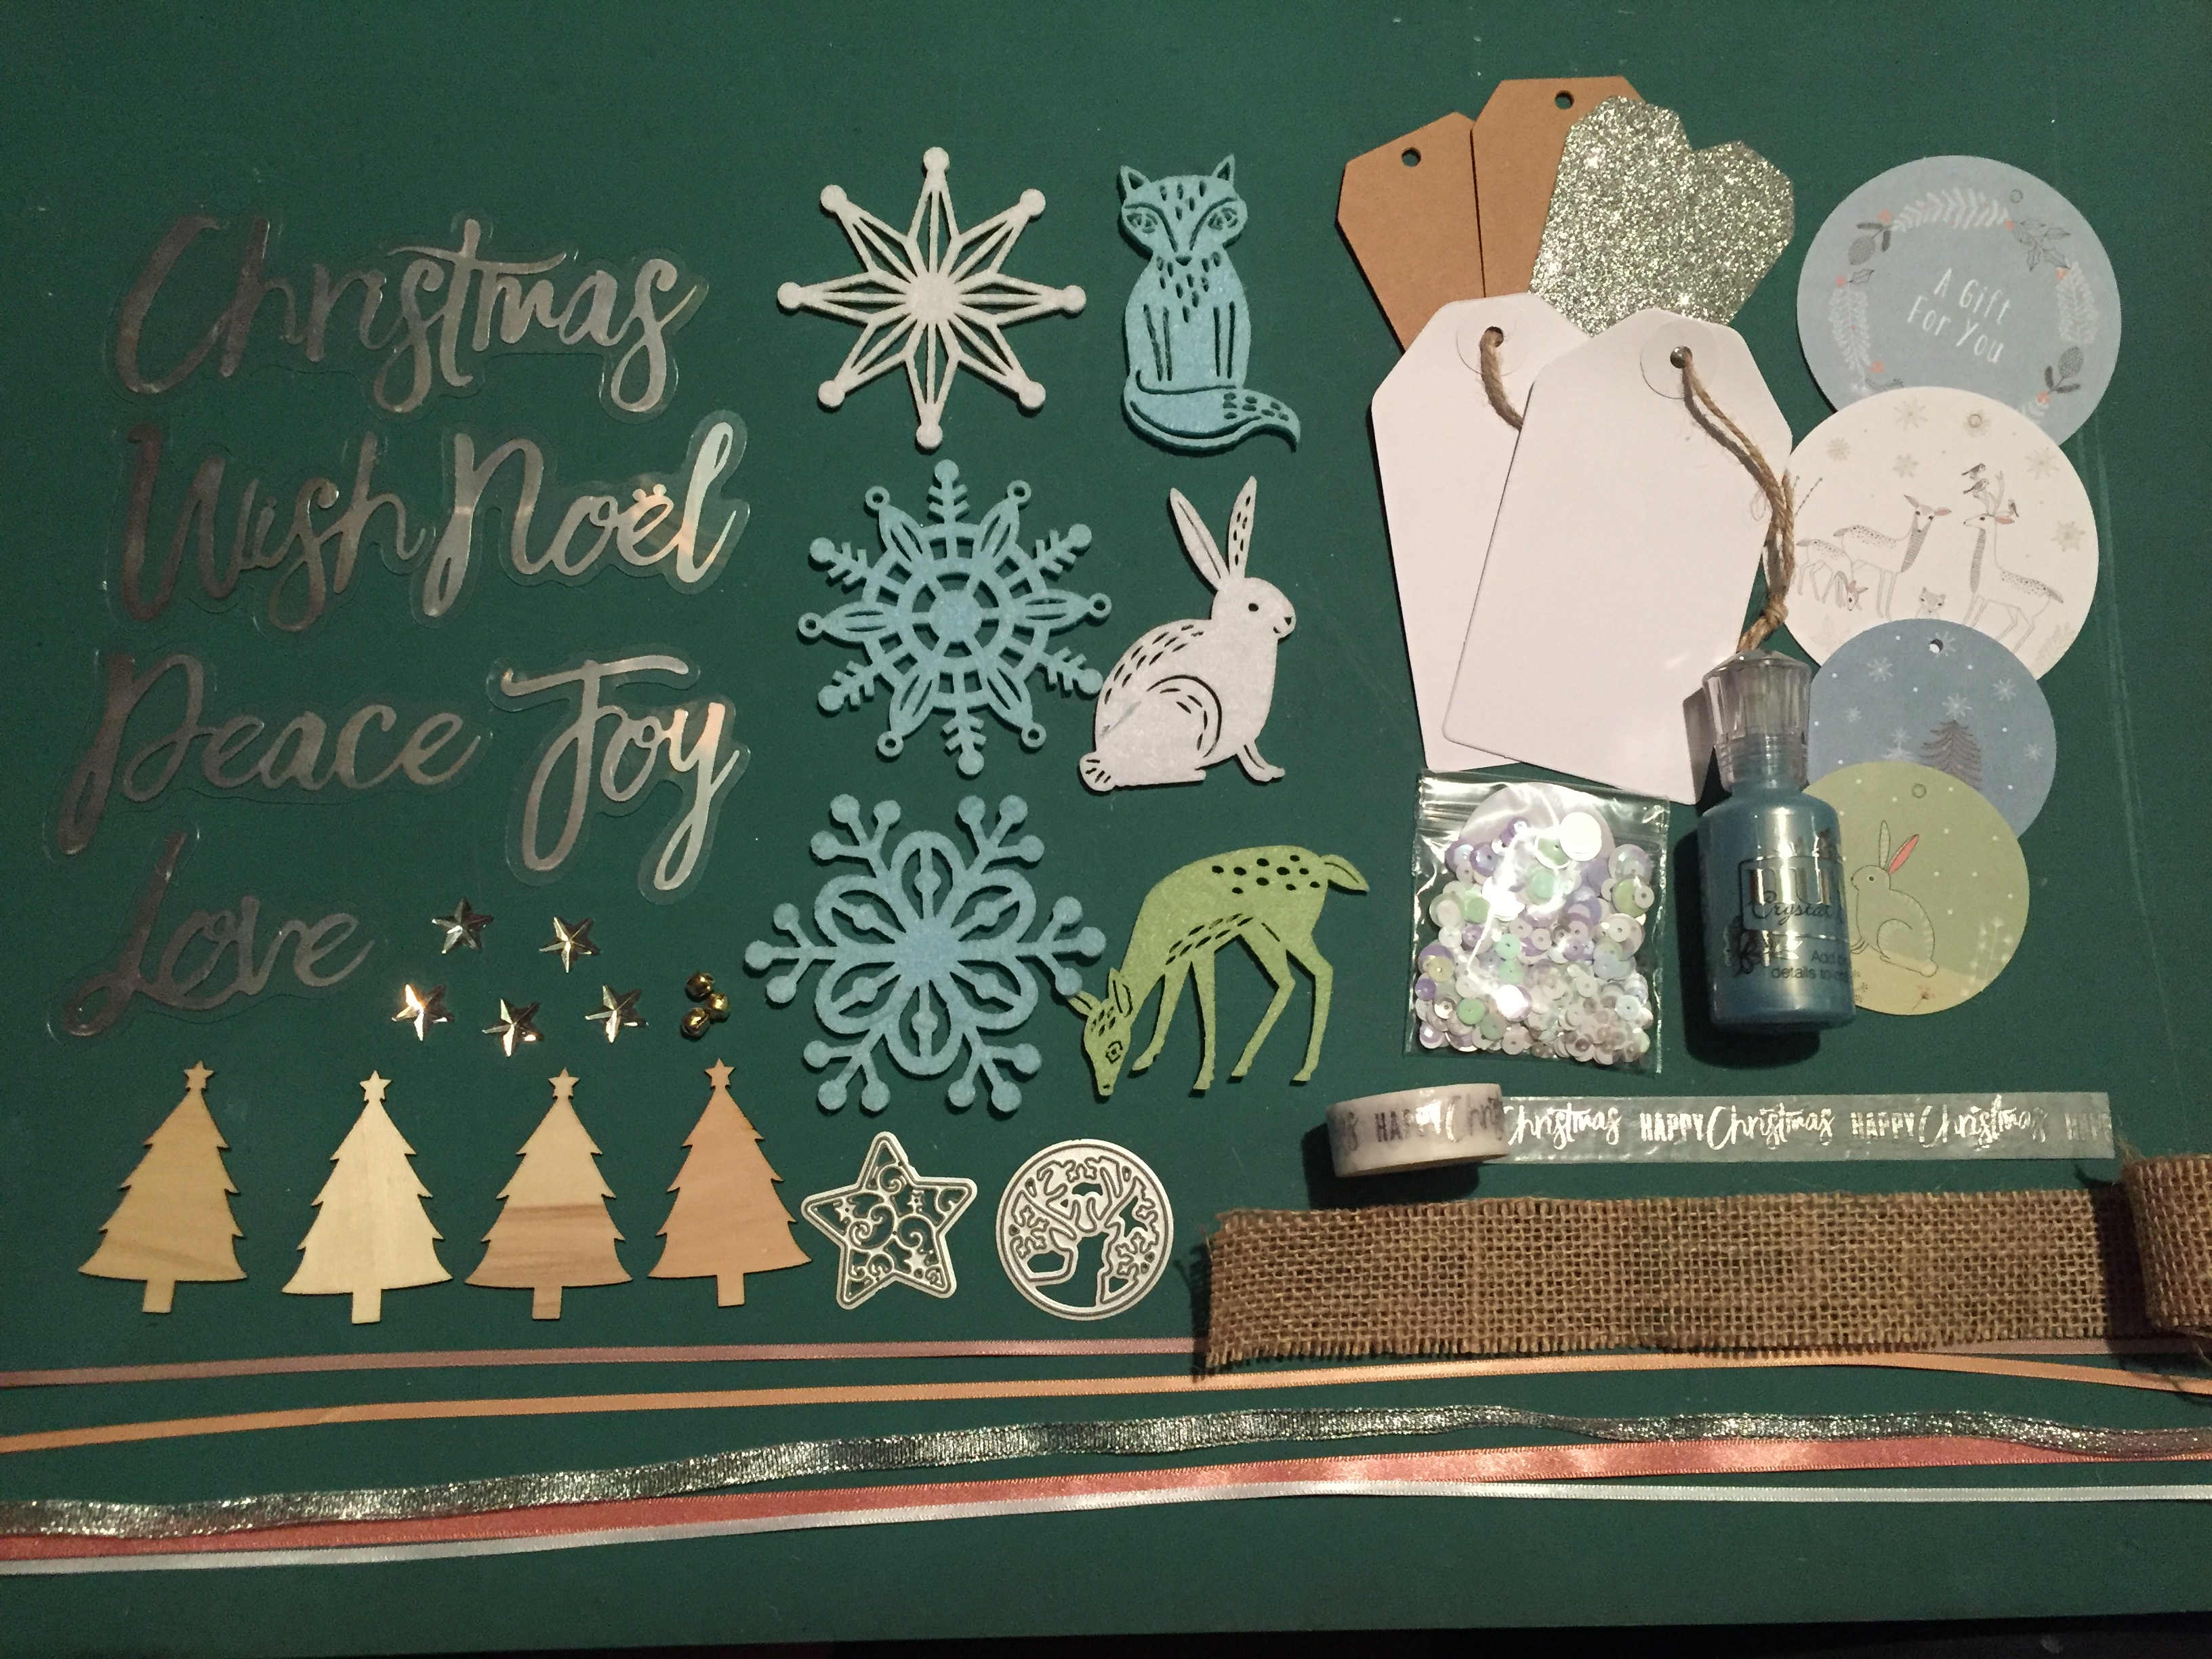
 This month’s kit highlights autumn in all it’s beautiful colors and shapes and patterns, and, as usual with the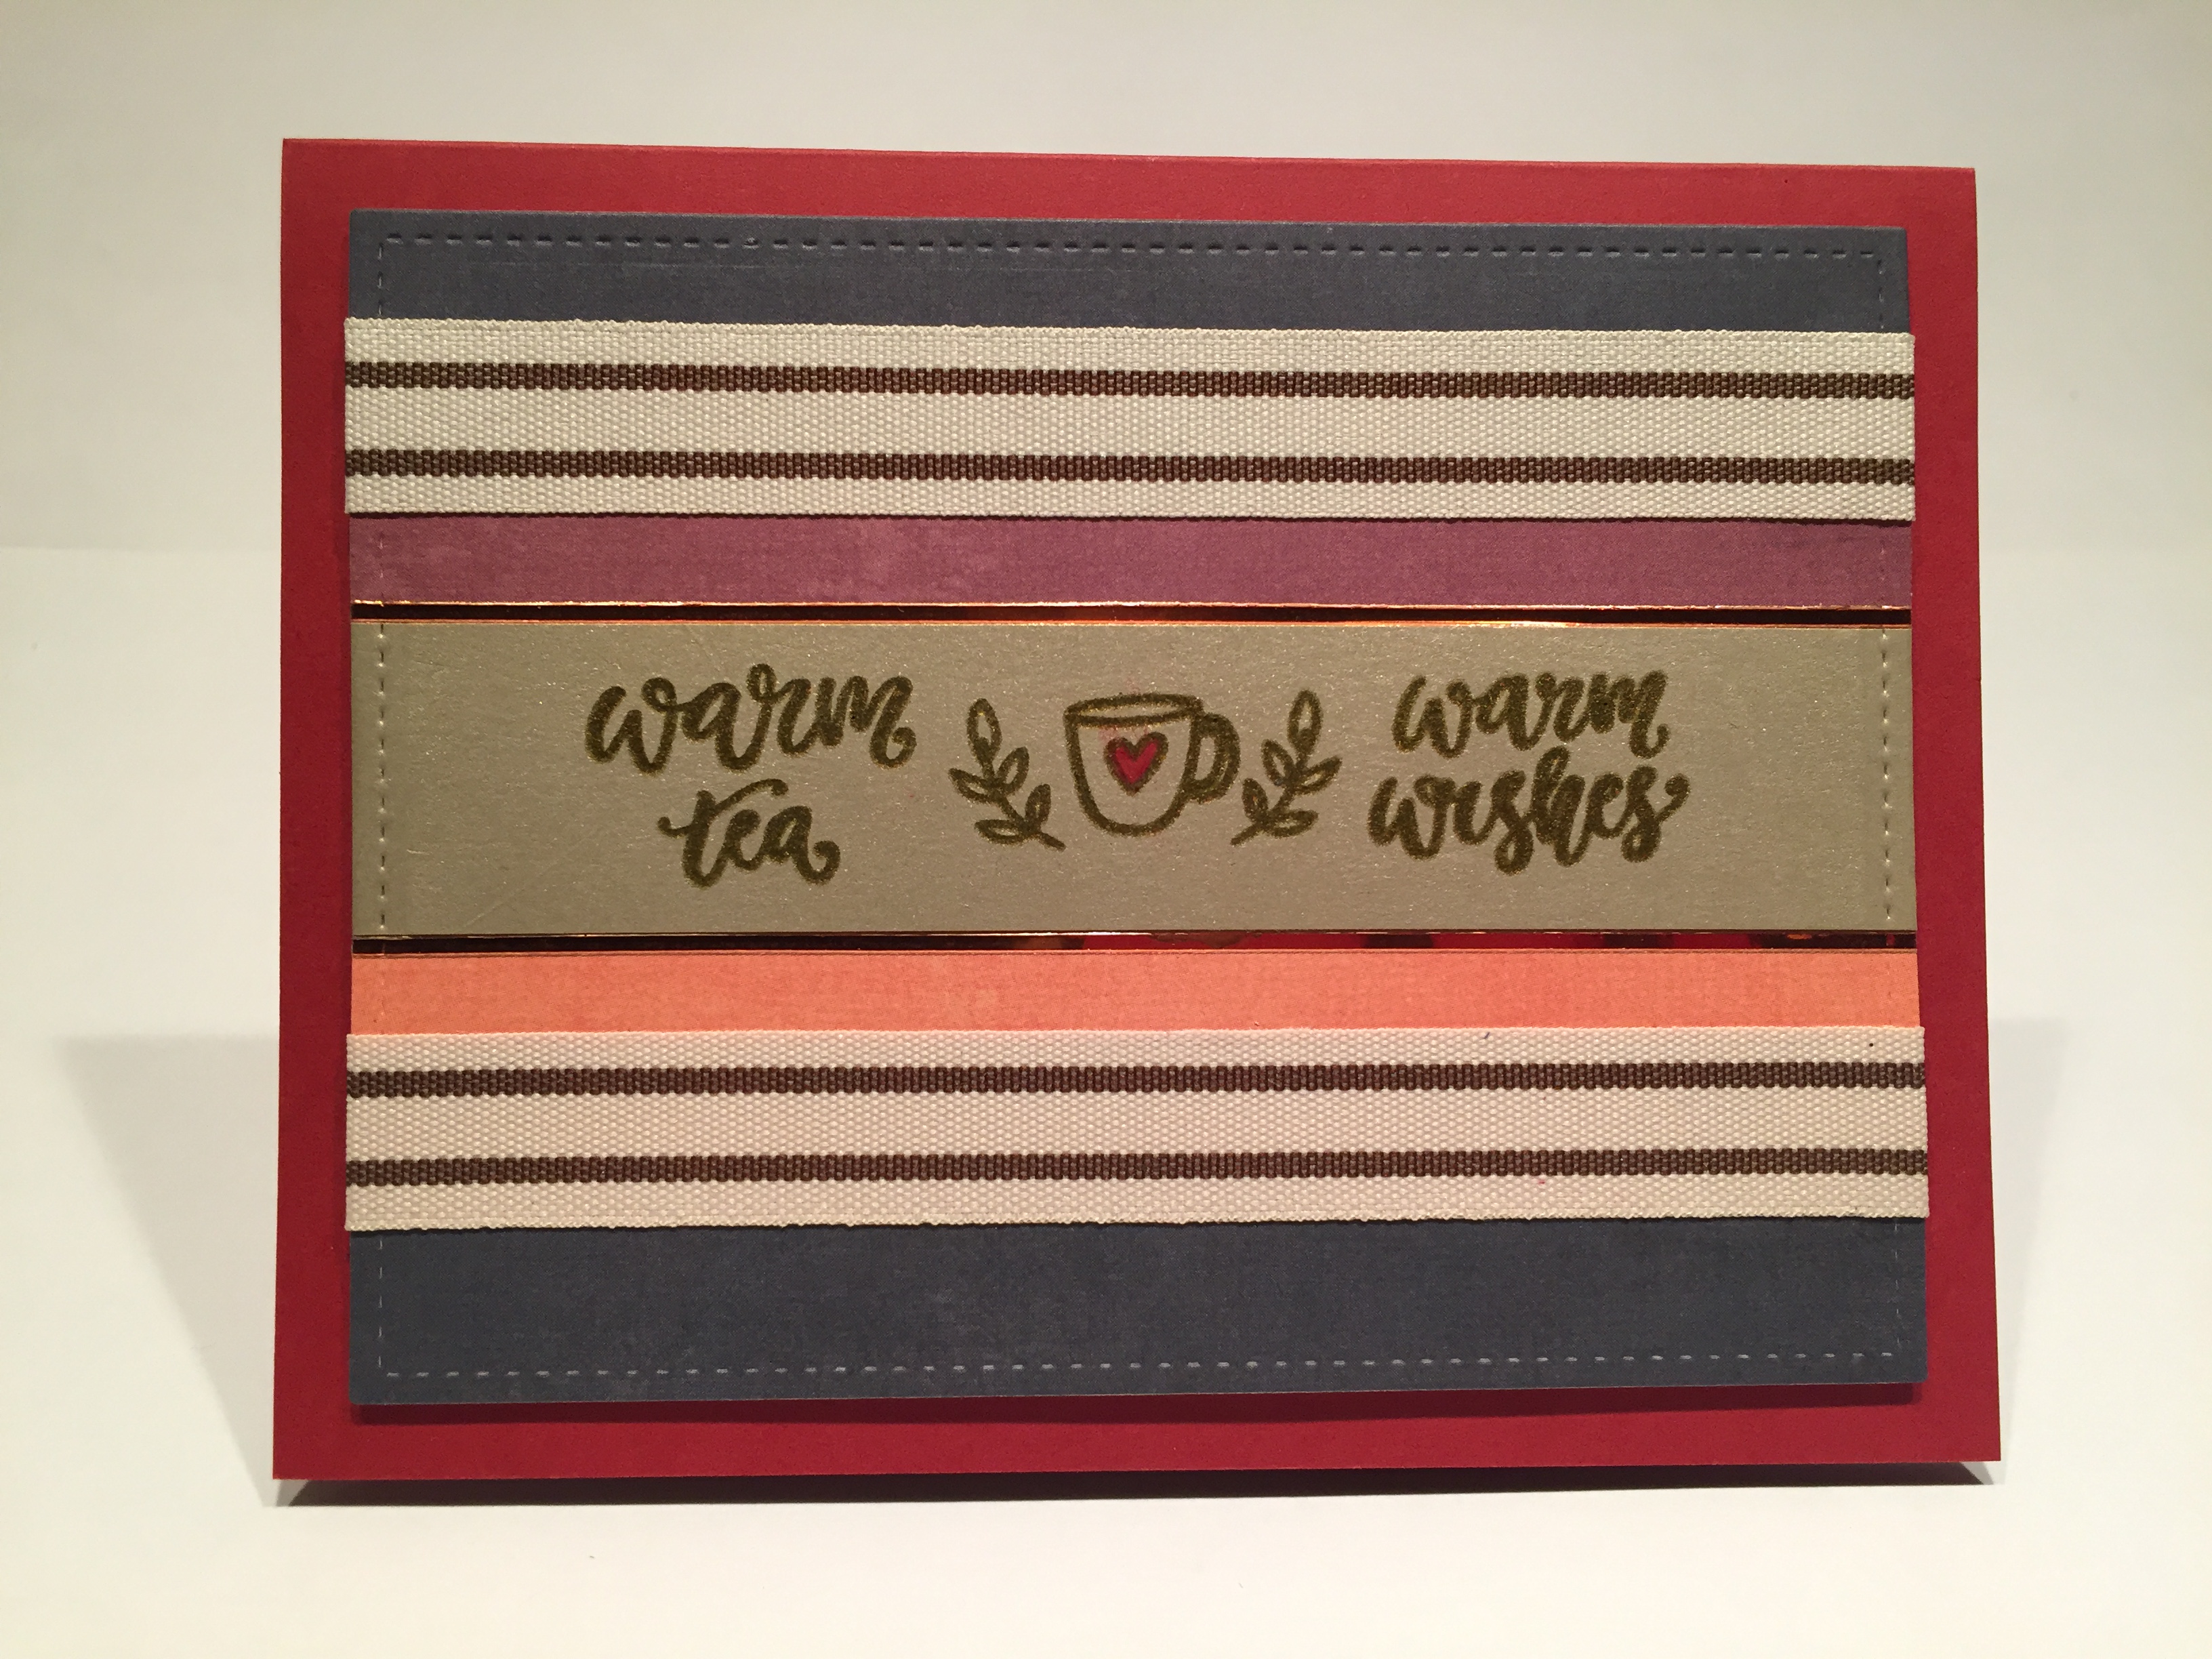
 Never content to leave well enough alone, I took a piece of one of the cut apart sheets and fashioned a pouch to hold a tea bag on the inside of this card. I stamped a “Thank You” (from the October 2016 Paper Pumpkin kit) on the front of the pouch, and added the tea cup stamp (Acorn Archival ink for both)
 behind the finger notch so it would be revealed when the tea bag is removed. I added an ephemera heart to the pouch and colored the hearts on both the large and small tea cups with a dark red colored pencil. Here we have a VERY masculine card with a purpose! A ‘Thank You’ card with a tea-time treat on the inside. I like these sentiments combined together, and can see myself actually using this simple Thank You tea-card!
 On the Peach card base, I added a 3″ strip of the light blue leaf pattern paper down the center, and framed the two sides with an
  I dug through my clip-art stash and found this great retro image of a lady on a phone and just had to use her to complete this card! I printed this image on some of my ivory card stock in a brown to black ombre and cut it out with a stitched rectangle die to be the writing surface for this card. I did erase the phone cord from the clip-art and added more of the blue twine (glued and wrapped around a skewer to dry) through a couple of tiny holes on the ivory writing surface before gluing this down to the inside of the card.
 Of course I knew I could use another sentiment on the inside of this card and grabbed the “Autumn Blessings” to stamp (Acorn ink) on my ivory card stock, and die-cut that and a houndstooth mat with my
 Call me childish, immature or juvenile, but I just couldn’t resist adding this old joke on the inside of this card! This is printed on my ivory card stock in the Brushgyo font, die cut with a LFSRD, and matted to the fun orange polka-dot pattern paper (also die-cut with my LFSRD). This is a lovely, lighthearted card that gave me a chance to do a little coloring and get some more practice with my homemade wreath builder template.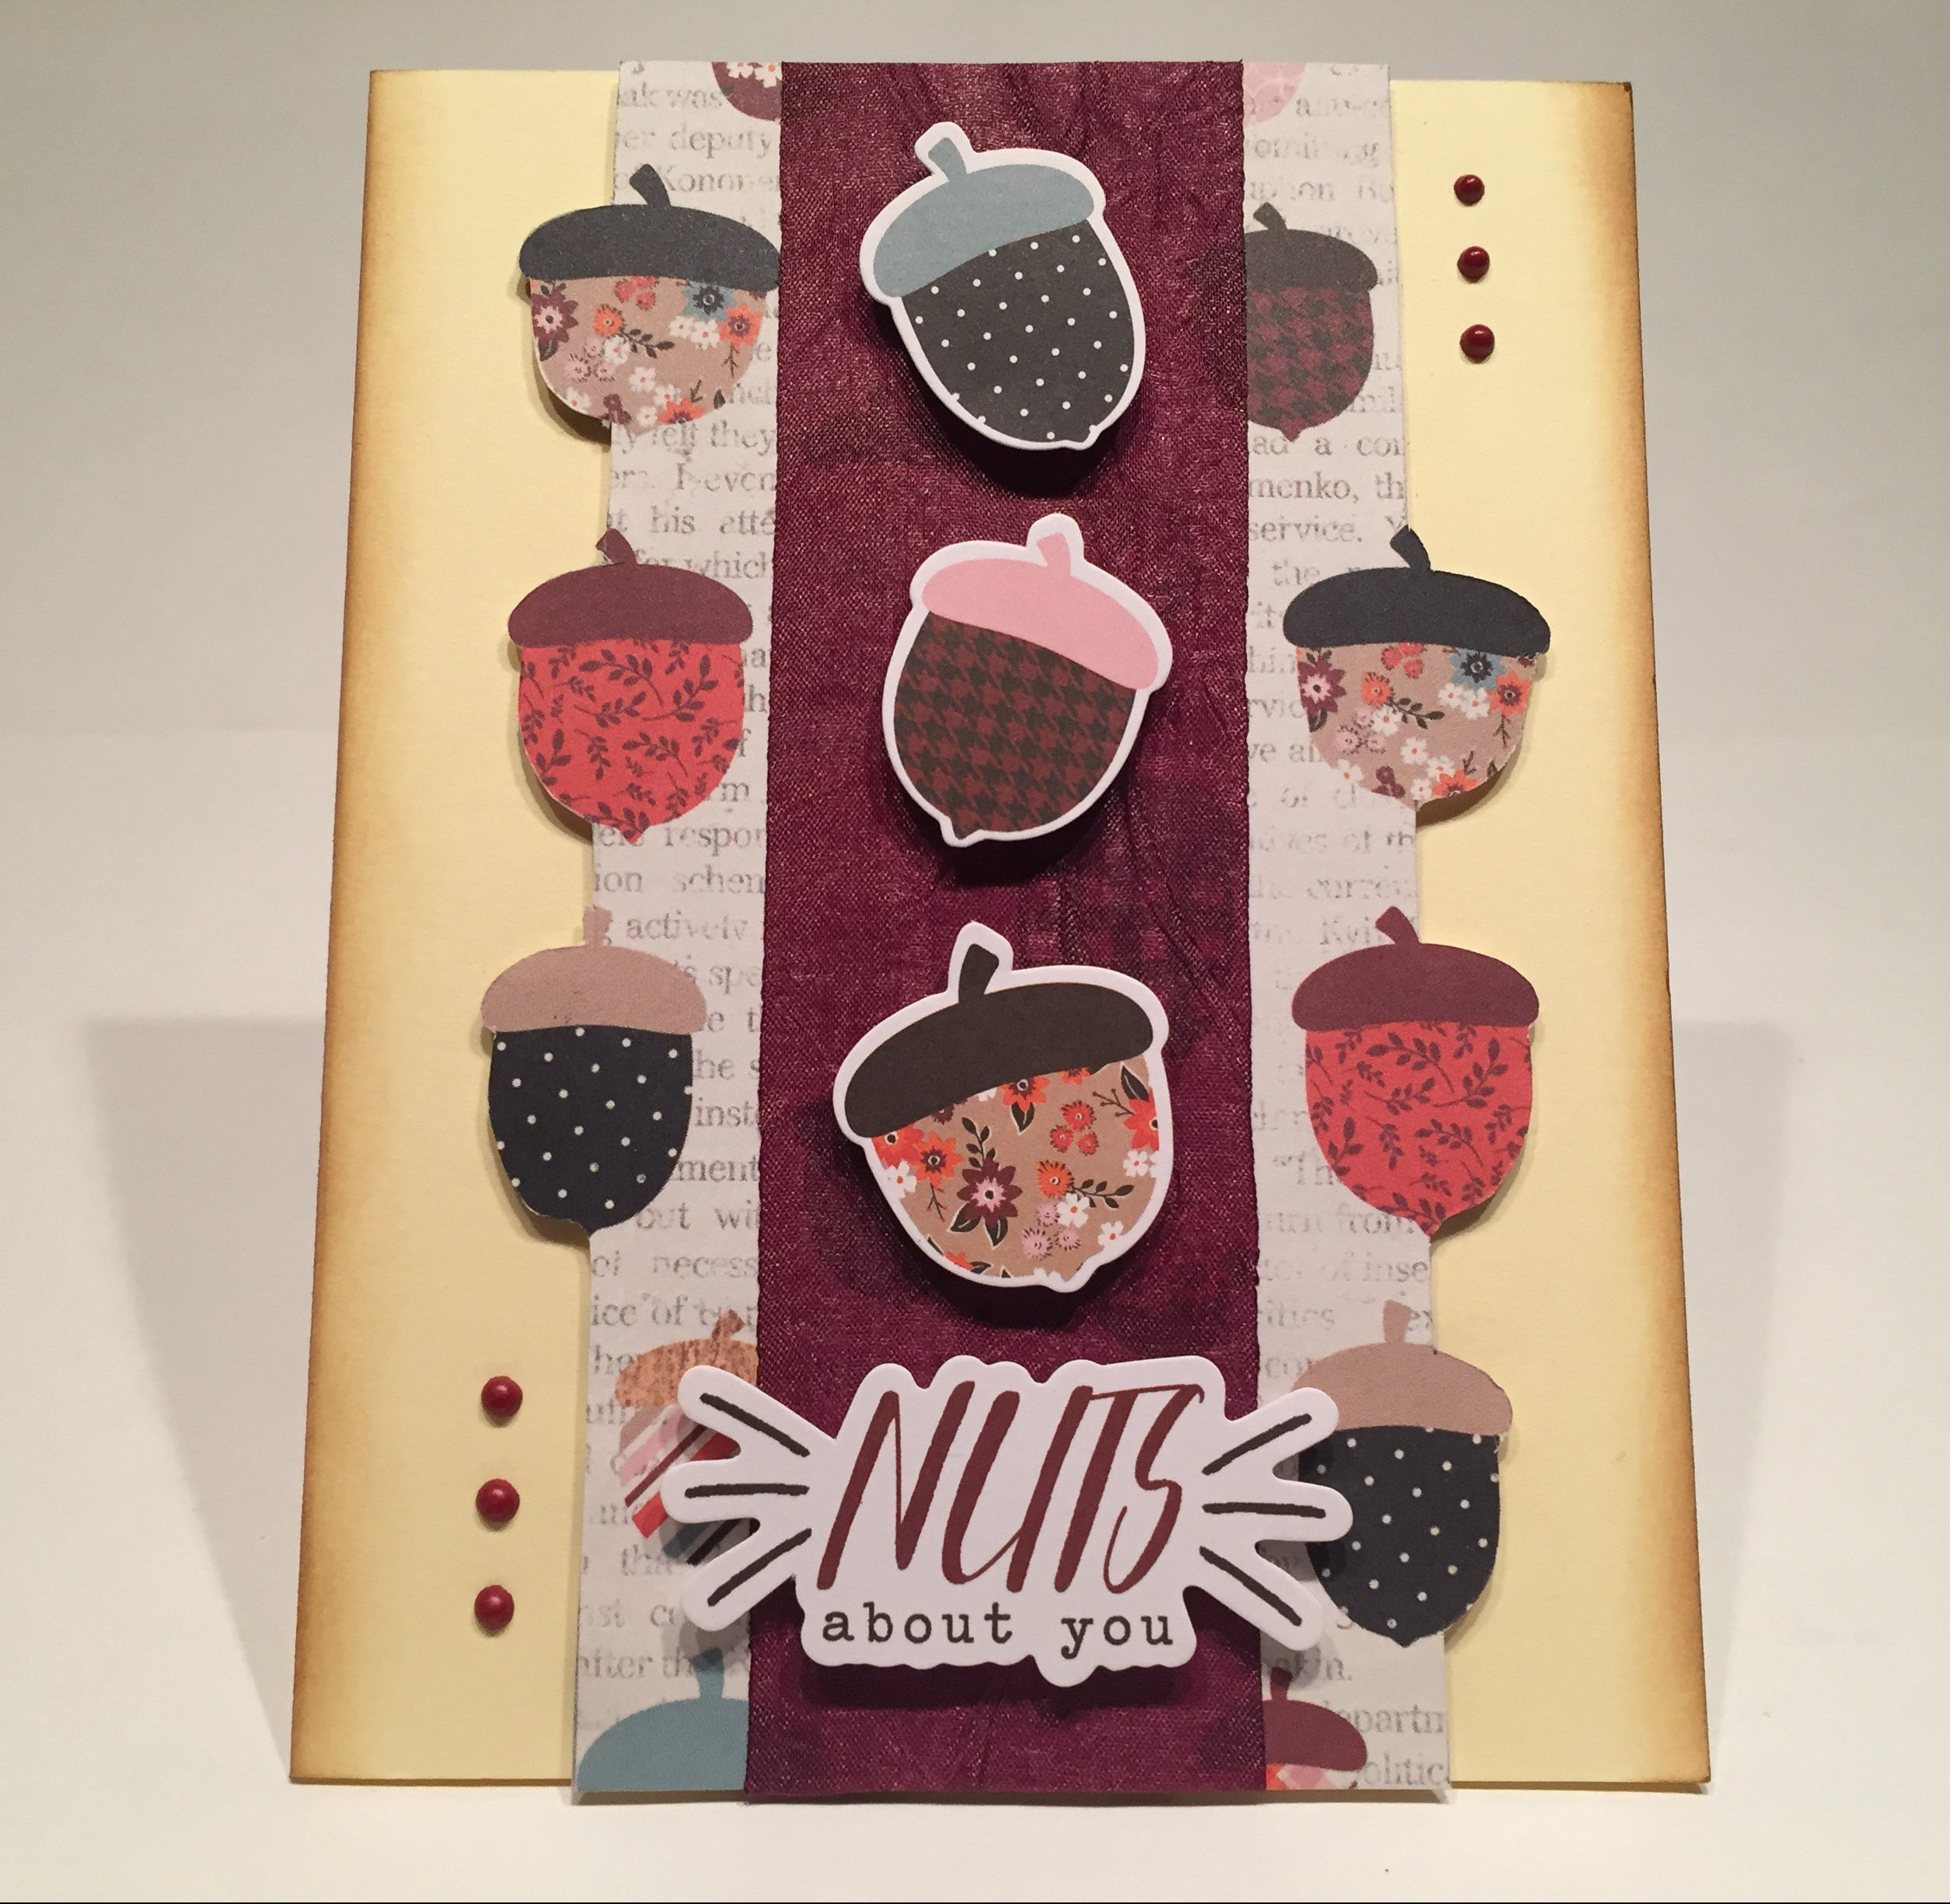
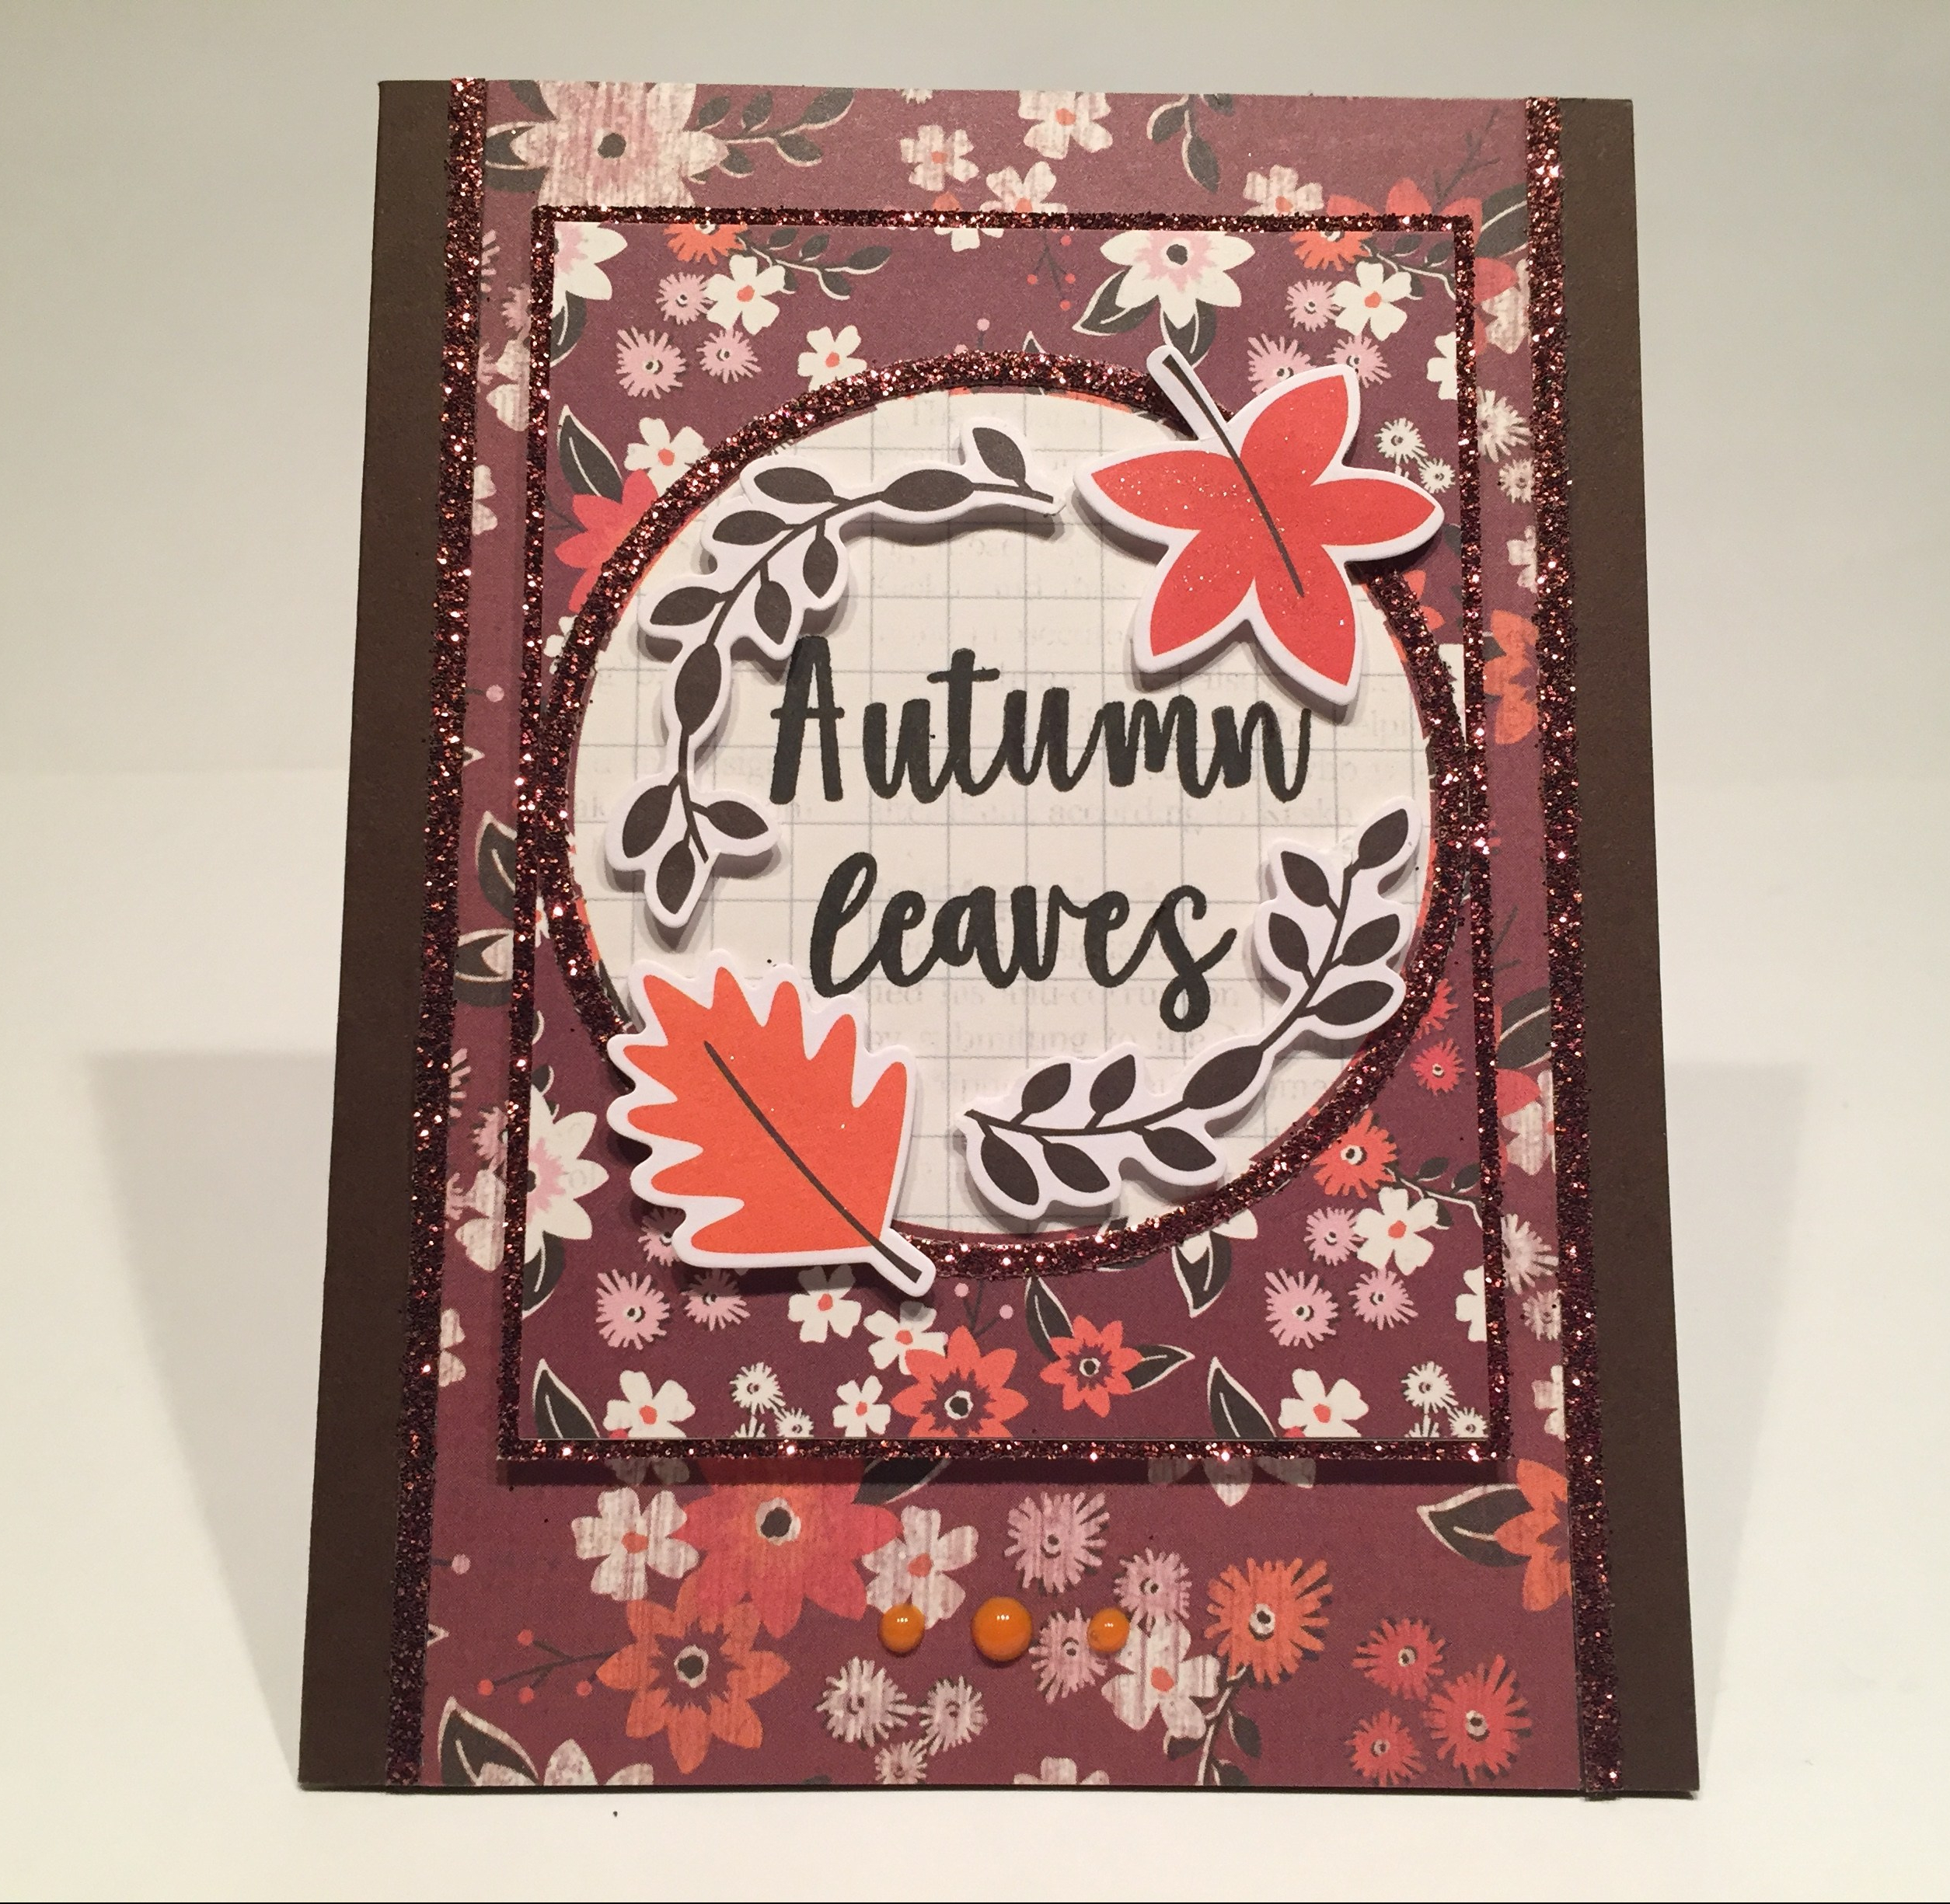
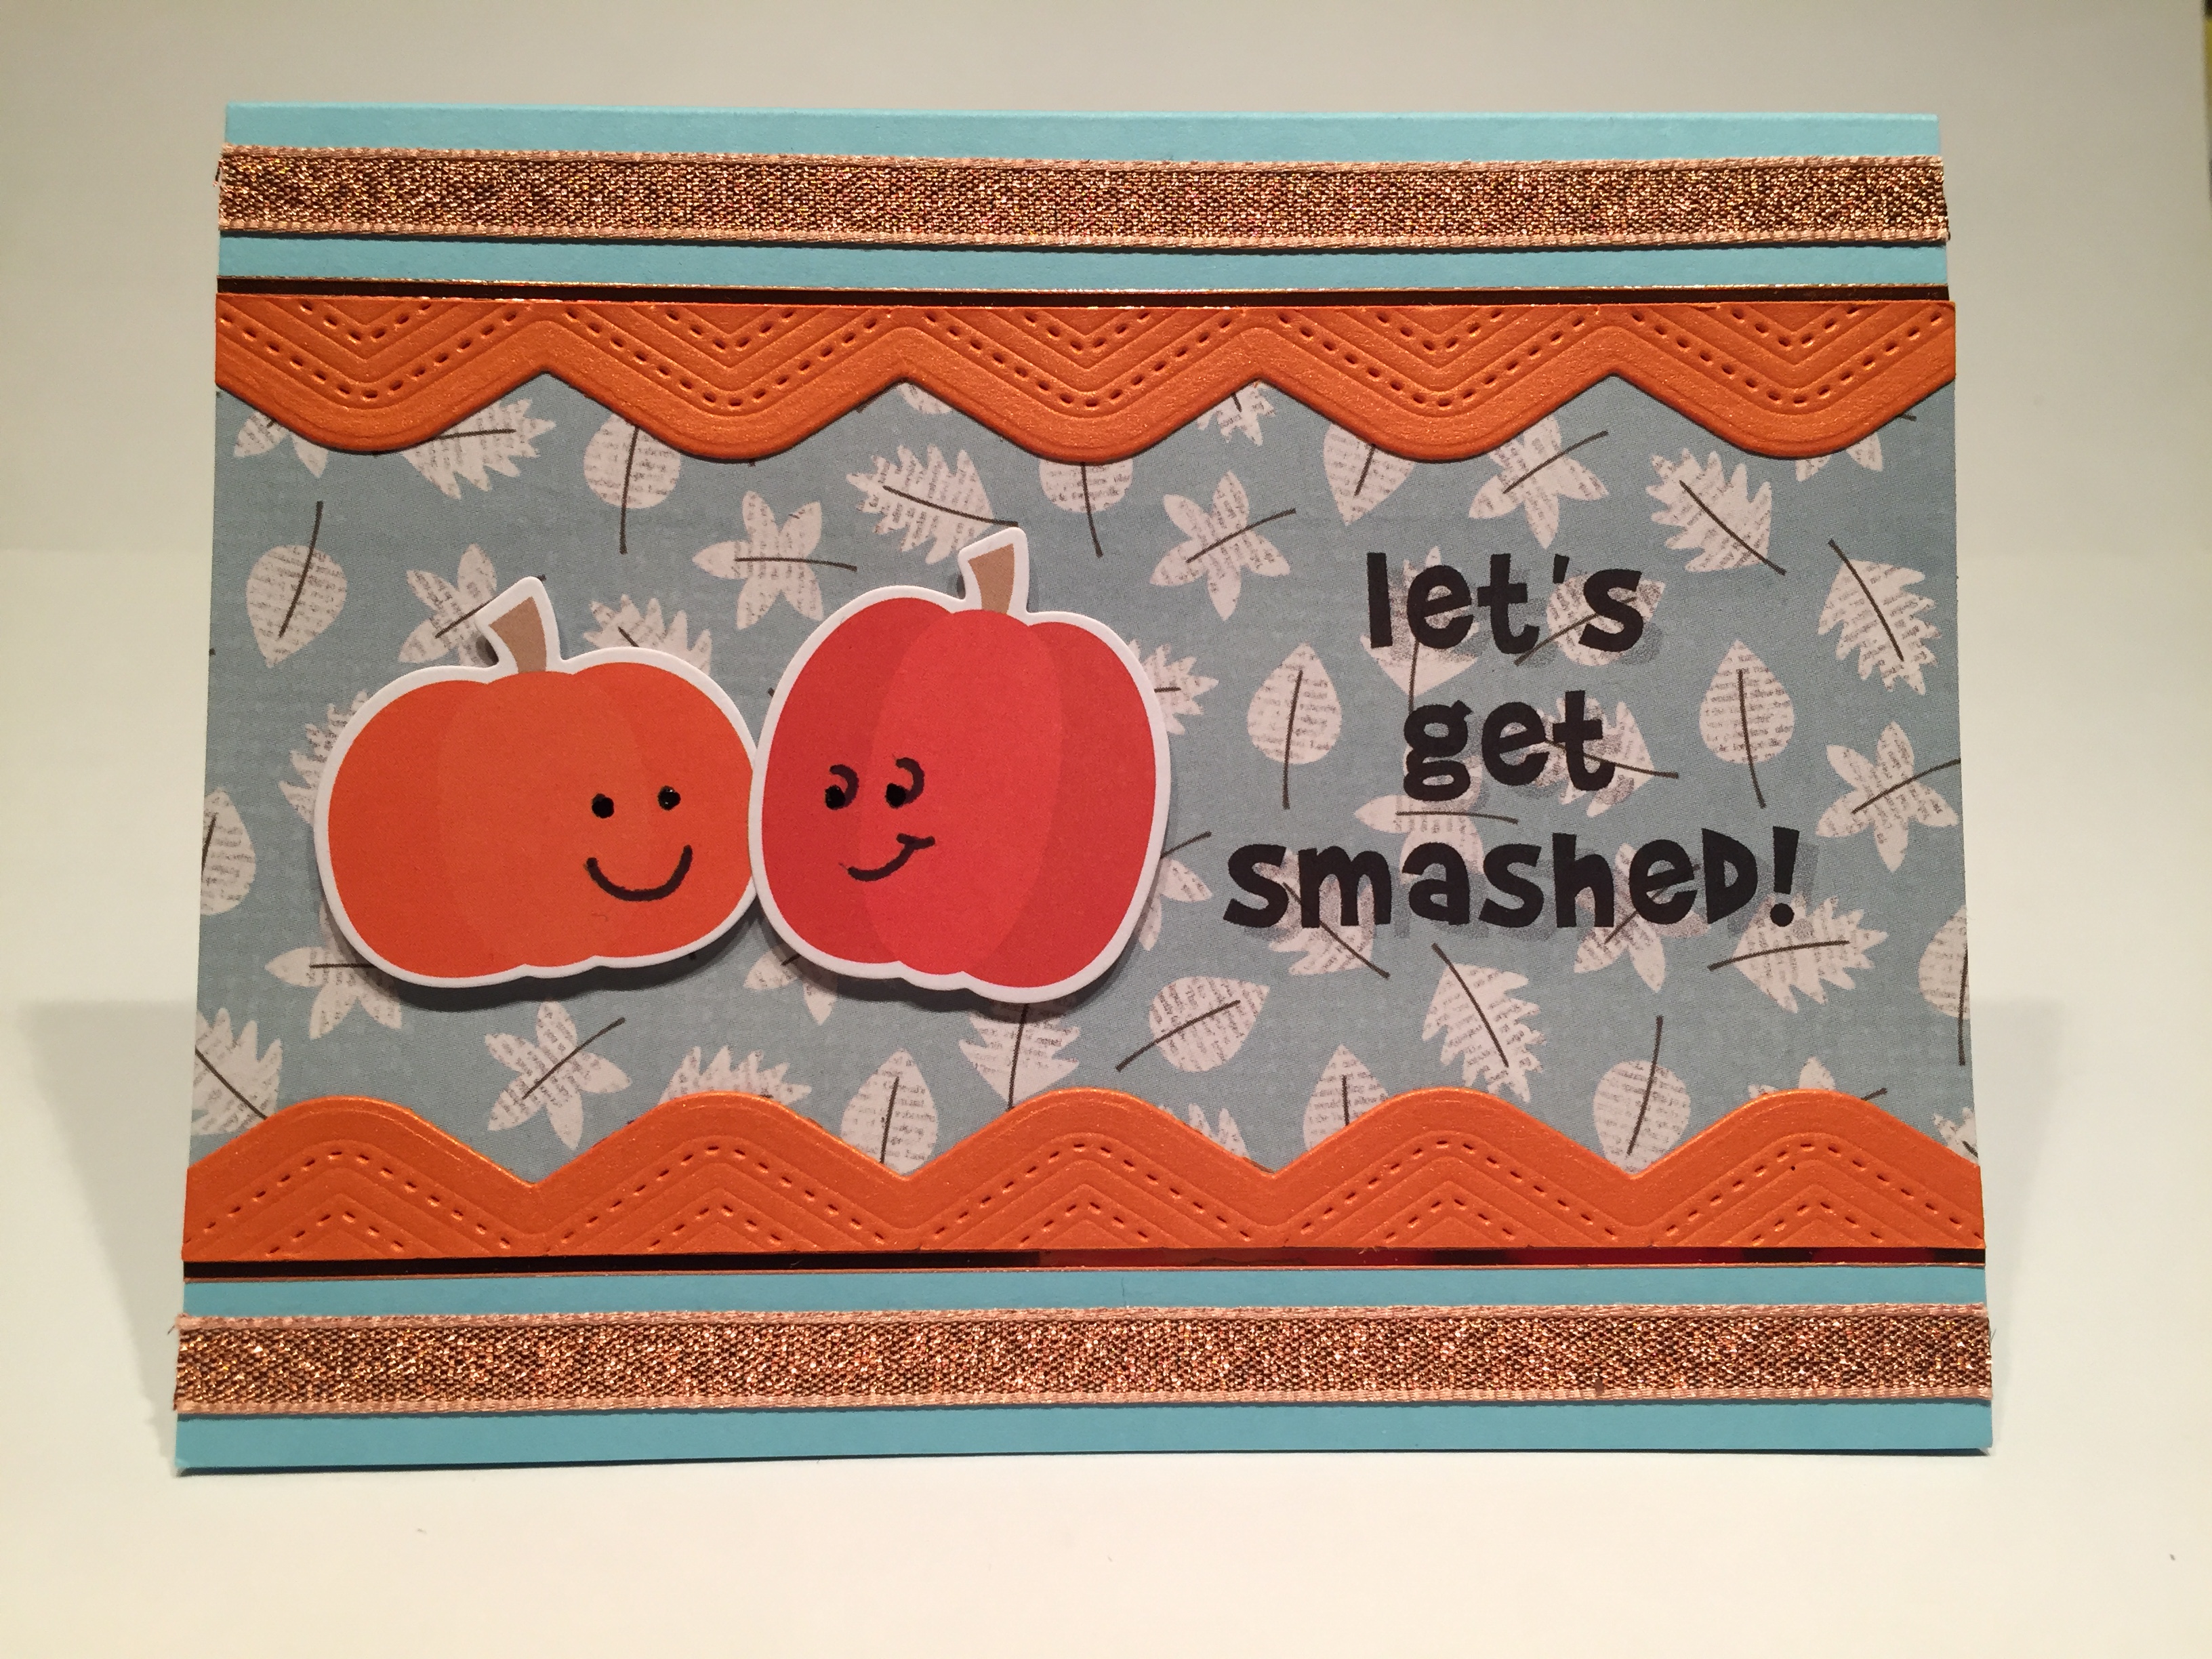
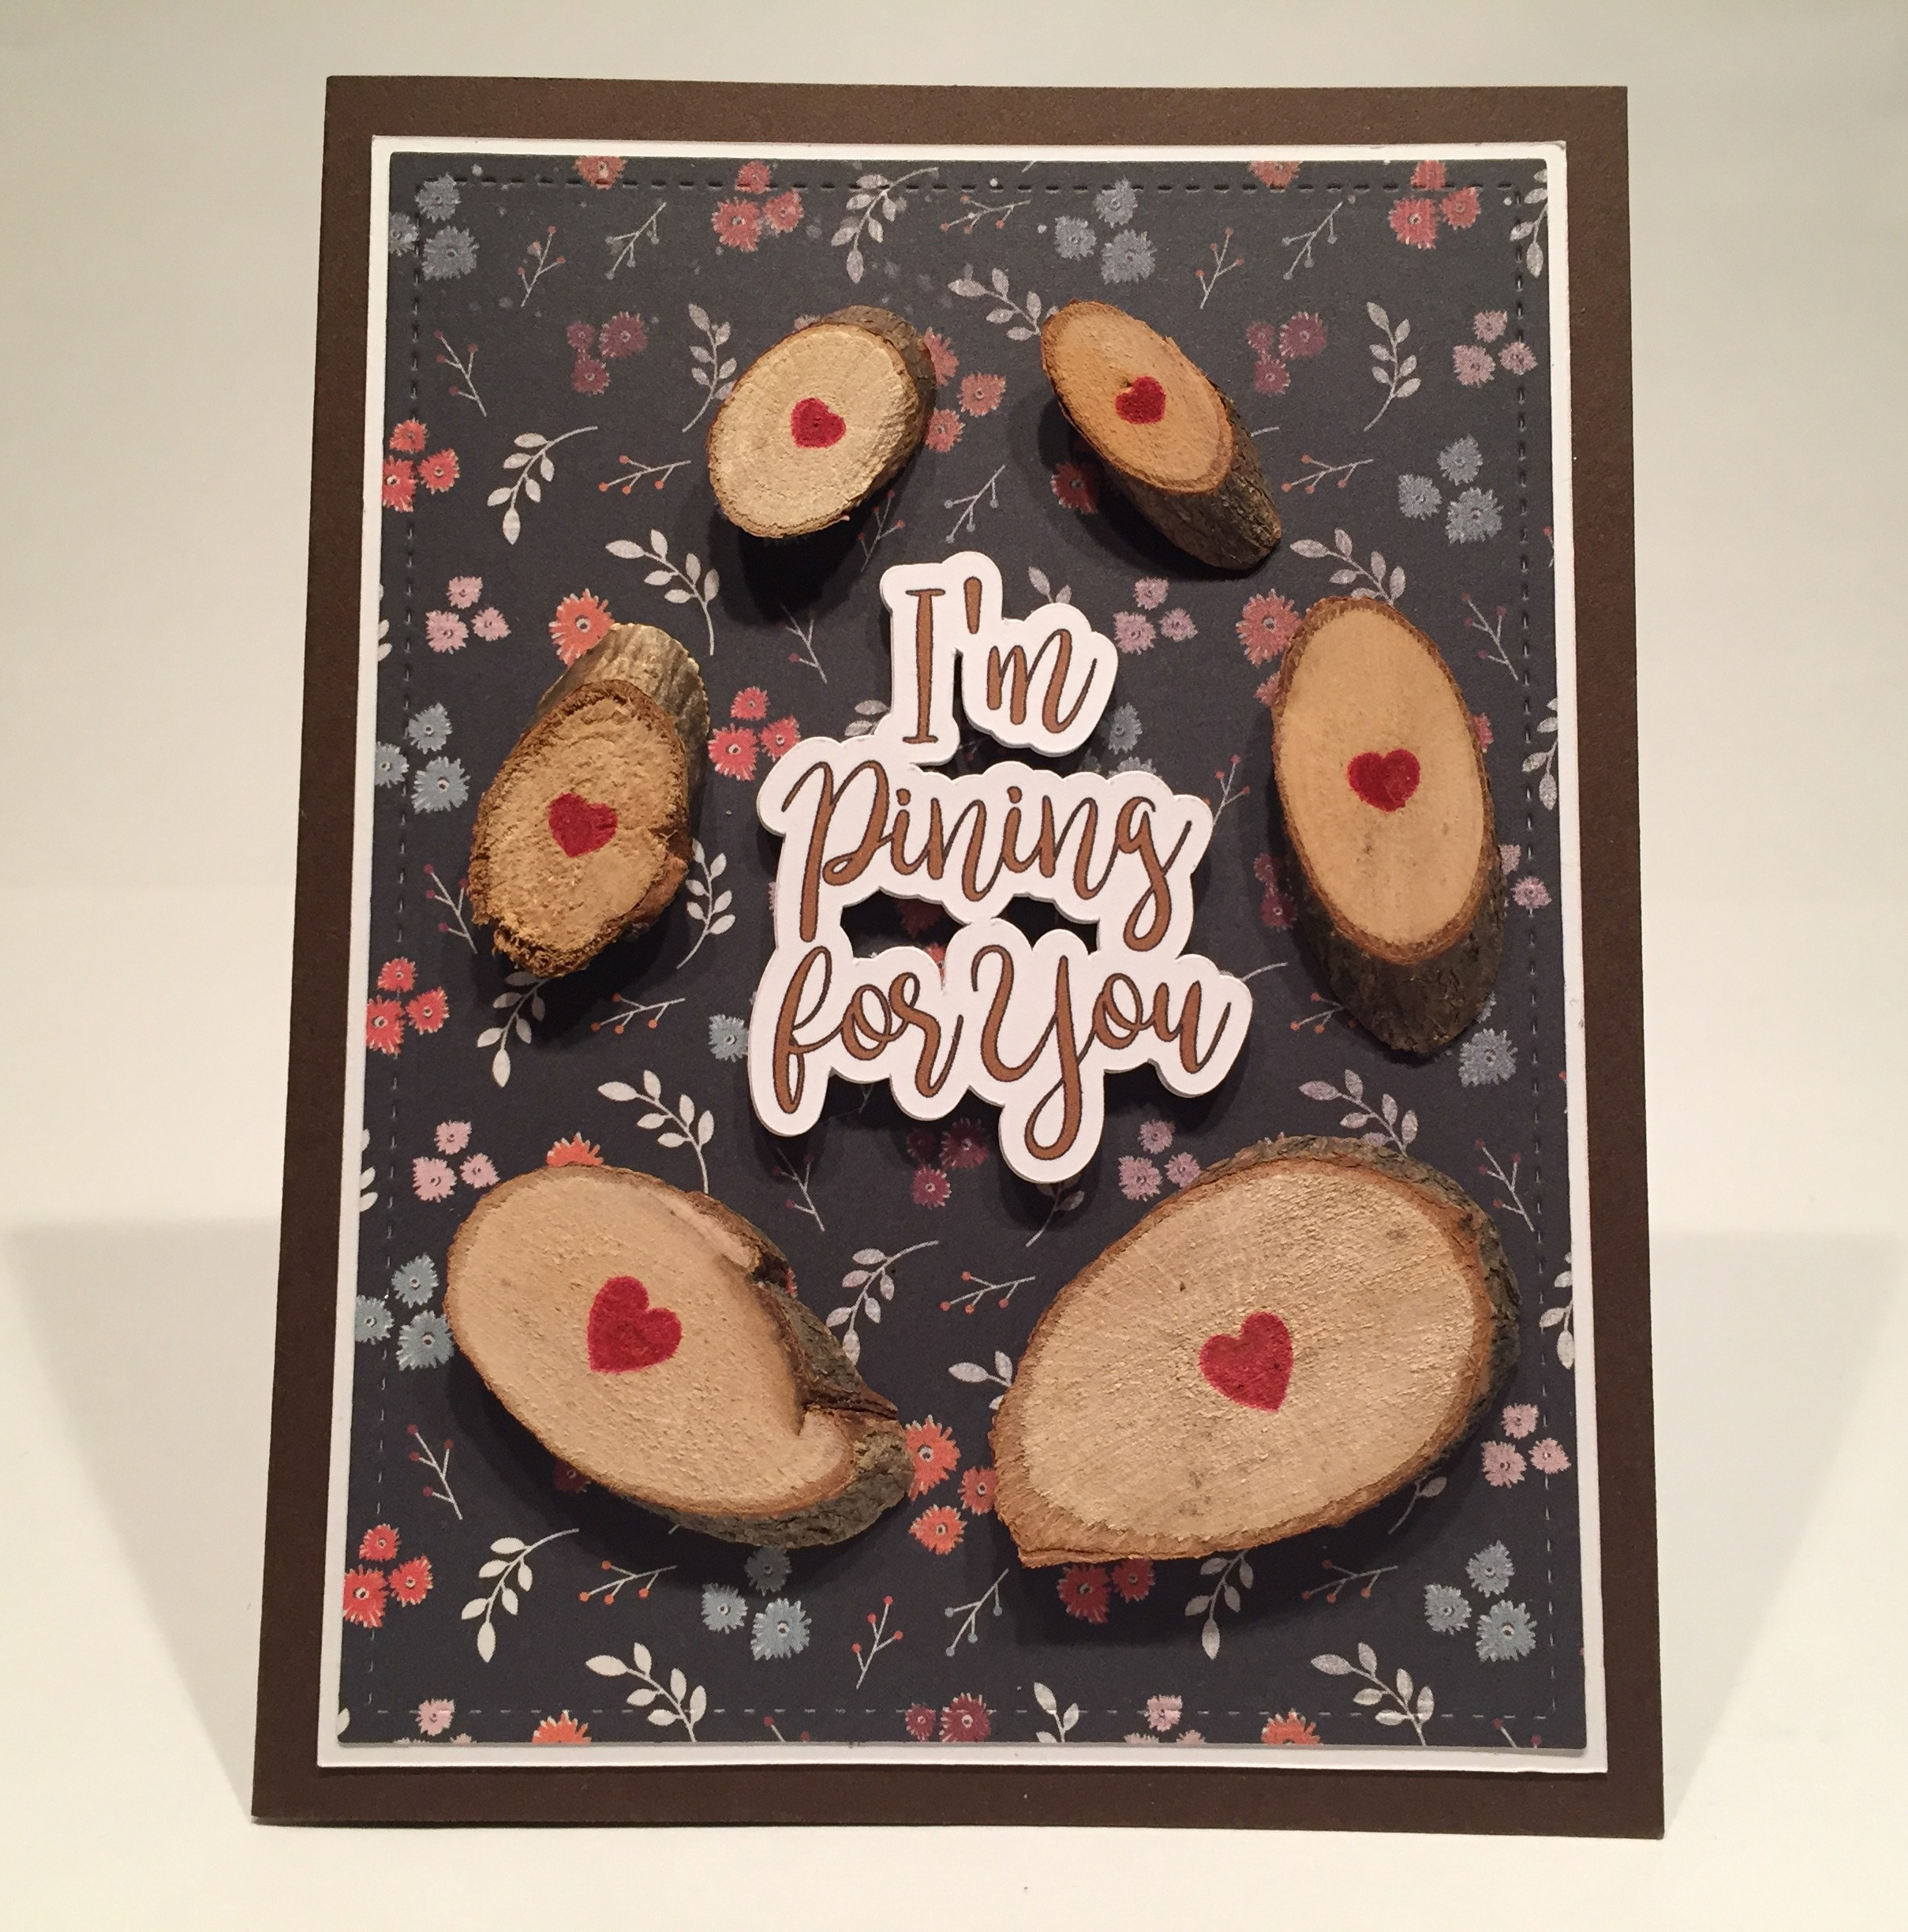
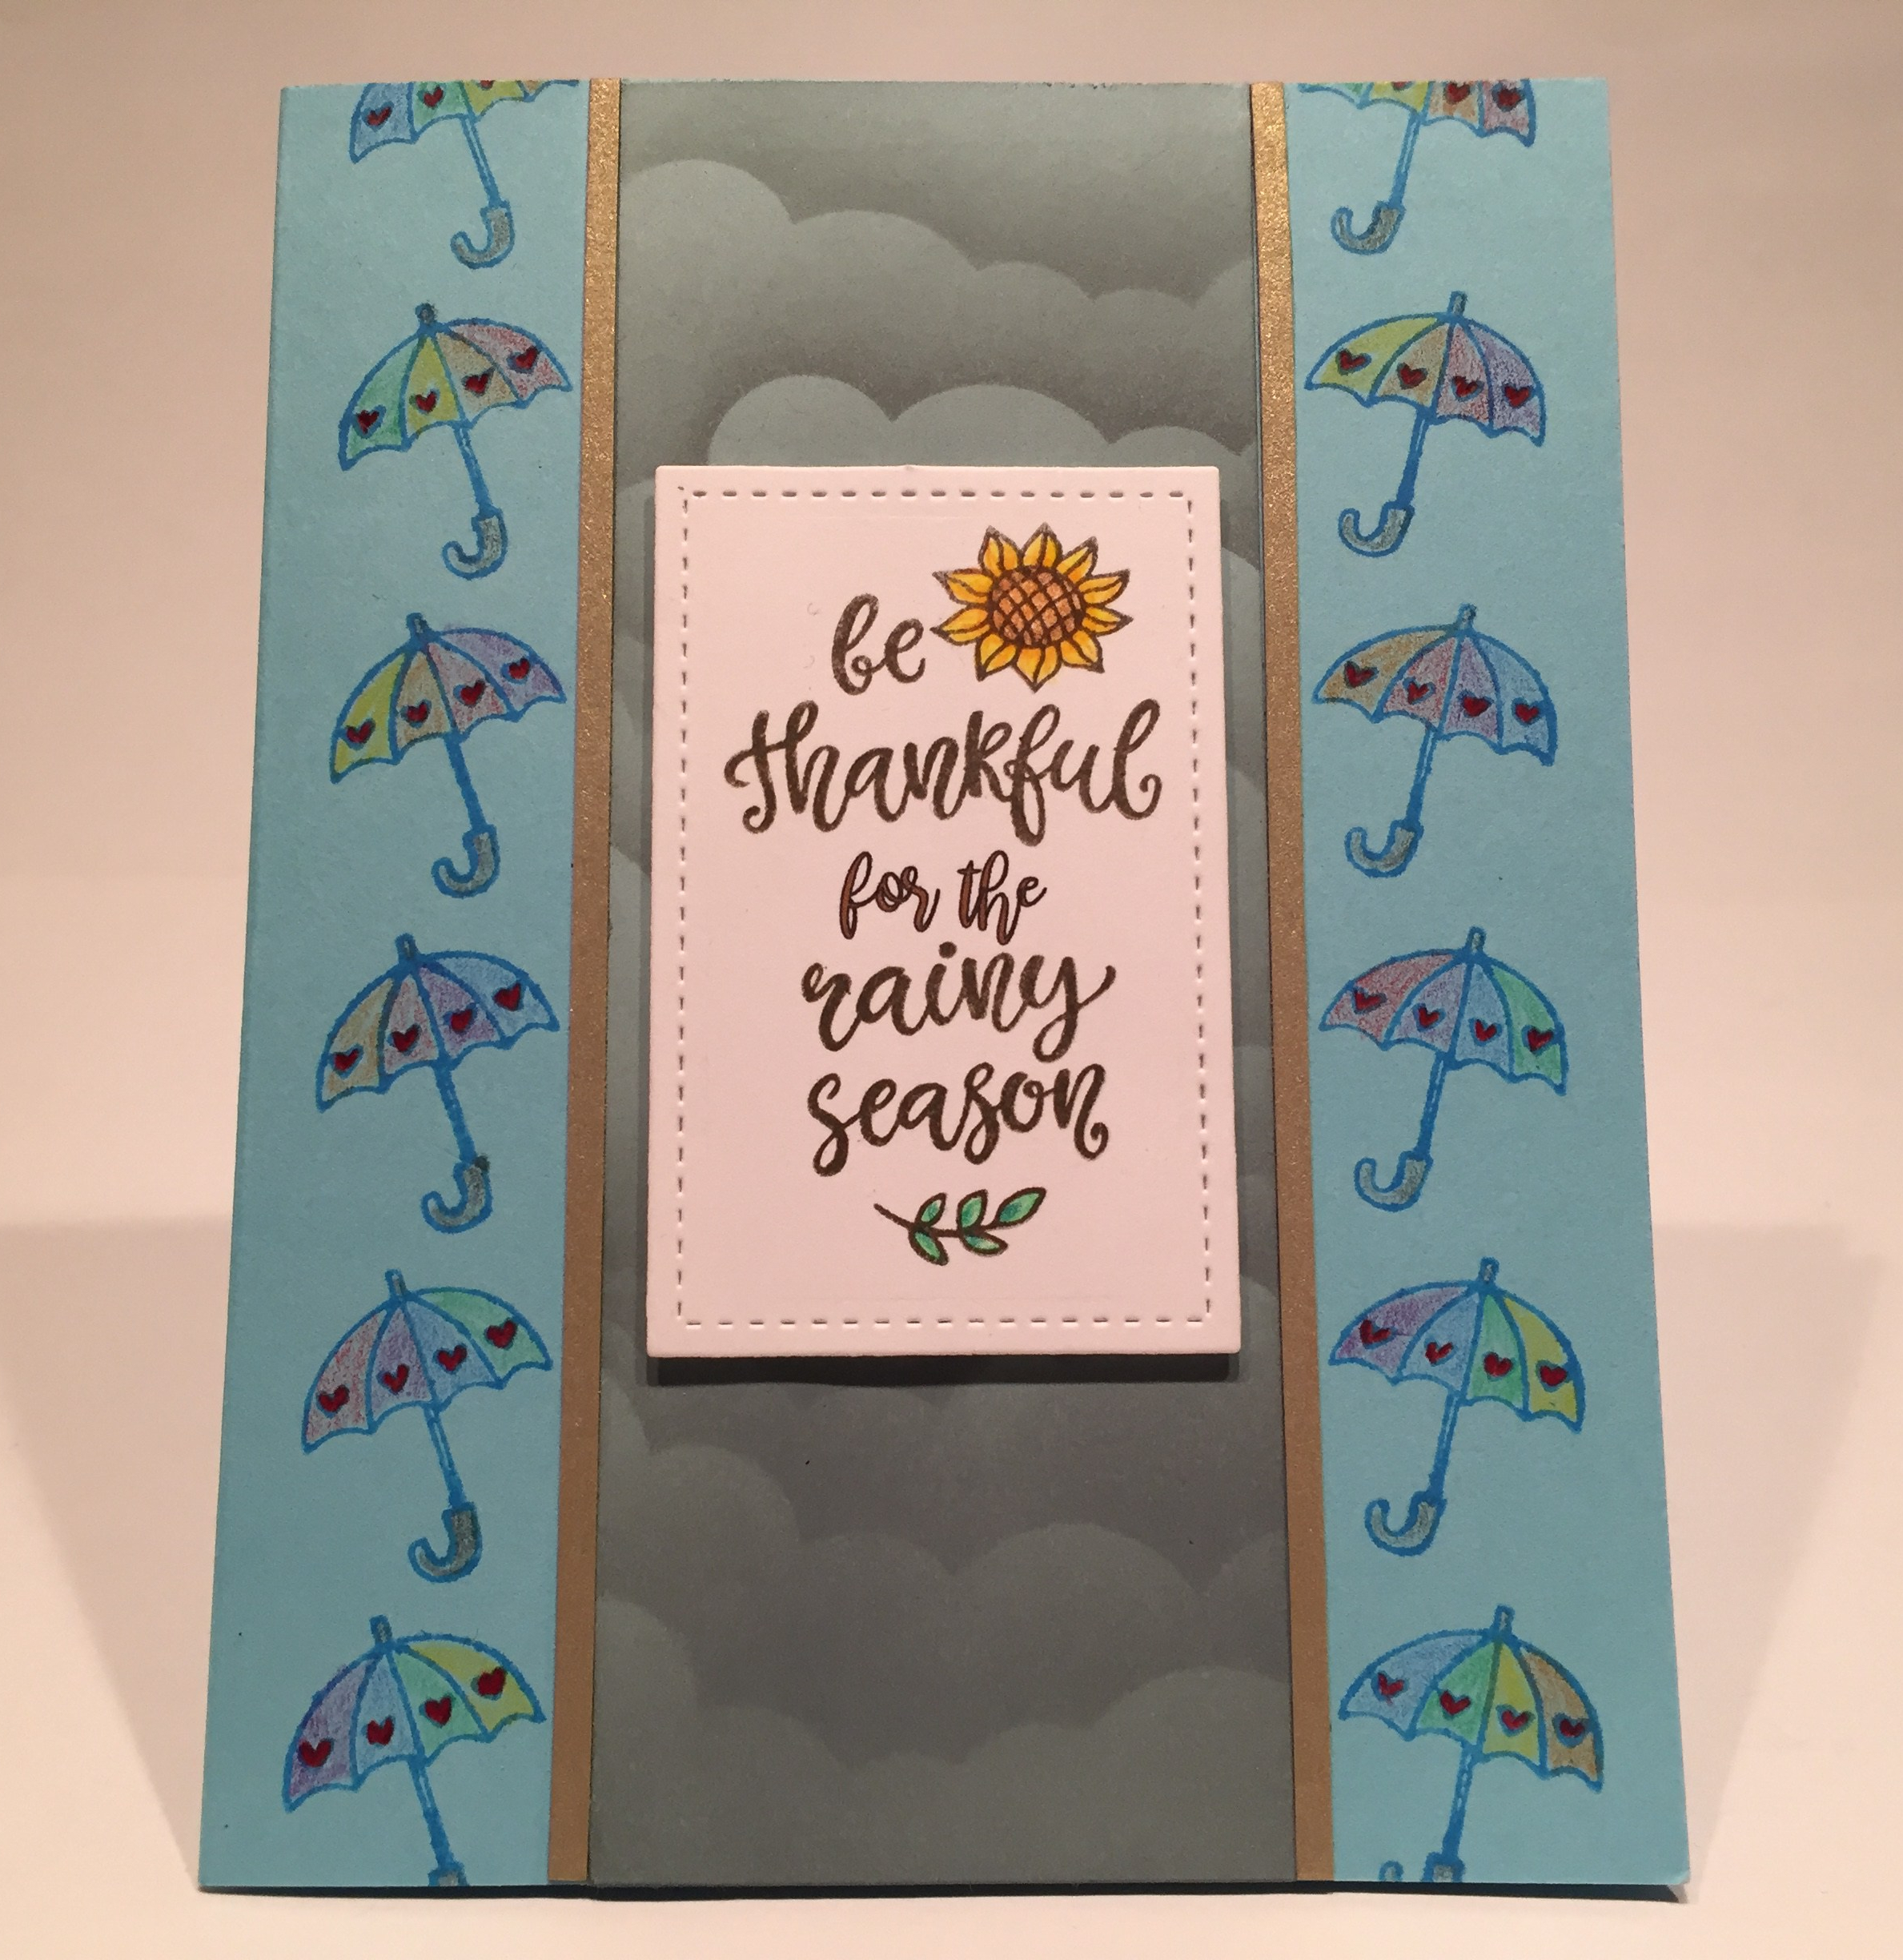
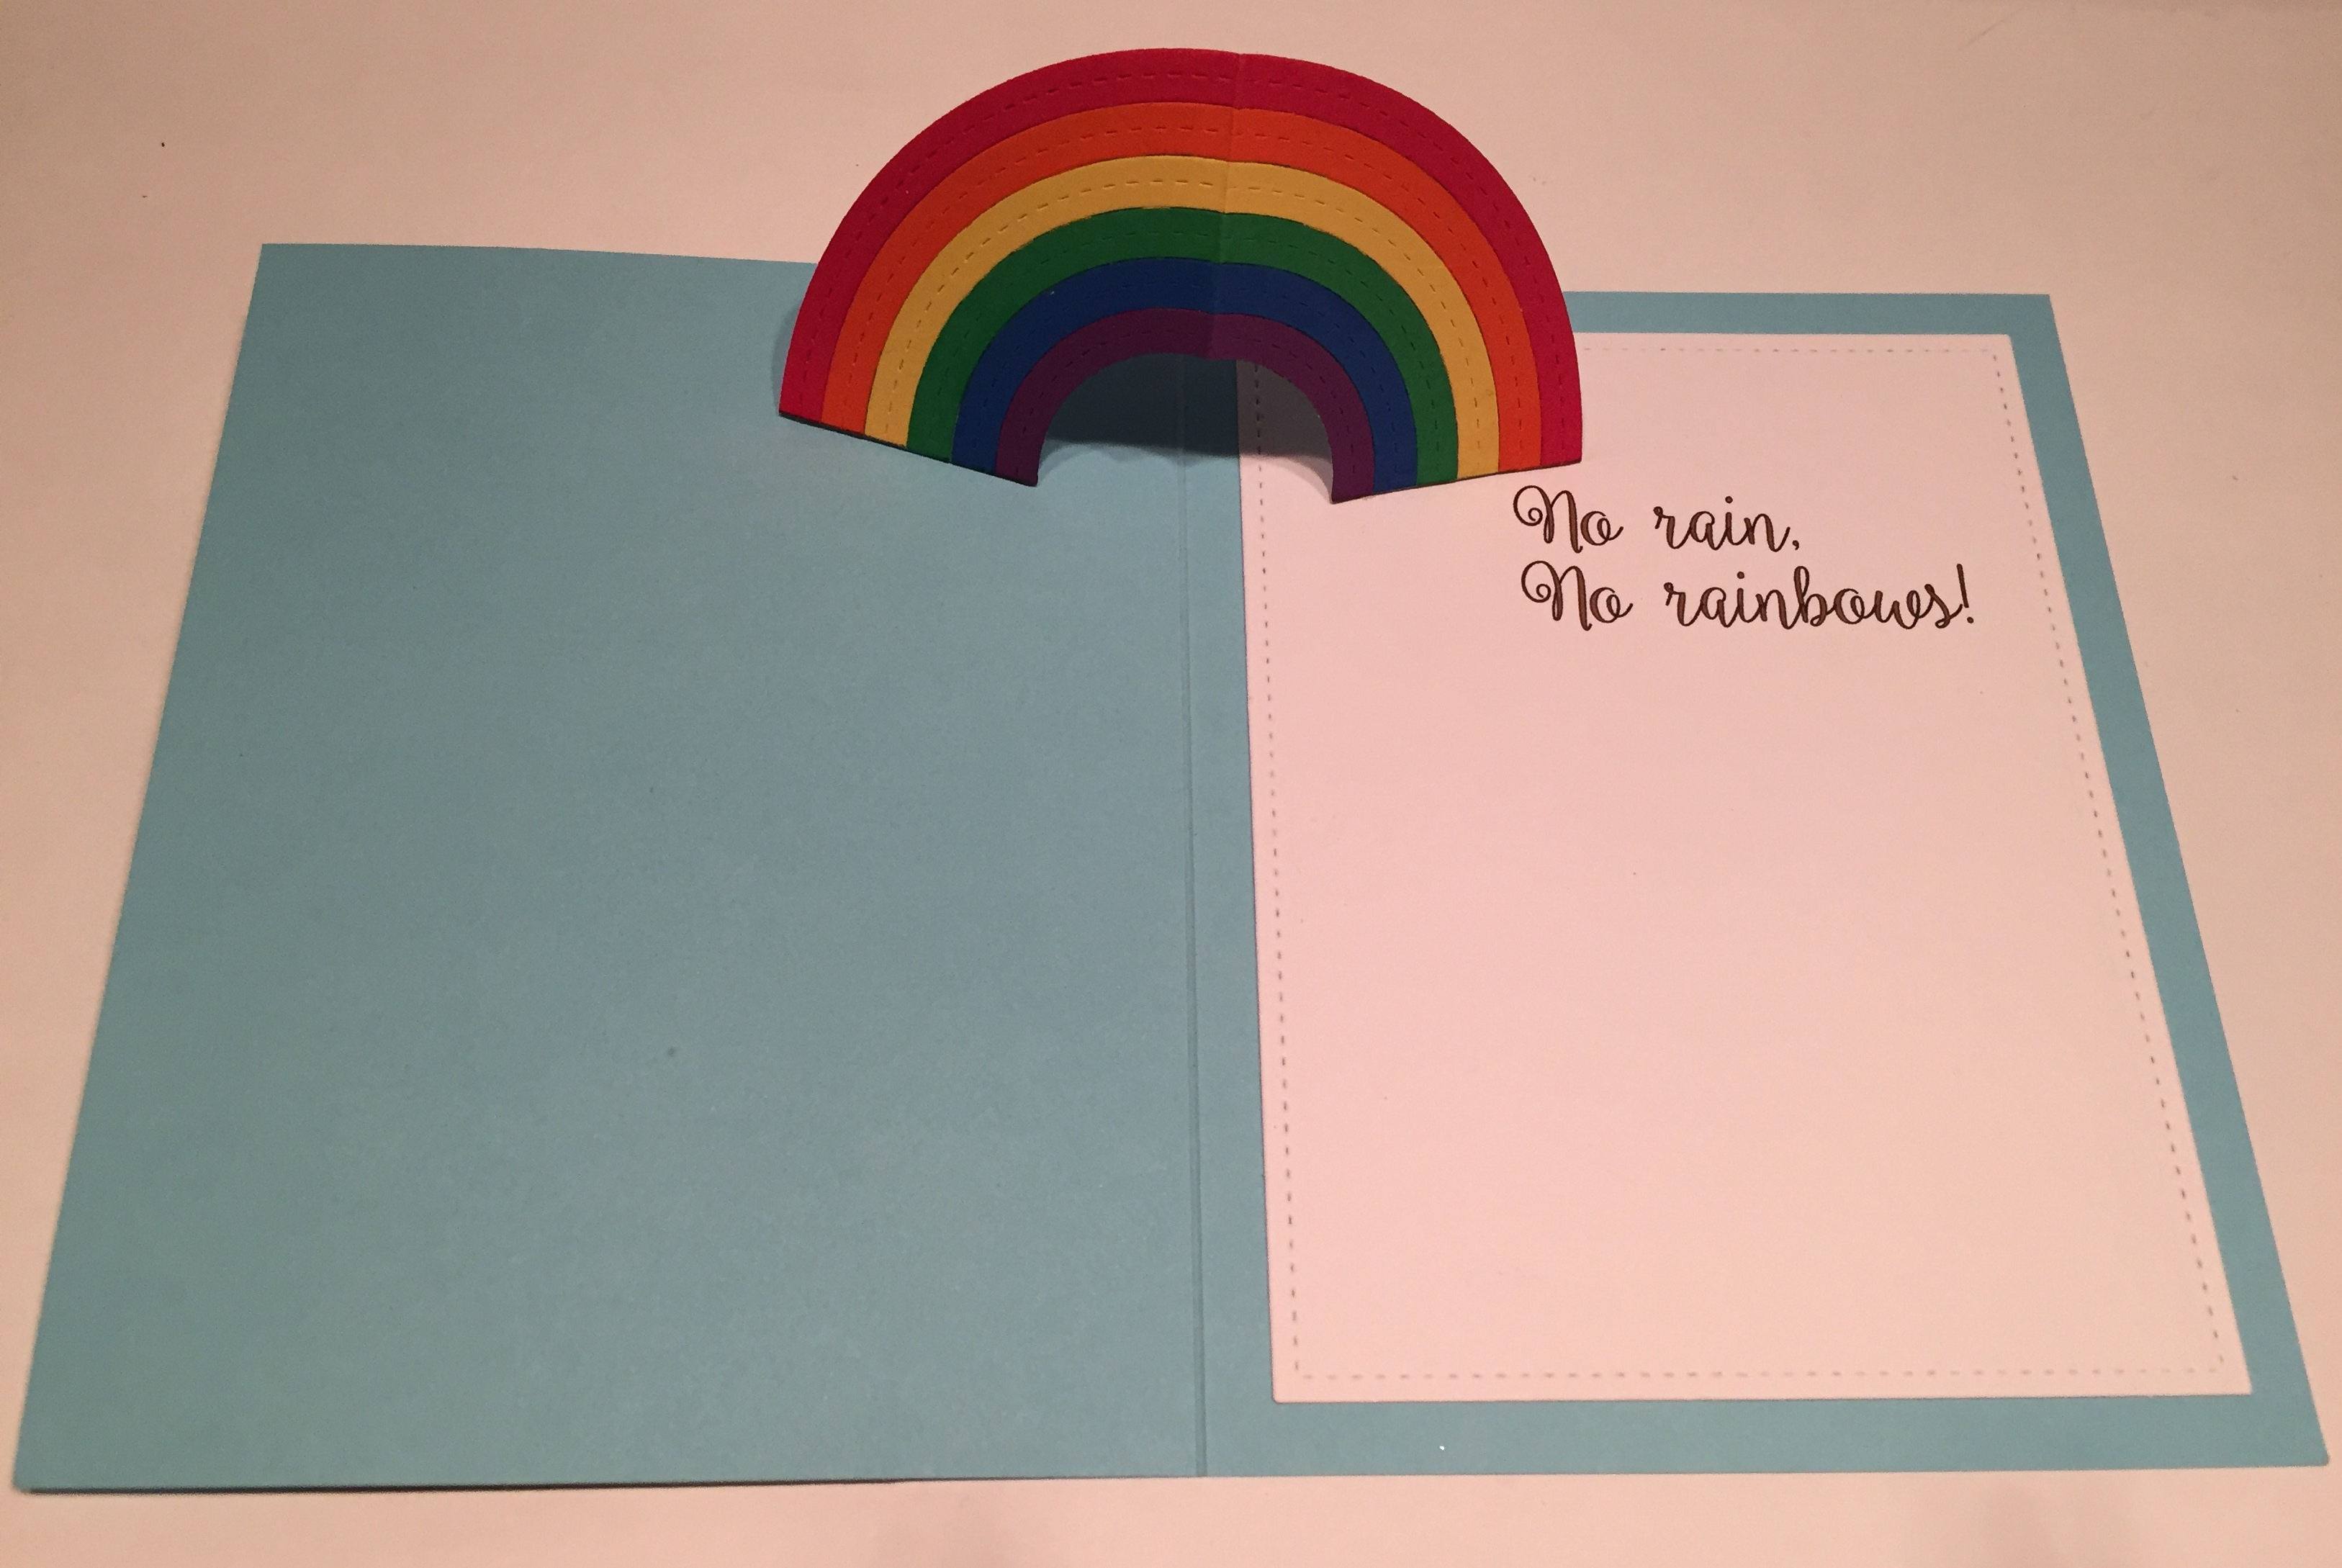
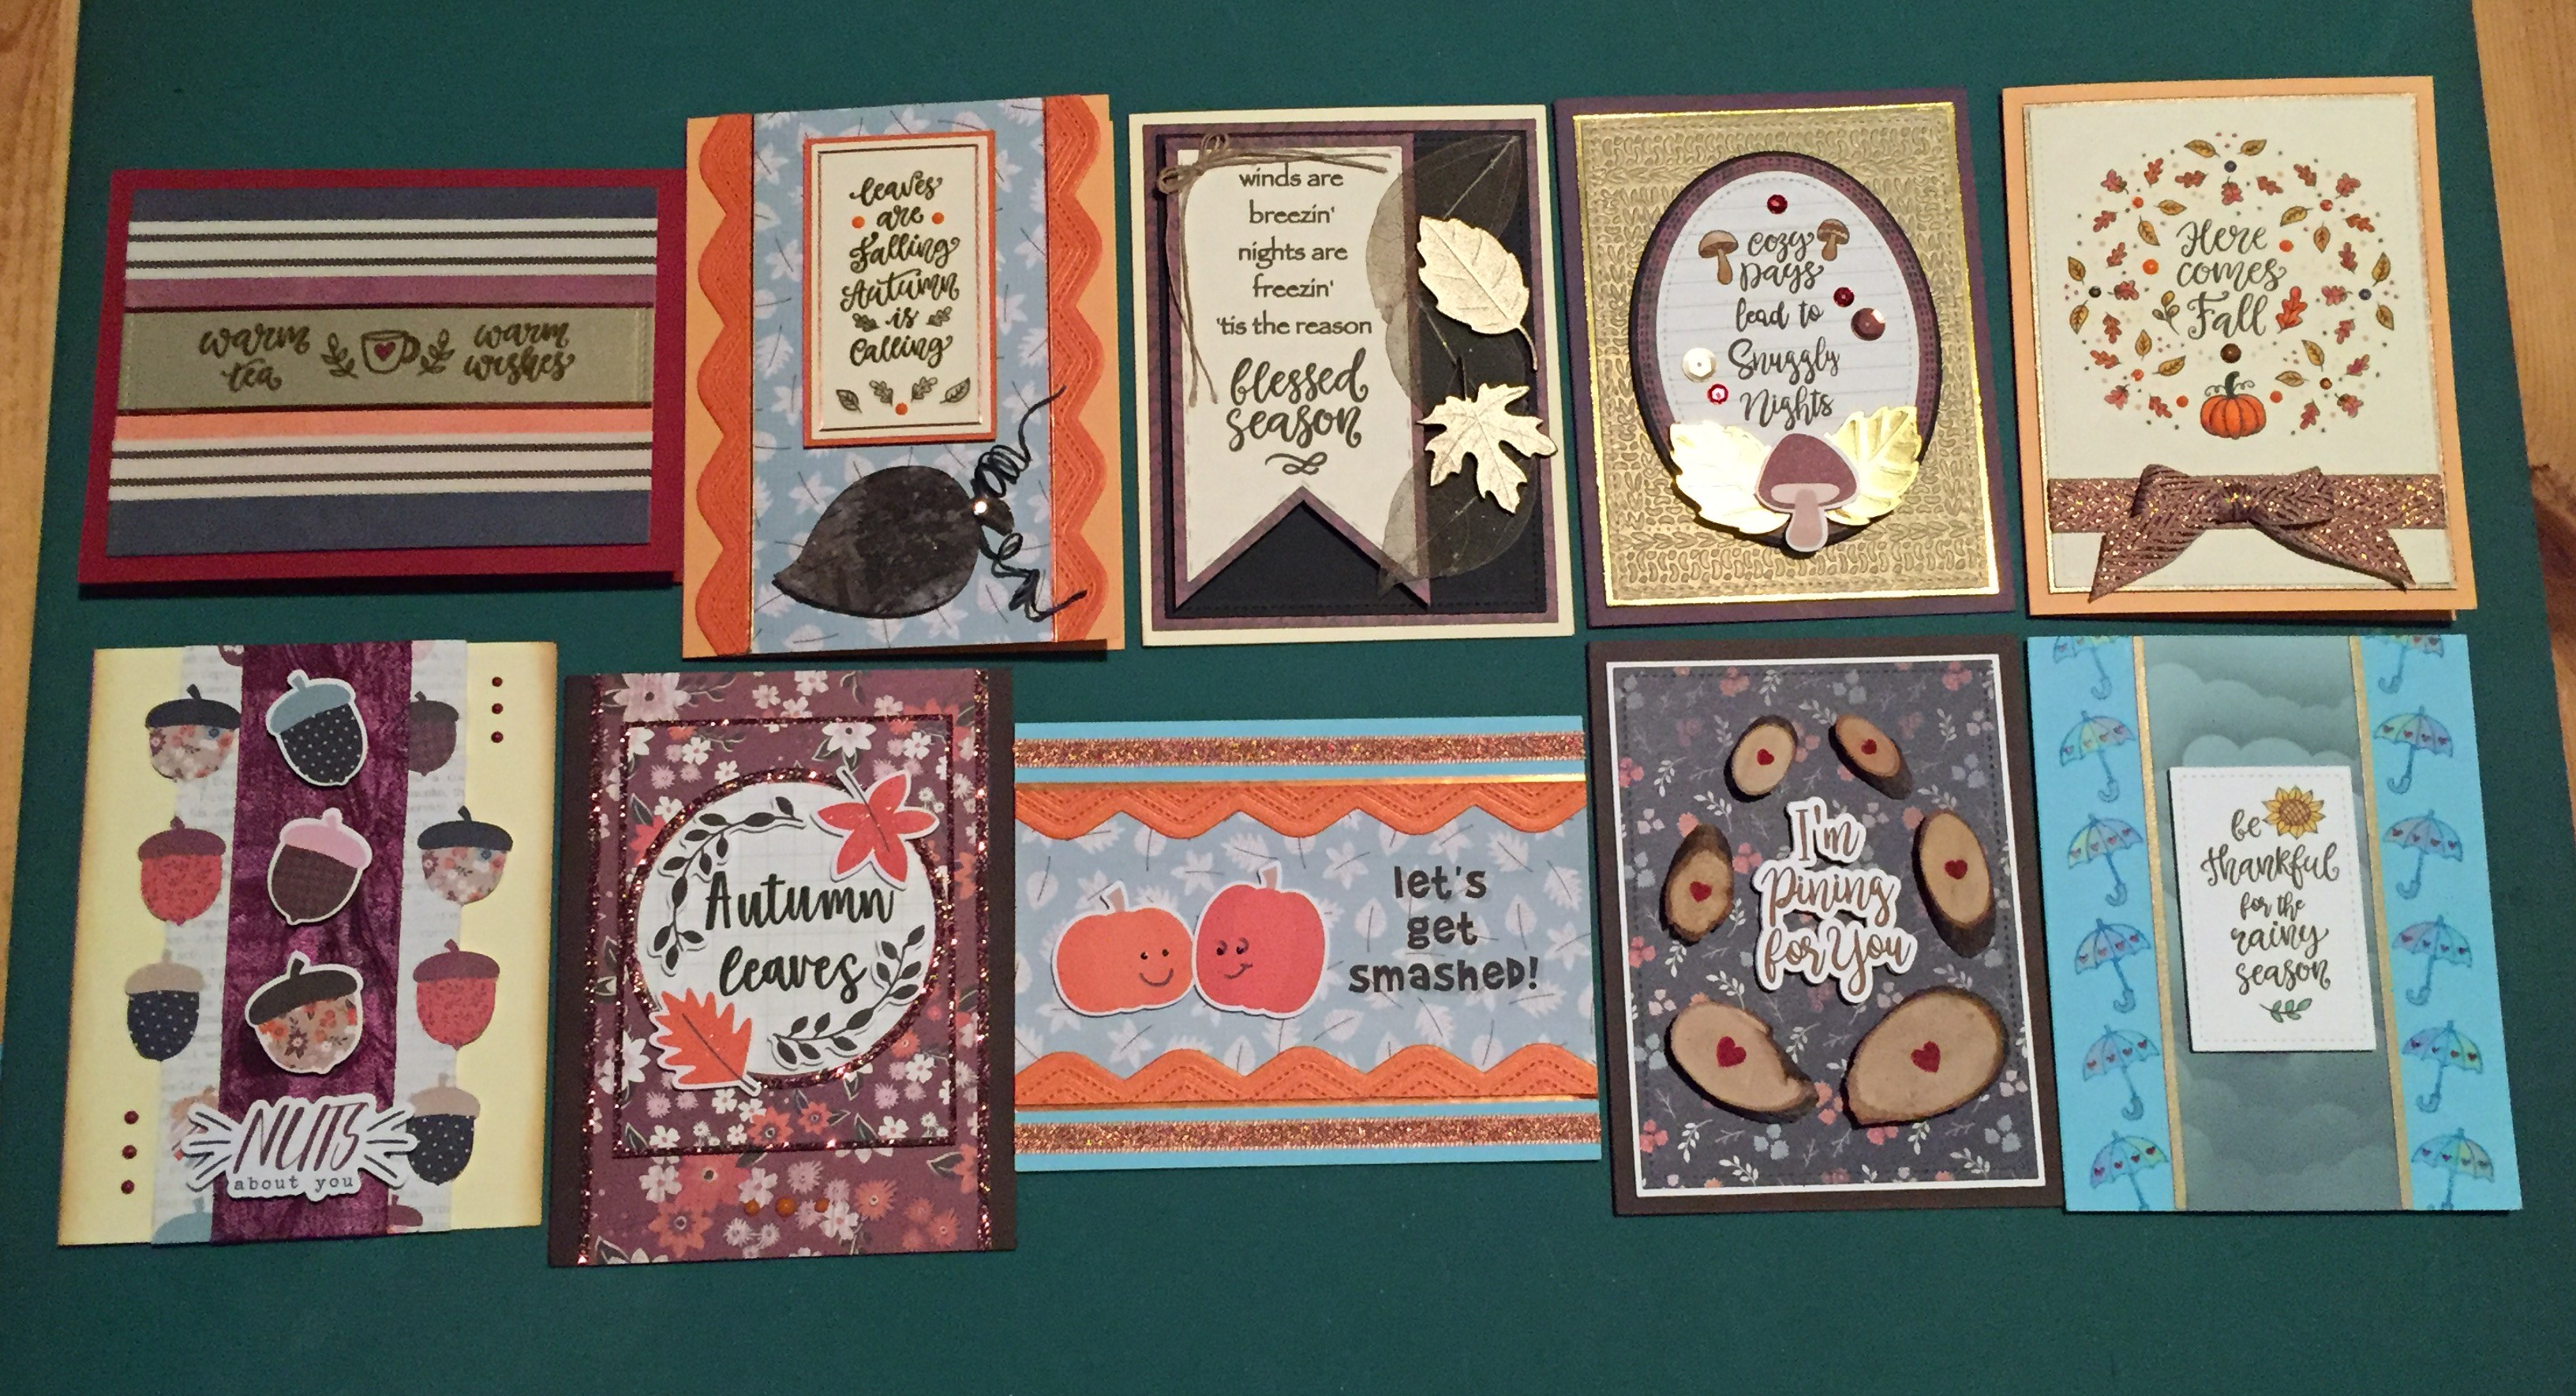
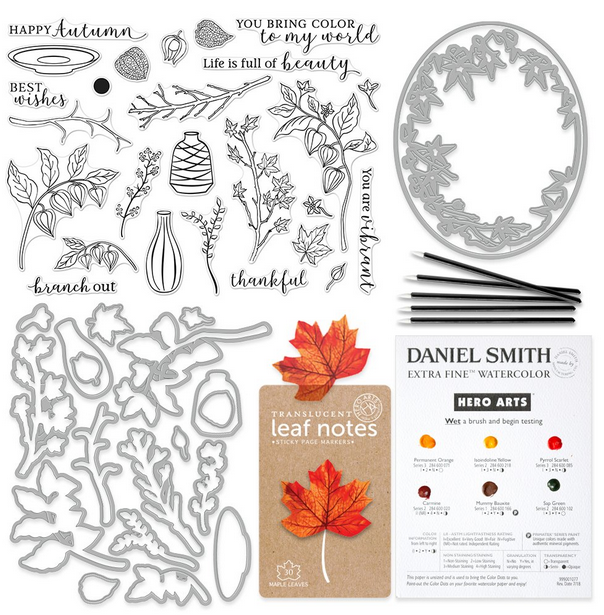
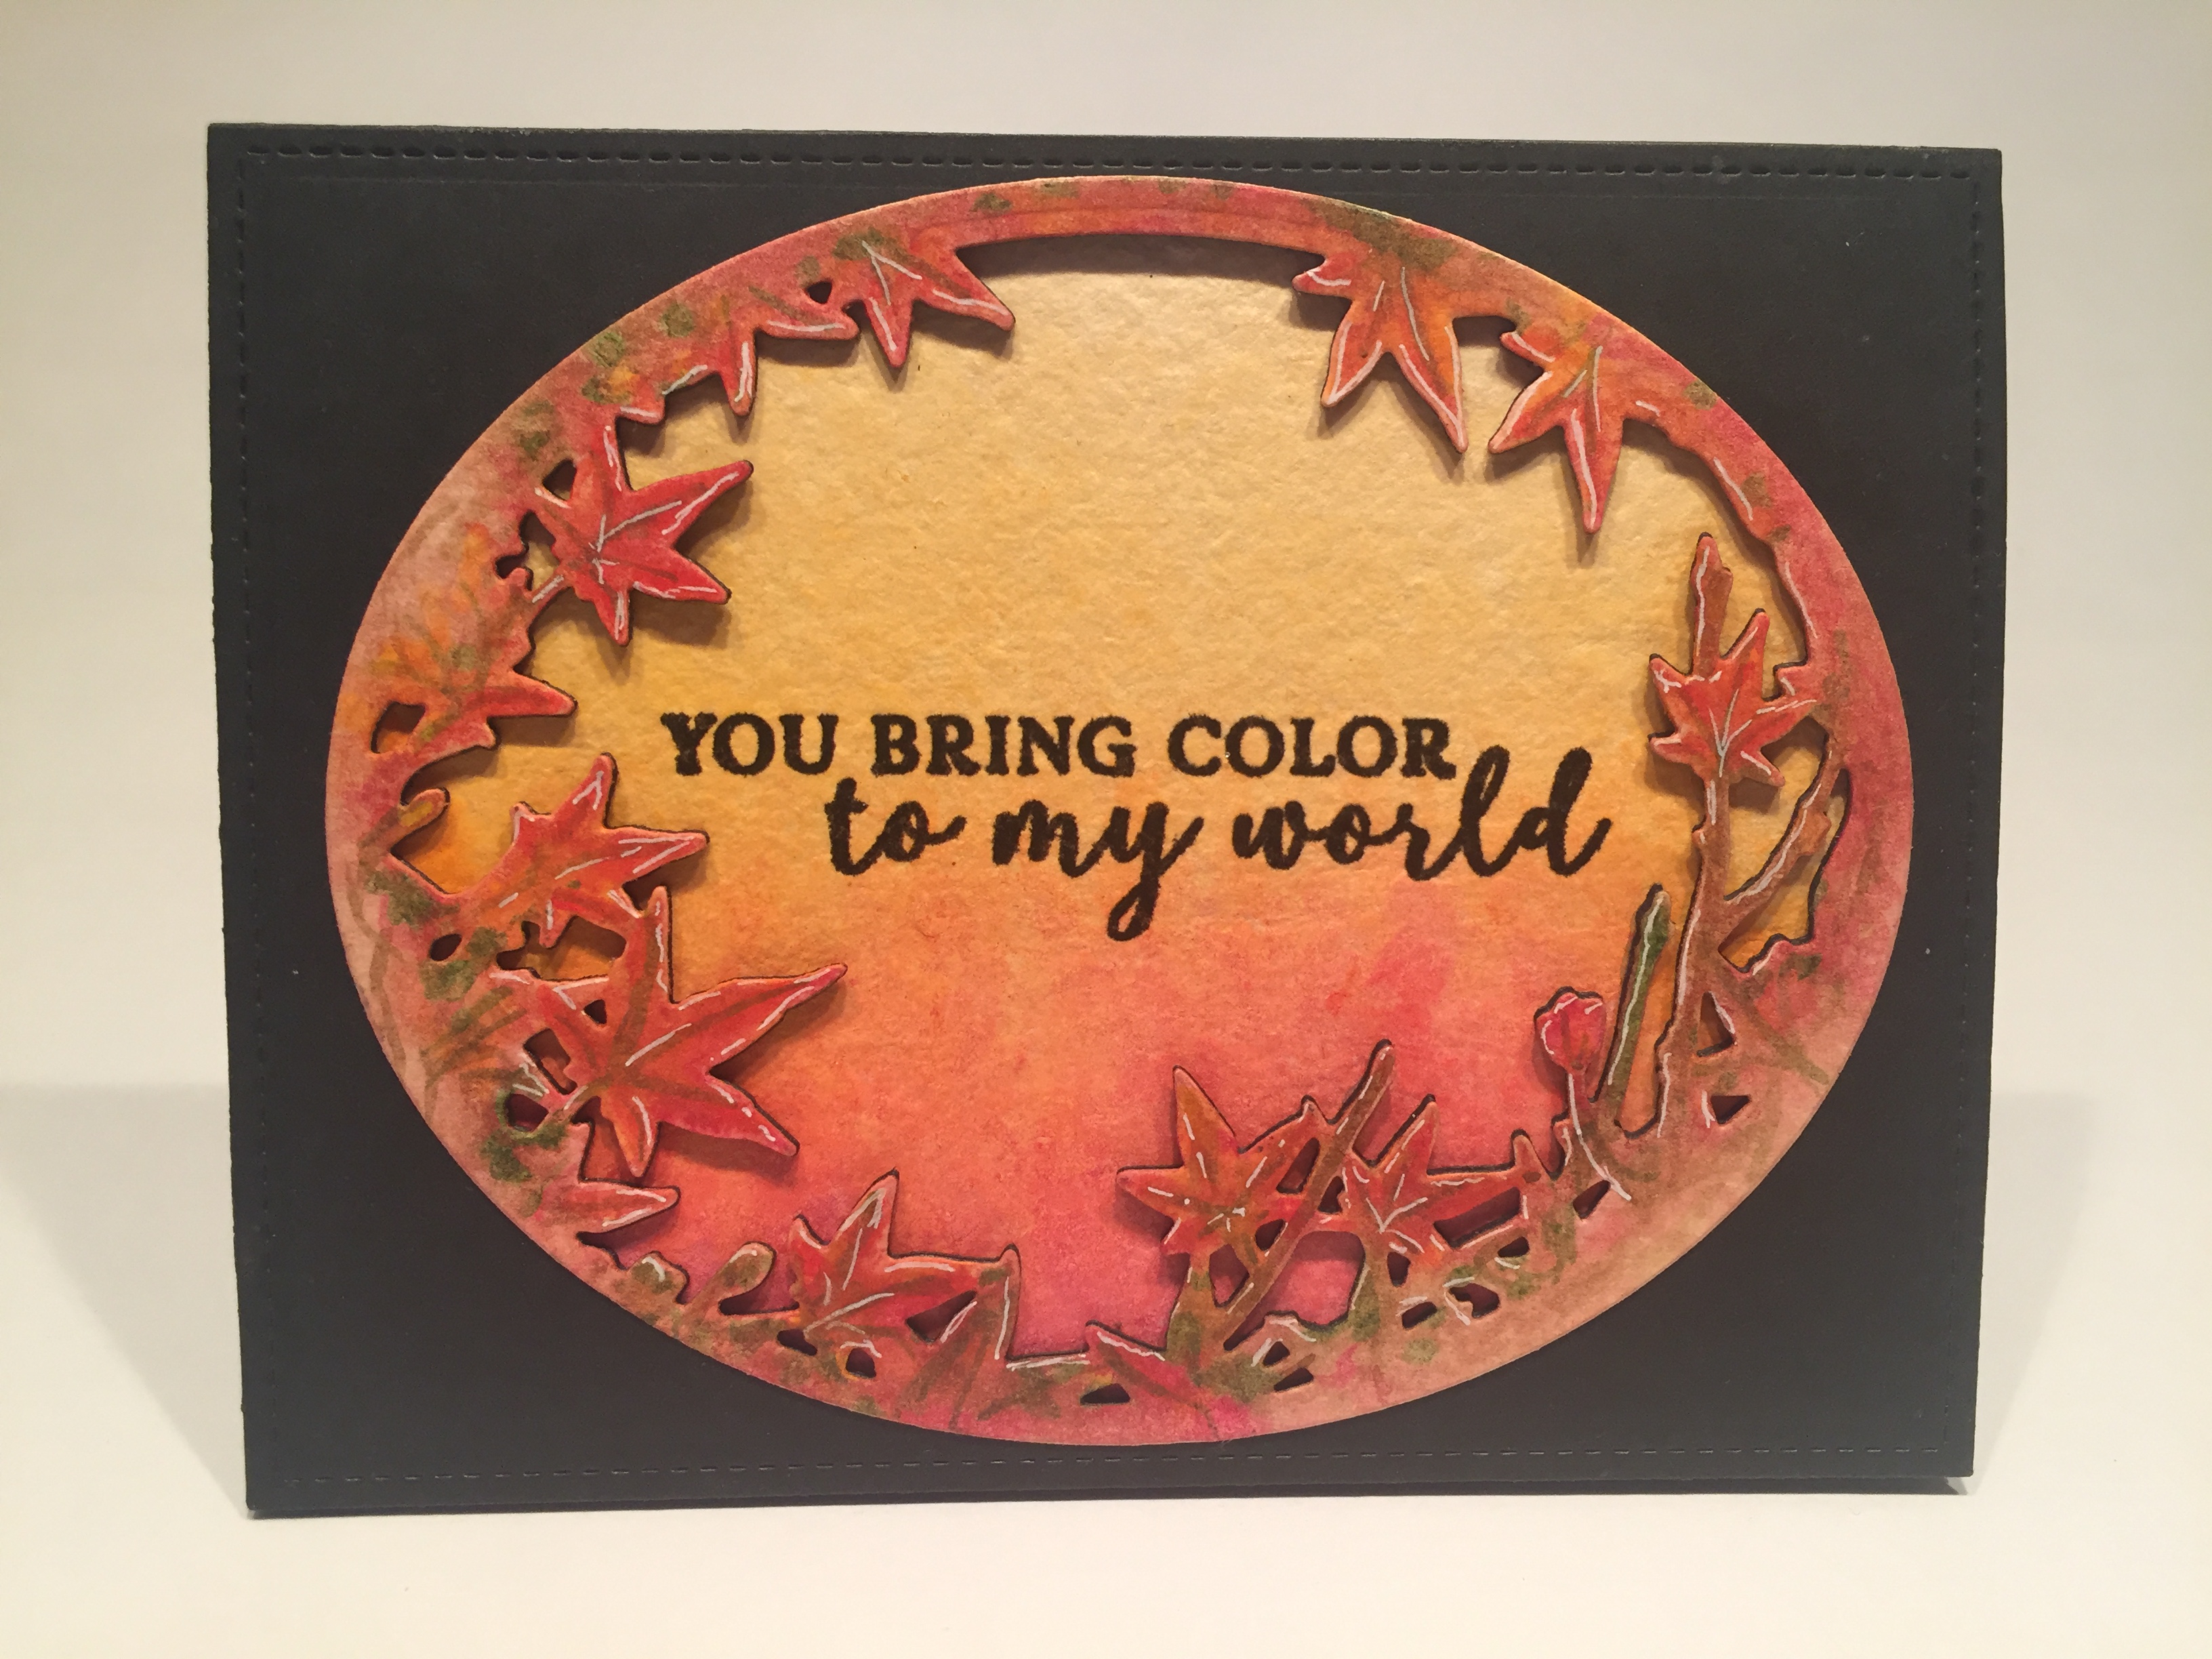
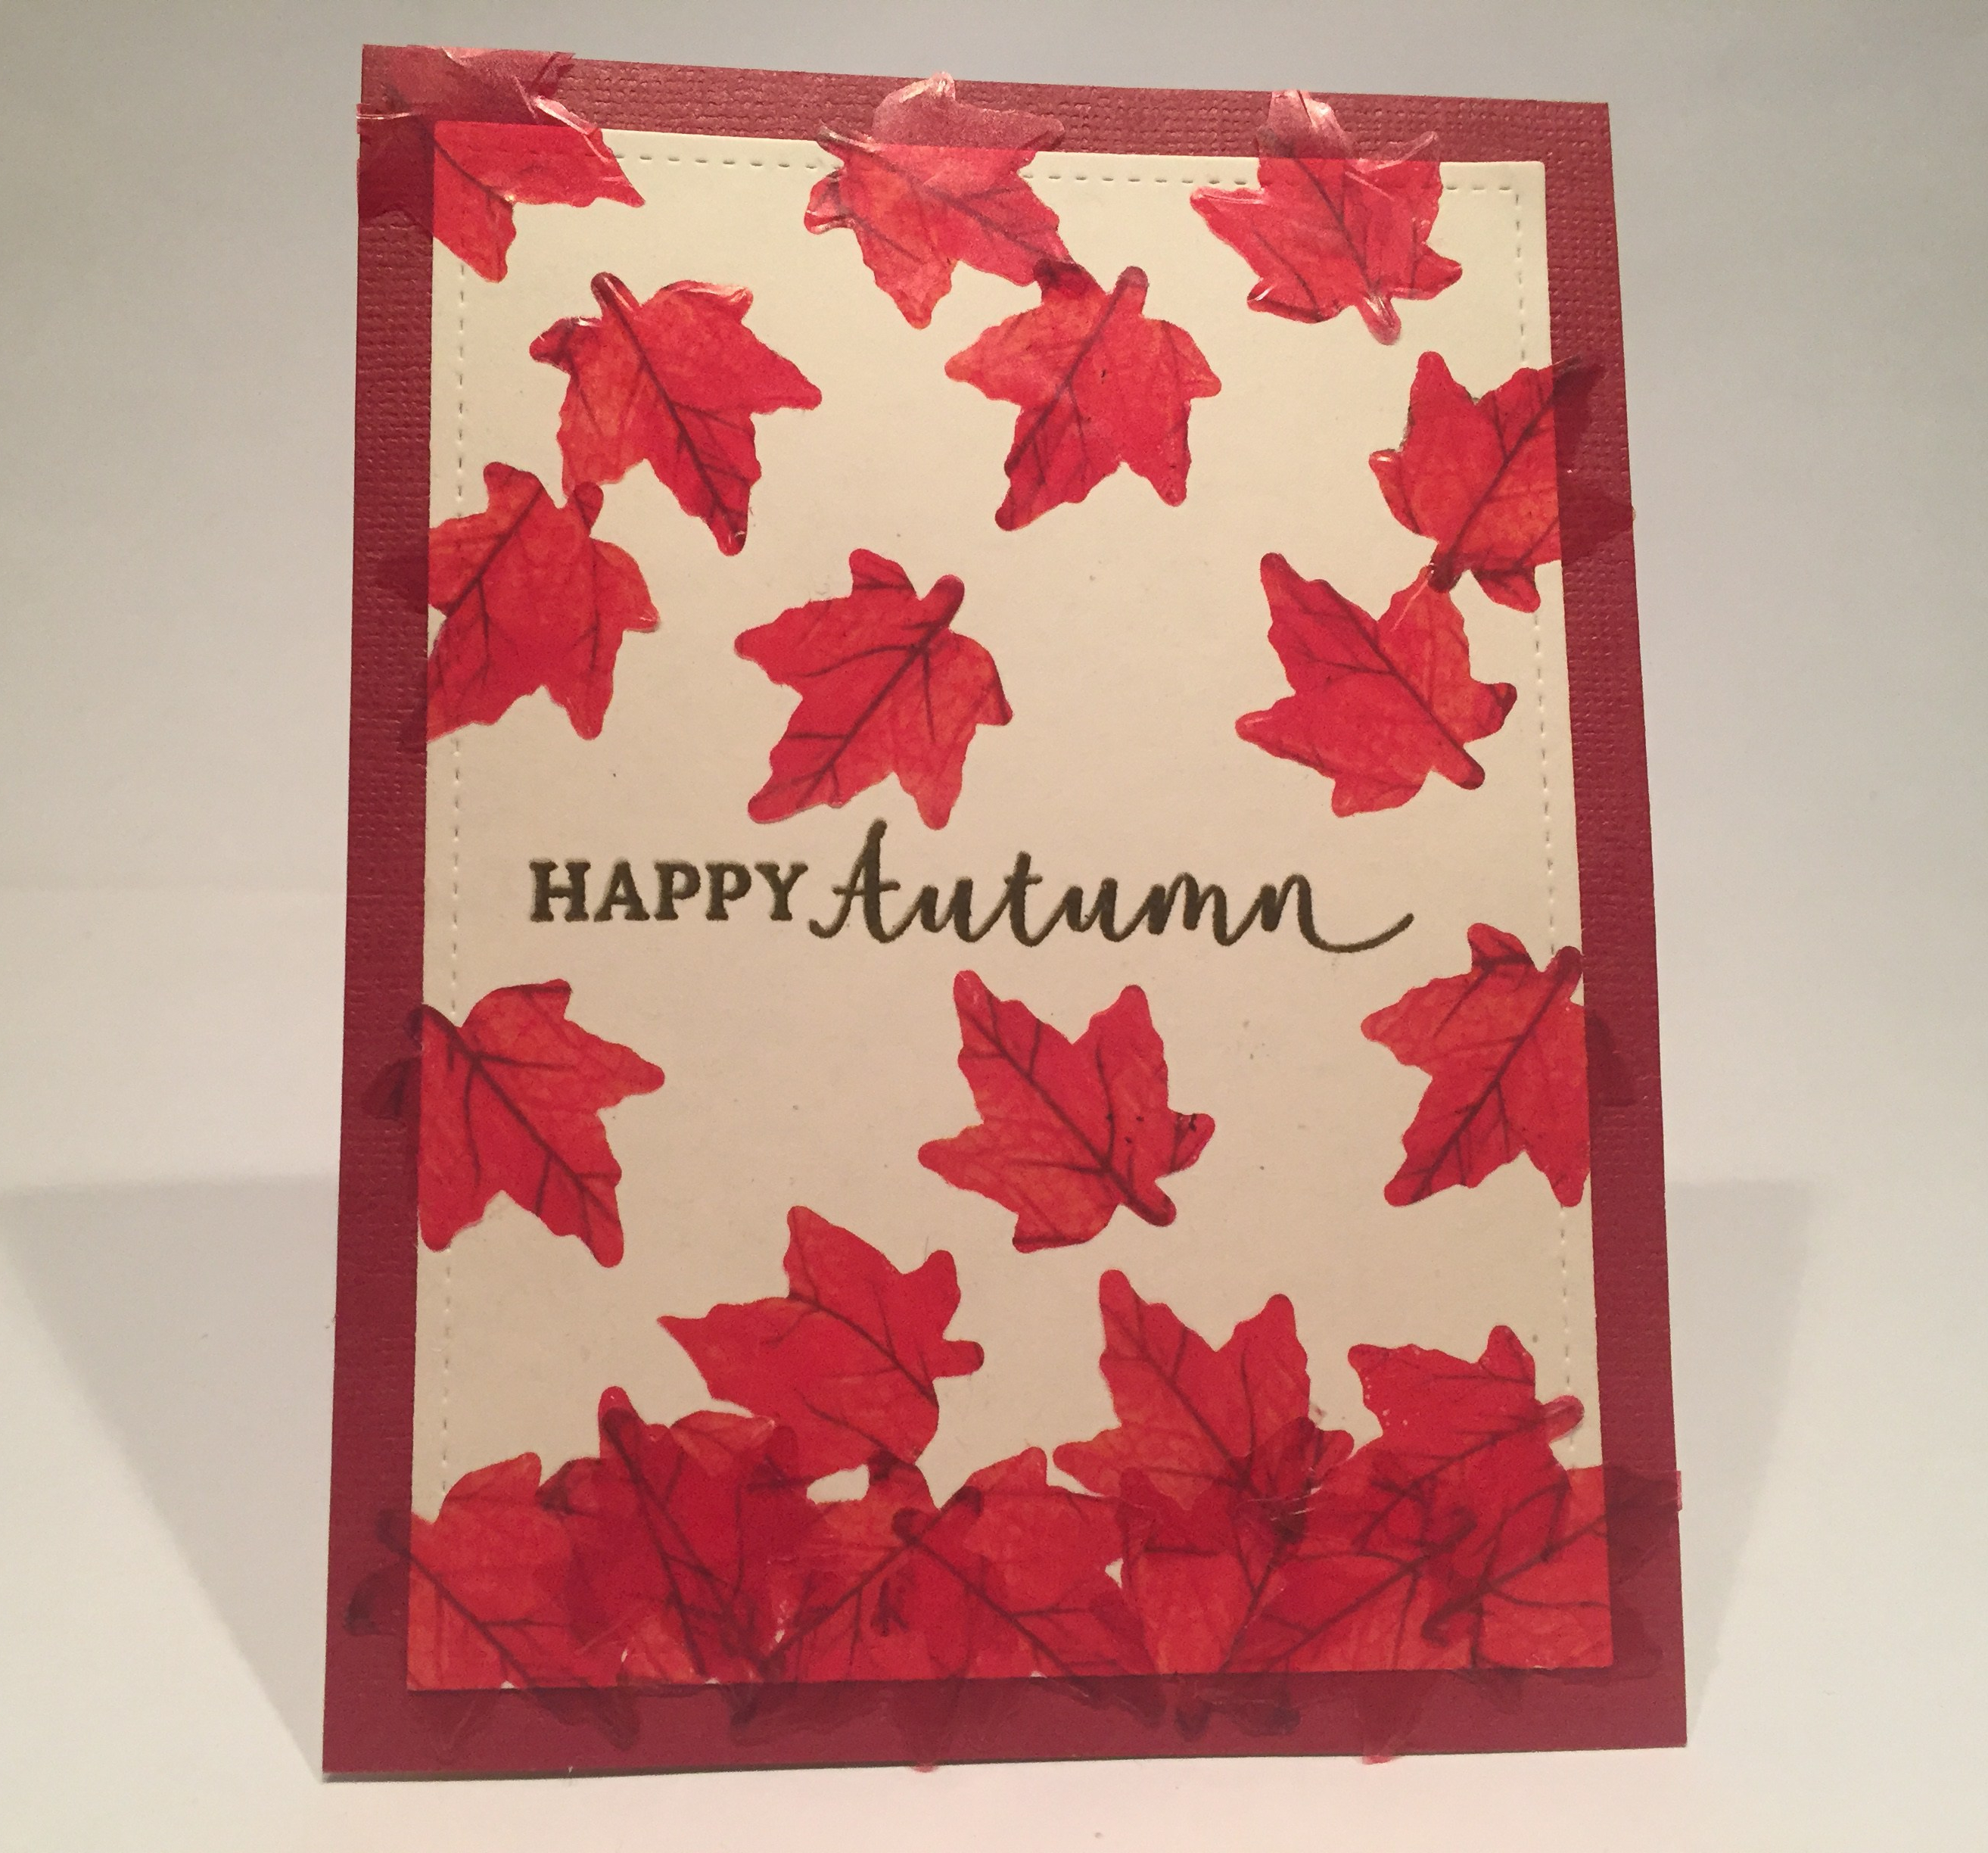
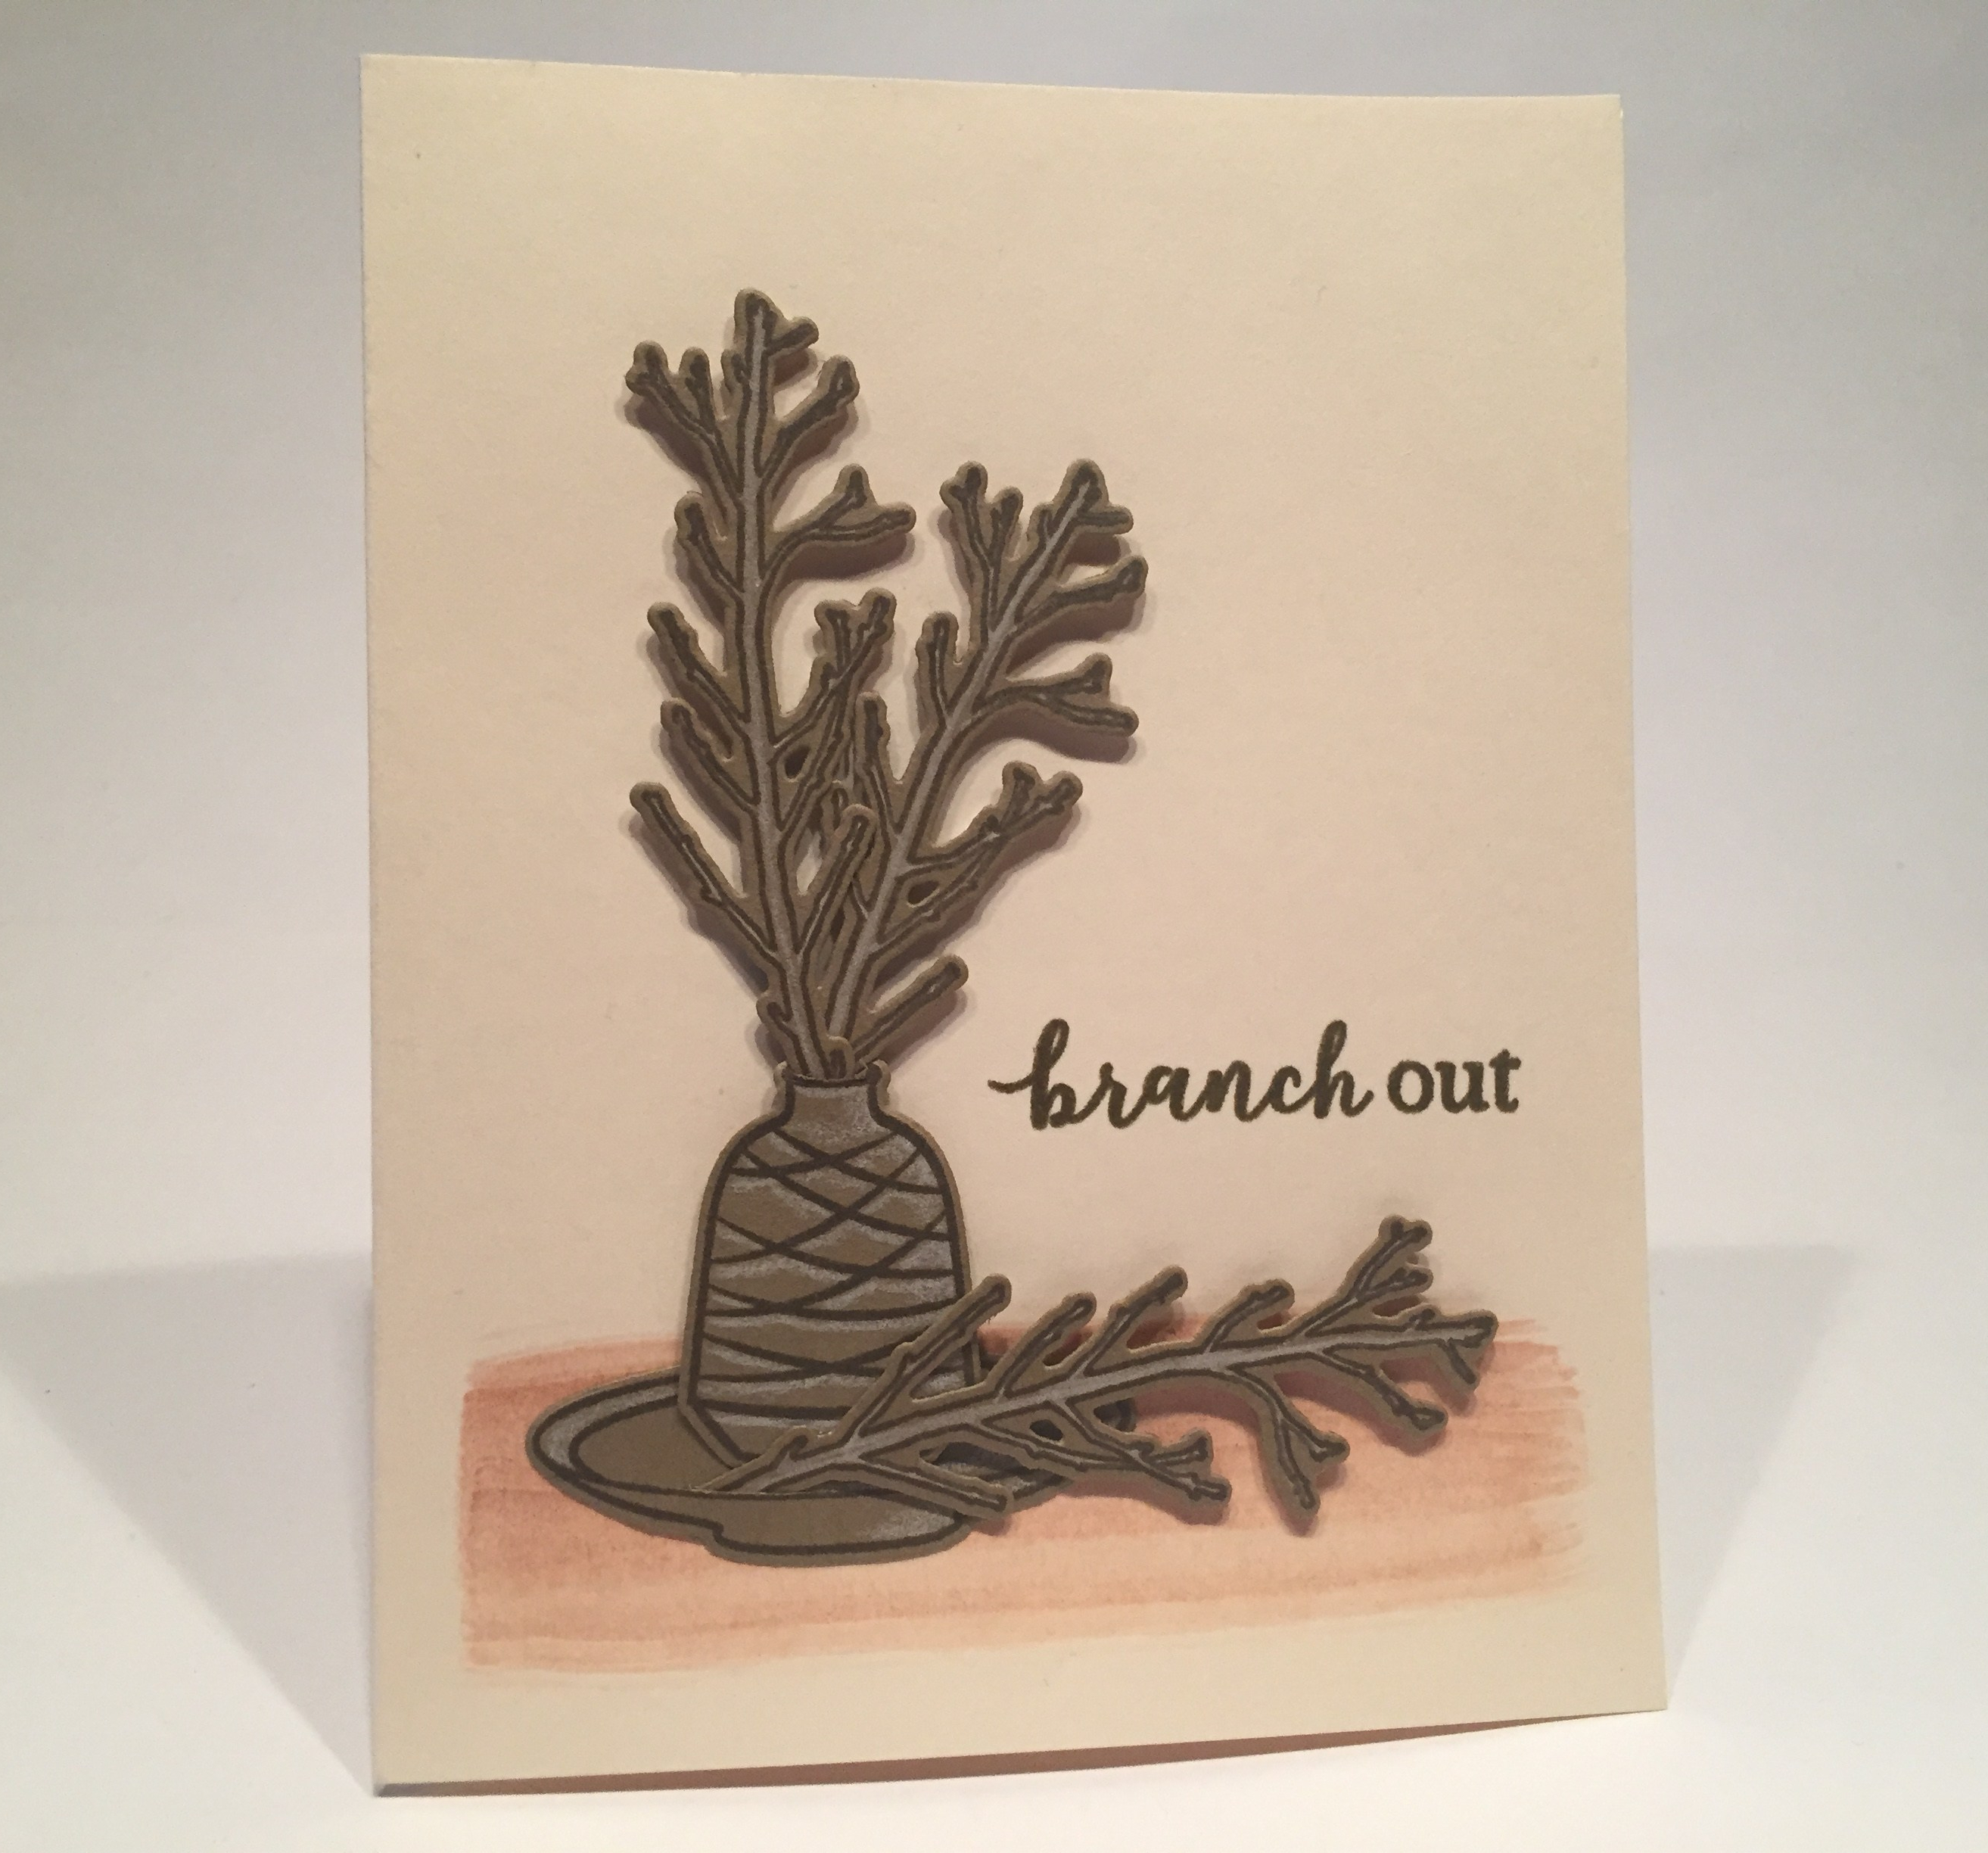
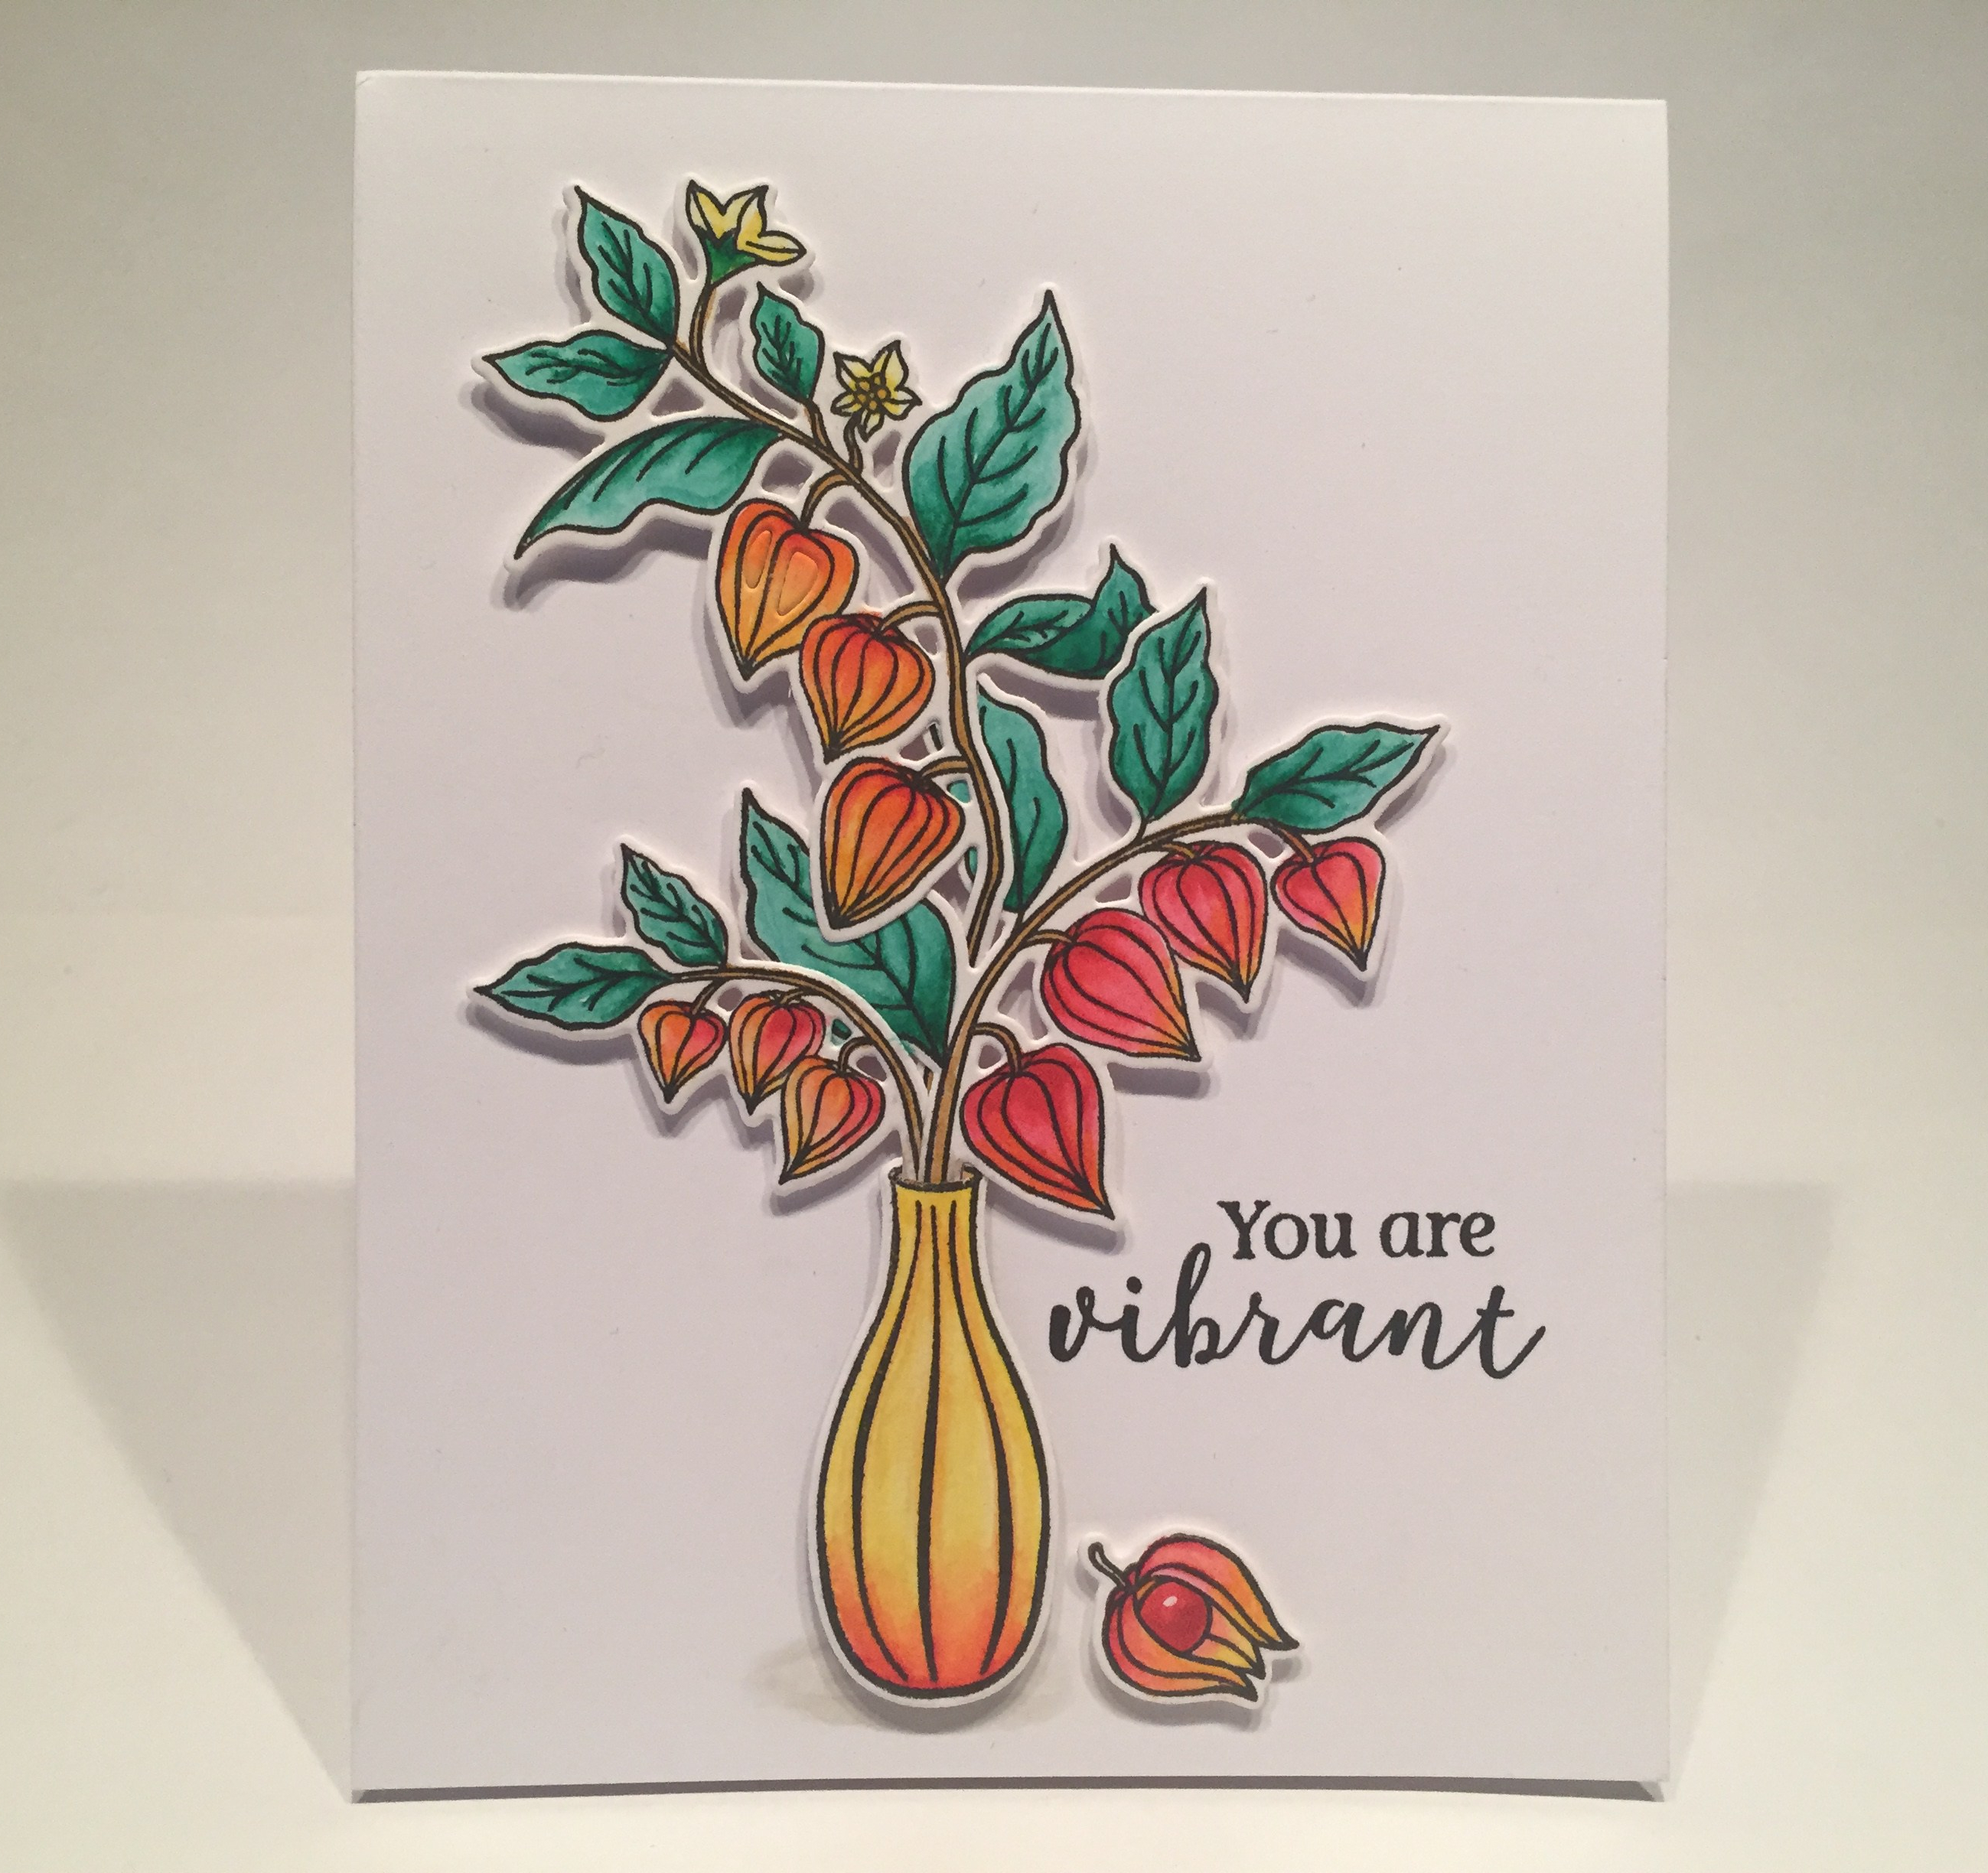
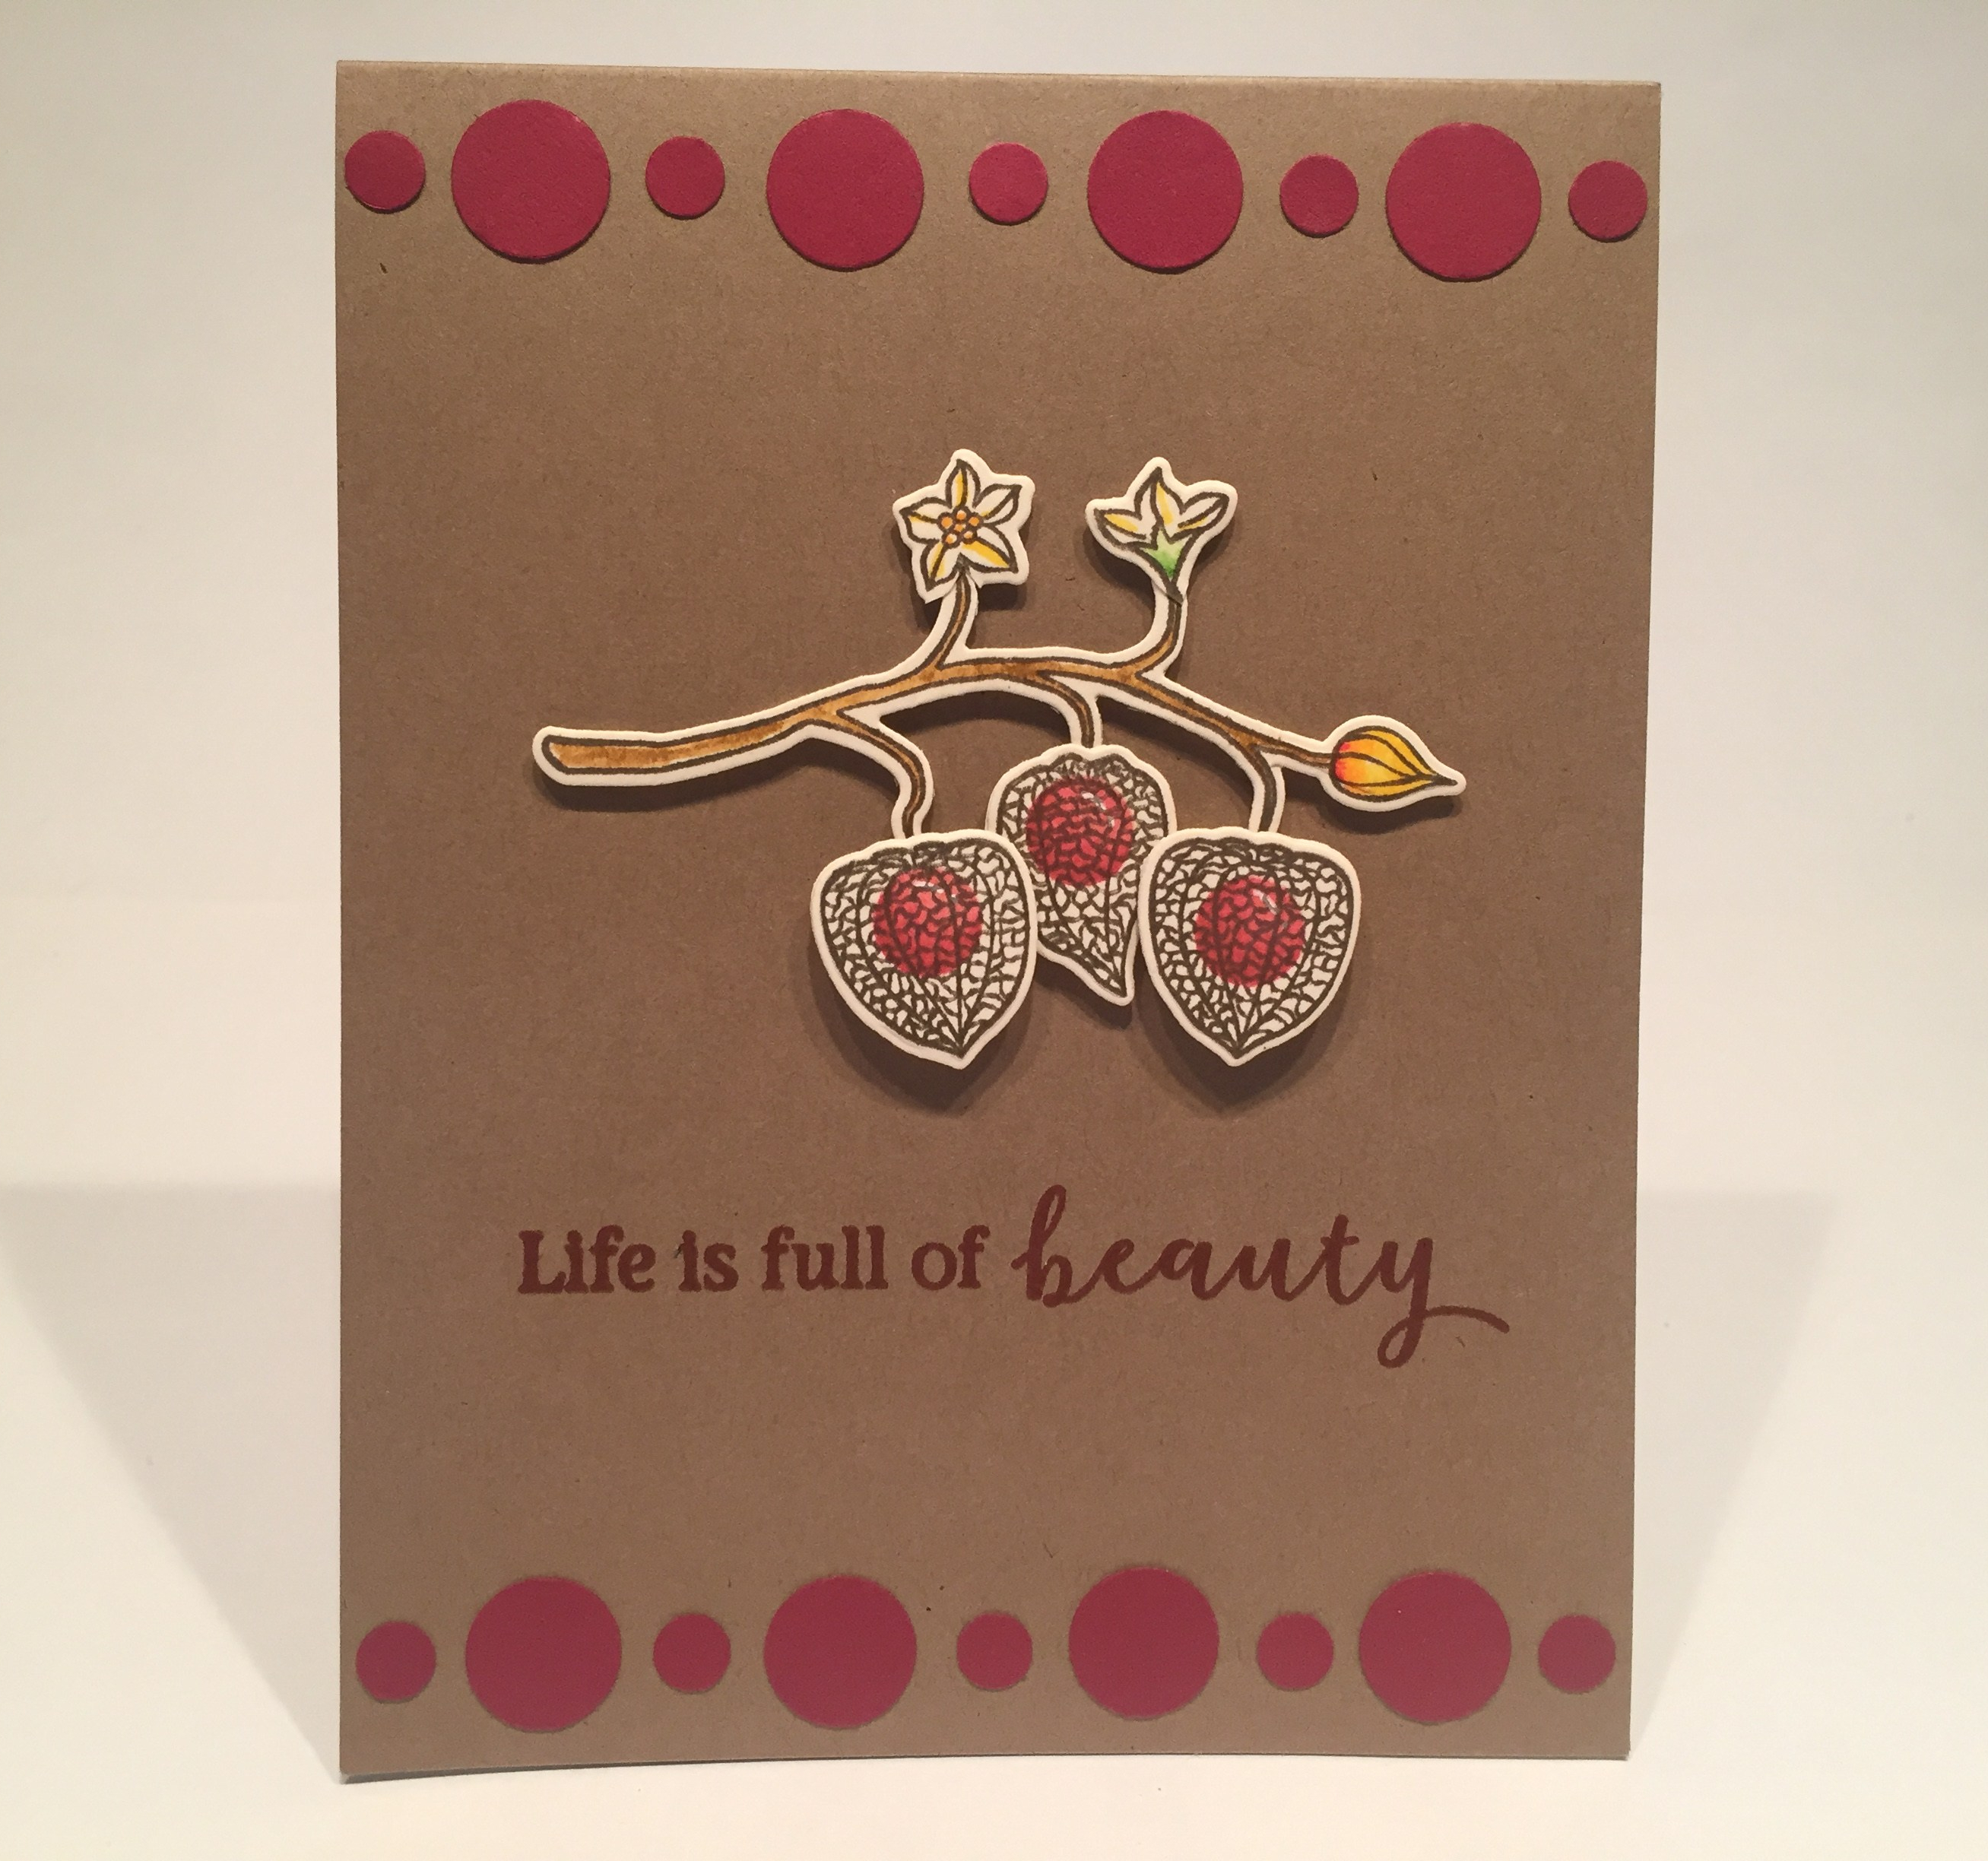
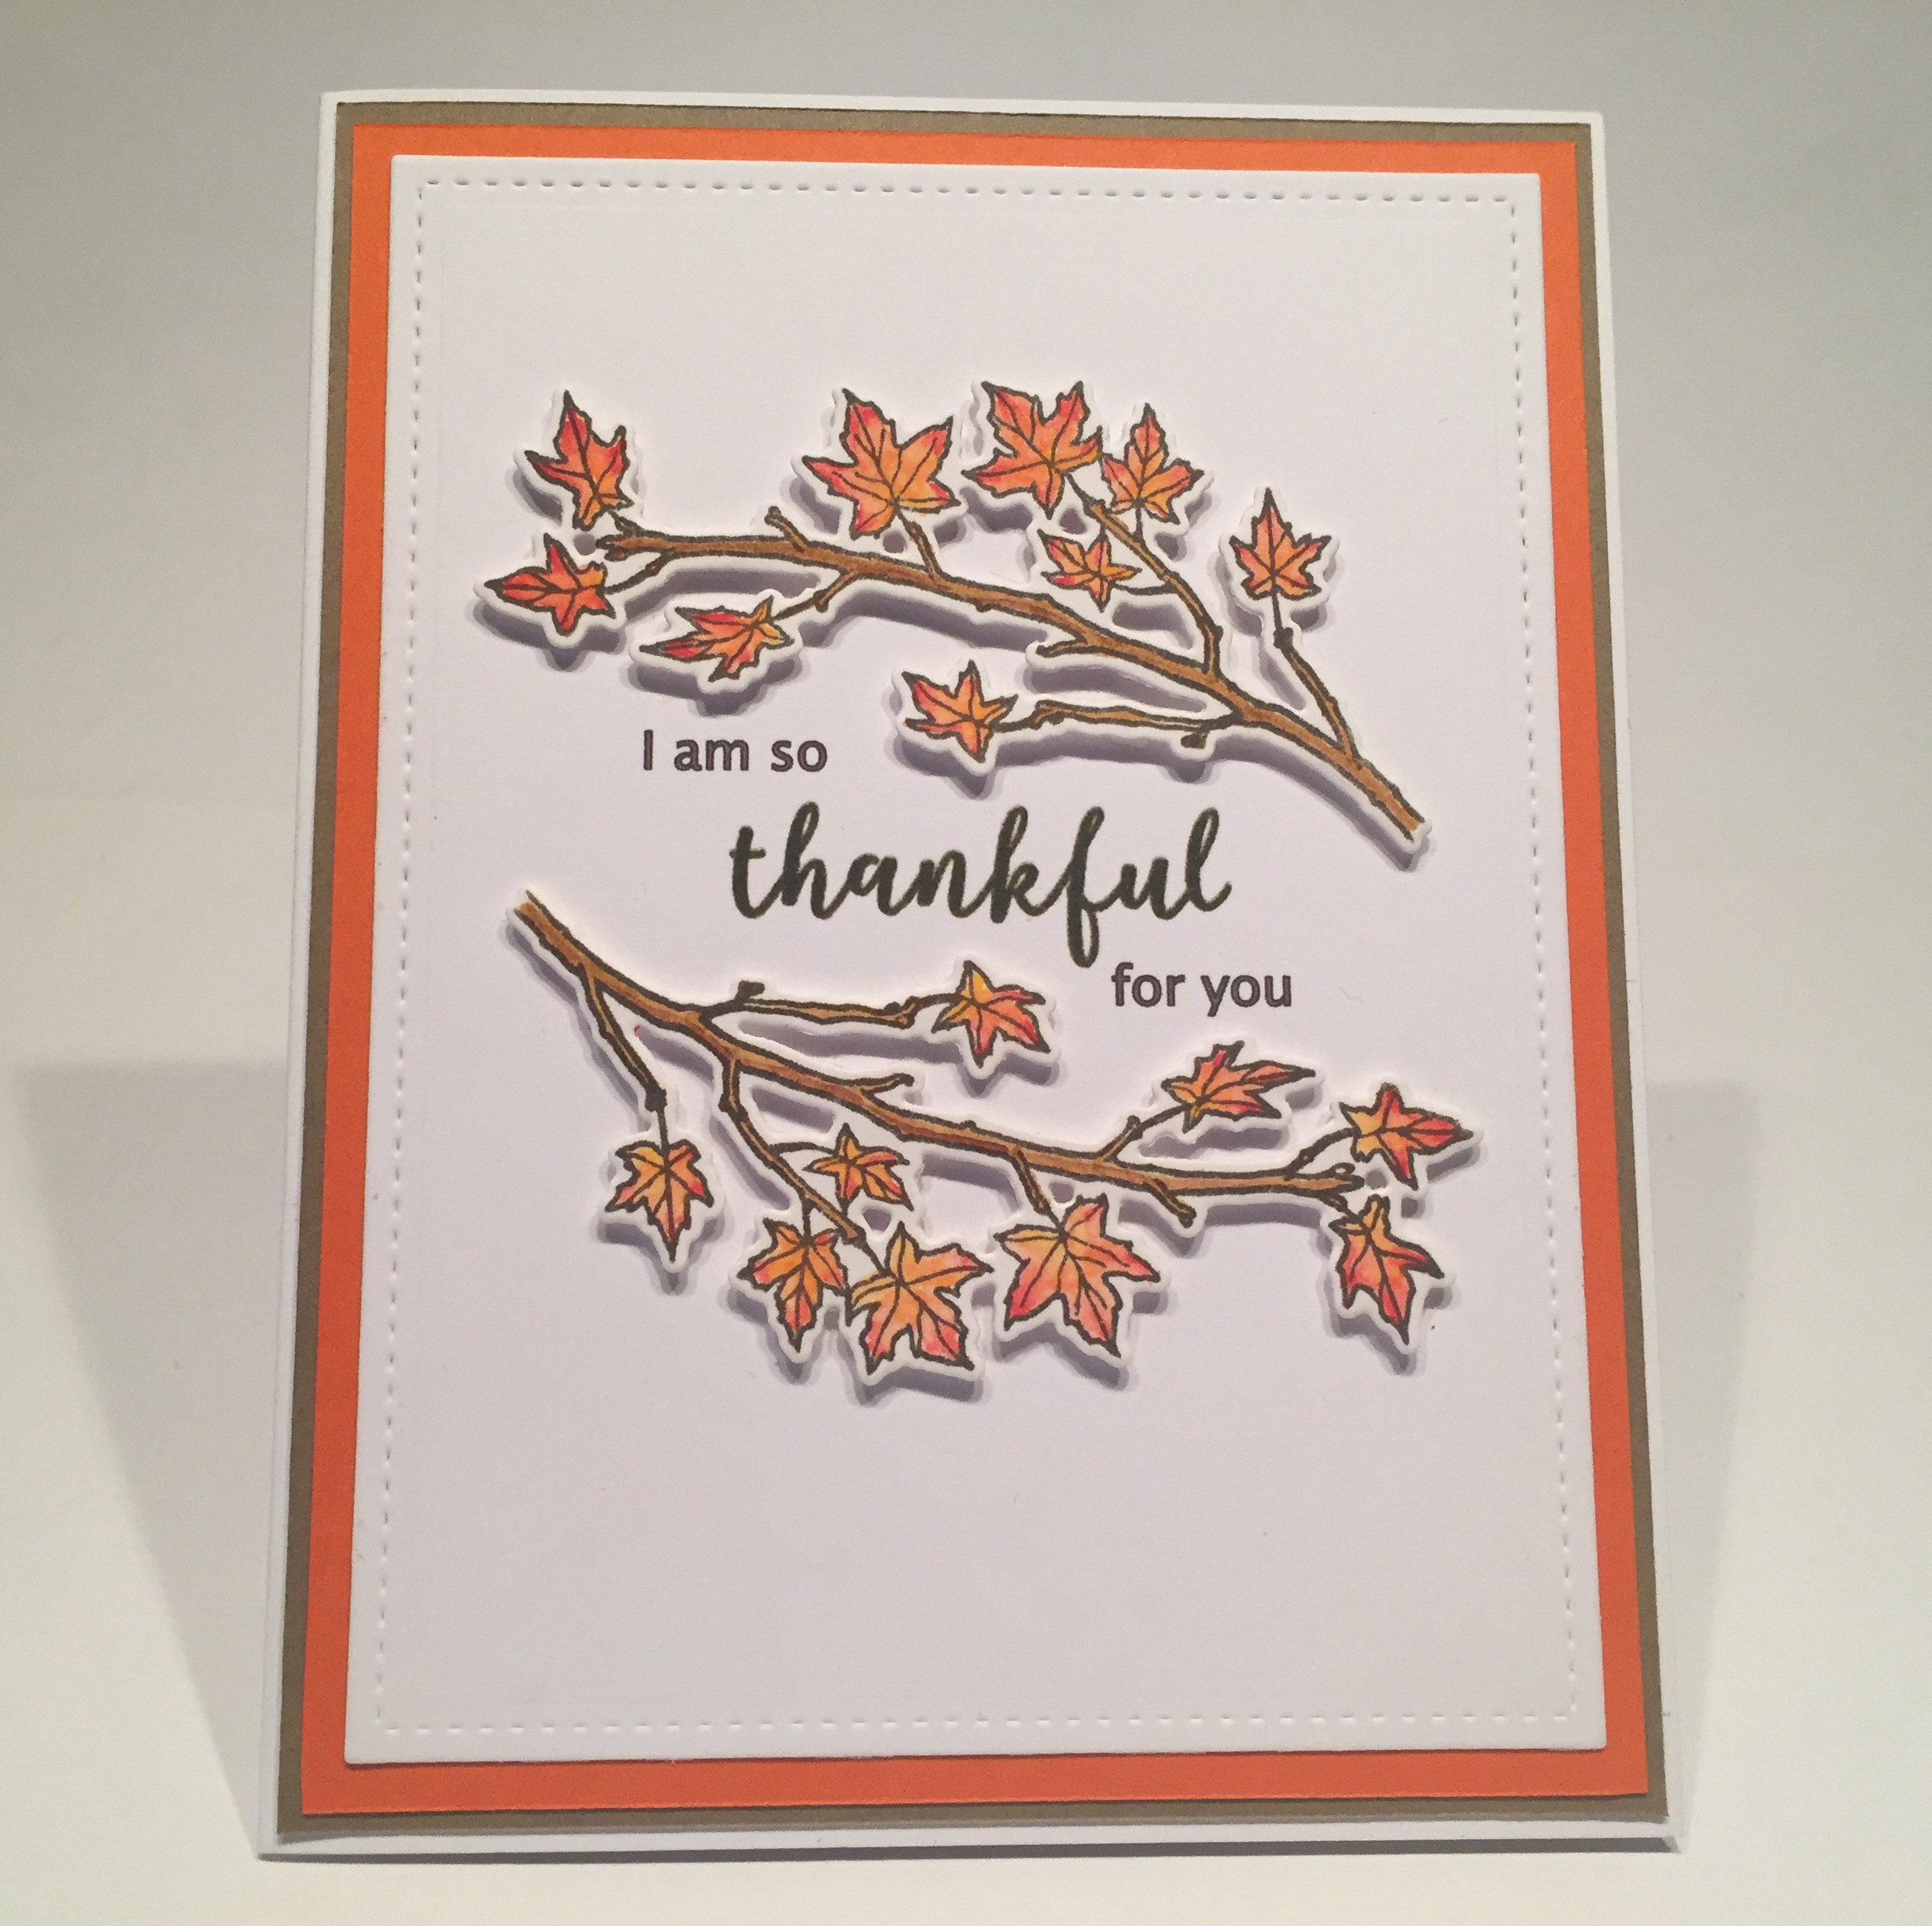
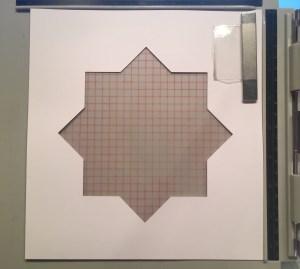 simple yet effective concept. Naturally, I had to make a homemade template for myself and have played around with it a little bit. You really need smallish stamps to make an effective wreath (of course Gina K. has lots of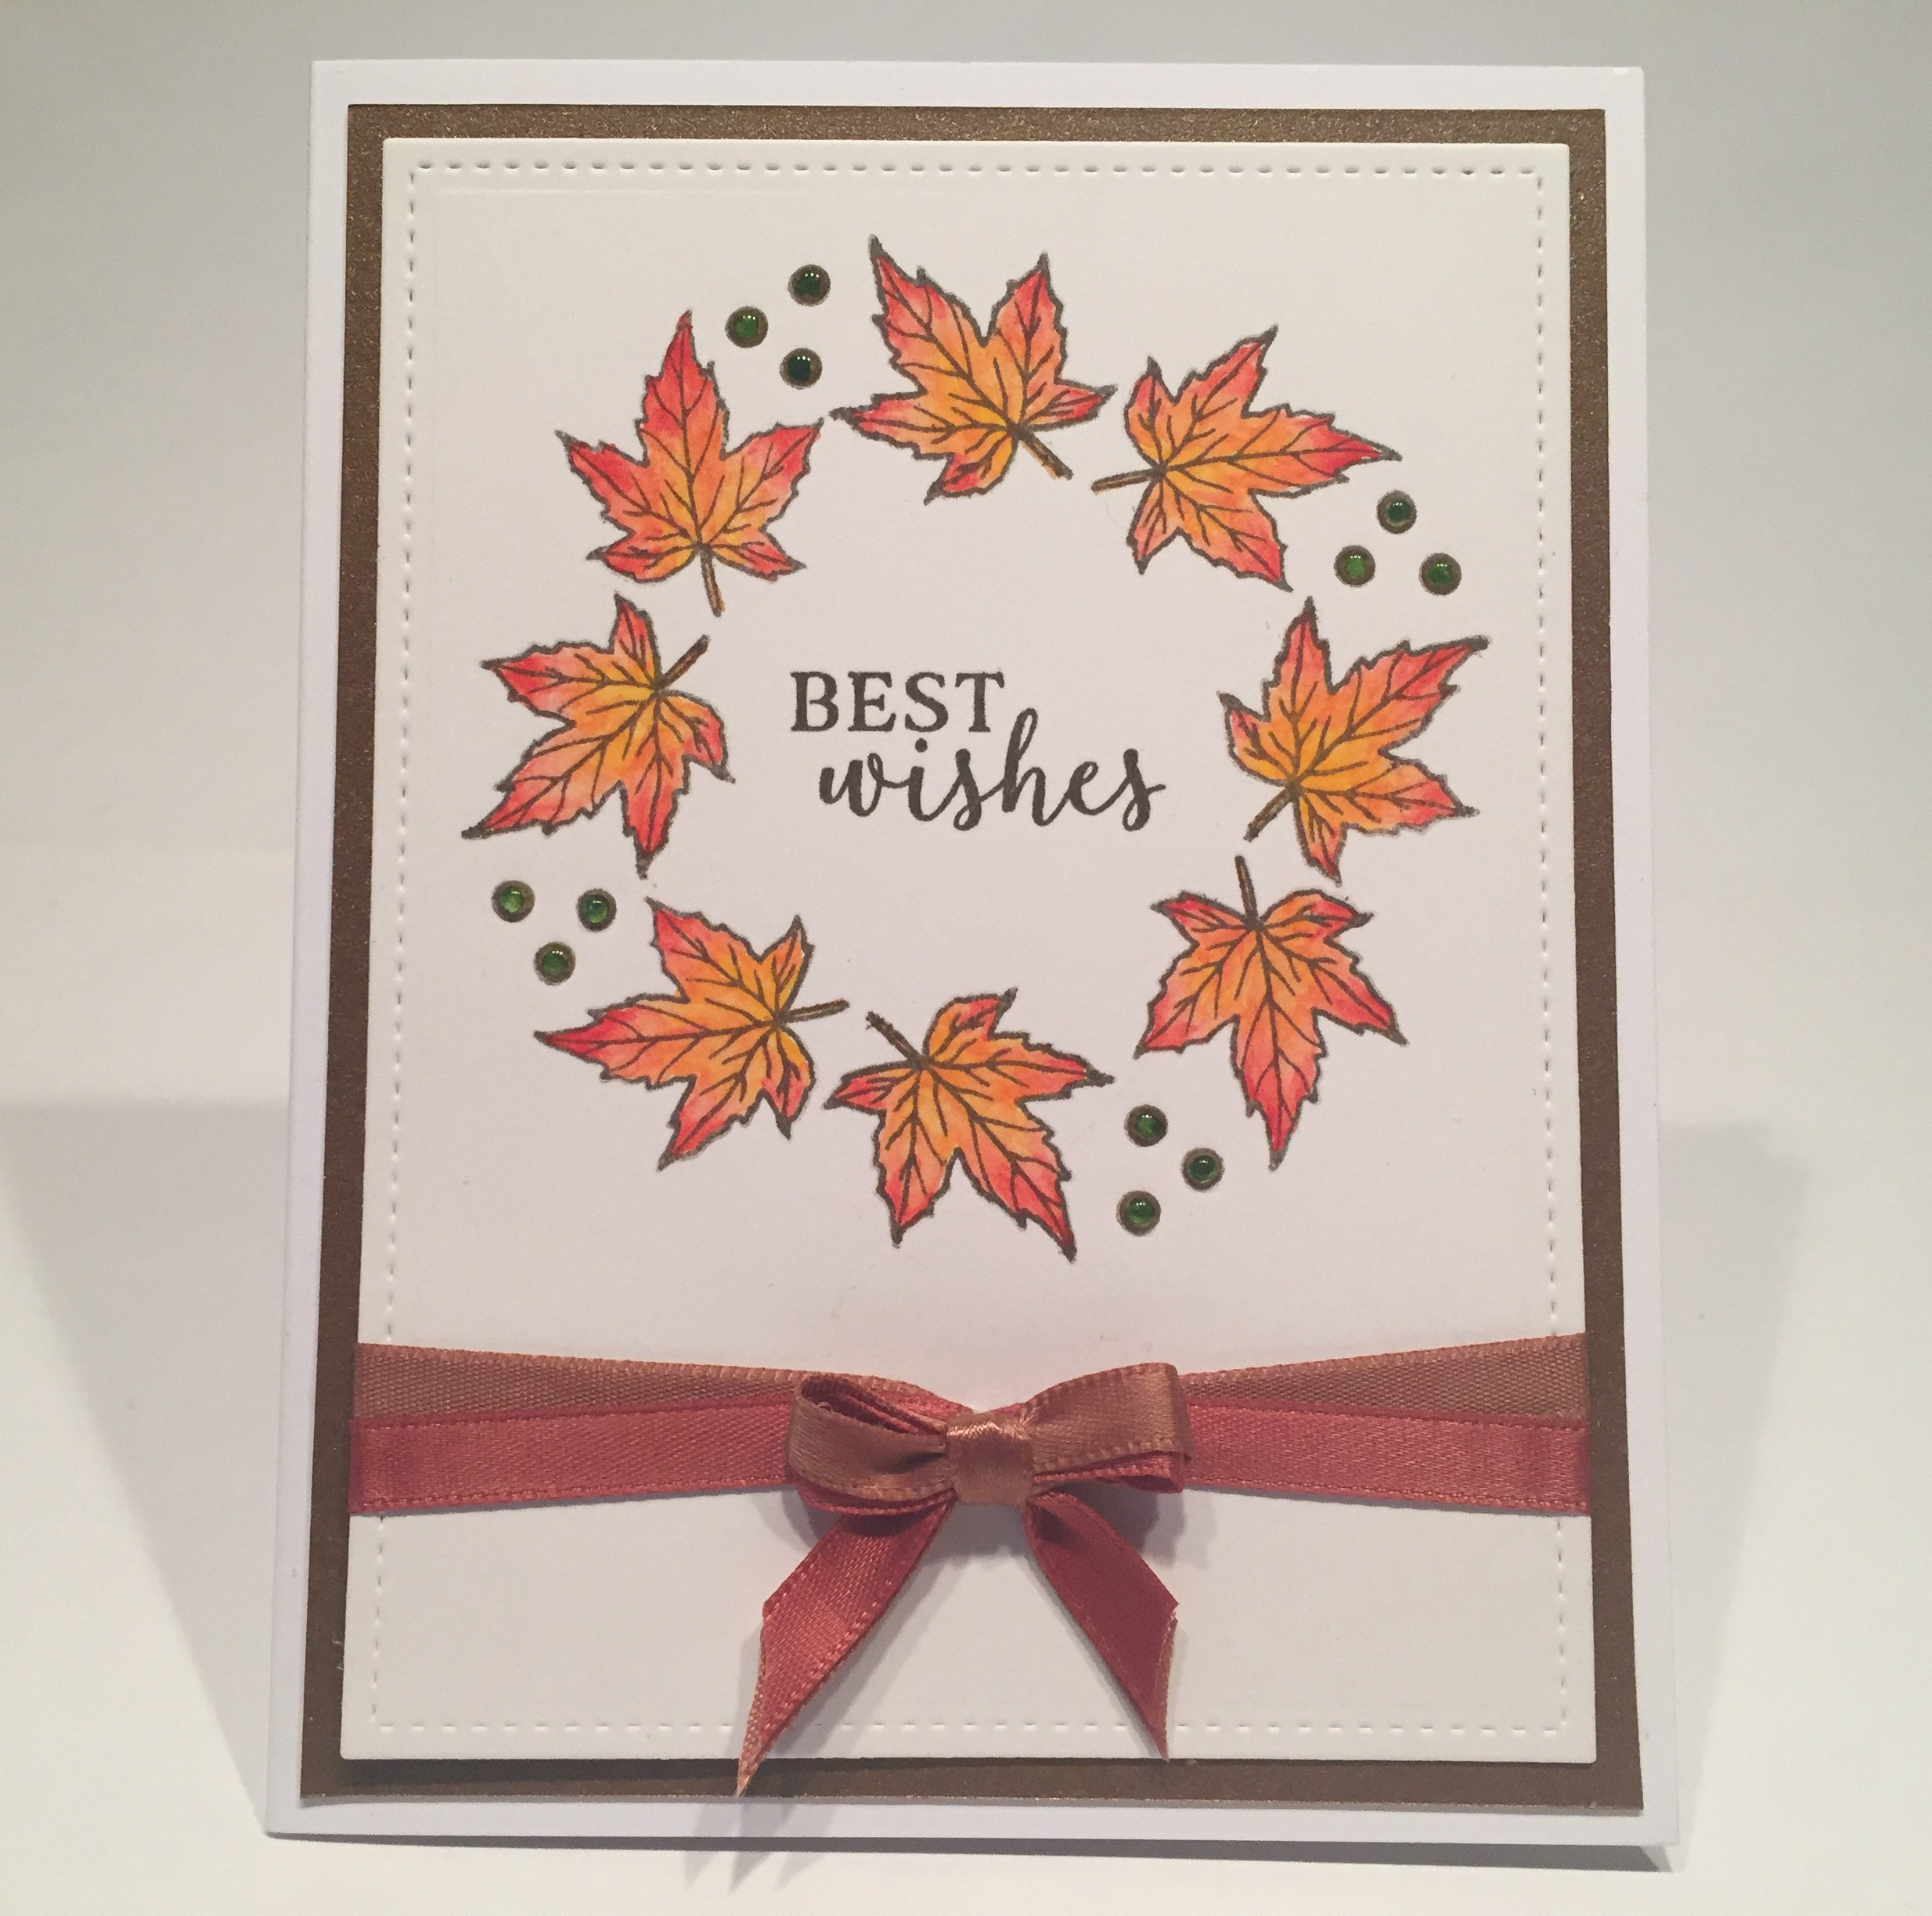
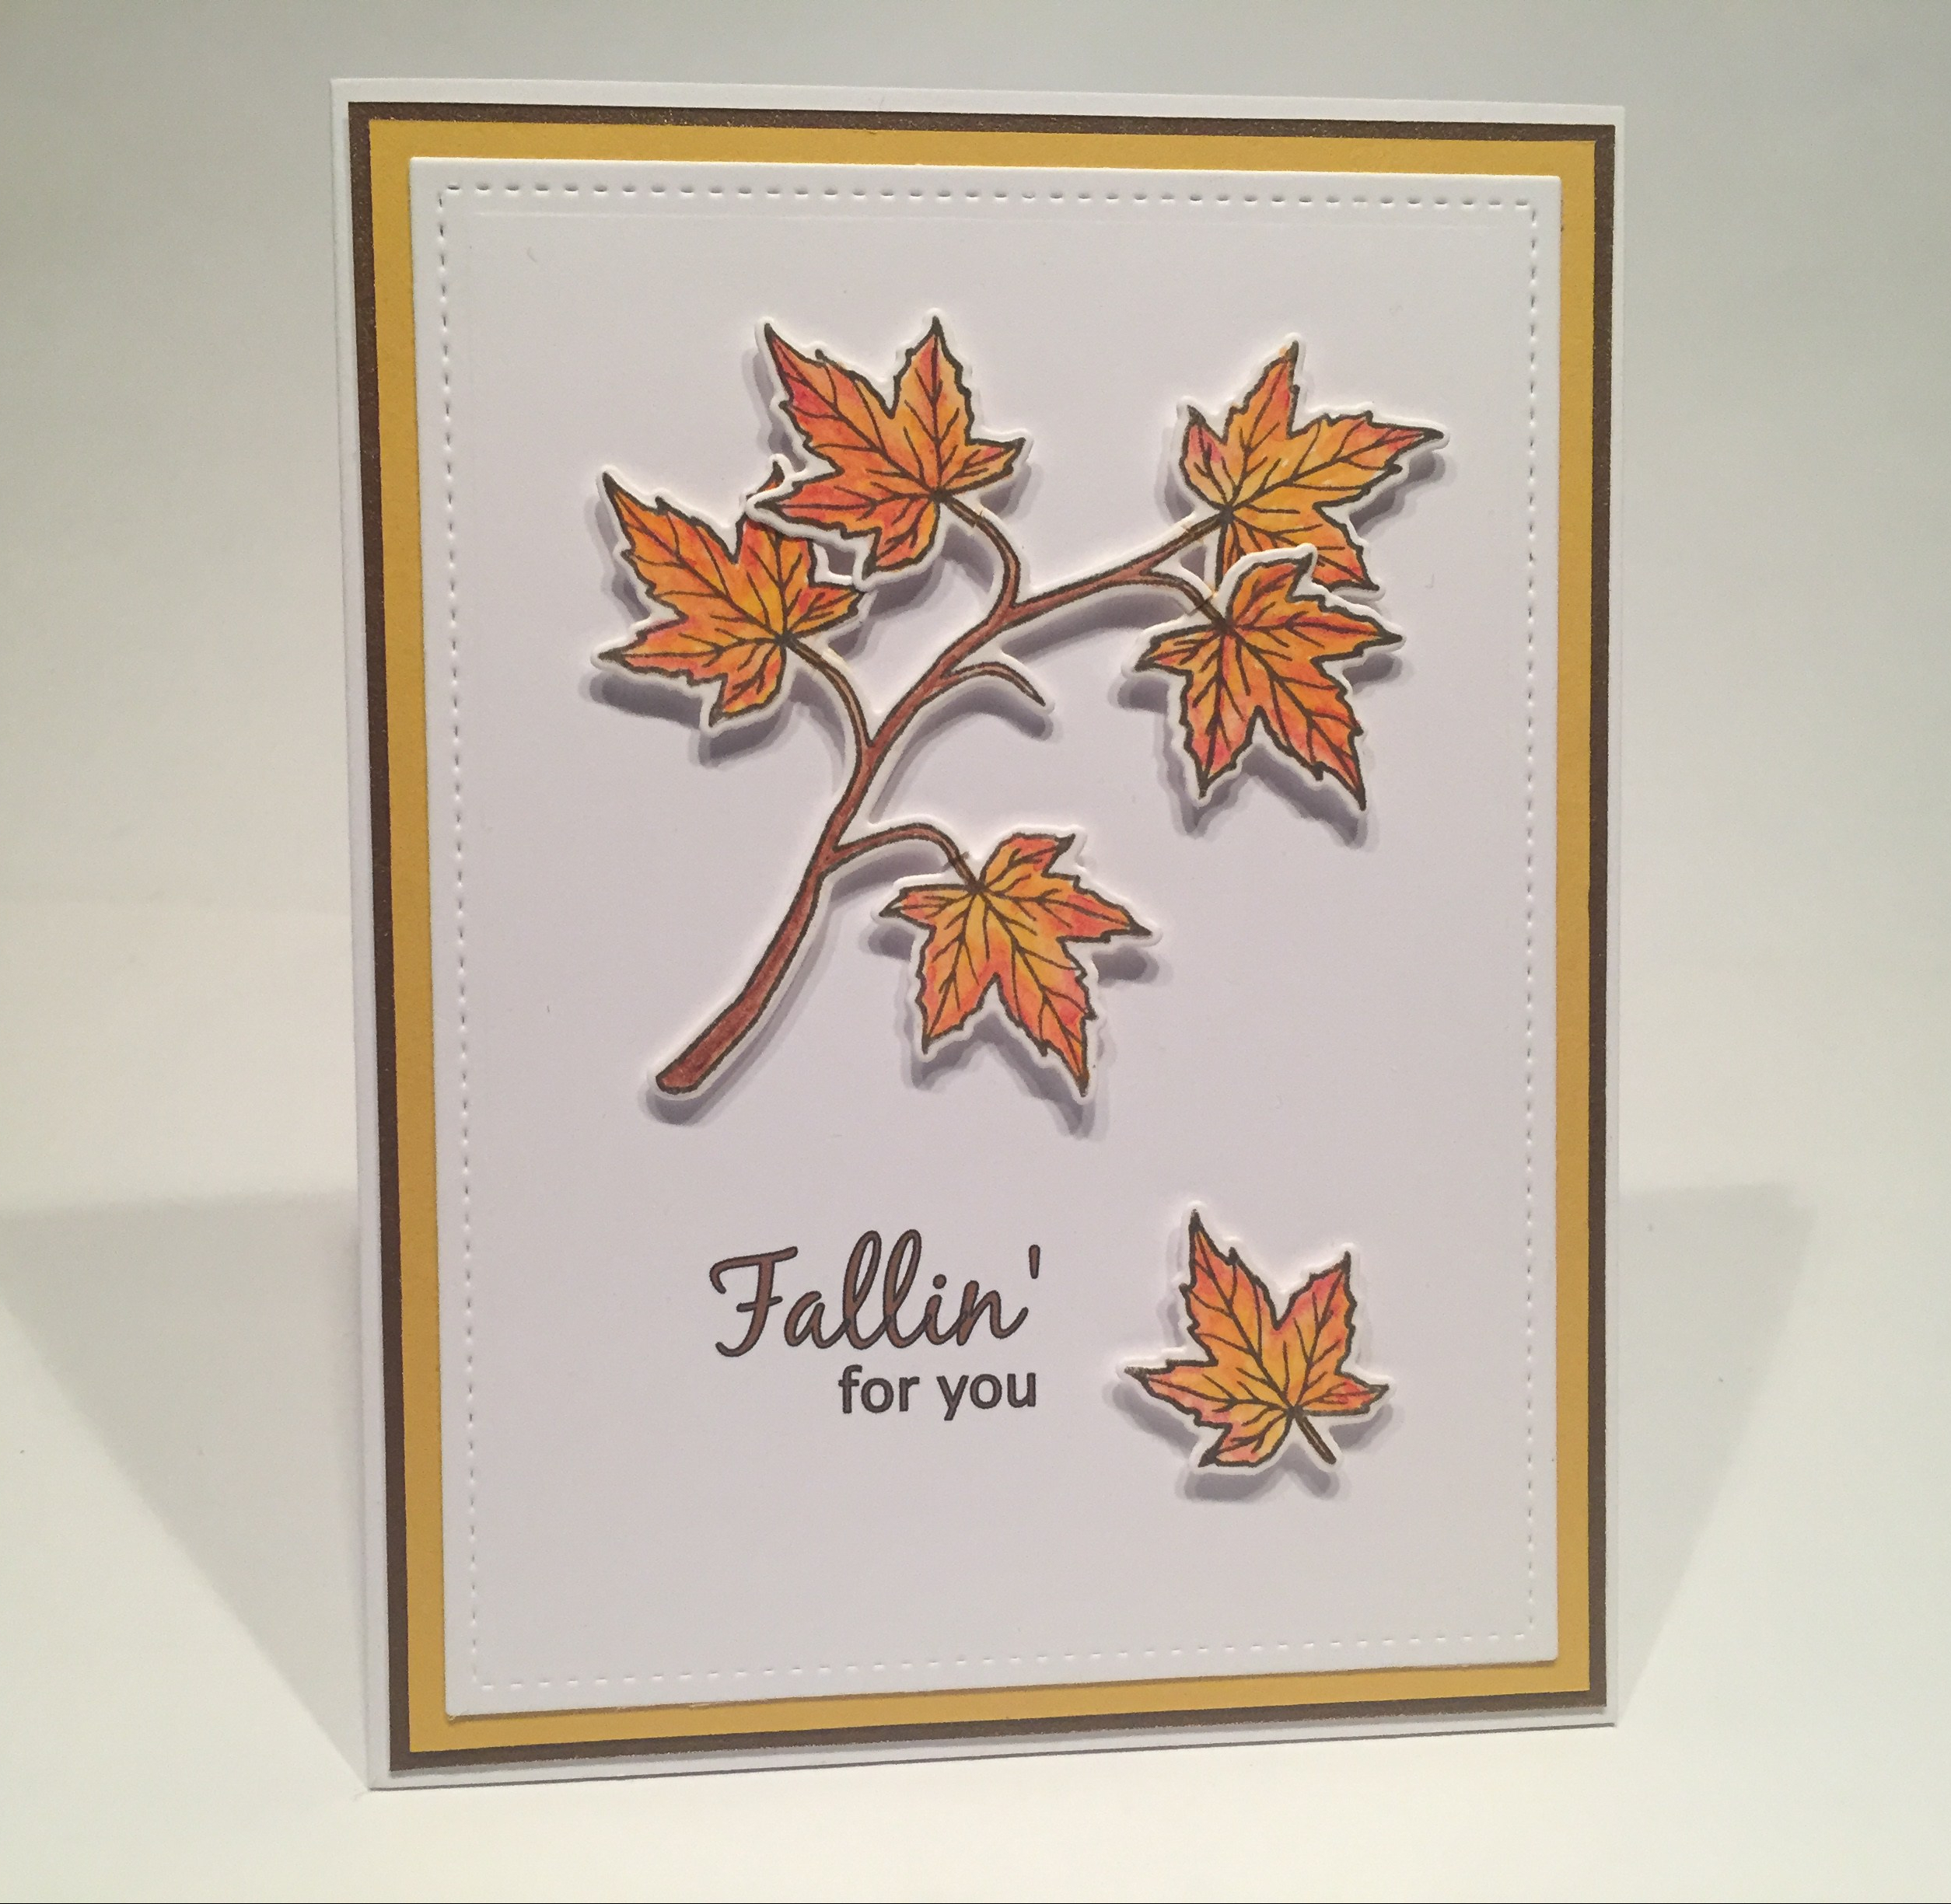
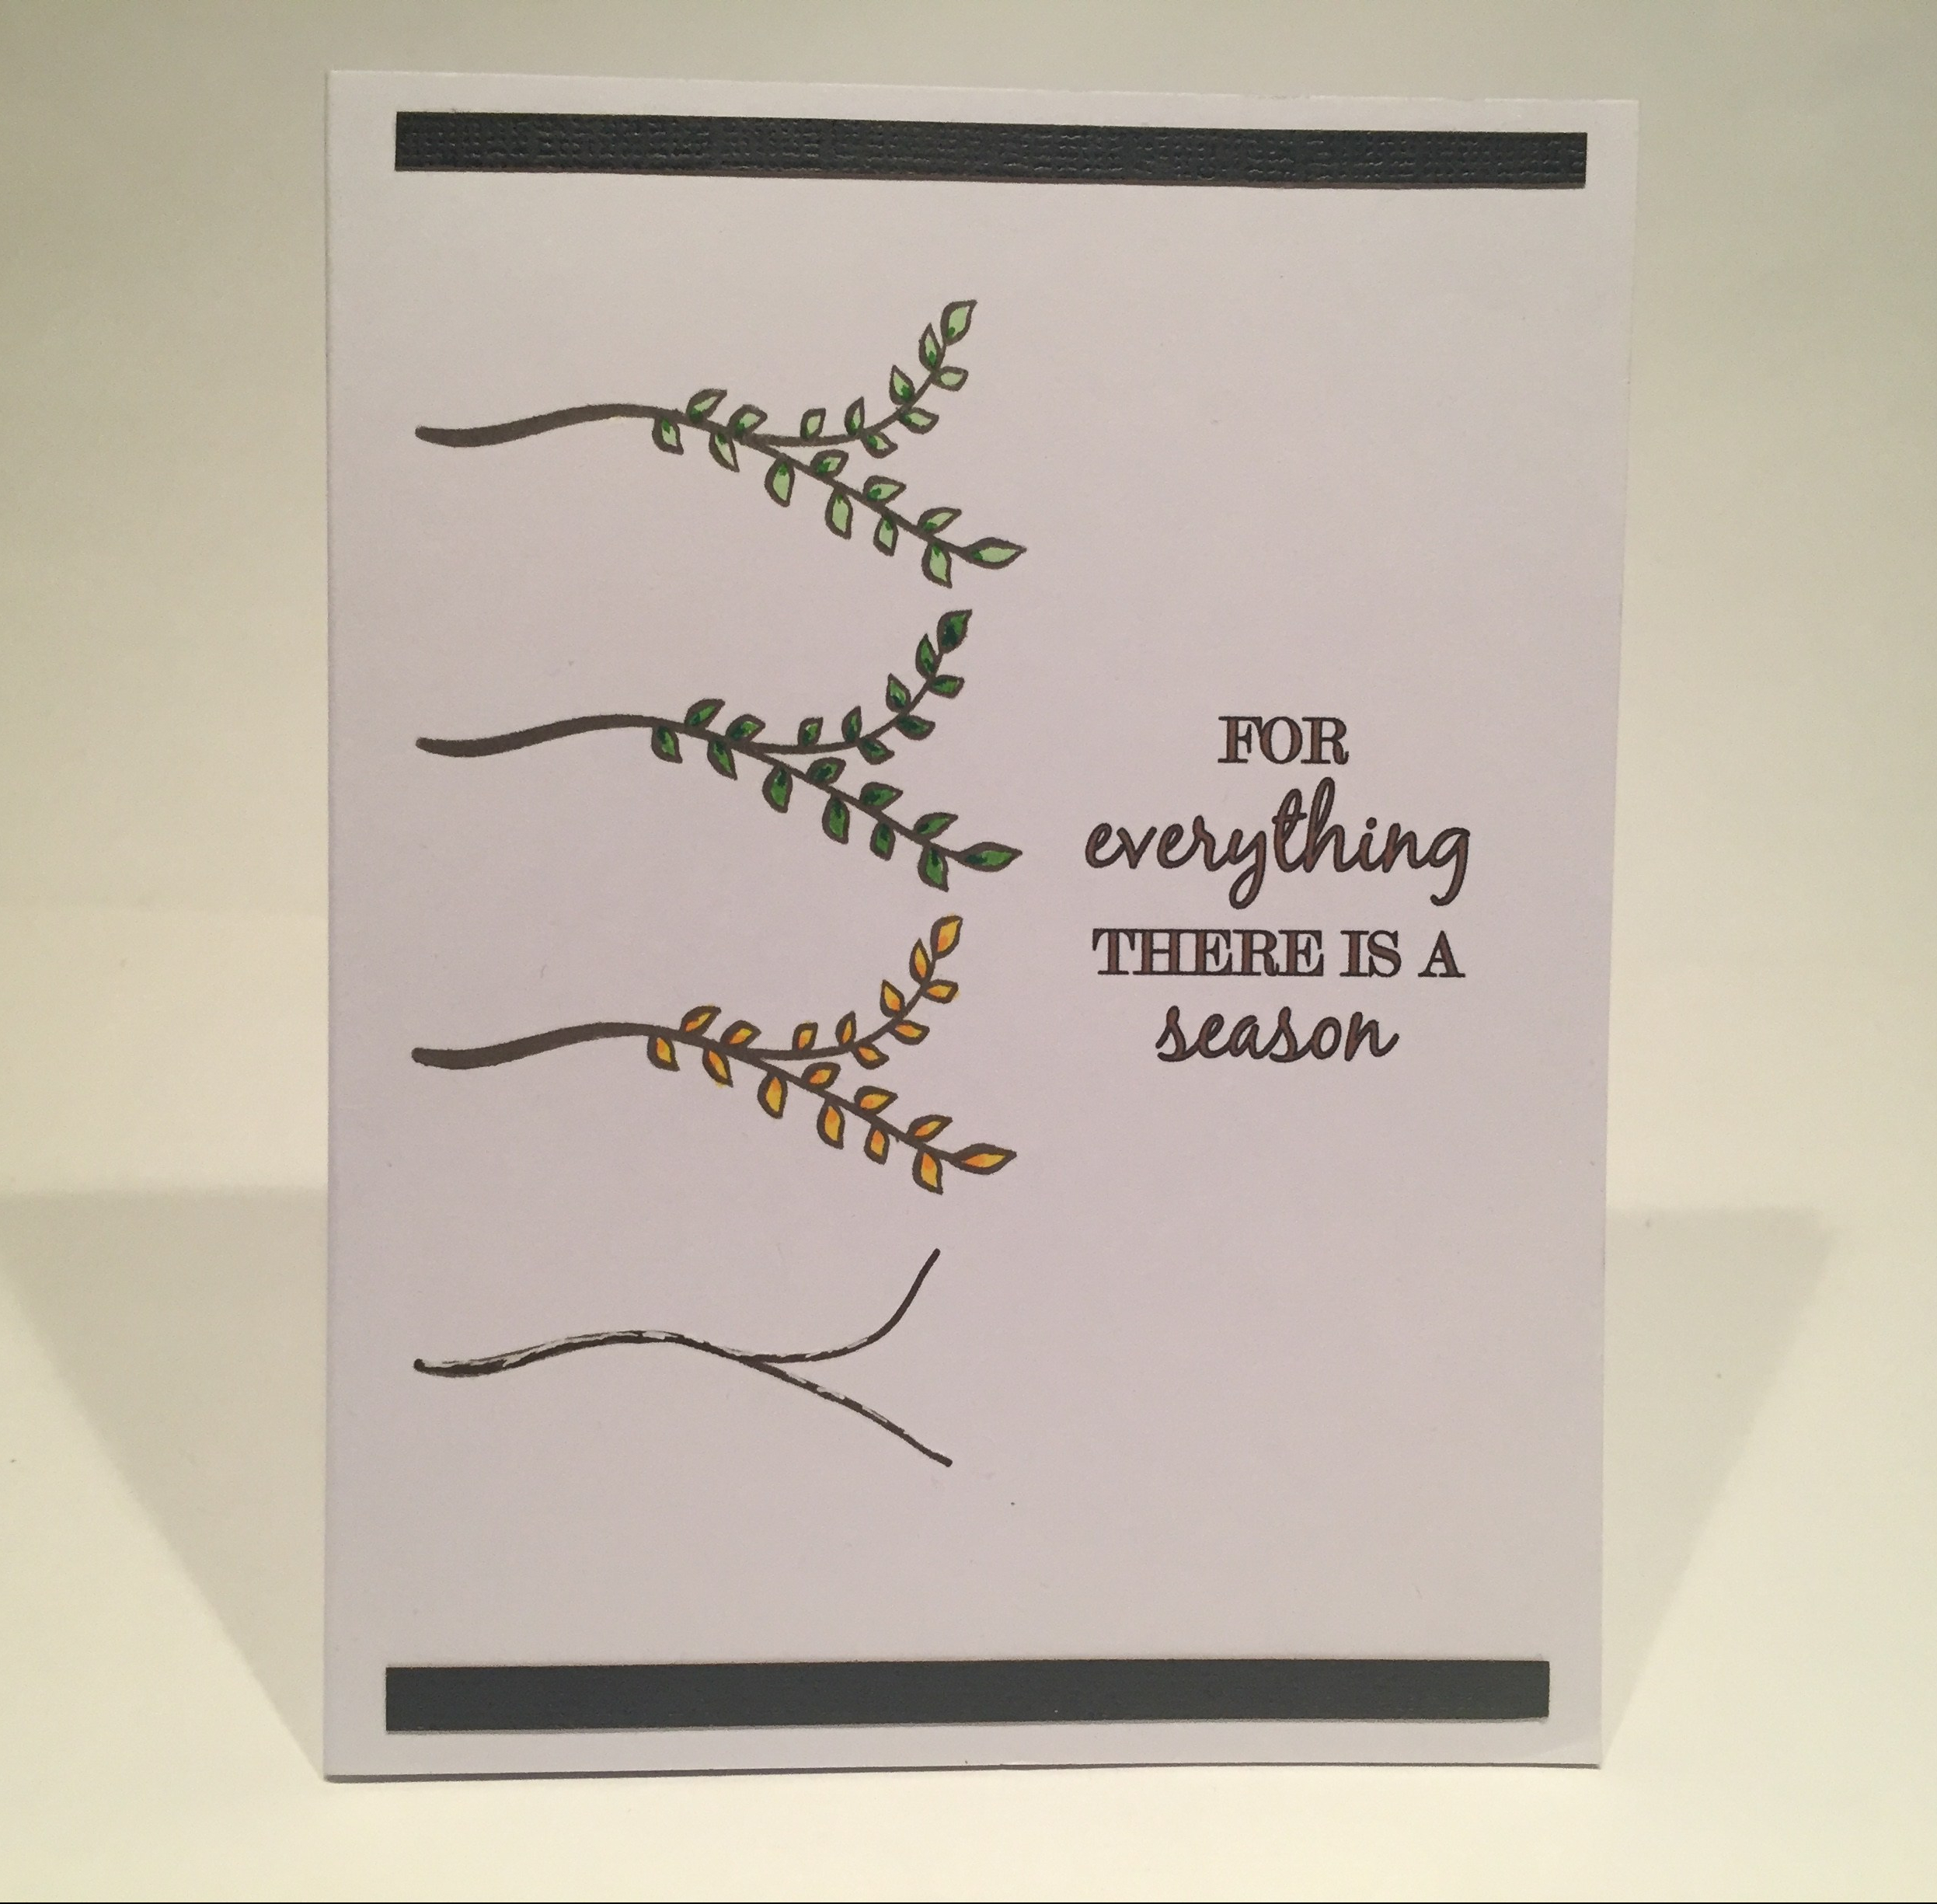
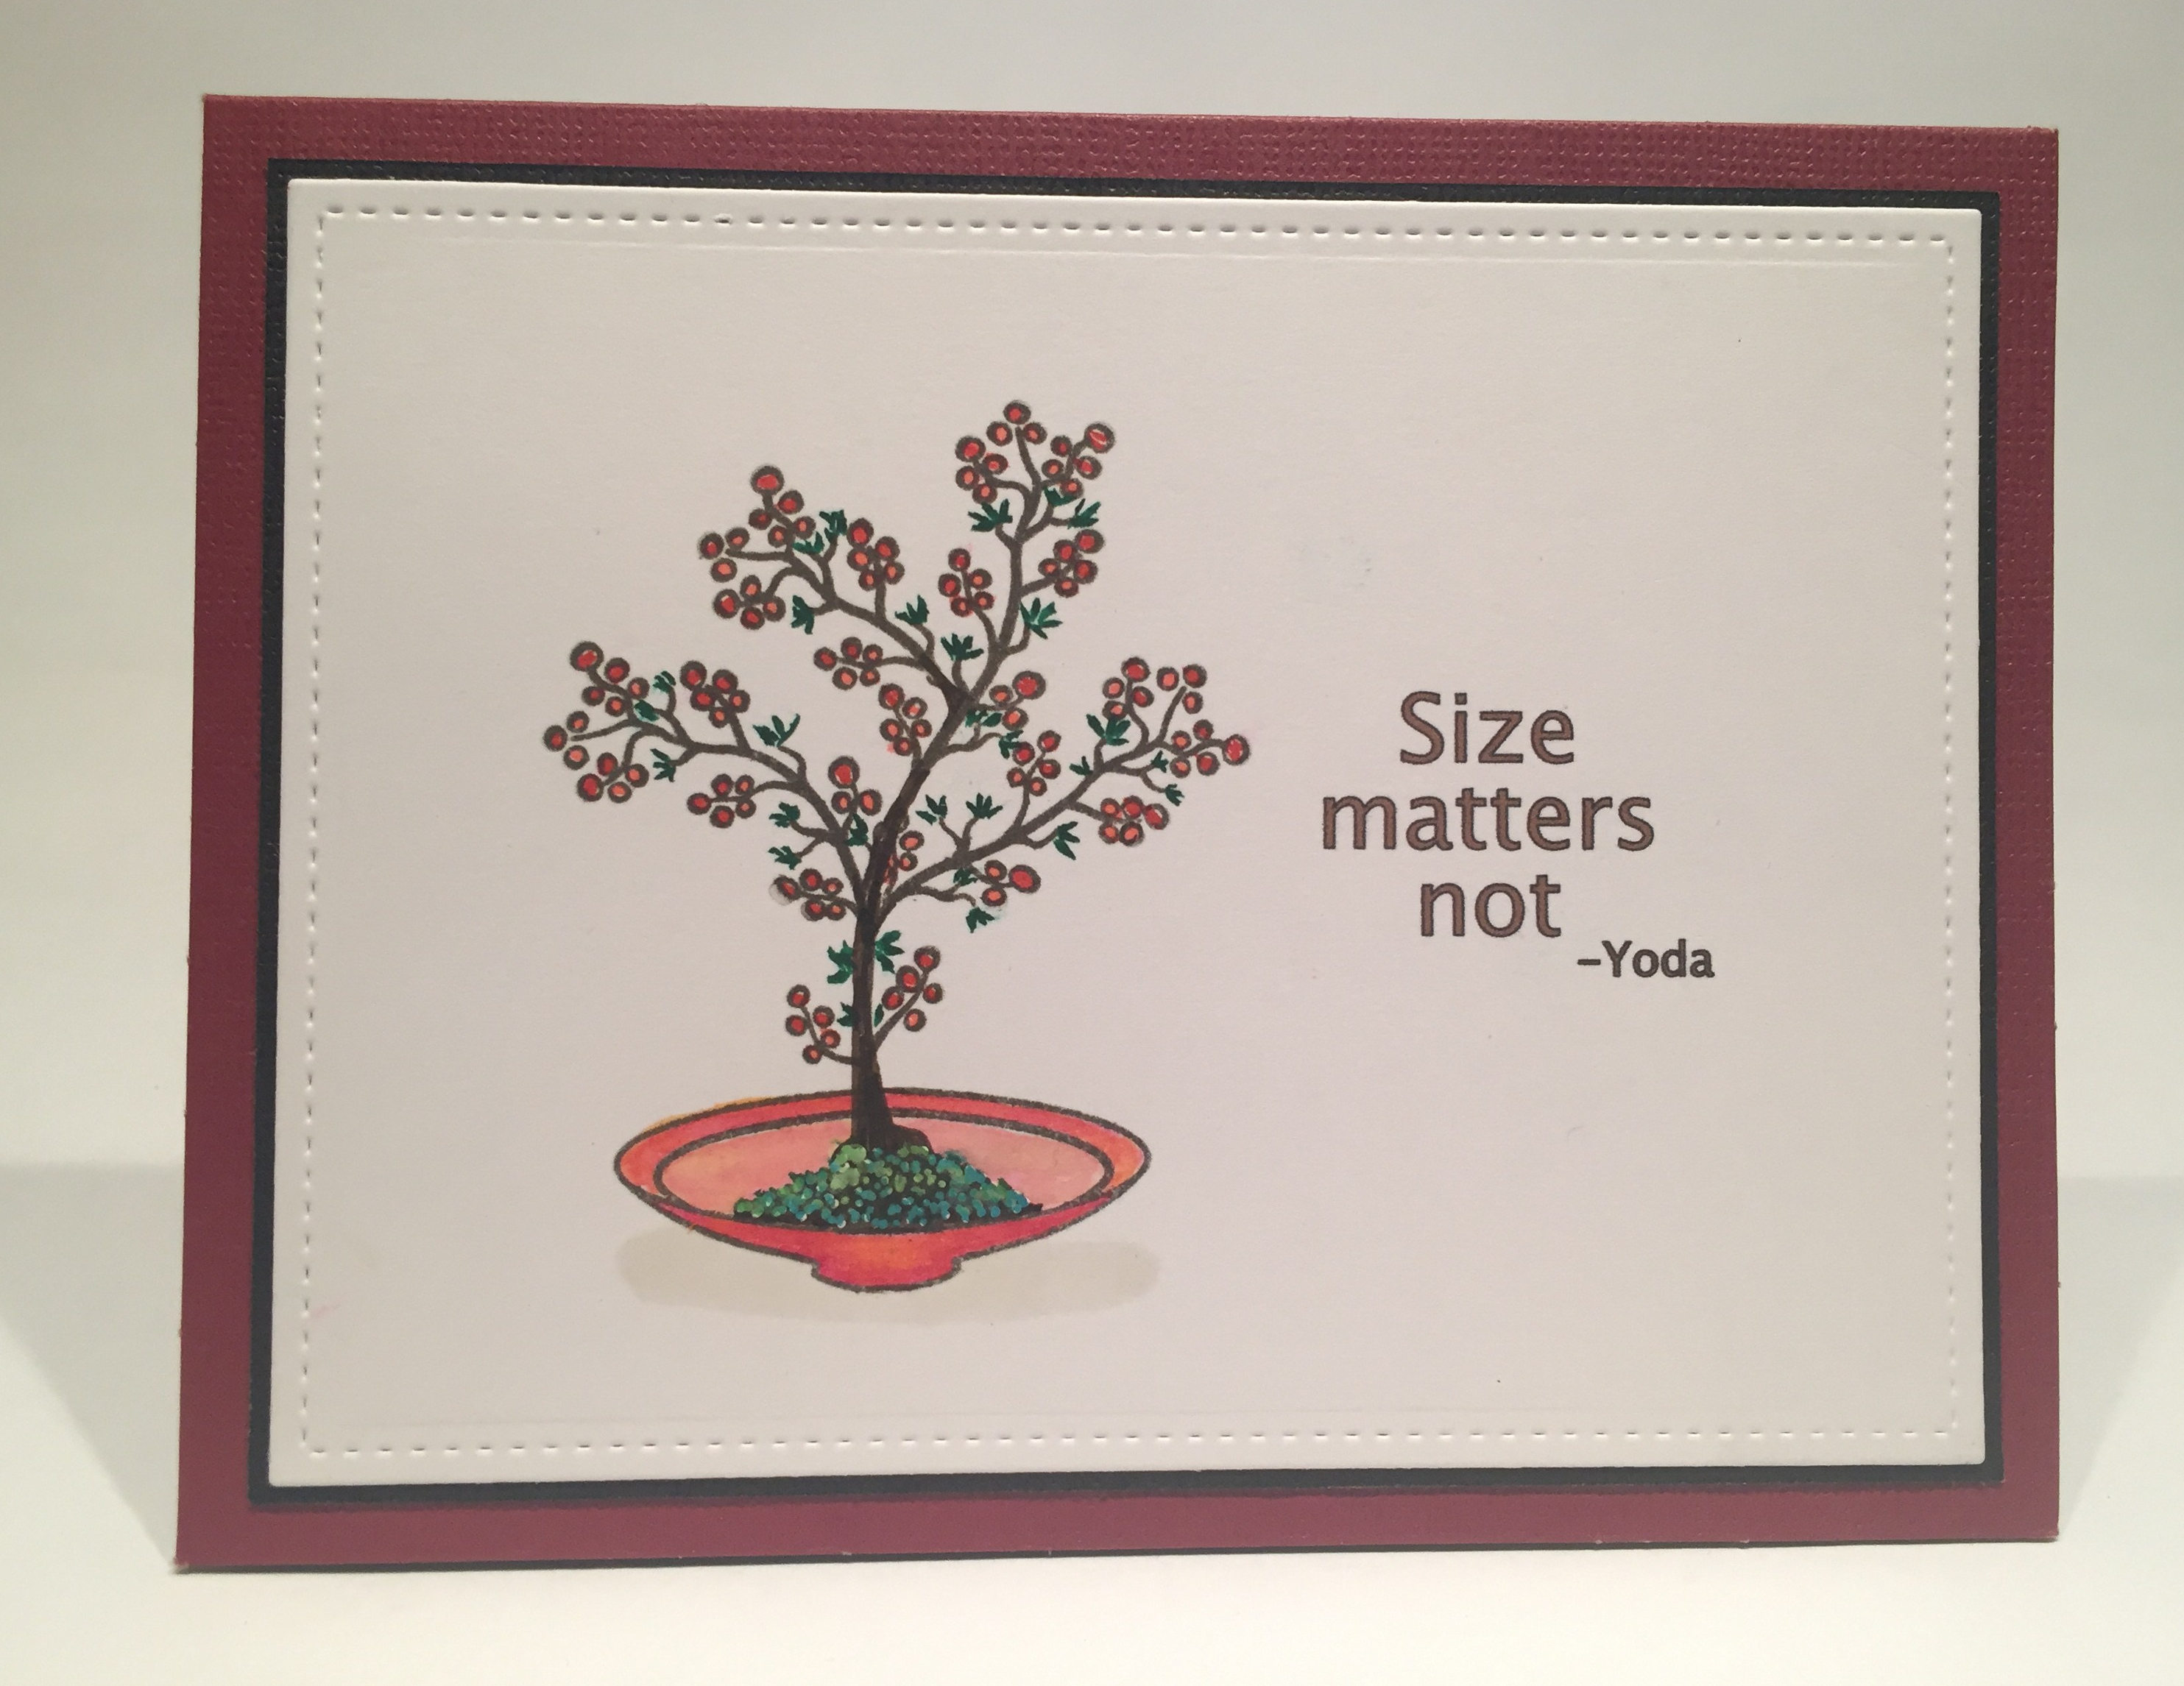
 ‘You are treemendous’ is the perfect compliment to the ‘Size matters not’ Yoda quote on the front, and I am still laughing…! Something about the juxtaposition of the quite formal bonsai tree contrasting with the Yoda quote, feels delightfully silly to me. This is a card I can actually see myself giving to someone! If you can’t tell, I love this card!! LOL!!