
Hello Folks! Scott here with a new Scor-Pal Project for you! When Diana Crick and and I started this series in August, we kinda jumped right in and started making boxes and boxes and more boxes…! We never really took the time to demonstrate the unending possibilities that a Scor-Pal gives to us crafters. Let’s get to know our Score-Pal!
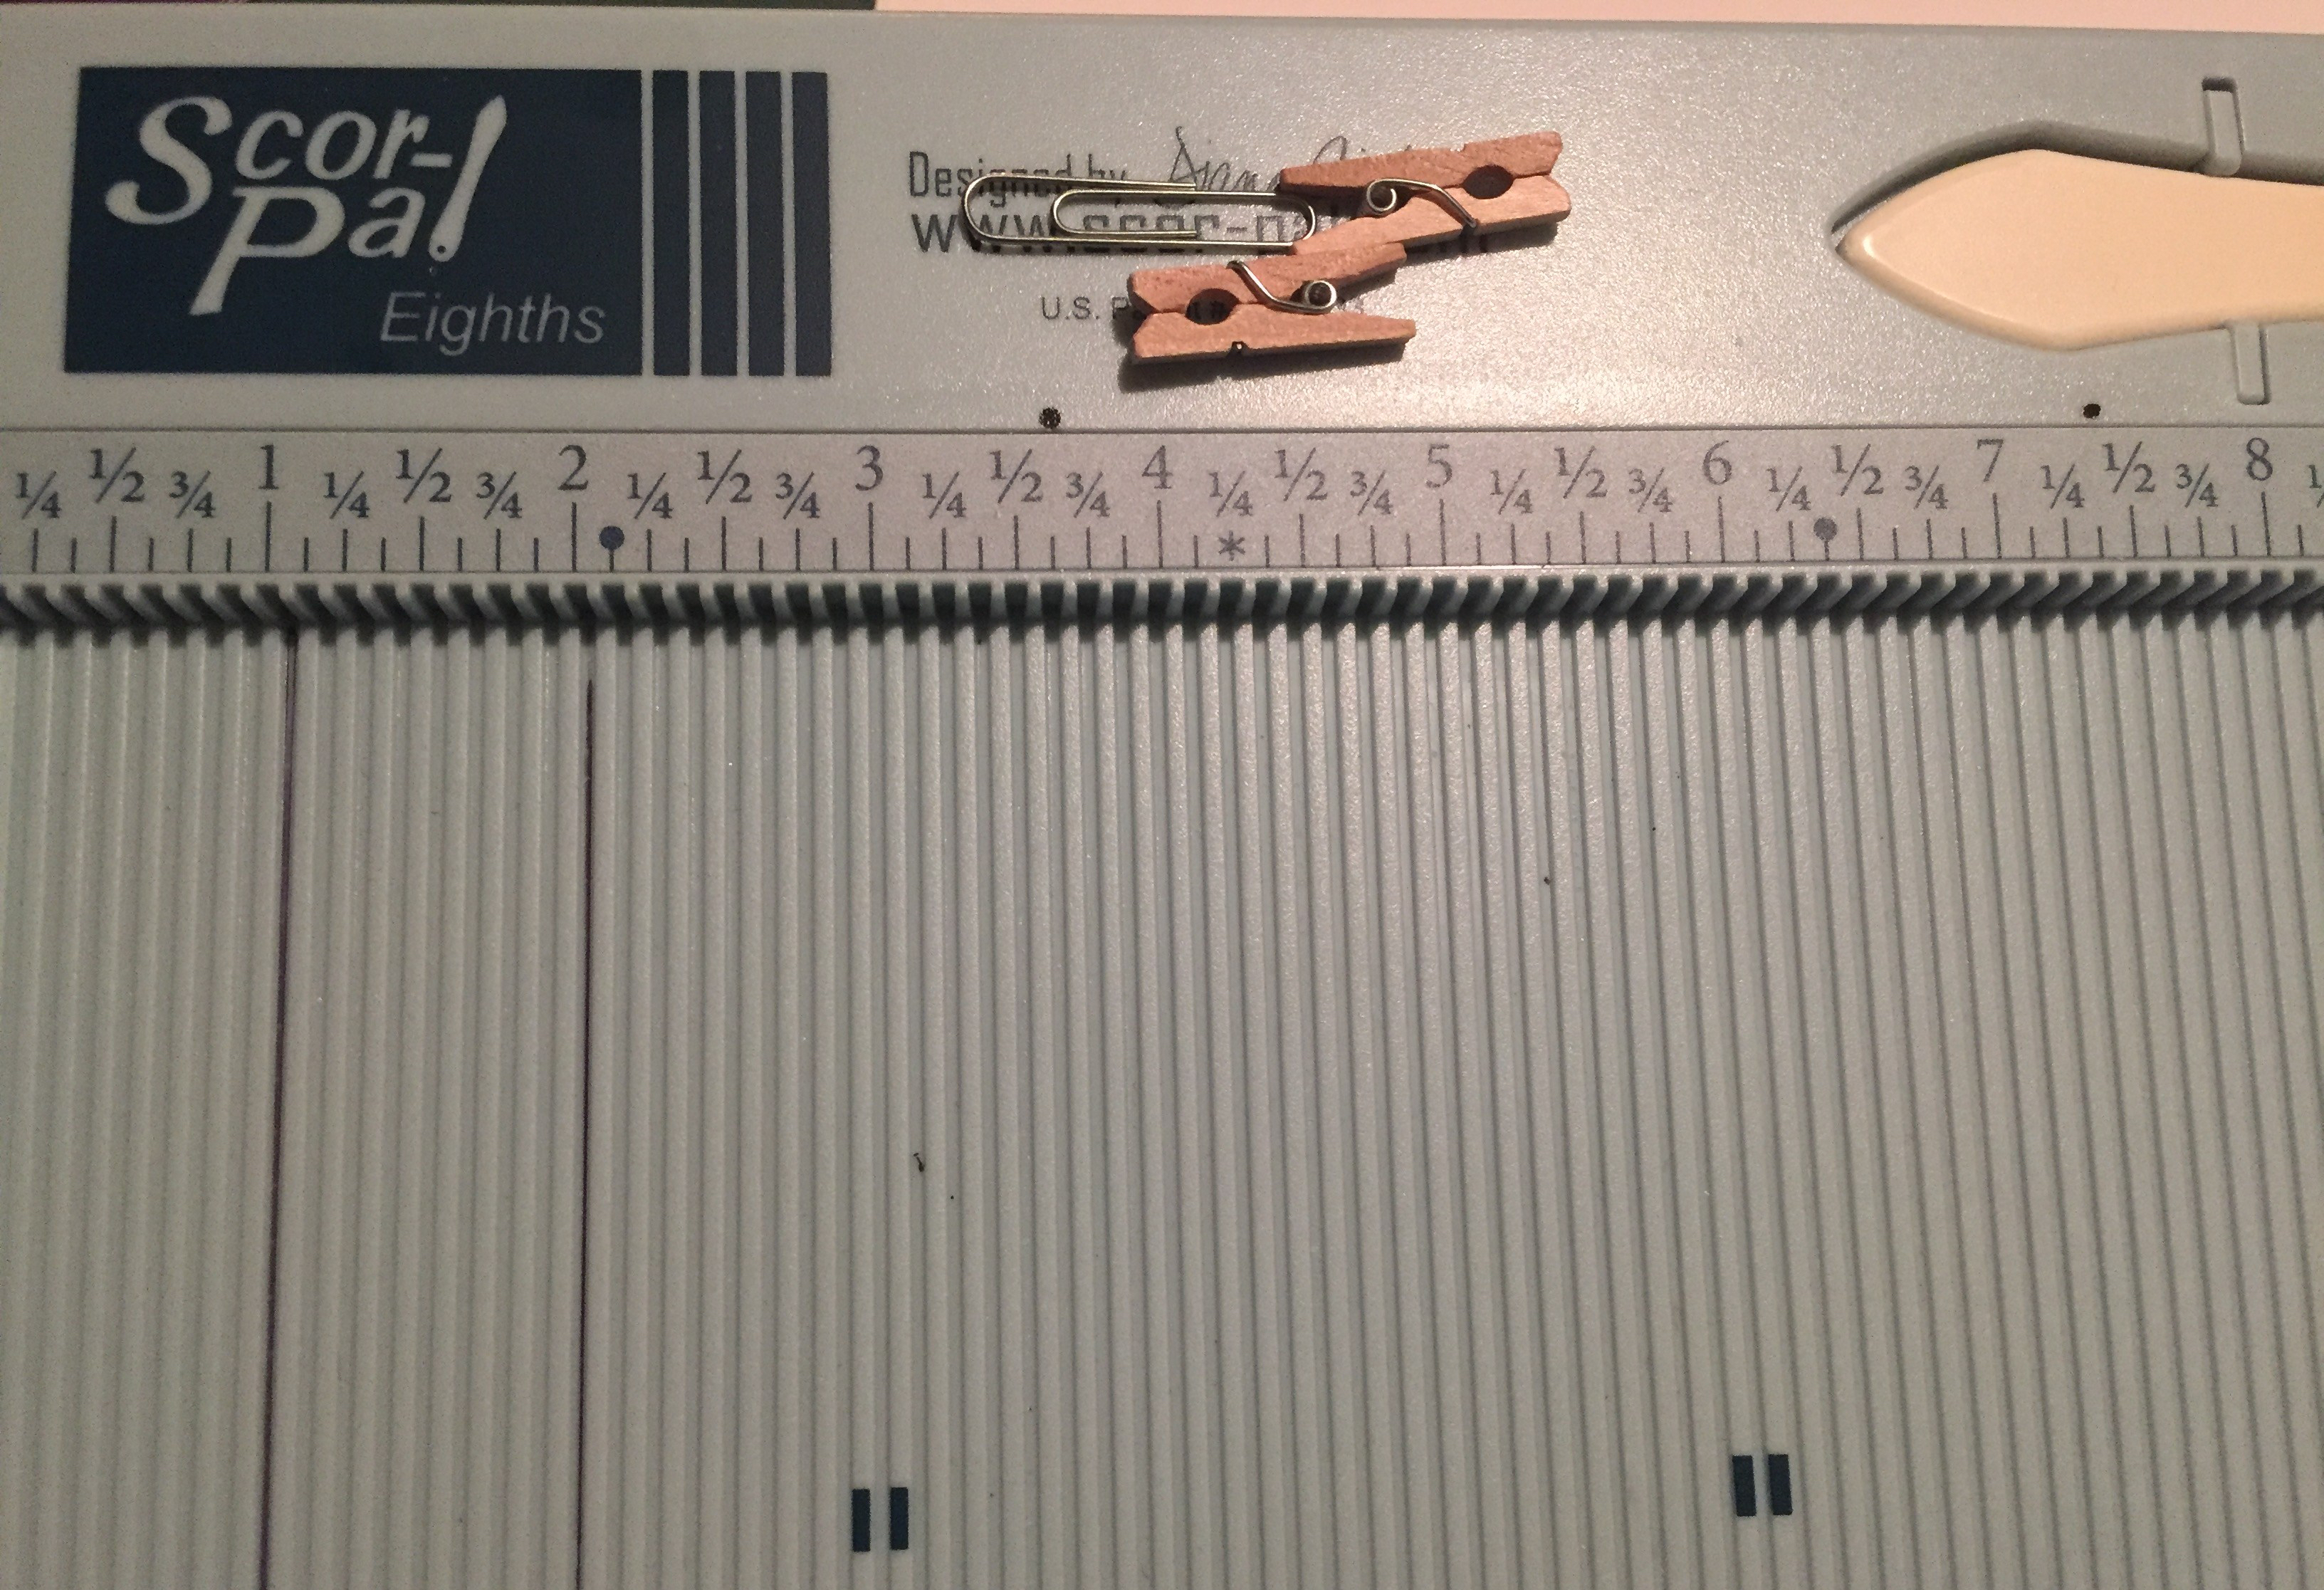
I have the Score-Pal Eighths which is the latest version, and features scoring grooves at every eighth of an inch. I love that! If you have a hard time navigating all those grooves, an extra fine point Sharpie will fit inside the grooves and you can make some reference lines at every inch to help you navigate the board – there are printed markings on the Score-Pal at 3″, 6″, and 9″ but a solid reference line at every inch can be very helpful!
I used to have to remind myself that there is a magnet under Diana’s signature on the top of the board, but I do like to keep a couple mini-clothespins there to hold parts and pieces together when gluing. The metal springs on the clothespins cling easily to the magnet!
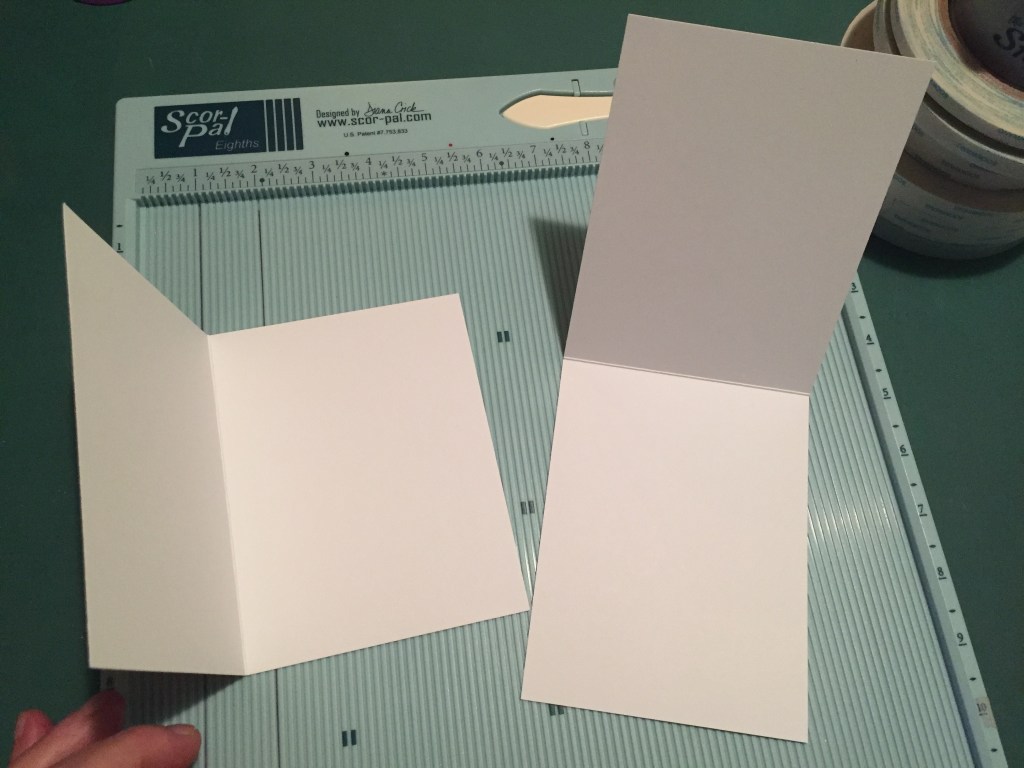
There are some markings on the top rule – a dot at 2 1/8″, an asterisk at 4 1/4″ and another dot at 6 3/8″. Naturally the 4 1/4″ asterisk is for folding an 8 1/2″ piece of card stock in half. I cut my card stock to 5 1/2″ x 8 1/4″, score it at 4 1/4″ and get a perfect A2 card. For top folding cards, I like to take a whole piece of card stock and score the long side at 5 1/2″ (I do have a red dot above my 5 1/2″ measure – you can see it in the pic below). Then I fold the card stock sheet in half, and then cut that in half (at 4 1/4″) and that gives me two top folding card bases with just one scoring.
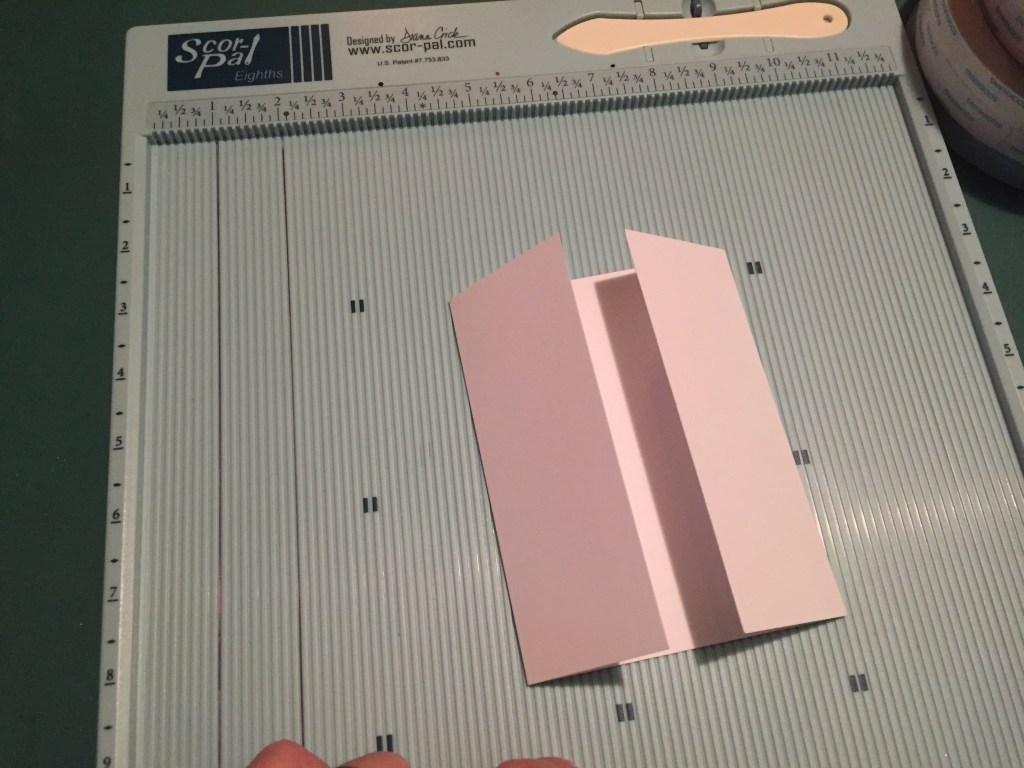
The two dots at 2 1/8″ and 6 3/8″ are reference points to score and fold a gate-fold A2 card. With the long side of your 5 1/2″ x 8 1/2″ card base at the top, score along the two black dots to make a perfect gate-fold card.
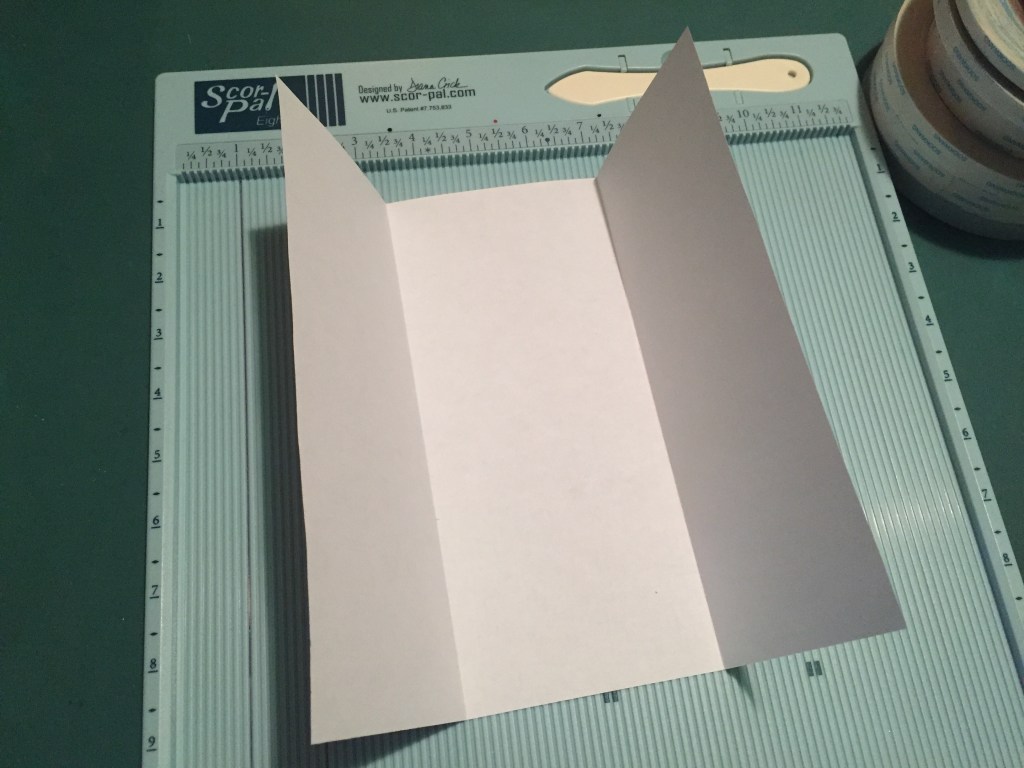
You can see I have added my own black dots above the rule at 3 5/8″ and 7 3/8″. On older Scor-Pals, these two measurements are marked with inverted triangles. These are reference points to score a full sheet of paper into a tri-fold style brochure. That could work for a tri-fold slimline card as well…! I might just have to give that a try!!
Now there’s a huge number of embossing folders, and background dies for creating patterns and adding texture to the background of your cards. But there is a large assortment of decorative patterns that you can achieve on your backgrounds with your Scor-Pal! I’d like to show you a number of them – I’m sure there are more!!

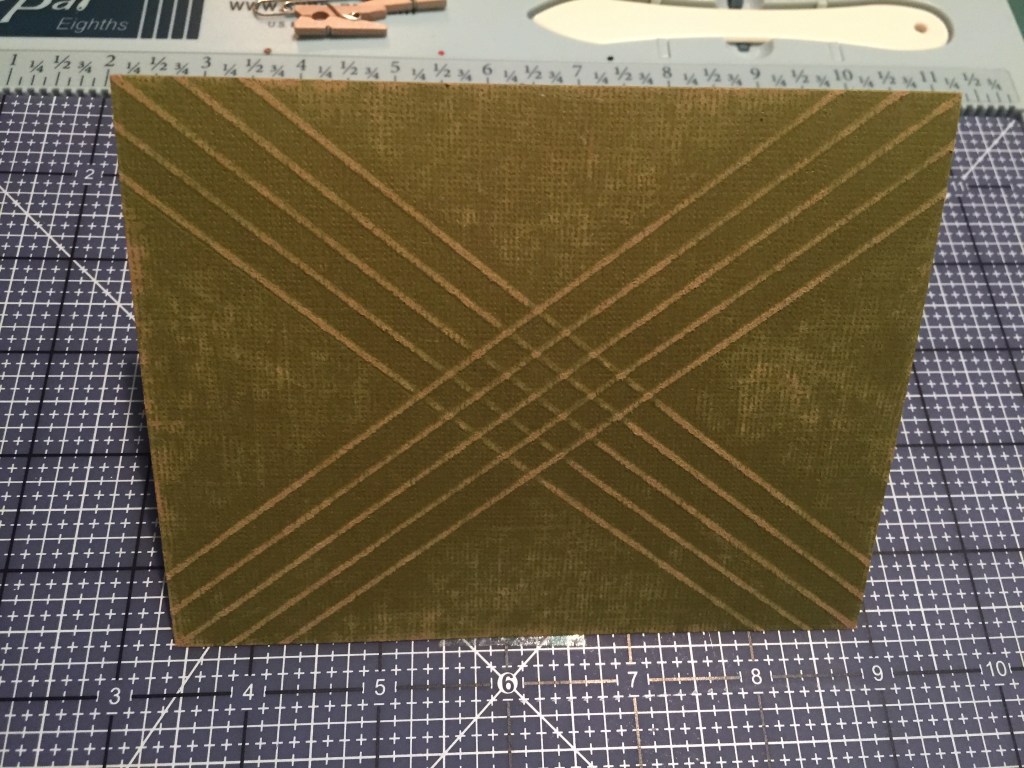
This CrissCross pattern is one of my favorites! Put your card stock face down on the diagonal (I’m using 4 1/4″ x 5 1/2″ 110# card stock) aligning the top point and bottom point on the 6 inch mark. Score at 5 1/2″, 5 3/4″, 6″, 6 1/4″, and 6 1/2″. Turn your card stock 90 degrees so the opposite corners align with the 6″ mark, and repeat the same scoring. I really like this simple pattern and it works GREAT with color core card stock and a little sanding to expose the core.
I also have the Score-Bug which creates dotted embossed lines. Takes some practice, but it proves to be an extremely useful tool as well!
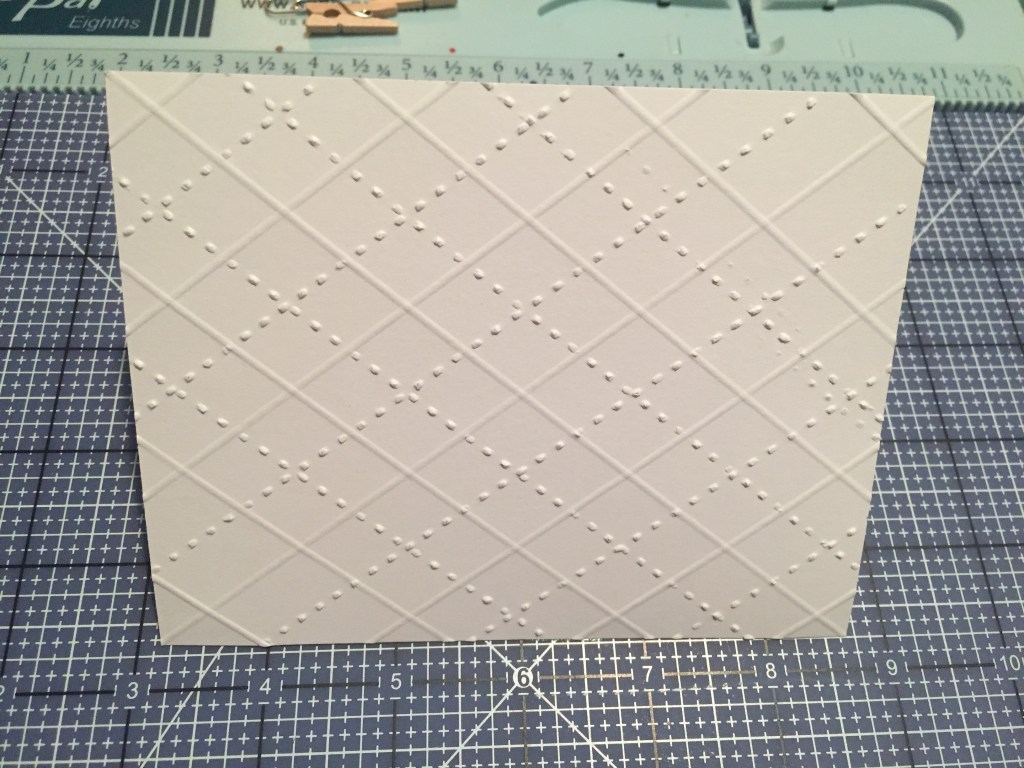
Here’s an Argyle pattern using the Scor-Bug and Scor-Tool. Align your card stock on the diagonal the same as the CrissCross pattern (at the 6″ mark) and score with your Scor-Tool at 3″, 4″, 5″, 6″, 7″, 8″, and 9″. Move your card stock away from the top fence so you are using the middle of the board, still aligned on the 6″ mark. Using the Scor-Bug roll the tool up or down following the grooves at 3 1/2″, 4 1/2″, 5 1/2″, 6 1/2″, 7 1/2″, and 8 1/2″. Turn the card stock 90 degrees, align the corners on the 6″ mark again, and repeat the same scoring instructions. I really like the effect that Scor-Bug delivers!
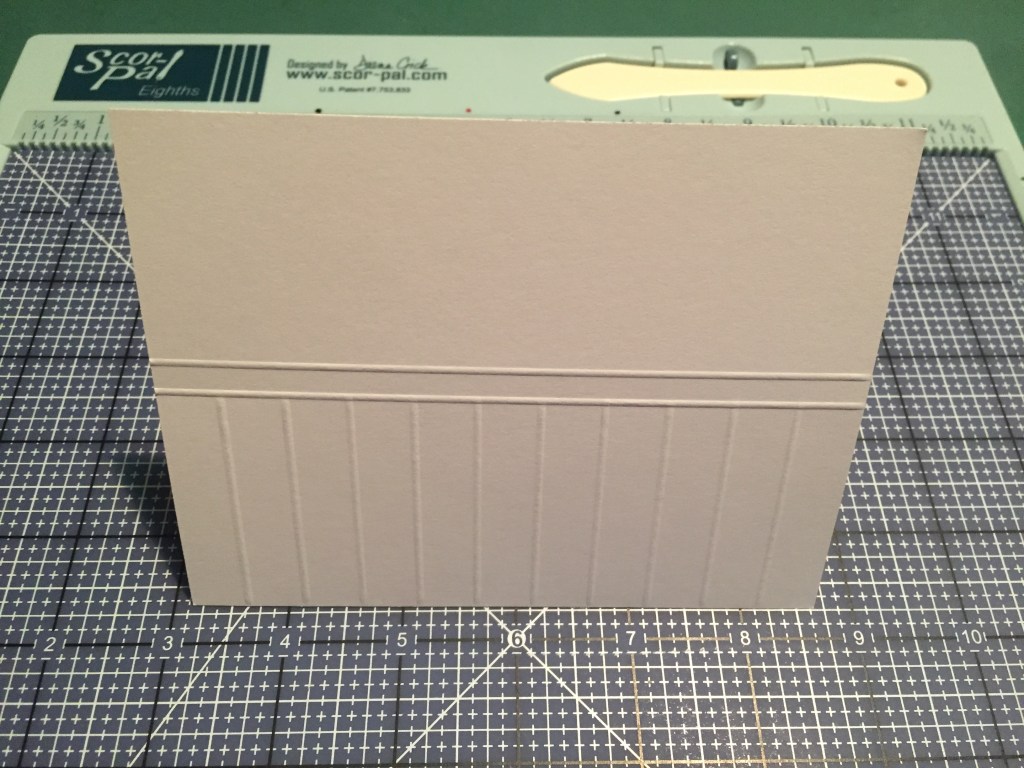
This Chair Rail Border is a terrific addition to any indoor scene! With the short side of my card stock along the top fence, I scored at 2 1/8″, and 2 3/8″ for the top rail. I turned the card stock 90 degrees and scored the panels at every half inch mark, stopping at the bottom score of the rail. Rescore the horizontal lines to improve the over all look. This pattern works on the embossed side (shown) or reversed to the de-bossed side.
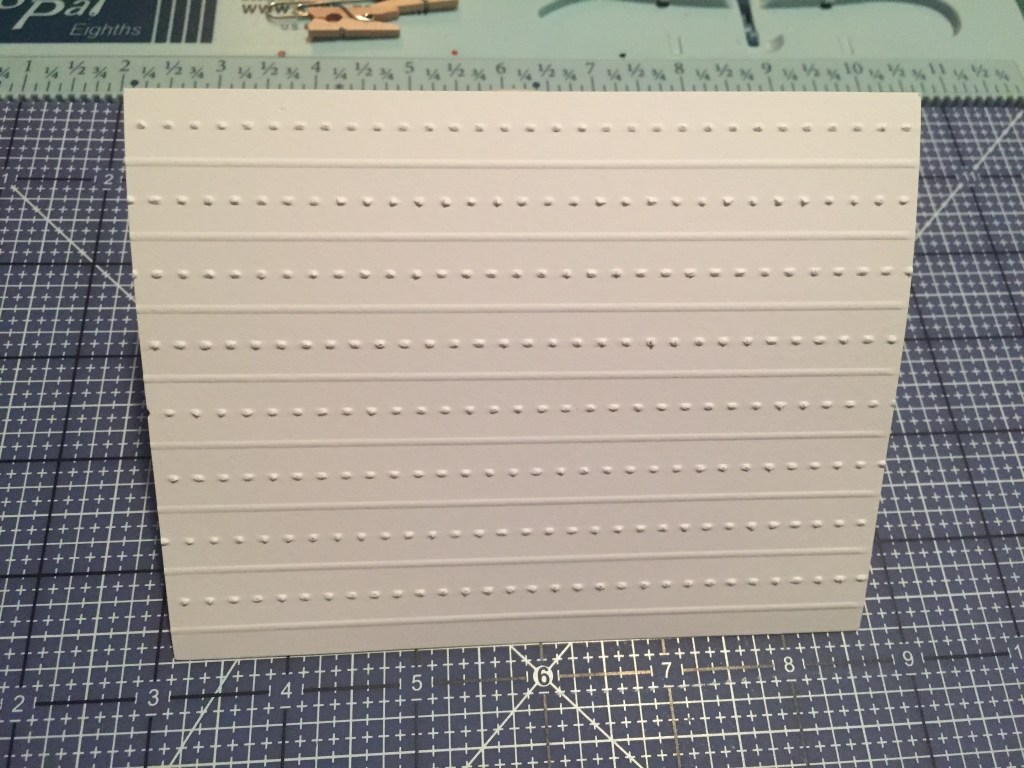
This Pillow Ticking pattern is simple but fairly stunning! With the short side of your card stock on the top left corner of the Scor-Pal, score at every 1/2″ mark with your Scor-tool. Using the Scor-Bug, start at the 1/4″ mark on the board and score every half an inch – 1/4″, 3/4″, 1 1/4″, 1 3/4″, etc. cover ing the width of the paper. I really like the versatility of this!
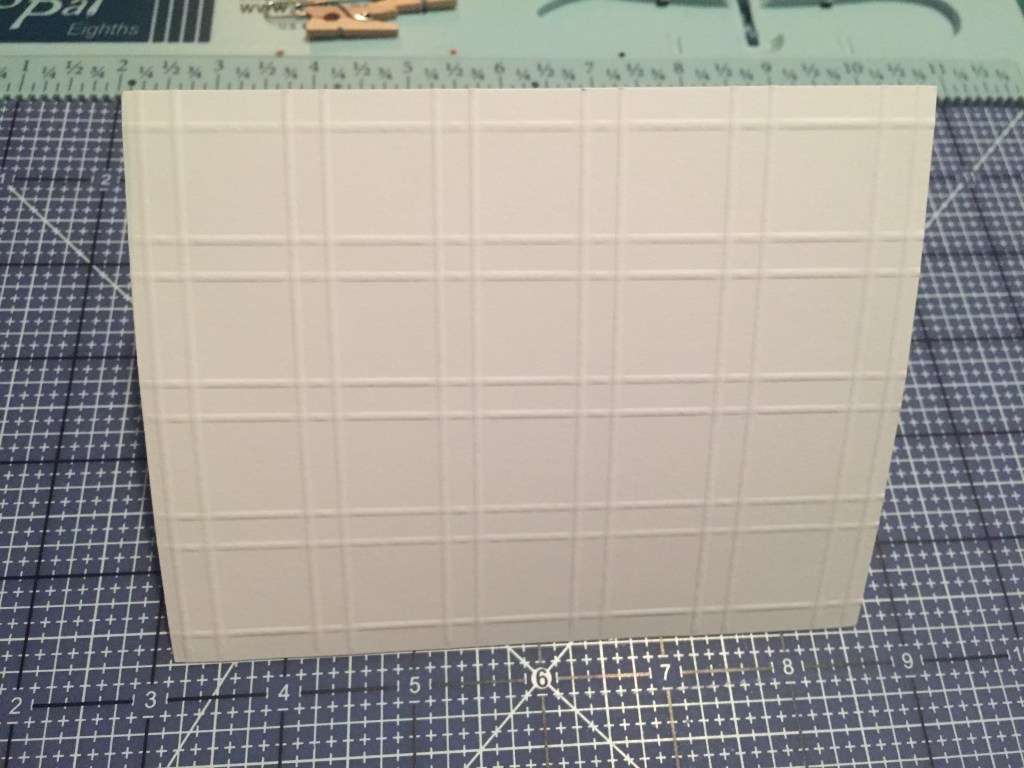
Here’s a straightforward Box Plaid pattern. With the short side of card stock in the top left corner of the Scor-Pal, I scored at 1/4″, 1″, 1 1/4″, 2″, 2 1/4″, 3″, 3 1/4″, and 4″. Rotate your paper so the long side is at the top and score at 1/8″, 3/8″, 1 1/8″, 1 3/8″, 2 1/8″, 2 3/8″, 3 1/8″, 3 3/8″, 4 1/8″, 4 3/8″, 5 1/8″, and 5 3/8″. That will center your box plaid on your card stock and this can be trimmed down to any size you need. Very sharp, neat and clean!
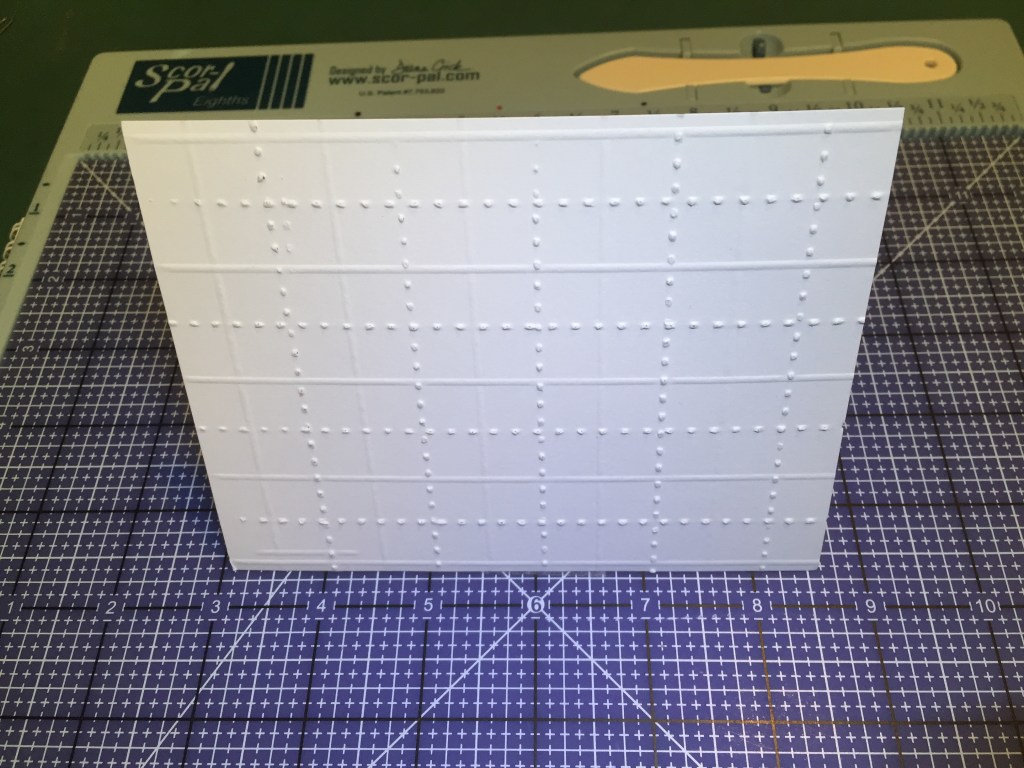
Here’s a simple plaid with extra Scor-Bug detailing. With the short side in the top corner of your Scor-Pal, score at 1/8″, 1 1/8″, 2 1/8″, 3 1/8″, 4 1/8″. Pull your paper away from the top fence and roll the Scor-Bug up or down at 5/8″, 1 5/8″, 2 5/8″, 3 5/8″. Rotate your paper 90 degrees and score at 1″, 2″, 3″, 4″, and 5″. Pull your paper away from the top fence and roll the Score-Bug at 1/2″, 1 1/2″, 2 1/2″, 3 1/2″ and 4 1/2″. This feels like Tartan Plaid to me!
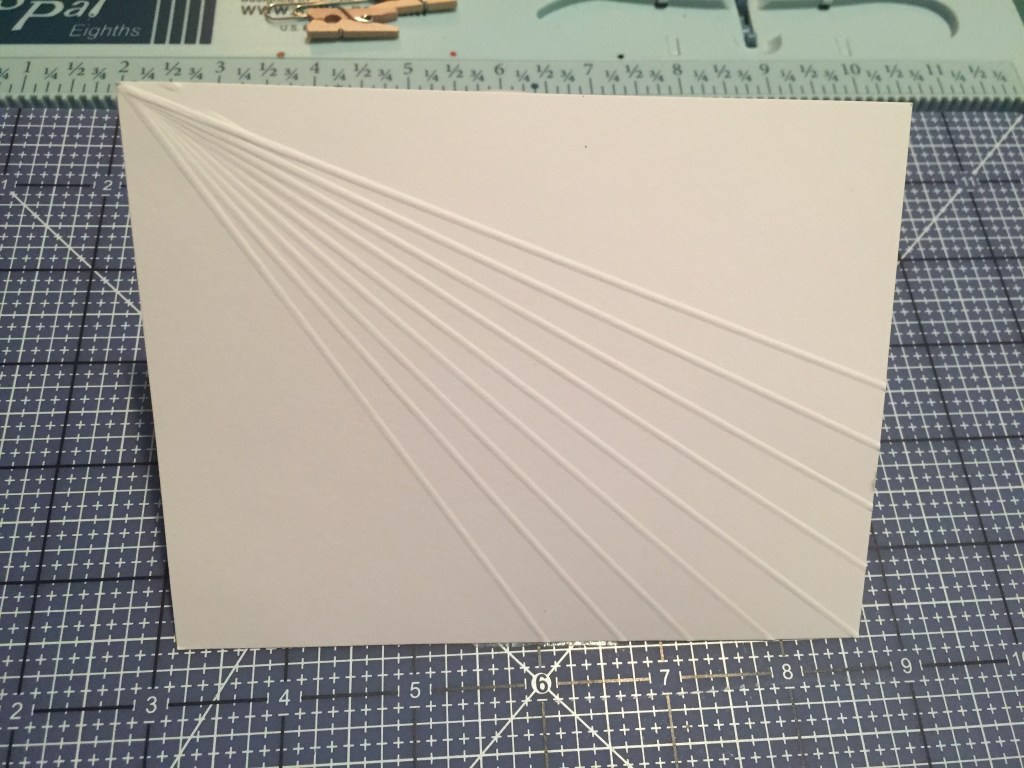
This Sunbeam pattern is also a favorite of mine. Align your card stock on the diagonal at the 6″ mark and score right down the center from point to point. Then move the bottom corner 1/2″ right or left, keeping the top point at 6″, and score along the 6″ line again. Continue moving the bottom point 1/2″ right and left and scoring on the 6″ line as many times as you like – on this piece I did 4 scores to the right and left of the center score, but you can fill up the whole card panel if you like. This would look great embossed on color-core card stock and lightly sanded.
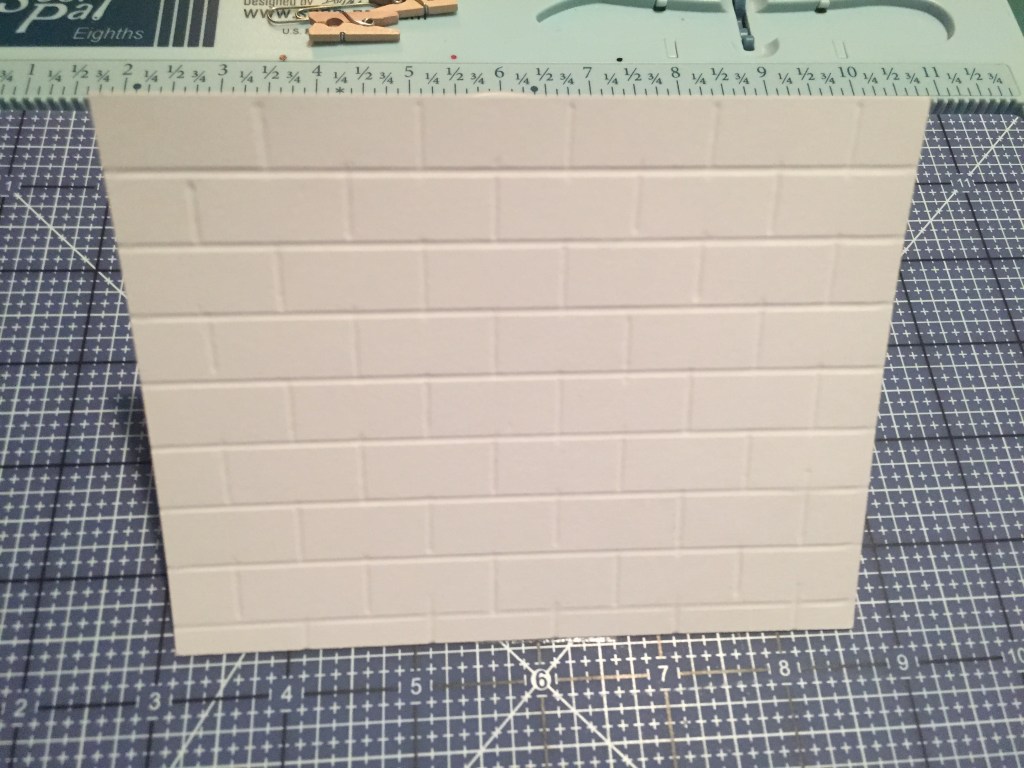
Here’s an easy Brick pattern that looks terrific! Score your horizontal lines every 1/2″, then rotate your card stock and score the bricks at every inch – taking your Score-Tool from one line to the next, being careful not to score over that line. Alternate the brick rows 1/2″ and you can create this embossed Brick Road in no time at all! You can also rescore the horizontal lines to neaten up the verticals that go a touch too far.
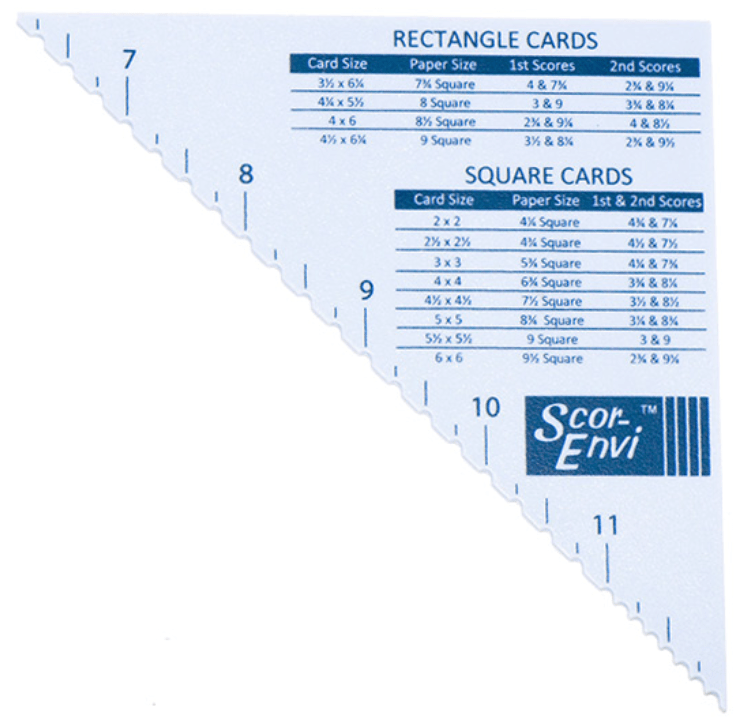
We can also create custom envelopes using your Score-Pal as well. The Scor-Envi Template makes envelope making a breeze and it has a variety of envelope sizes and instructions printed directly on the template. Not only is this a great template for creating envelopes for odd-sized cards, but it also dresses up a standard card with a matching envelope! Let’s do a standard A2 envelope first.
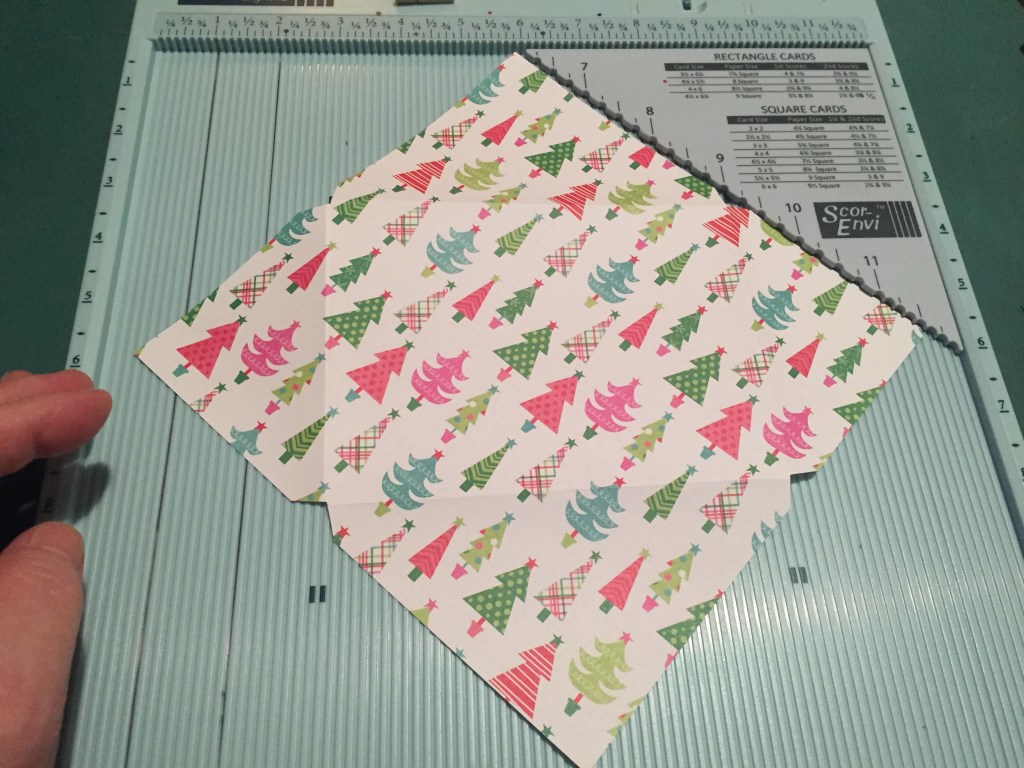
For an A2 envelope, we start with an 8″ square piece of pattern paper. Place your Scor-Envi template in the top right corner of your Score-Pal (there is a raised line of the back of the template that fits into the 11 7/8″ groove of the Scor-Pal). Line your paper up with the edge of the template putting your points along the 6″ mark. Score your paper at 3″ and 9″ and then rotate 90 degrees and line your paper up again. This time we score at 3 3/4″ and 8 1/4″.
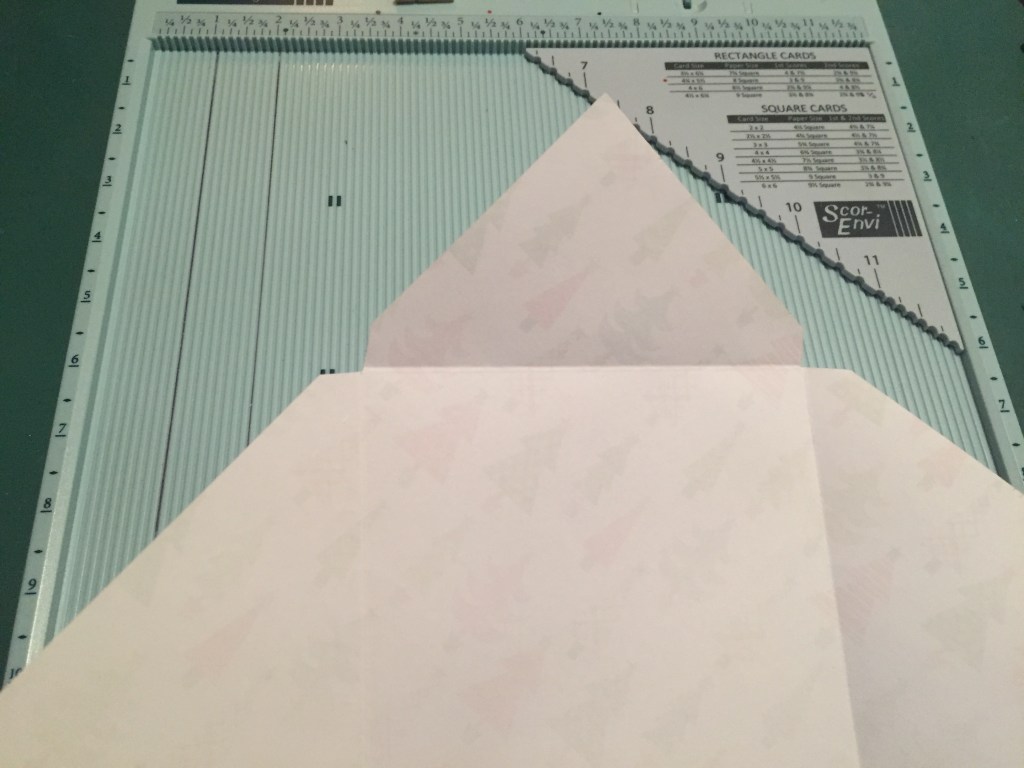
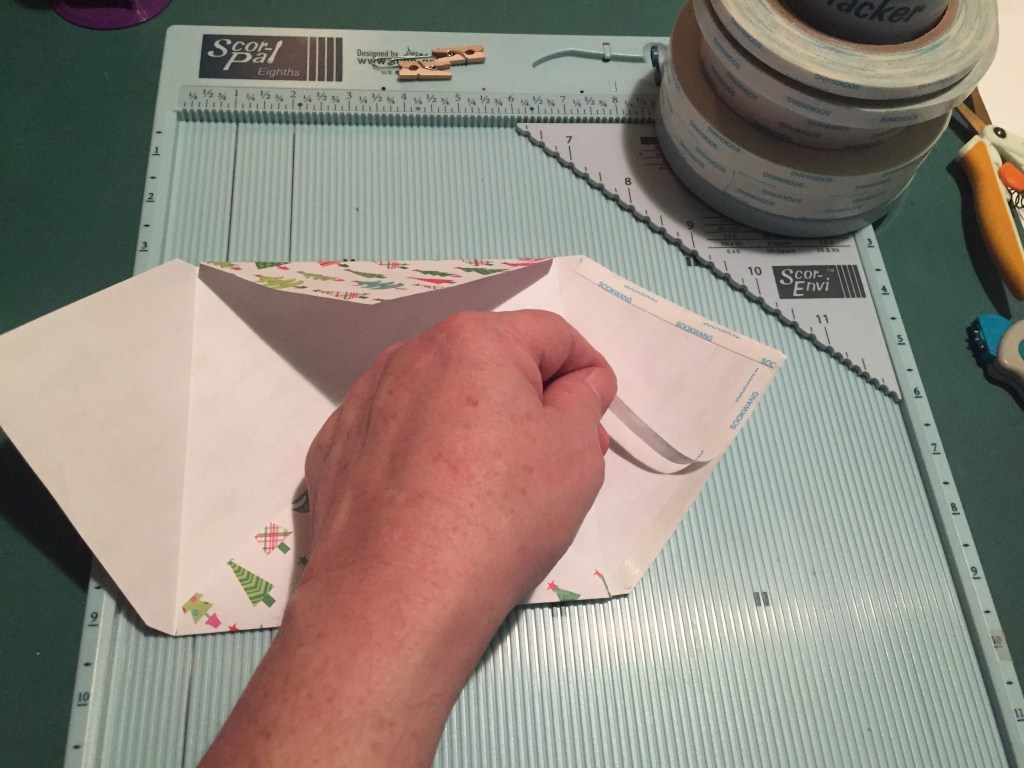
These four score lines will create little triangles where they intersect. Simply trim those triangles away and fold up your envelope along the score lines.

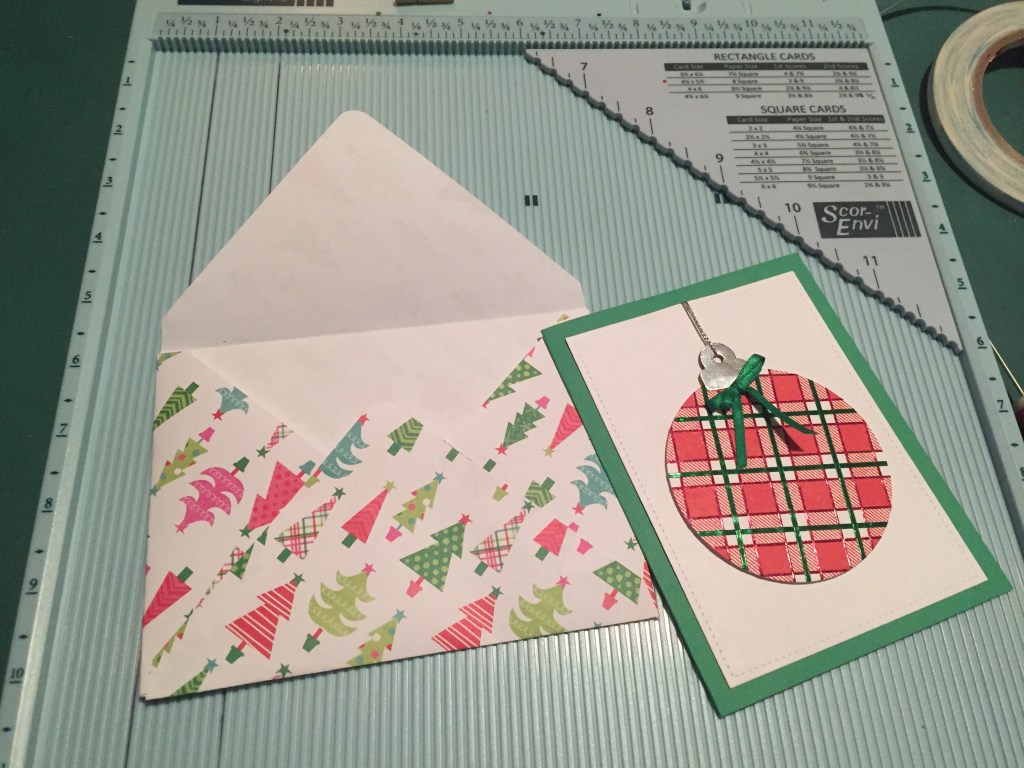
I do like to round the corners on the top and bottom flaps using any corner rounder. Score-Pal has a terrific Kadomaru Corner Cutter that cuts three different radius with one tool – 3mm, 5mm, and 8mm. I used the large 8mm punch for the corners on this envelope.
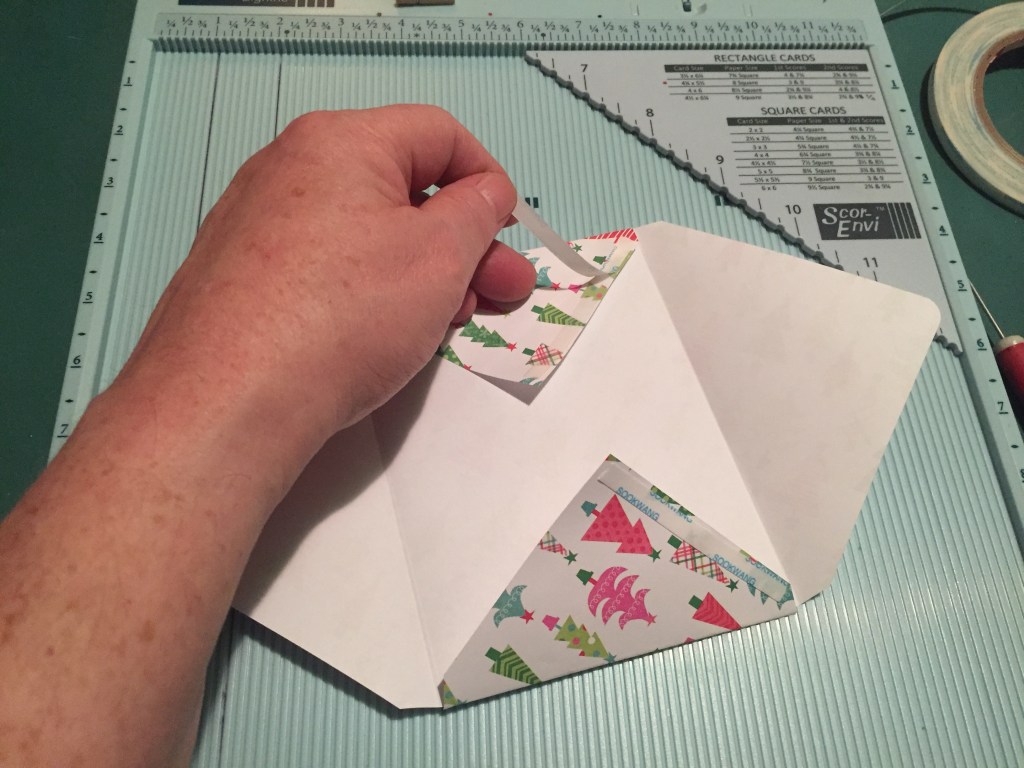
The bottom flap is longer than the sides, so I’ll add my 1/4″ Scor-Tape to the bottom edges of the side flaps to assemble the envelope. This keeps me from glueing the envelope shut!
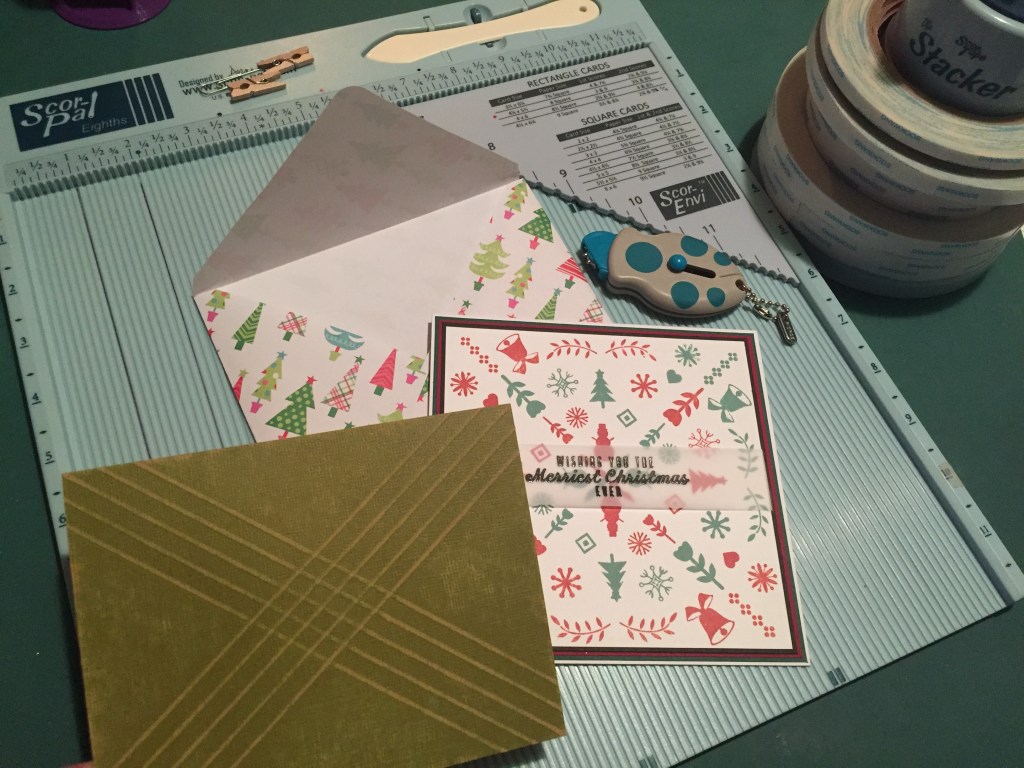
I have a 5 1/2″ x 5 1/2″ card sitting on my desk that needs an envelope – there are a variety of square envelope sizes printed on the Scor-Envi template too. I start with a 9″ x 9″ square of pattern paper, line it up with the template and score at 3″ and 9″, rotate 90 degrees, score again at 3″ and 9″. Trim off the triangles, and fold up your envelope.
All four flaps are equal on a square envelope so I add my Score-Tape to the bottom flap for assembling the envelope together. I do love making matching envelopes for special cards intended for special people.
That will wrap up our Getting to Know Your Scor-Pal post. I hope this has been enlightening and instructive and I hope you’ll give some of these techniques a try! There truly is no end to the versatility of your Scor-Pal – it’s not just for folding cards anymore!
This will conclude our Scor-Pal series for this year. We are going to take the first part of 2021 off but hope to be back the second half of the next year with more fun projects using your Scor-Pal and assorted accessories.
Thank you so much for joining me here, You have truly blessed me all year long with your support and encouragement! Here’s to a bright, big, beautiful tomorrow and a Happy New Year to you and yours! Please remember to Like me, List me, Pin me, Post me, Share this post with all your crafty friends, Please keep yourself and your loved ones safe and healthy this holiday season, and, as always, I send you blessings of Peace, Health, Love and Happy Crafting!

Is there hopes that these instructions can be videotaped for those of us who are visual learners? Your directions are excellent but like I said visual learning is the best. Hope ya’ll have a safe and healthy holidays.
LikeLike
Trudie – There is an accompanying video for this post – just click the YouTube link at the end of the video! Hope that helps! Scott
LikeLike