A lot of people have been asking about how how I print unique sentiments on my cards, so I thought a little tutorial would be a good post and hopefully answer some questions.
 “I’m hot for you” is printed on a vellum overlay, and “You Bet GIRAFFE I Love You!” is printed on the actual card base. Let’s do both of these prints. OK, granted, you can always print something on a full sheet of paper or cardstock and cut or trim or die-cut or whatever you like with the print, but I started doing this “piggy-back printing” when I was trying to conserve supplies. After all, If you print just a line or two of text on some cardstock, and then cut that out, you can’t send that paper back through your printer.
First, you need to know how your paper feeds into your printer, and which side of the paper gets printed. I have an inexpensive Canon Pixma MX922 inkjet printer/scanner/copier. (I like this printer a lot – gives me really pretty good color for the price!) Open your paper trey and mark your top piece of paper with an arrow pointing into the printer. Now print something. When your paper comes out of the printer, leave it in the catch tray and find your arrow. My prints come out with the arrow on the bottom. That means that, in the paper tray, the bottom of the paper is what gets the print.
Choose your favorite software. I LOVE my Silhouette design software but you can use anything you are comfortable with. (the basic version of the Silhouette design software is free and, if you are interested, I would suggest getting it and experimenting. I think it is pretty easy and intuitive design software created with crafters in mind…!) Whatever program you use, just be sure to place your sentiment design on the page so there is room to add your vellum (or other media) over the print. I know I want to print on the right side of a 6″ long piece of vellum, so I place my sentiment to the right side of the paper before printing, and then print the design on a plain piece of copy paper.
Now, you want to add your vellum piece (or whatever media you want to print this on) over the top of your original print. Vellum is easy to line up since you can see right through it. You can use your t-square or grid paper to help you line it up anyway you desire. Tape your positioned vellum down to the paper along the leading edge (the edge that will enter the printer first) with washi tape or painters tape (I always press fresh tape along my arm to take away a bit of the sticky). Be sure not to tape over your sentiment, or the tape will get the print, and not the vellum!
Return your original print (with the vellum taped to it) to the paper tray of your printer. Remember which orientation works for your printer. For my printer, I put the image back face down in the paper tray with the top of the paper leading into the printer. Print the same page again. * Don’t change anything on the original computer file or it won’t print in the same place a second time!* As the print comes out of your printer, you will see your sentiment printed on the vellum.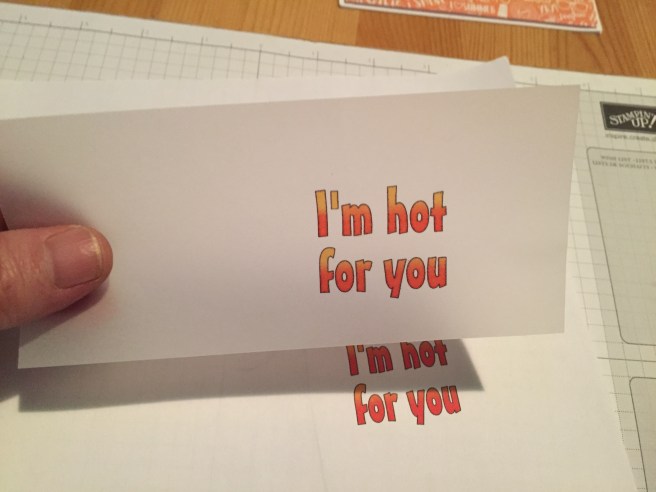
Just remove the washi tape and Voila! your sentiment has been printed on a small piece of vellum. Now let’s try to print on something not quite so easy to see through… Like 120# Simon Says Stamp Cardstock.
Back to the Silhouette software. You can create an outline of your whole card with this software, and line up a sentiment anywhere you want. Here, the 2 black rectangles are the front and back of my card base (fold line in the center) and the red rectangle is the size of my giraffe focal piece. (With the Silhouette design software, the black lines will print, but the red lines will not.) Now you can design your sentiment to scale and in the right place for printing to your card base. (Play with the free Silhouette software for a while if you can – I think you will really like how easy it is to use) When you’re happy with your design, print it out on plain paper.
Now, using the card outline you printed, line up your card base right along those lines, and tape down the leading edge. I have a light-pad and use it frequently to be able to see through the paper for accurate alignment. (a sunny window or even a blank computer screen will shine enough light through your paper as well…) Again, use your t-square, or grid paper or just the printed lines to properly line-up your card base. Replace the printed sheet with the card base taped on it into your paper tray. Remember your paper orientation (print face-down, top of paper toward the printer for my Canon).
If you are using guidelines (the black rectangles) you will need to remove them on your computer before you print the page a second time, or you will end up printing black lines on your cardstock! (the red lines will not print with this software) Remember NOT TO MOVE or adjust your sentiment from when you first printed it. After you are sure all is clear and ready, print that page again, and your sentiment will be printed directly on your card base!
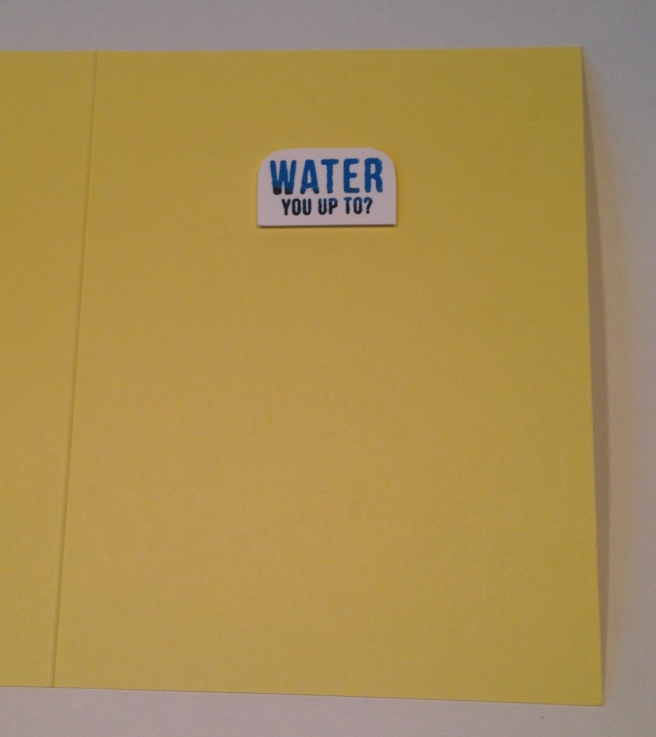
Just remove the washi tape and you have a completed sentiment on your card base ready for whatever your crafty heart desires..! This is the exact same process I used with my Love From Lizi July Card Kit as well, though I used my laser printer at work so I could foil my sentiments with gold…!
I hope this answers some questions, and I hope you will give this a try and realize that you will never have to ‘make do’ with a semi-appropriate sentiment (or missing!) stamp again!! Please let me know about your successes (and failures) and as always, please feel free to ask any questions!
Also, if you have ANY inclination, go ahead and download the Silhouette software and spend some time experimenting with it. Even if you never get a Silhouette cutting machine, the software has numerous uses…!
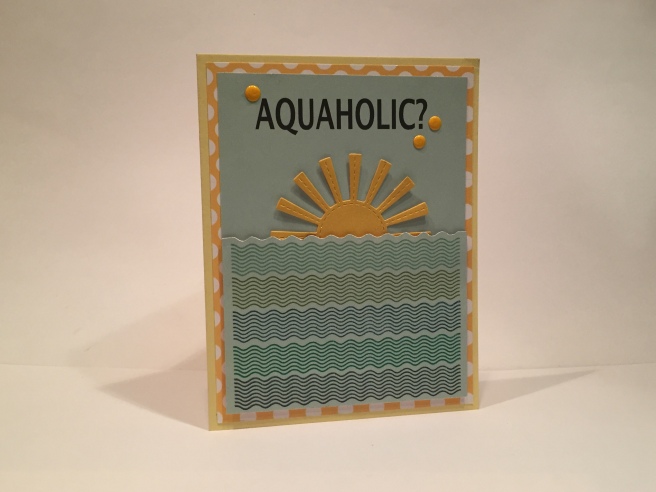
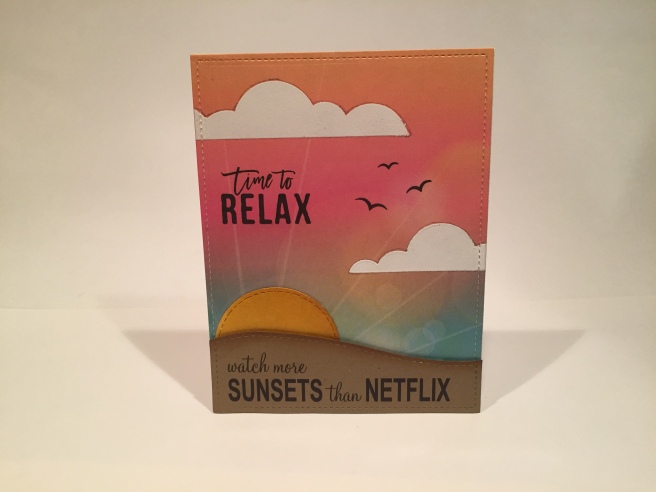
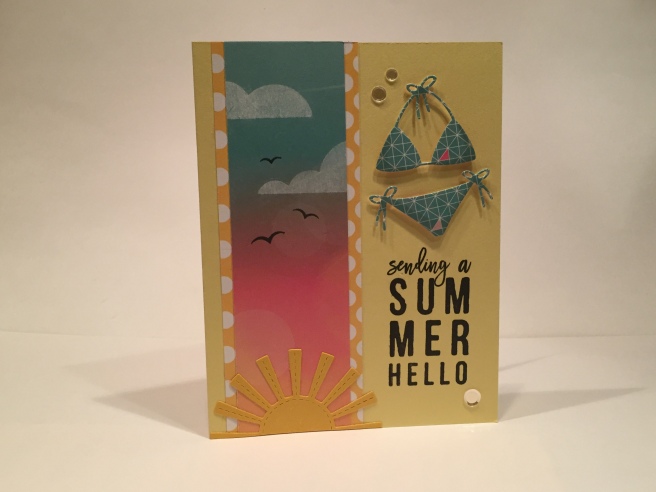 • Here is my first card from the kit using just a strip of that beautiful sunset
 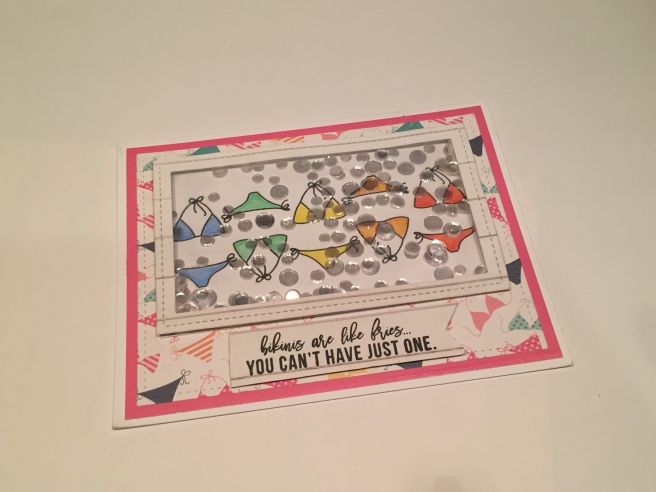 • Obviously, this kit was encouraging recipients to make shaker cards… what with the inclusion of an acetate sheet and
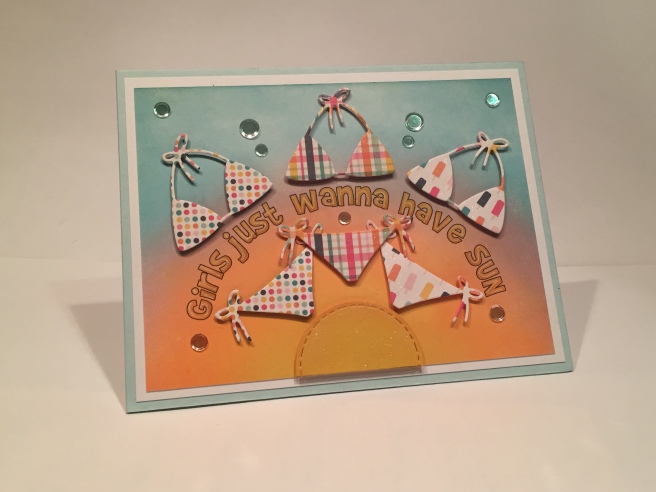
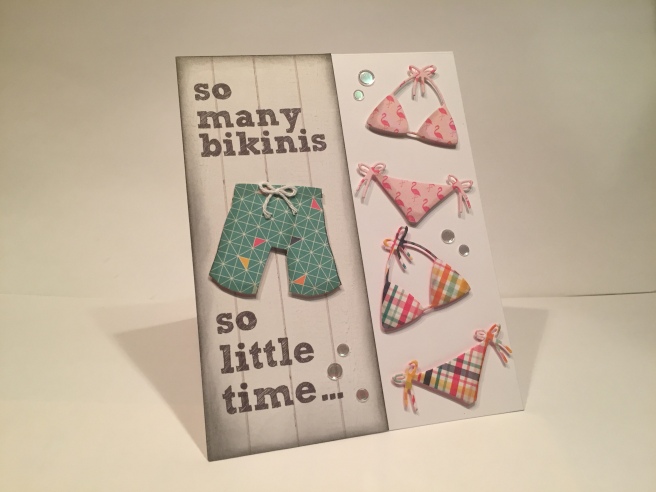
 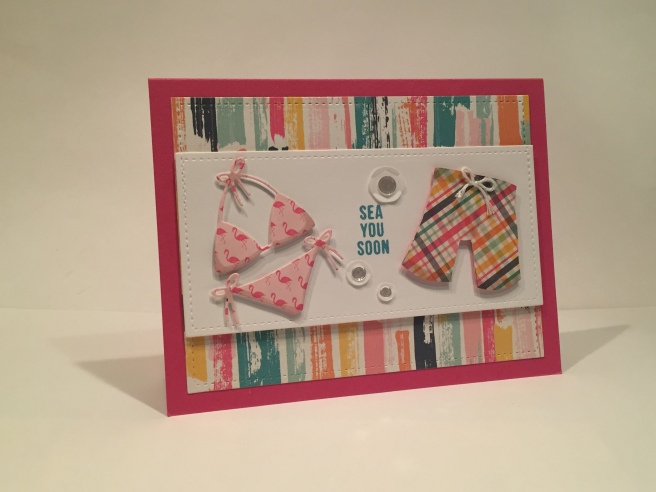 • I created a Board Shorts cut-out to go along with the bikini die cut. (again both shaded with a light grey alcohol marker) I thought all these bikinis looked lonely and I just wasn’t sold on the notion of a uni-sex beach..! The addition of a little white twine bow to the waistband of the shorts really sells the cut-out and coordinates nicely with the die-cut ties. The white card stock is from my stash, die cut with the LF stitched rectangle dies and mounted on pattern paper and the Doll Pink card base. I have to admit I am a little pinked-out from the last couple of months of card kits, but I do really like this cardstock color! I used some chunky white sequins from my stash and topped them off with the Moonshine Confetti sequins and stamped the title stamp in Distress Oxide Broken China. Now there’s some company to look forward to on the beach!
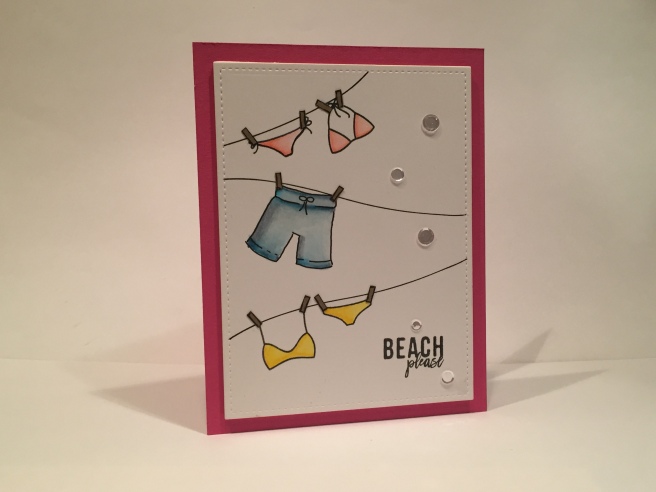 • Since I created the Board Short cut-out I figured I should create a Board Short “stamp”. I stamped both of the bikini stamps on