
• OK… here we go..! After much hesitation and resistance, I have finally broken down and started my CardCutUps blog. I recently finished a 10 Cards 1 Kit video for the Simon Says Stamp July 2017 Summer Hello Card Kit and thought I would take that opportunity to get a blog rolling… Needless to say, this site is in flux and evolving as I learn…!
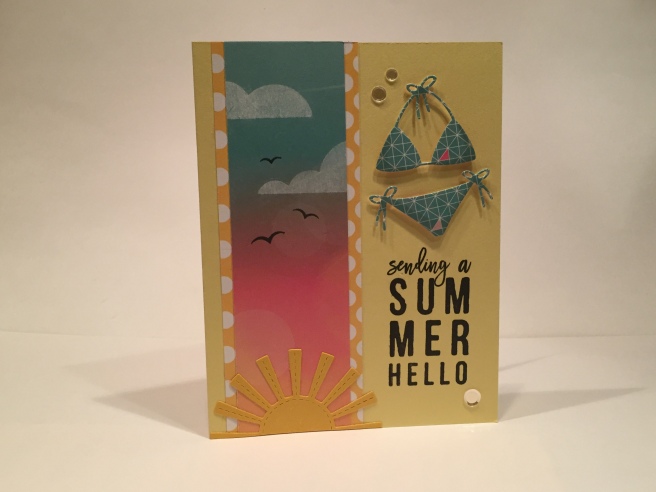 • Here is my first card from the kit using just a strip of that beautiful sunset pattern paper. I matted that on a piece of the yellow and white polka-dot pattern paper, stamped the sentiment directly on the Sunshine card base and die cut a bikini from one of the pattern papers as well. I did use my lightest grey Spectrum Noir marker to add a touch of shading to the die cut. I stamped the clouds using Avery Elle Pure White pigment ink – (note – this ink looks like it is not stamping well, but the white brightens as the ink dries – I made the mistake of triple-stamping one of the clouds and I thought it would NEVER dry!!) Of course I added those great birds from the stamp set as well… This was such a beautiful piece of pattern paper that I was trying to conserve it as much as possible, so the strip is only 1.75 inches wide. I added half of a stitched sun die at the bottom of the pattern paper to break up the vertical stripe a bit. Add a few Moonshine Confetti pieces for a little sparkle, and my first card is complete. The bikini die included in the kit is cute but, ultimately, seems rather limited to me.
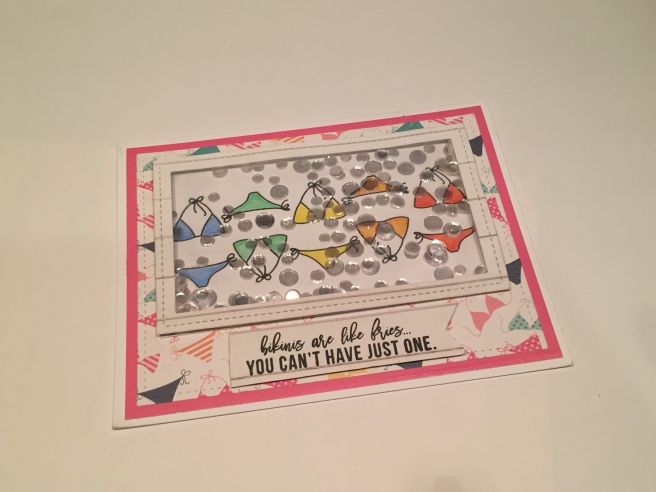 • Obviously, this kit was encouraging recipients to make shaker cards… what with the inclusion of an acetate sheet and double sided foam strips.. This is the only shaker card I made with this kit. I originally wanted to fill the window with all sorts of bikini die cuts but I couldn’t fit more than a few of them in because the die is actually fairly large. I opted to use one of the bikini stamps and, in order to get as many in a row as possible, I stamped them in SSS Intense Black Ink up-side-down and right-side-up and colored them all with my Spectracolor colored pencils. The frame and pattern paper are cut with Lawn Fawn Stitched Rectangle Dies and matted on the solid pink pattern paper and attached to a white card base. Plenty of Moonshine Confetti sequins and the “bikinis are like fries…’ sentiment. I thought the script part of this sentiment was pretty difficult to read though… very small indeed.
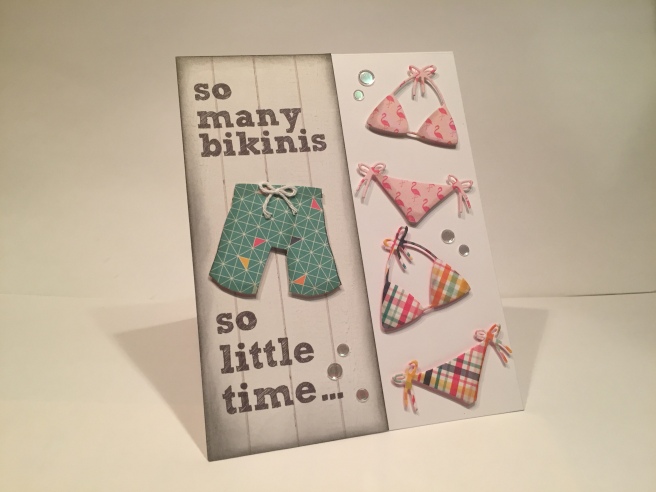
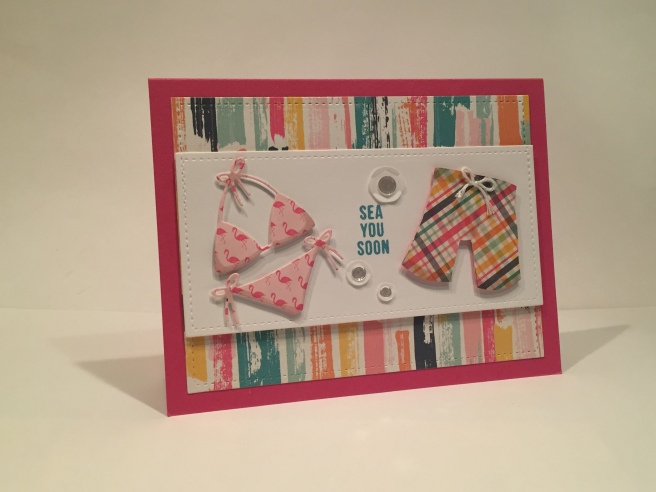 • I created a Board Shorts cut-out to go along with the bikini die cut. (again both shaded with a light grey alcohol marker) I thought all these bikinis looked lonely and I just wasn’t sold on the notion of a uni-sex beach..! The addition of a little white twine bow to the waistband of the shorts really sells the cut-out and coordinates nicely with the die-cut ties. The white card stock is from my stash, die cut with the LF stitched rectangle dies and mounted on pattern paper and the Doll Pink card base. I have to admit I am a little pinked-out from the last couple of months of card kits, but I do really like this cardstock color! I used some chunky white sequins from my stash and topped them off with the Moonshine Confetti sequins and stamped the title stamp in Distress Oxide Broken China. Now there’s some company to look forward to on the beach!
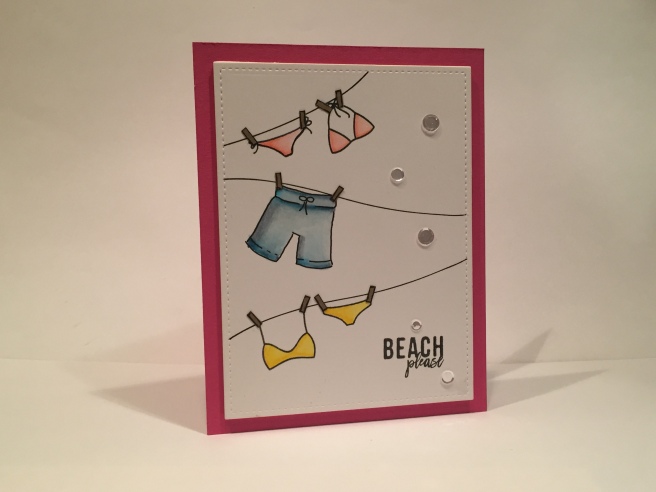 • Since I created the Board Short cut-out I figured I should create a Board Short “stamp”. I stamped both of the bikini stamps on Bristol Smooth cardstock in Intense Black Ink and I traced my Board Short “stamp” and the clotheslines with a Sakura Pigma 05 Micron Pen. I love these archival, waterproof, pigment pens because they come in a variety of very small nib widths. It’s very easy to match up the line width of stamps to the nib widths of the pens, so they are great for making corrections to stamped images. Here, the drawn lines match the stamped lines perfectly. I just used a Stitched Hillside die to give me a gentle curve on the clotheslines and cut down some craft cardstock into thin little ‘clothespins’. I colored the suits with my Zigg Clean Color Real Brush Markers and stamped the “Beach please” sentiment in intense black ink. Again, the cardstock is cut with a LF Stitched Rectangle die and mounted to the Doll Pink cardstock with foam tape. Add a few Moonshine Confetti sequins for a little sparkle. I love the movement that the curved clotheslines gives the whole image. I think it really has the feeling of a clothesline flapping in the breeze… I like the simplicity of this card.
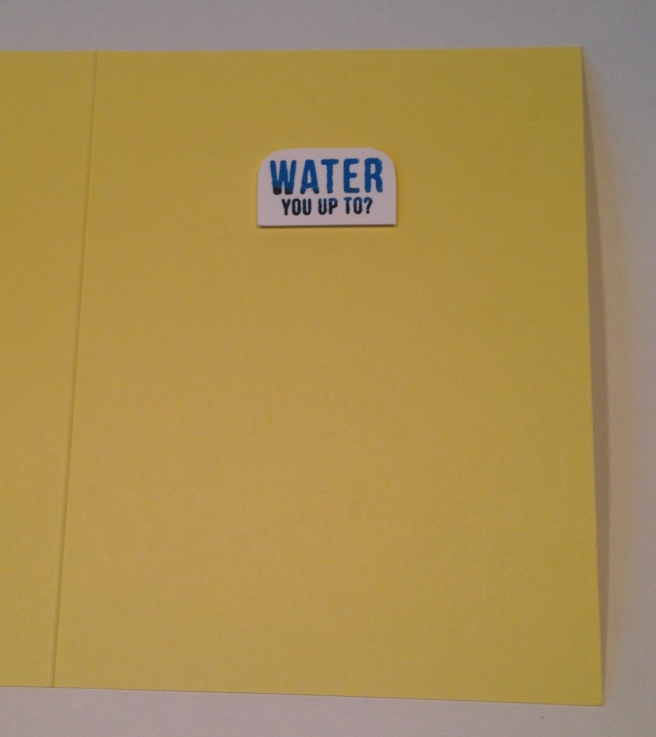
• Now, what to do with the “Water you up to?” sentiment. Obviously, I have to use the wavy water stamp from the kit, but the sentiment felt a little incomplete to me. So I ended up using the sentiment on the inside of the card and making a little pun on the front.
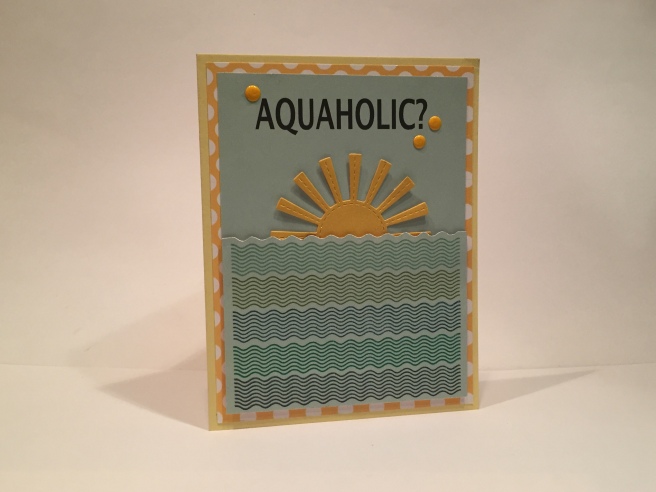
“Aquaholic?” (Arial Narrow font) makes me laugh, goes well with the stamp, and is a perfect lead-in to “water you up to”. I stamped on the solid aqua pattern paper with the wavy water stamp in every blue or blue-green ink I had in stock and fussy-cut the top edge to tuck the stitched sun die behind. Matted that (bottom panel with foam tape) on the yellow and white polka-dot pattern paper and the Sunshine card base. A few dots of Ranger Enamel Accents in Lemon Twist (and some Wink of Stella on the sun) add a final touch and a little sparkle.
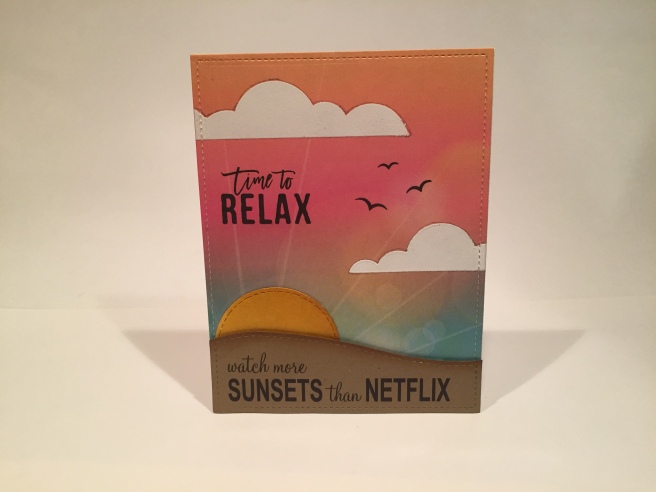
• Back to that gorgeous pattern paper…! I used the rest of that paper here on my “Time to Relax” card and cut it to size with a stitched rectangle die. I stamped the clouds with VersaMark ink and white embossed them… The birds and sentiment stamped in SSS Intense Black ink and a sun created from a stitched circle die to go behind a bit of craft cardstock cut with a stitched curves die. I added the “watch more SUNSETS than NETFLIX” sentiment with my computer and tried to match the RELAX sentiment as much as possible – I used ‘Monterry BT’ for the cursive and ‘Arial Narrow’ for the block type. I did flip the pattern paper upside down so the ‘rays’ were going in the right direction from the sun in the lower left corner, and the added sentiment seems like good advice as well as giving me a bit of a chuckle…!
At this point, I realize that I have used EVERY STAMP in the stamp set… I don’t think I have ever used every stamp in a kit.. so now I can let the imagination truly run wild!!
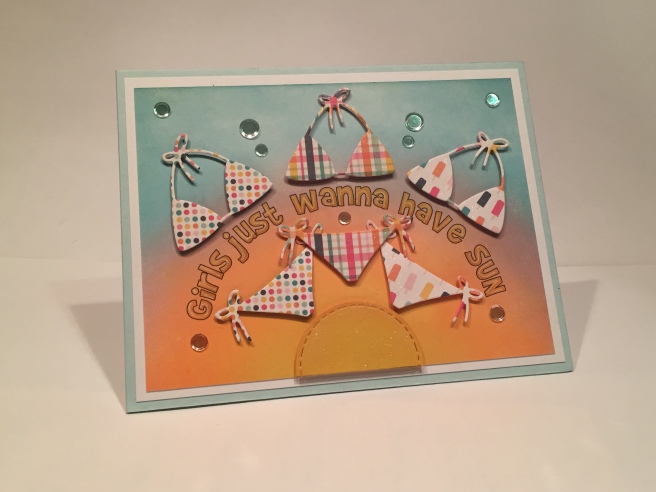
• “GIRLS JUST WANNA HAVE SUN” is the perfect sentiment to go along with a group of the bikini die-cuts! I created the ink blended background with Distress Oxide inks in Fossilized Amber, Spiced Marmalade, Worn Lipstick and Broken China on a piece of Bristol Smooth cardstock, matted that on some white cardstock from my stash and attached those to the Audrey Blue card base. I created the sentiment on my computer and printed it up on the inked (and dried) cardstock. Three bikinis and a half sun die-cut from pattern paper and mounted with foam tape. Of course the moonshine confetti sequins add a nice sparkle to the finished card.

• There were two sheets of pattern paper in the kit that were the same pattern in two different colors – a sunset gradient and a pink. I wanted to use them together and see if I could get the pattern to be continuous across both colors of pattern paper. I don’t know if anyone will ever notice, but lining up the patterns made me happy! I added some vellum from my stash over the pink pattern paper and printed my “I’m hot for you” sentiment with my computer on the vellum. (Mister Earl BT is the font) Of course the whole sentiment depended on having a sun as the focal point – again cut from some yellow cardstock from my stash – and printed with a happy face wink that I had in my image files to add some character. Everything mounted on a white card base, three sequins from the kit and a fun summer card with no bikinis!
• I wanted to use my Board Shorts cut-out again, so I created this sentiment (in Sketch Block font) on a strip of the nice white-washed board pattern paper edged with a little Pumice Stone distress ink. The white twine bow really finishes off the shorts nicely. The bikinis and Board Shorts are again lightly shaded with my alcohol markers and mounted with foam tape to a white card base. Can you tell I really like those Moonshine Confetti sequins? Great sparkle while still letting the card itself shine through.
• Finally we arrive at card number ten… I do not have a big stash of stamps in my possession – one of the reasons I started doing subscription kits was to affordably grow my stamp stock. When I first started playing with this kit, I looked to see if I had any stamp images (the April bunny? the May critters?) that the bikini die or stamps would fit – I thought a penguin or a bunny wearing a bikini would be very funny..! None of the bikini pieces from the kit would fit any stamps I had, so I went to the web to look for an appropriate animal to put a bikini on… I found a great pig image and after some scaling and stretching, managed to size the image so the bikini die cut would fit:

I traced the image onto bristol smooth cardstock with my pigma micron pens and colored it with my Spectrum Noir markers. I outlined the bikini die with the same pen and just trimmed off the die-cut ties and added twine ties to the bikini bottoms for a little extra dimension. The sentiment is printed in ‘Marker Felt’ font in plain black and all is mounted on the Audrey Blue card base. I did add Glossy Accent dots instead of the Moonshine Confetti to provide the finishing touch. This card makes me laugh a lot. I hope it gives you a couple chuckles as well!
AND HERE”S MY FIRST BLOG GIVE-AWAY!! For anyone who subscribes to my blog with this first post, I will email a .png file of my Board Shorts images used with these cards. Both images included- the larger cut-out shape and the smaller traceable “stamp” image which match the sizes of the die-cut and the stamps in this set.
I encourage comments about this post, (constructive criticism encouraged – I’m a total novice here!!!) Let me know what you like and what you don’t, and any ideas you may have about future posts. And if you’d like to e-mail me, just go to the CONTACT page.
I look forward to hearing from you!!!
COMMENTS:


