
Hello Folks! Scott here with my ten cards inspired by the My Monthly Hero December 2023 Classic and Premium Kits! We’re wrapping up this year with a gigantic Alphabet stamp set that features primer-like images that go beyond the standard Apple, Ball, Cat, and Zebra that we’re used to!

CLASSIC KIT INCLUDES:
• XL Alphabet Clear Stamp Set, 8″ x 10″
• Alphabet Cover Plate Die
• 10 Pack of Watercolor Pencils
• 6 Sheets of Luxe White Watercolor Paper, 8.5″ x 11″
• Water Flow Brush
PREMIUM KIT INCLUDES:
• Everything in the Classic Kit AND:
• Numbers Clear Stamp Set, 4″ x 6″
• Fineline Applicator
• Sea Salt Reactive Ink Inker
• Gold Glimmer Metallic Ink

Now this is quite the interesting kit! I generally like alpha stamps… and the Cover Plate die actually die-cuts the entire alphabet within a 4.25″ x 5.5″ panel. Looking forward to playing with the watercolor pencils, but not particularly keen on all of these very small images… Hmm.
So I turned to the Cover Plate die for my first card… And since there’s no more than an “is for” as far as sentiments are concerned, then I guess we’re left to our own devices… unless you’re looking to make an alphabet primer!

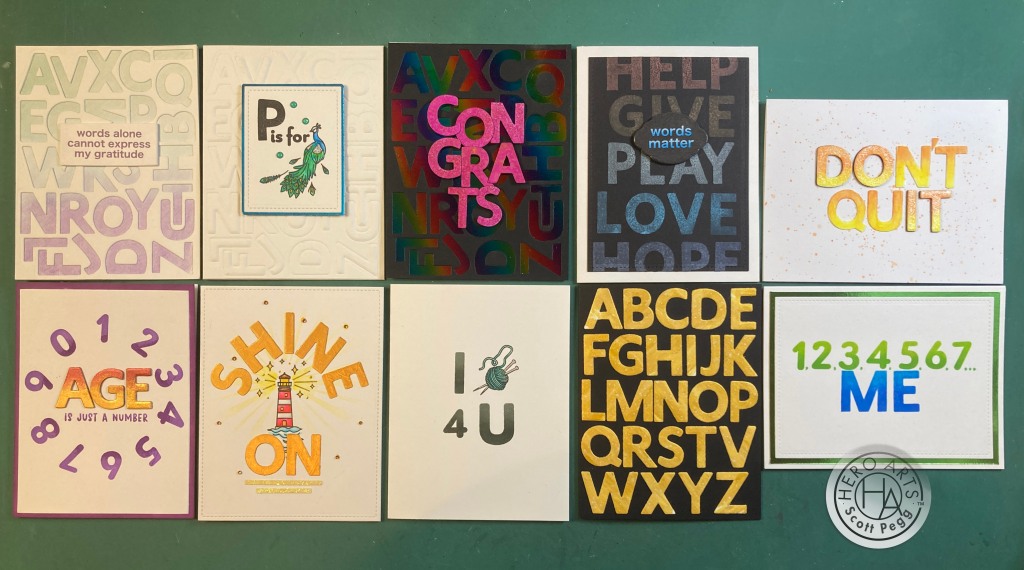
I die-cut the Cover Plate die from a 4.25″ x 5.5″ panel of 110# Neenah Solar White card stock. I cut a matching panel out of the watercolor paper and colored the whole panel with the purple, blue and green watercolor pencils. I colored it very lightly, trying not to leave any pencil strokes visible. Then I took the water brush and blended all the colors together. Very nice… you almost can’t see any pencil lines. I glued the die-cut panel on top of the watercolored panel and then down to an A2 White card base.
And here’s where I’m challenged… the letters cut with the Cover Plate are 1″ tall – making them fairly large – you might be able to get a few short words on a card front but not much more. Just the word THANK is more than 4″ long! I opted instead to create my own sentiment – using my Silhouette Software and the Hiragino Sans W7 font. I printed the sentiment in purple and die-cut it with a HA Nesting Rectangle Infinity die along with four blanks – I glued them all together and down to the card front. I gravitated to “word” type sentiments since we have a background of letters… so this turns out to be a heart-felt thank you card! That Cover Plate die is really interesting…!
Of course you can emboss with a Cover Plate die as well – you don’t have to cut all the letters out…!

I embossed the Cover Plate die on a 4.25″ x 5.5″ panel of 110# card stock (most die-cutting machines have instructions for dry embossing with a die). I stamped the peacock and text using HA Intense black ink on the watercolor paper, and colored the peacock with the watercolor pencils and Zig watercolor markers. The peacock is less than 2″ tall – pretty small to go crazy with details…! I die-cut the painted panel with a Lawn Fawn Stitched Rectangle die and mounted that to a thin mat of Metallic Blue card stock.
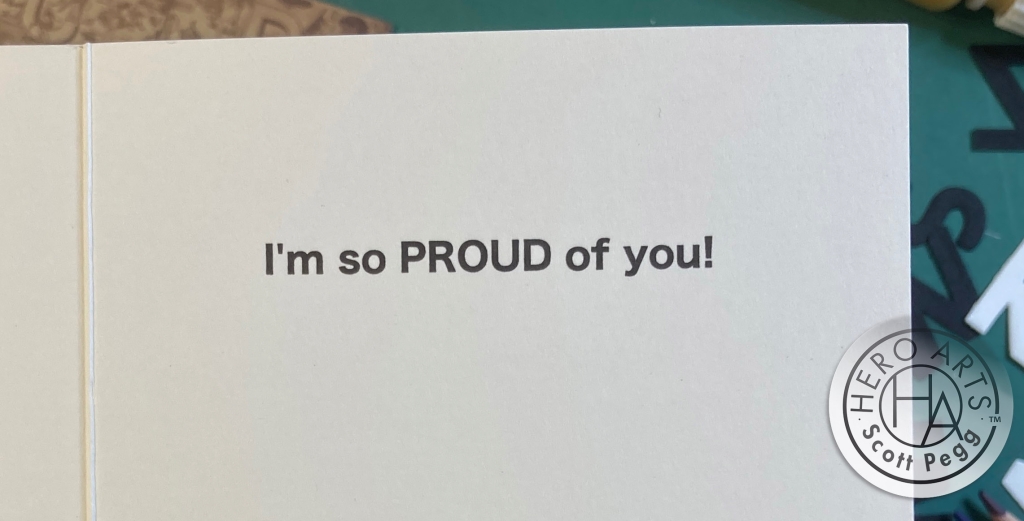
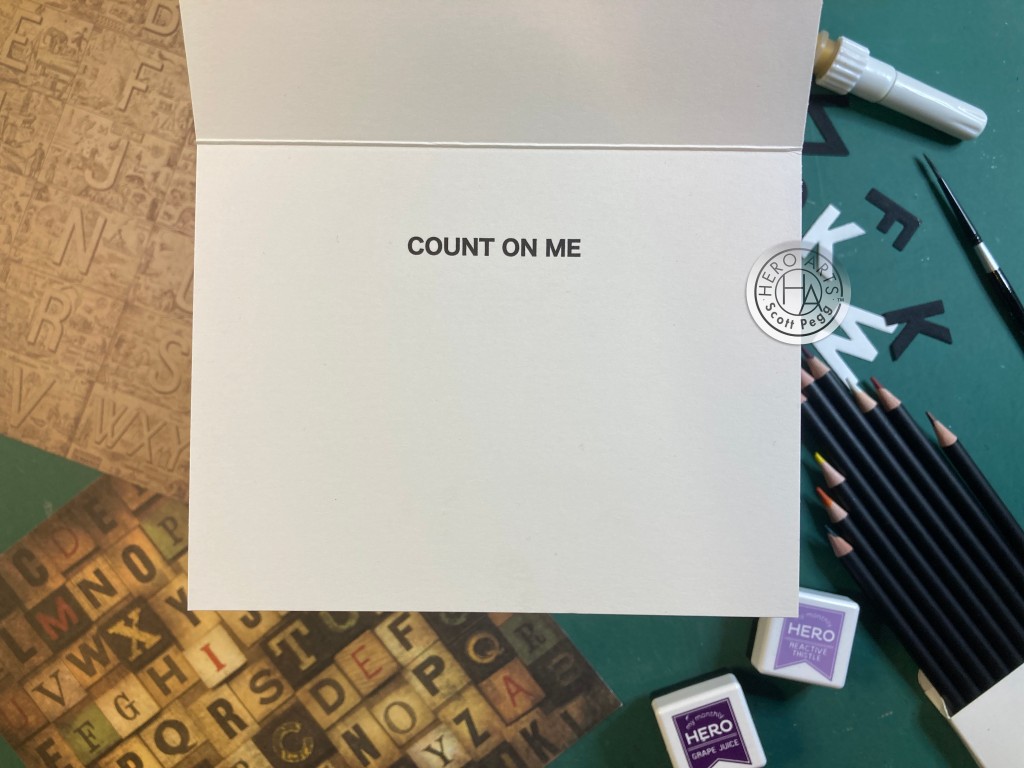
I suppose you could mention how proud you are of the recipient in your message, but I decided to print it out on the inside of the card. Same font as my first card – and I feel this really makes the card complete. I glued the embossed panel to the card front and attached the peacock panel to the card front using foam tape. Three Glitter Enamel dots add a touch of bling to wrap up this card. I really like the embossing of the Cover Plate die!
Let’s try some Pitch Black card stock with that Cover Plate die… and maybe some foiling to add some real shine!
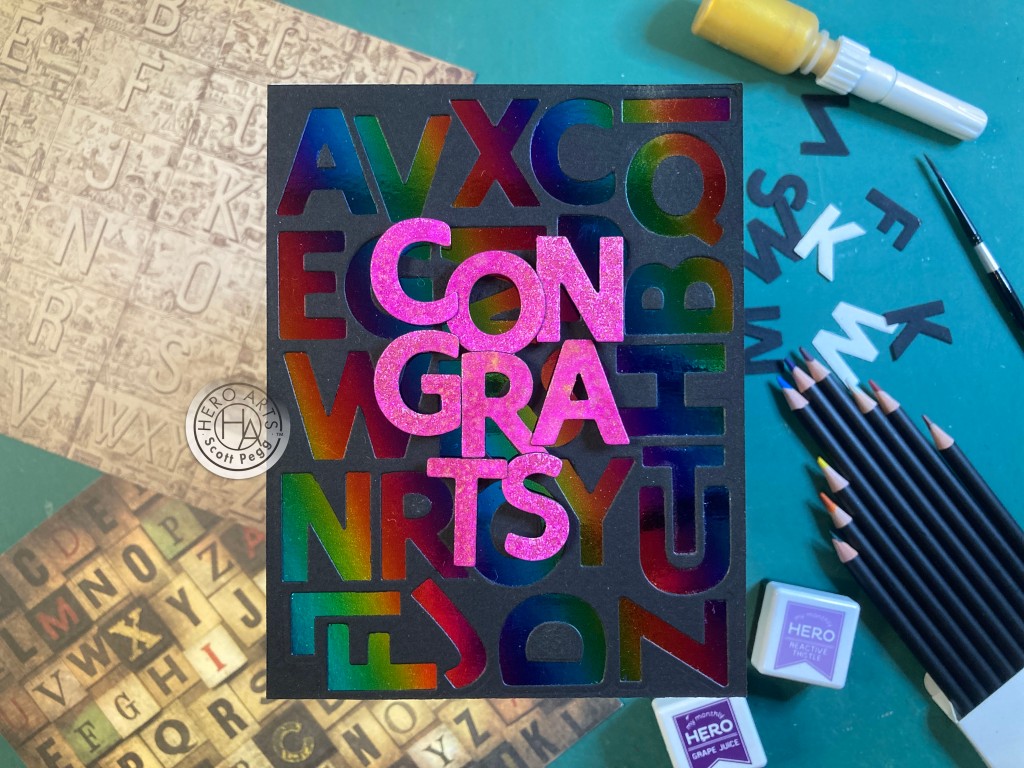
This is the terrific background you get with some Rainbow foiling! Cover Plate die cut from Pitch black card stock. I used some Rainbow Deco Foil and toner sheets for the background and glued them both to a White A2 card base.
I took white letters from the previous die-cuts and colored them with Hero Arts Fuchsia and Gold Duo-Tone spray (we got some of that in our February 2023 MMH Kit). Once dry, I used a black marker to color all the edges of the letters (don’t want any white edges peeking out) and arranged them together for this sentiment. I glued the letters to each other and then down to the card front with foam tape. That’s one way of squeezing in a longer sentiment…! Fun!
Of course we also have the Alpha stamps… they are the same size as the die-cuts – 1″ tall – so not a lot of extra room…

I die-cut a panel of Pitch Black card stock to 3.75″ v 5″ with a Lawn Fawn Stirched Rectangle die and stamped the words using Candied Apple, Carved Pumpkin, Bundled Sage, Broken China, and Shaded Lilac Distress Oxide inks. I went through a lot of short inspiring words before settling on these five, and the Distress Oxide inks always work well on Black card stock.
I turned to my printer and Silhouette software for the sentiment. I printed it in a blue ombre on a black background. Then I took a piece of packing tape and taped over the sentiment before die-cutting it with a Hero Arts Nested Tag Frame Infinity die. That gives the sentiment a little shine and deepens the printed black. I die-cut a few more blanks and glued them all together before gluing them down to the card front. I like this card!
I had one more sentiment I wanted to try using the die-cut letters… kind of a double sentiment if you will…
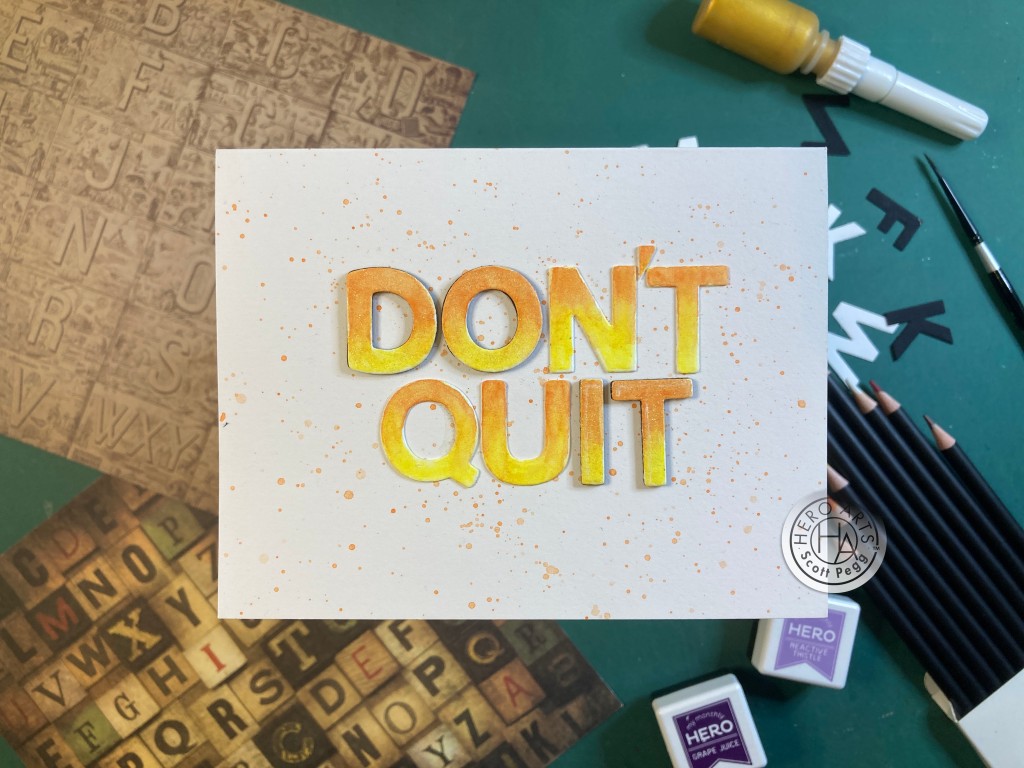
Fairly subtle when viewed straight on… but if you look closely you can see that the “DO IT” portion is highlighted!. These letters were cut from the watercolor paper and colored with the watercolor pencils. I die-cut two more blanks of the DO IT letters in Pitch Black card stock and glued them together.
I spattered some of the orange watercolor pencil (just color on some paper and pick it up with the water flow brush) on a White A2 card base, let that dry and glued the letters on top. You can’t really see it in the photo, but I did add some Spectrum Noir Sparkle pen to the DO IT letters for a little shine and a touch more definition. Useful card!
That’s five cards using just the elements in the Classic Kit… now we can add some number stamps for more!

Though not as large as the Alpha stamps, the number stamps are 3/4″ tall, so they’re a pretty good size all on their own! I trimmed a panel of White card stock to 4′ x 5.25″ and stamped the numbers using HA Thistle and Grape Juice inks. I did use a circle die to help space the numerals. I used the Pitch Black letters from the Black die cut for “AGE” and colored them with Creative Expressions Gold and Red Metallic Gilding Polish – really nice finish on that black card stock.
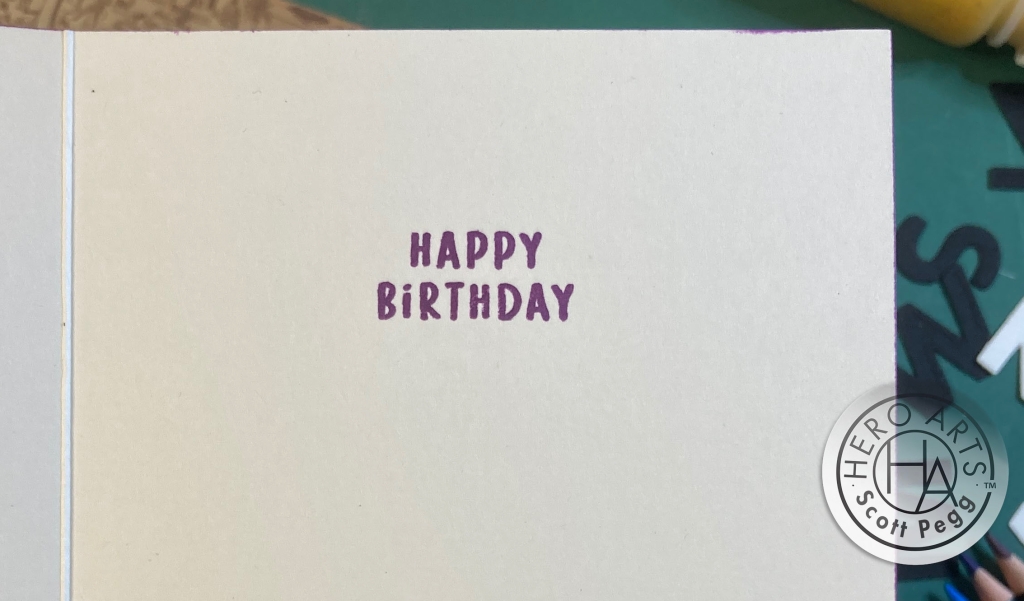
I stamped the sentiment (from the numbers stamp set) using the same two inks, added another black layer to the die-cut letters and glued them to the card front. I colored the edges of a White A2 card base using the Grape Juice ink and glued the panel on top. Of course, I had to add the Happy Birthday sentiment from the stamp set on the inside – stamped in Grape Juice ink. This is a fun Birthday card for any age!
There’s not a lot of options with the Numbers Stamp set, but I haven’t used a lot of the images from the Alpha set…
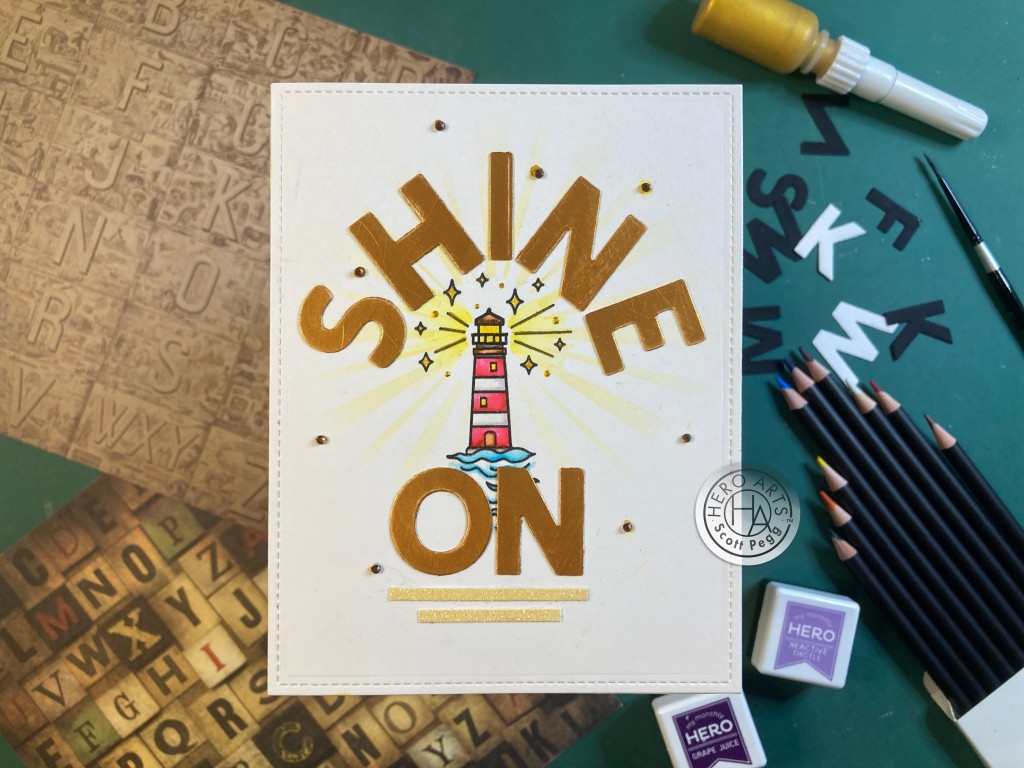
A nice encouragement card where I made up some space for the sentiment by curving it around the lighthouse. I stamped the Lighthouse on a panel of Bristol Smooth card stock and colored it with my Zig Real Brush Markers. I took a sunbeam stencil and lightly stenciled some rays around the beacon with Lemon Drop Reactive ink. I colored white die- letters with the Gold Metallic Gilding Polish and glued them around the lighthouse. I used the Gold Glimmer Metallic ink to color the sparkles around the beacon and added a few dots of the same around the light. I added a couple strips of glitter card stock below the sentiment for a little balance and added tiny bronze gems for some extra sparkle. This is a really nice, though small, lighthouse image… could be useful with some of the seaside dies and stamps we’ve gotten from Hero Arts in the past. Shine on!
When I first saw the Alpha stamp set, I thought creating some Rebus puzzles (a puzzle in which words are represented by combinations of pictures and individual letters) would be fun… alas… not a lot of options with these images…

This card actually utilizes both stamp sets! And an image! “I yarn (yearn) for you” – If you say it with a heavy Scottish accent, it works!! HA! This is a simple one layer card with the ball of yarn stamped in Intense Black ink and colored with alcohol markers, and the letters and numbers are stamped with Concord and Ninth Dove and Mushroom inks for a nice ombre, and then stamped with Embossing ink and embossed with Clear embossing powder. So there is a little bit of shine on this card! I really like the white space here and the one-layer and the pun-ny rebus!
This card came from my search for word puzzles… this one tickles me a lot!
The most interesting thing about this is the fact that you can only fit 25 letters lined up in order, on the front of a card!
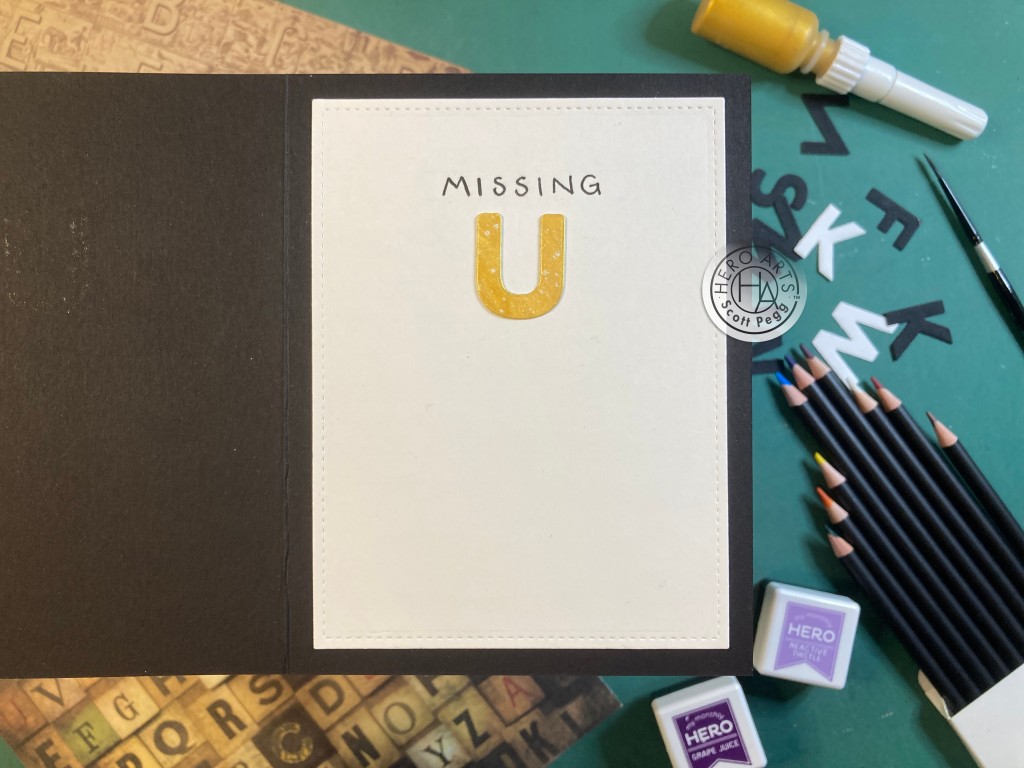
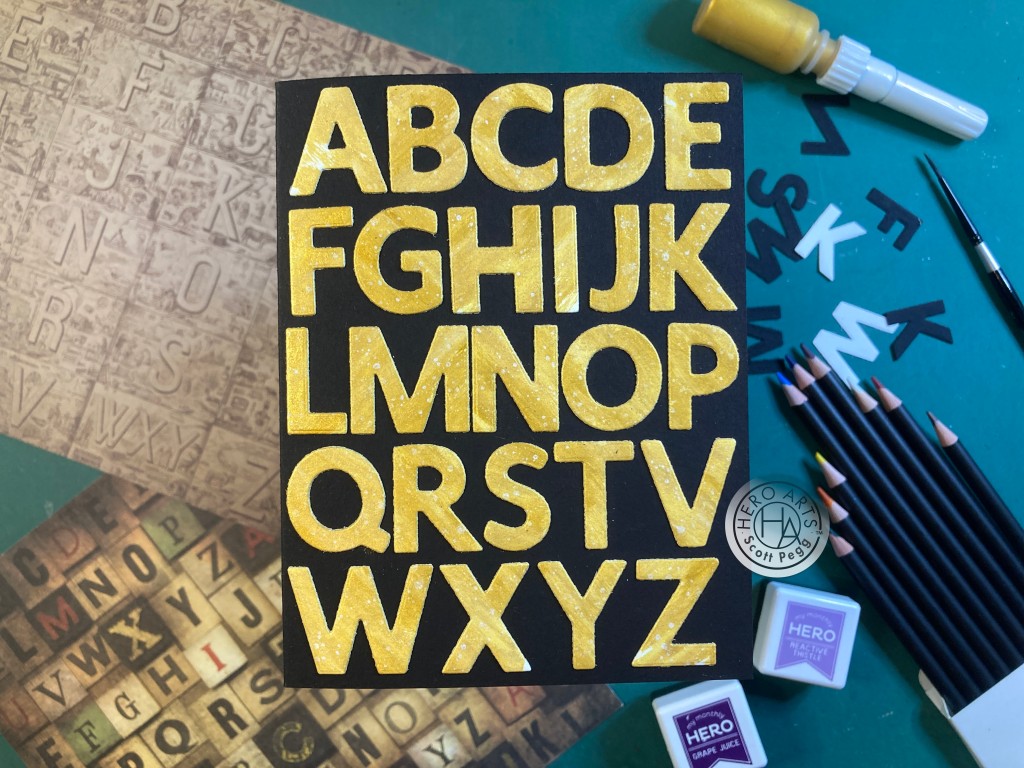
I do love “miss you” cards and I think this one is pretty unique! And the fact that the Alpha die-cuts fill up the card front WITHOUT the “U” is just icing on the cake!! I actually took a panel of watercolor paper and colored the whole sheet with the Sea Salt Reactive Ink and the Gold Glimmer Metallic Ink. Very interesting using both of those inks together – tones down the shine of the metallic ink while giving us some nice white highlights. I let that panel dry completely, and then die-cut the alphabet with the Cover Plate die. I glued the Alphas to a Pitch Black A2 card base after figuring out the spacing – I would NOT have been able to make all 26 letters fit in this order… and that makes me appreciate the Alpha Cover Plate die a little bit more!
I die cut a panel of White card stock with a LFSRdie and glued that to the inside of the card base. I couldn’t find a “missing” sentiment in my stash, so I ended up just hand-writing “missing” on the inside with a Black Pigma Micron pen. Just add the leftover “U” underneath and we’re done!. No extras needed! I have decent handwriting but am terrified of actually writing my own sentiments… never think my handwriting is good enough… but it came out okay here!
One more rebus to wrap up the cards this month… I have to give credit to Joel for this one.
Looks like I really got into the whole ombre stamping this month! And short of the mat, another one-layer card!
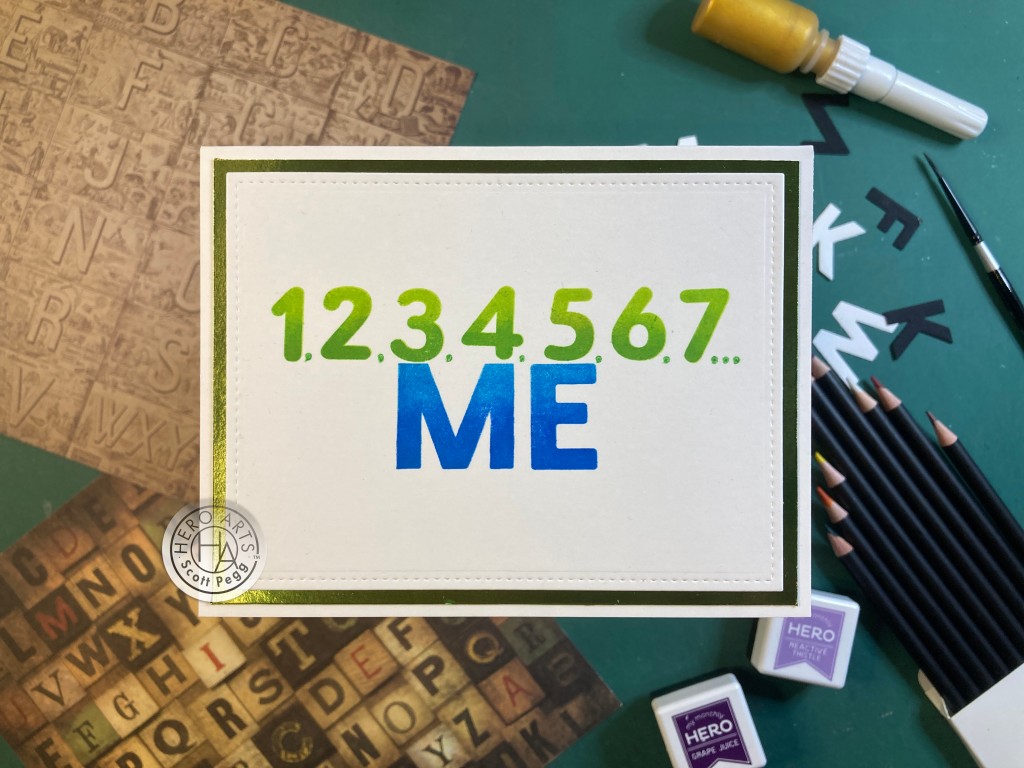
And a great sentiment to boot! Again, I did use both stamp sets for this fun rebus card. The numbers are stamped in Key Lime Fix and Green apple reactive inks, and the “ME” is stamped in Splash and Blue Hawaii reactive inks. Fun ombres! I always start with the lighter color on the whole stamp, add the darker ink and feather the edge with a blending brush, and then one more layer of the lighter ink to help blend it all together. I’m getting better at stamping ombre!
I die-cut the stamped panel with a LFSRdie, added a metallic Green mat and glued those to the front of an A2 White card base. I printed the sentiment on the inside of the card using my Silhouette software and the same Hiragino Sans W7 font. The metallic mat on the front is all the shine this card needs. And a fun rebus puzzle hopefully lightens the mood a bit for someone who needs some support.
And surprisingly, that’s card number 10! This may have been one of the most difficult kits I’ve ever had to try to come up with ten different cards for, but I do believe these kits this month are great stash builders!
I knew from the beginning that I would never be able to use every stamp in these kits…! And I did only use three of the small image stamps. But I gave that Alphabet Cover Plate die a good run for its money, and used a great deal of the die cut letters as well! We do have a great variety of cards here too – Thank you, Birthday, Encouragement, Love, Support… Though this may not be my favorite kit of all time, I am pretty sure it will come in very handy in the years to come!
The Classic kit has sold out already – along with most of the December extras – but the Premium kit is still available at Hero Arts! If I managed to capture your imagination here or prompted some ideas of your own, and you want to grab a kit for yourself, please use my links below when you shop at Hero Arts. It does provide support for this page when you do, and it costs you nothing extra! Thank you so very much!
My Monthly Hero December 2023 Premium Kit: http://shrsl.com/4cyqx
Hero Arts: https://shrsl.com/1rv00
Sorry this is a little late this month… December was quite busy for us this year and I kept getting called away from the craft room! We did have a Lovely Thanksgiving, and a Very Merry Christmas this year – I hope all of you have had the same! Remember to Like me, List me, Pin me, Post me, Share me with all your friends, Don’t run with scissors… and, as always, I send you and yours Love and Light and all of my best wishes for a Glorious New Year!
DISCLOSURE: This site contains some affiliate links to products. I may receive a commission for purchases made through these links (at no cost to you). As an Amazon Associate I earn from qualifying purchases. Thank you!

Scott, your cards are stunningly beautiful as always. TFS
LikeLike
Thanks Florie!!! Happy New Year!
LikeLike
Hi there! Happy New Year. Just to let you know, the rebus portion is cut off and nothing below it shows up on the email. Have a great, successful, happy and healthy New Year!
Delina dmaberle@earthlink.net (mailto:dmaberle@earthlink.net)
LikeLike
Happy New Year, Scott! Such clever use of the supplies you received this month. To be honest, I would have struggled to come up with ideas that I would have been satisfied with, and I love what you came up with. Love the “Don’t Quit/Do It” – great idea, as well as the “Missing U” card. Beautiful colors on the “Congrats” and “Words Matter” cards.
All the best to you in 2024!
LikeLike