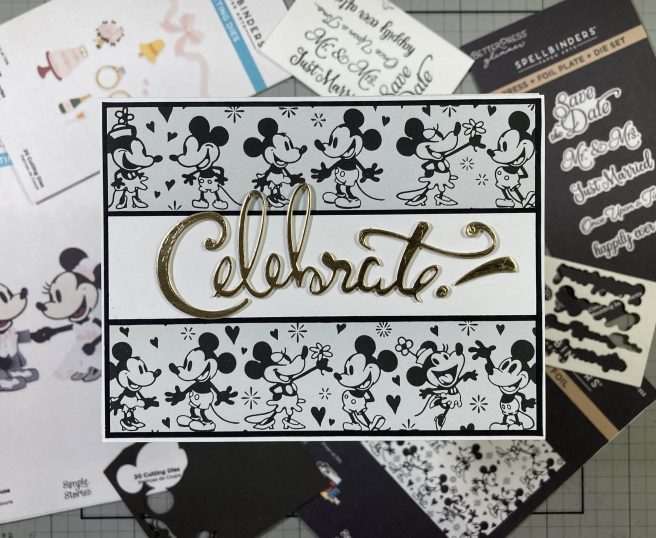
Hello Folks! Scott here again with another mid-month adventure with the Classic Mouse duo! In preparation for Halloween, Spellbinders has continued the Classic Mouse story with costumes and accessories!
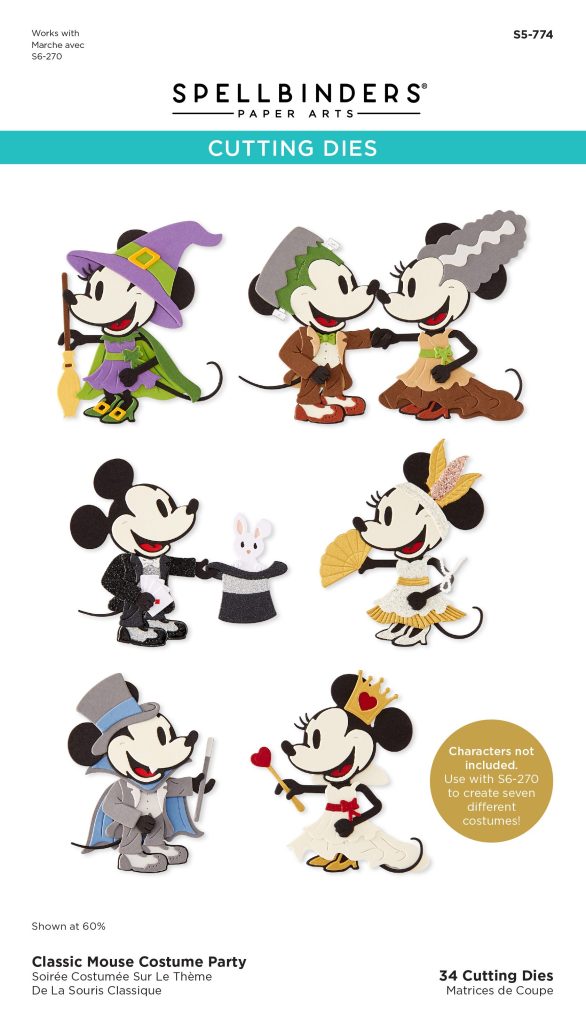
The new Classic Mouse Costume Party die set has seven costumes for our mousy pair – Witch, the Monster and his Bride, Magician, Pocahontas, Dracula, and Queen (Princess?) of Hearts.
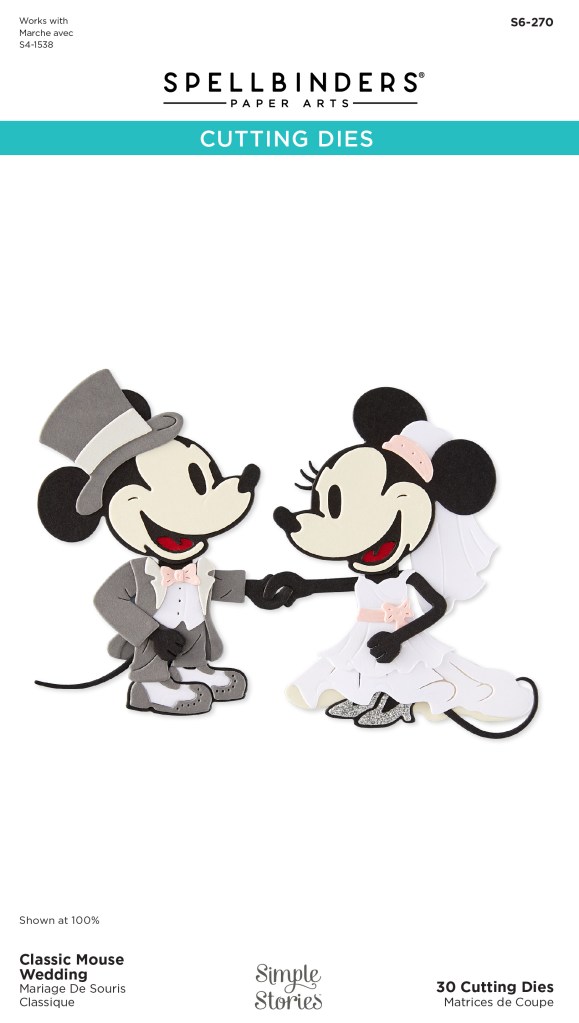
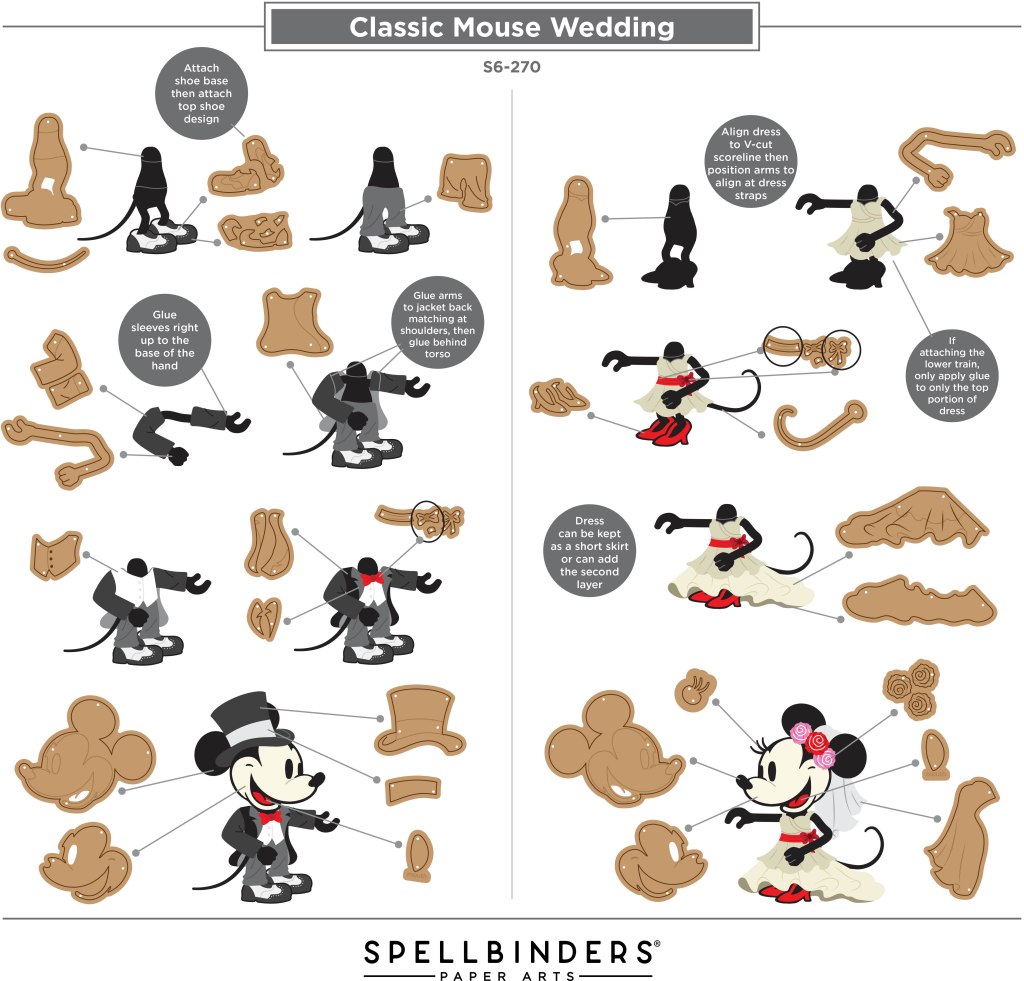
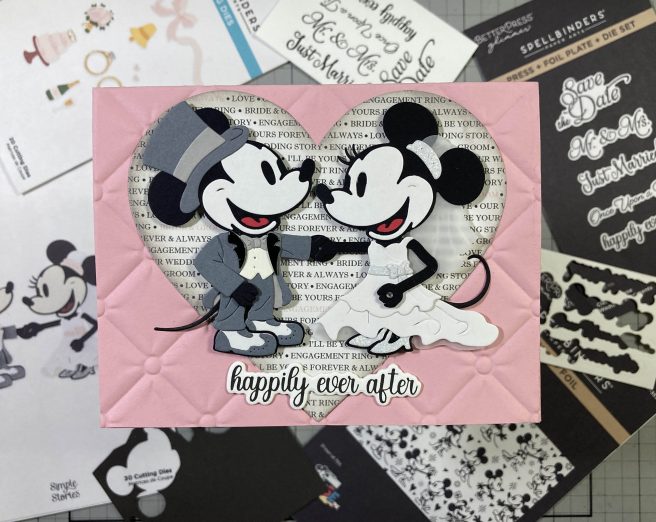
DO NOTE: Characters not included. These costumes require the Classic Mouse Wedding die set – this die set does not include any of the basic mouse pieces and clothing pieces available in the Wedding set.
I’m not sure if the Pocahontas costume is politically correct these days… but I’m sure there are some fun ways to adapt these dies to our own devices…!
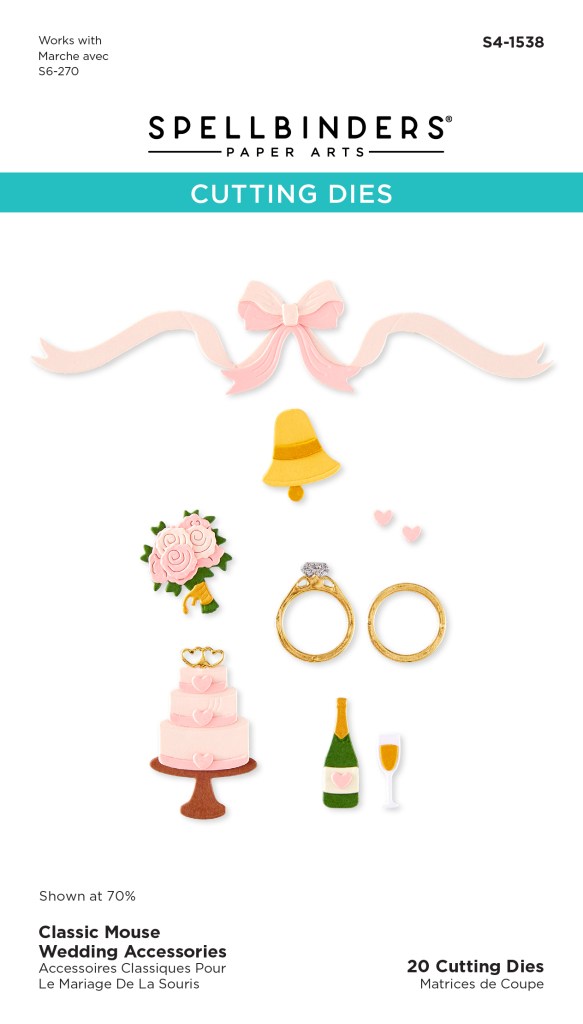
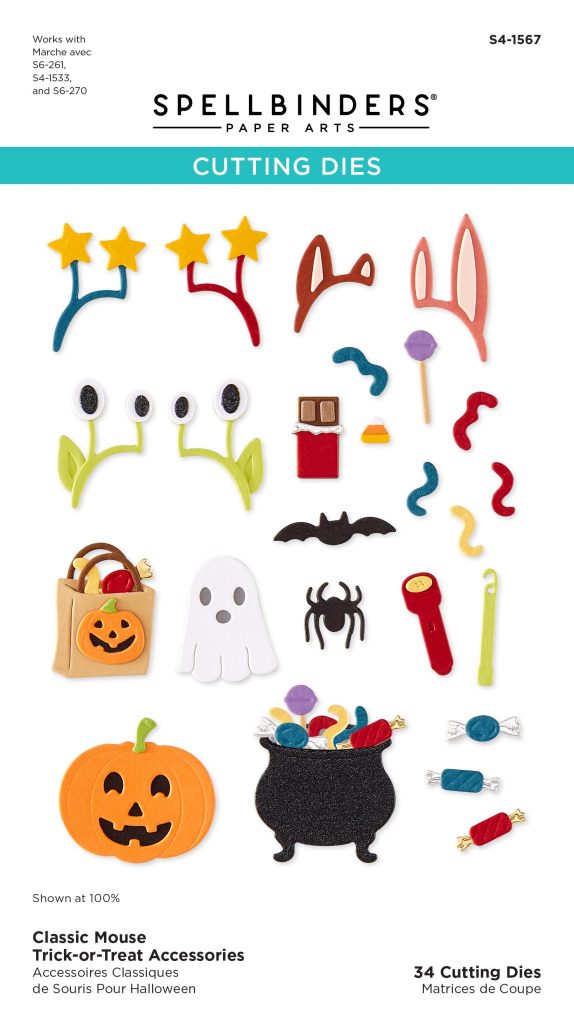
The Classic Mouse Trick-or-Treat Accessories die set has a bunch of Halloween accessories that would pair up with a variety of spooky cards… with or without mice!
The headbands are a fun accessory that you can use with the original Steamboat Willie Duo die set – no elaborate costumes needed! But I’d almost lay money on the fact that these headbands would work on a variety of die-cut characters!
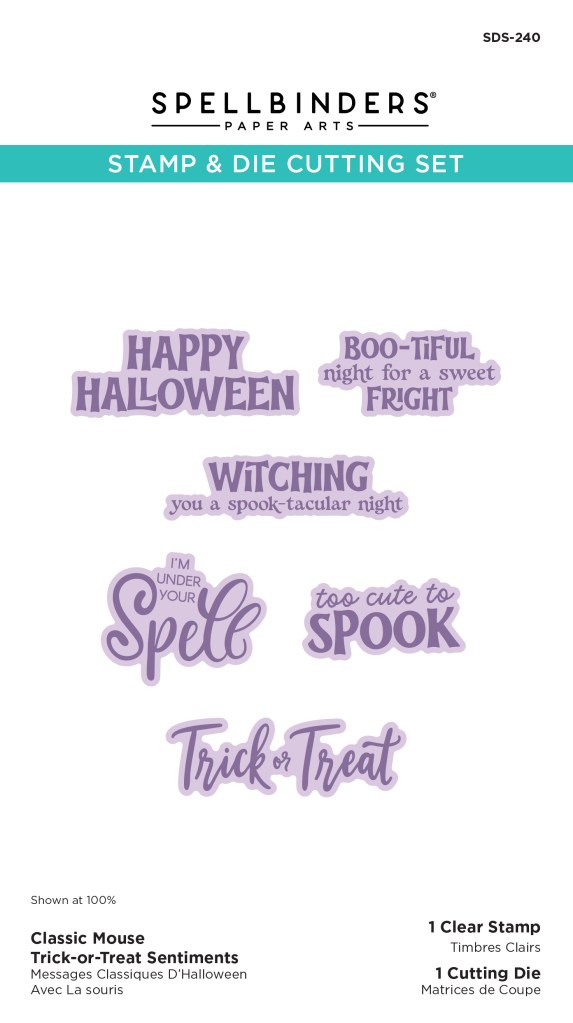
There is also the New Classic Mouse Trick-or-Treat Sentiments Stamp and Die set! Though this wasn’t available to me, I do love that these sentiments aren’t particularly mouse oriented, and the stamp and die are single pieces, so you stamp once (all of the sentiments) and then you die-cut them all out at the same time! Yay, Stamps!!!
I thought I should make all of the costumes first… before even thinking of cards. So I die-cut a bunch of mouse pieces from the CM Wedding die set and started assembling all the costumes… Spellbinders does have assembly guides for both die sets if you need… and most of the costumes are pretty simple! Then I decided how I was going to use these characters on some cards…

Remembering that it was a bit of a tight squeeze getting both mice on an A2 card, I thought I would try an A6 (4.5″ x 6.25″) card instead! I stamped the house and graveyards (and bats) using Versafine Onyx Black ink and the Hero Studio Card Kit of the Month for September 2024. I ink blended the windows with Lemon Drop Reactive ink and then the sky with Grape Slush and Purple Galaxy, and the ground with Root Beer Reactive inks. The “sparkles” above the Bride are rub-ons from the same kit, and the sentiments are from the My Monthly Hero September 2019 kit – stamped in Versafine Onyx Black ink and embossed with Clear Embossing powder.
I worked on the First National Tour of the New Mel Brook’s Musical Young Frankenstein, and our Monster was green! Ok… maybe not quite this fluorescent, but he was still green! I did get a big kick coloring these faces, arms and tails green! I used my Ohuhu Alcohol markers and decided to color the costume pieces too – just die-cut them from White card stock. Their shoes are die-cut from some card stock embossed with HA Sand Embossing powder – I thought that looked appropriately muddy…! I skipped his vest, lapels and tie, and die-cut his suit from some Brown textured card stock distressed with Unicorn White ink.
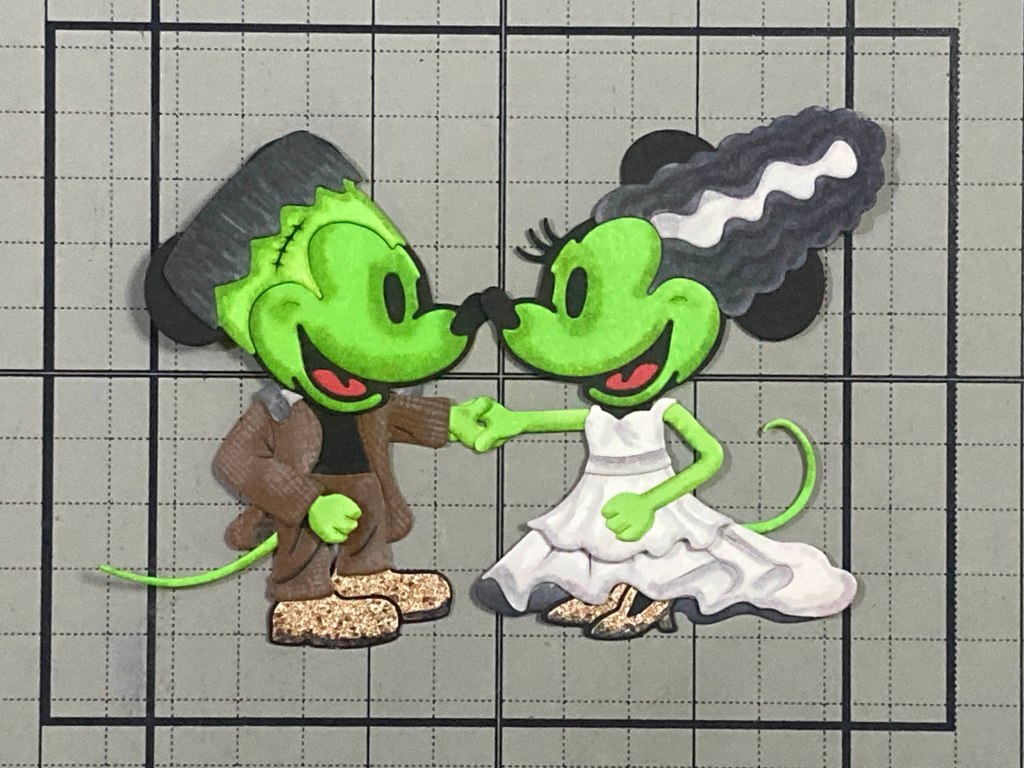
I added the mice to the card front with foam tape (gluing the tips of their tails flat) and I gave them the bat and spider accessories to hold in their hands. Love the “one of a kind” sentiment! Is that the Haunted Mansion in the background?
That’s the only truly matching pair of costumes for our mice… but I suppose pairing any costumes together is fair game! I think my color choices for these next two costumes led me to combining them on one card. And, since the pair of mice are fairly large, and an A6 card didn’t add enough room for bigger sentiments, let’s try a big ol’ 5″x7″ (A7) card!

Plenty of room here! This is a 5″x7″ Ivory Card base with a green frame cut from a vellum embellishment from an old Love From Lizi kit – it was a 4.25″ x 5.5″ panel so I split it at the corners and spread it out to fit the card. Some Black ink splatters fill in the center, and the sentiment is from the MMH 9/19 kit die-cut from Auburn Pearlescent card stock with one layer of Pitch Black card stock glued behind.
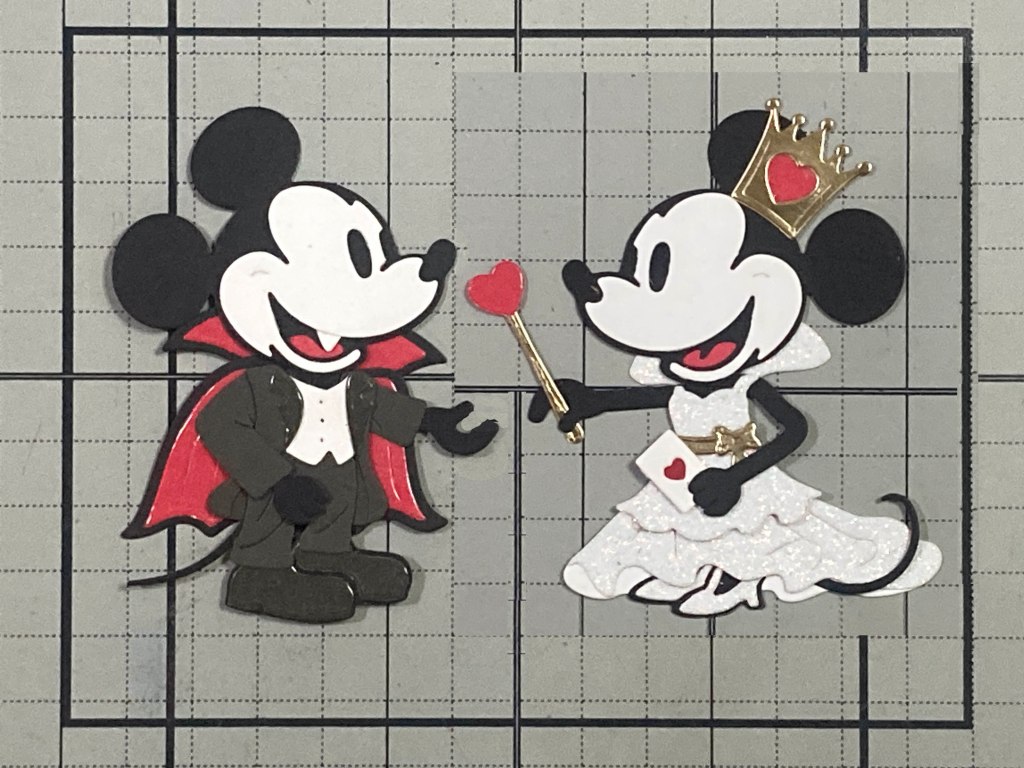
Dracula is dressed in a Dark Grey suit with Lapels and shoes cut from the same Dark Grey with packing tape on top (for the shine!). I skipped the bow-tie and top hat, and cut his cape from packing-tape Red and plain Black card stocks. The queen is dressed in White Glitter card stock with Metallic Champagne accessories and more packing-tape Red (for the shine!!)
I die-cut the Treat Bag and Cauldron from colored cards stocks and cut all the candy from White card stock and colored those with my Alcohol markers. I tucked the candy in the cauldron and glued that flat to the card front. I added the treat bag to Dracula’s hand and attached both characters with foam tape. I gave Dracula a die-cut bat to hold, and I gave our Queen the “Magician’s” heart card too!
Back to some single character A2 cards now…!
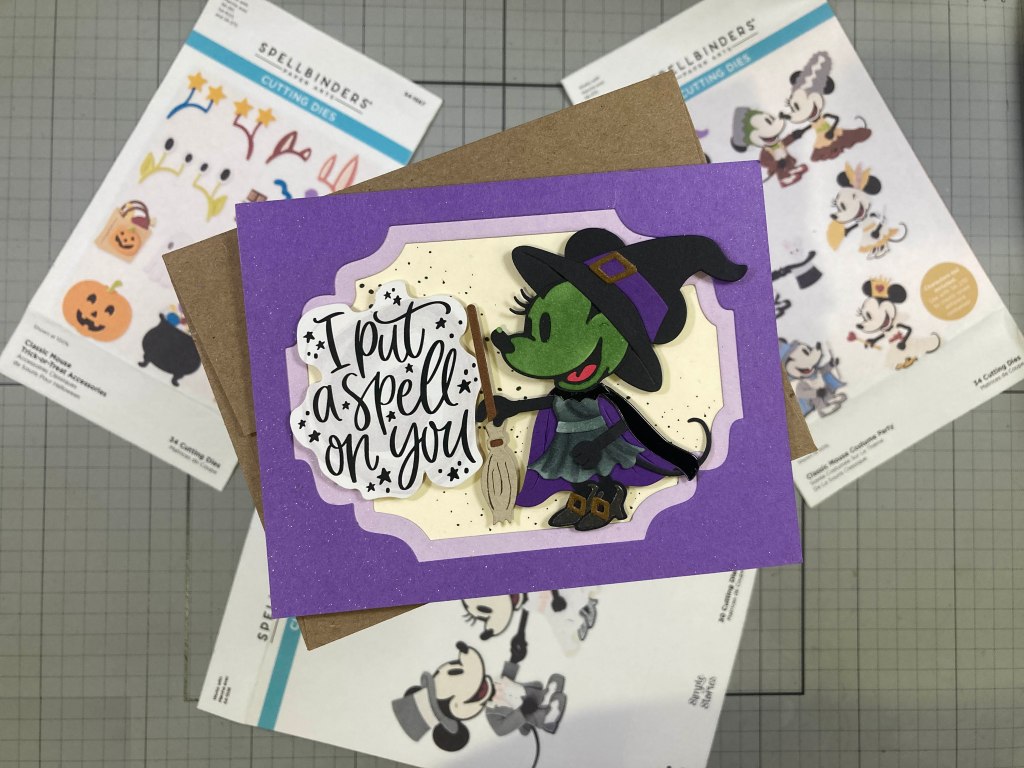
Ever since The Wizard of Oz came out, I think of Witches as Green too! This is an A2 Ivory card base with some black spatters and a two-tone Purple frame that I had sitting in my scrap paper pile. I did glitter up the frame with some Sheer Shimmer Sparkle Craft Spray and I found this sentiment in an old Love From Lizi Kit – works perfectly!
I colored the Witch’s face with Green Alcohol markers but didn’t color her arms or tail. I also colored her dress and belt with Alcohol markers on White card stock. Her shoes are cut from Dark Grey packing-tape card stock (same as Drac’s shoes), the buckles are Auburn Pearl card stock, the cape lining and hat band from plain Purple card stock and her collar and top of the cape are cut from Glossy Black card stock. I did add a tiny Green wart on her nose as well!
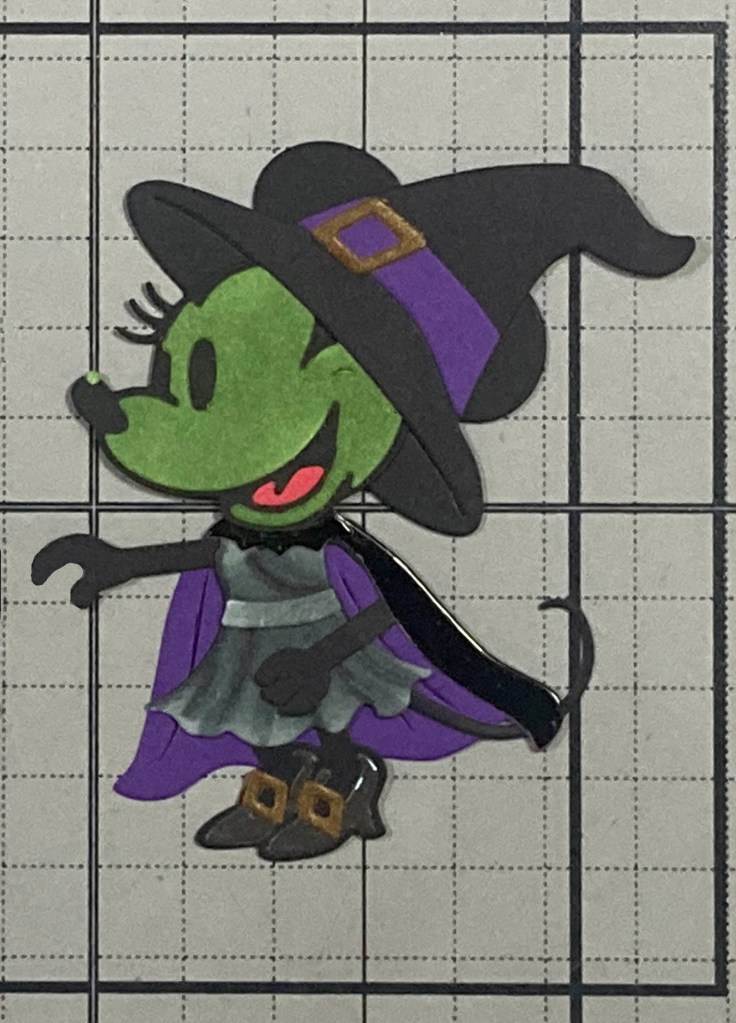
I die-cut the broom from colored card stock and gave that to the Witch before mounting her to the card front with foam tape (tip of tail glued flat). The sentiment is popped up on more foam tape and I like how it echoes the “I’m Under Your Spell” sentiment in the stamp and die set!
I figured that since our Pocahontas costume had a fringe under-skirt, I might be able to adapt that into something different, yet still a recognizable costume!

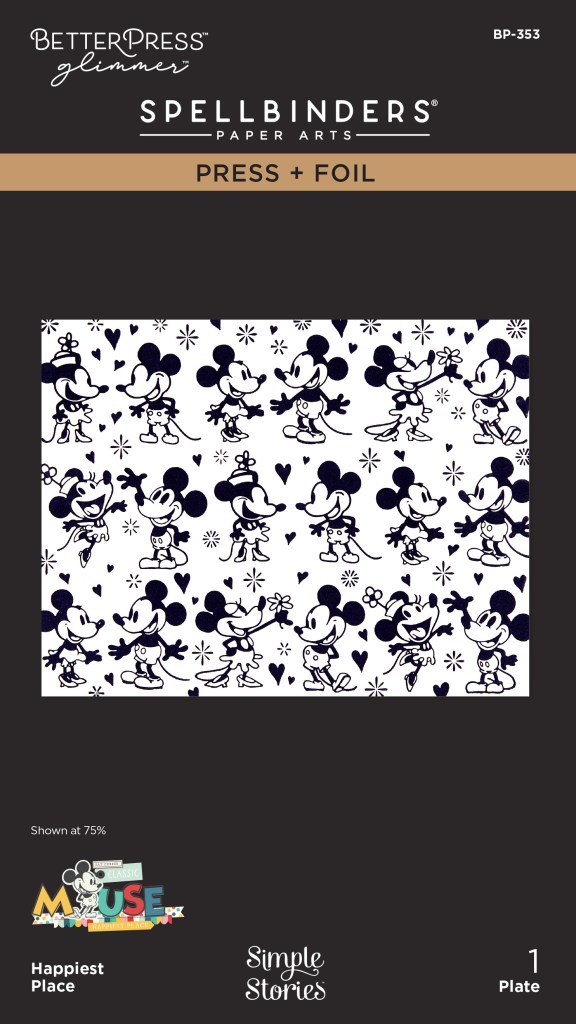
That fringe skirt adapts brilliantly into a Flapper costume!! This is another A2 card base with a Foiled background from my scrap stash created with the My Monthly Hero February 2019 kit stencil. I trimmed that to 3.75″x 5″ and added a thin black and a thin white mat before gluing them to a White card base. The sentiment is from the same MMH Kit stamped on a scrap of Black card stock with VersaMark ink and embossed with White Embossing powder. I die-cut that to 2.5″ x 1.25″ with a Lawn Fawn Stitched Rectangle die, glued that to a thin White mat and glued both to the card front.
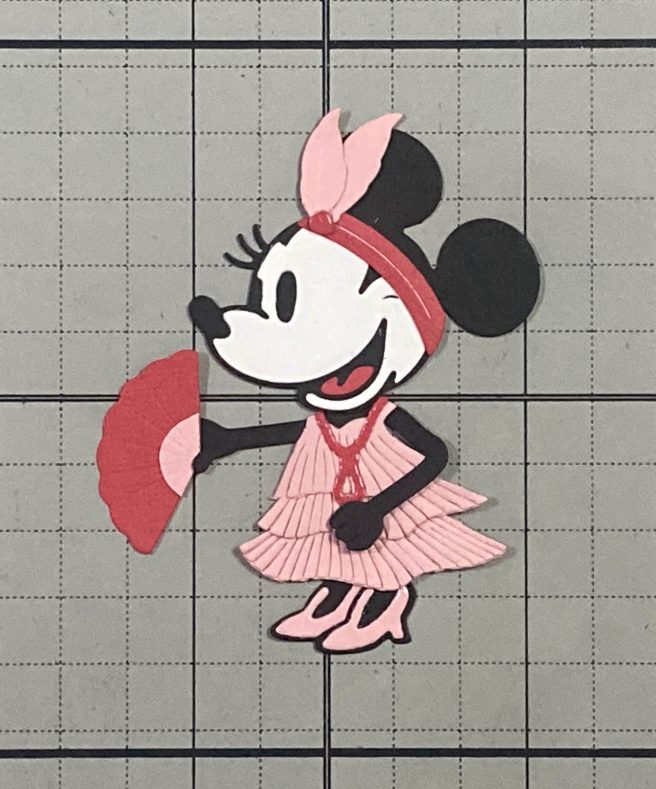
I used three layers of the fringed skirt die to make her dress in Pink card stock, trimming the top die cut to match her collar. I gave her pink shiny shoes with the help of some packing tape, and die-cut her accessories from some plain Red card stock – the necklace and feather “gem” are cut from packing-tape enhanced Red, and I trimmed one feather shorter for her headband. A perfect Flapper Girl costume for anyone not comfortable with a Pocahontas costume.
I added some sparkle to her fan with a Spectrum Noir Sparkle pen and gave her a little pink crystal ring on her hand. There is another sentiment in the MMH 2/19 kit – “You’re the Cat’s Meow” – but I thought with a Mouse as our costumed character, that sentiment might be a little insensitive! Love this costume!
All that’s left is the Magician… I could not resist making my own little touch of magic for this card.
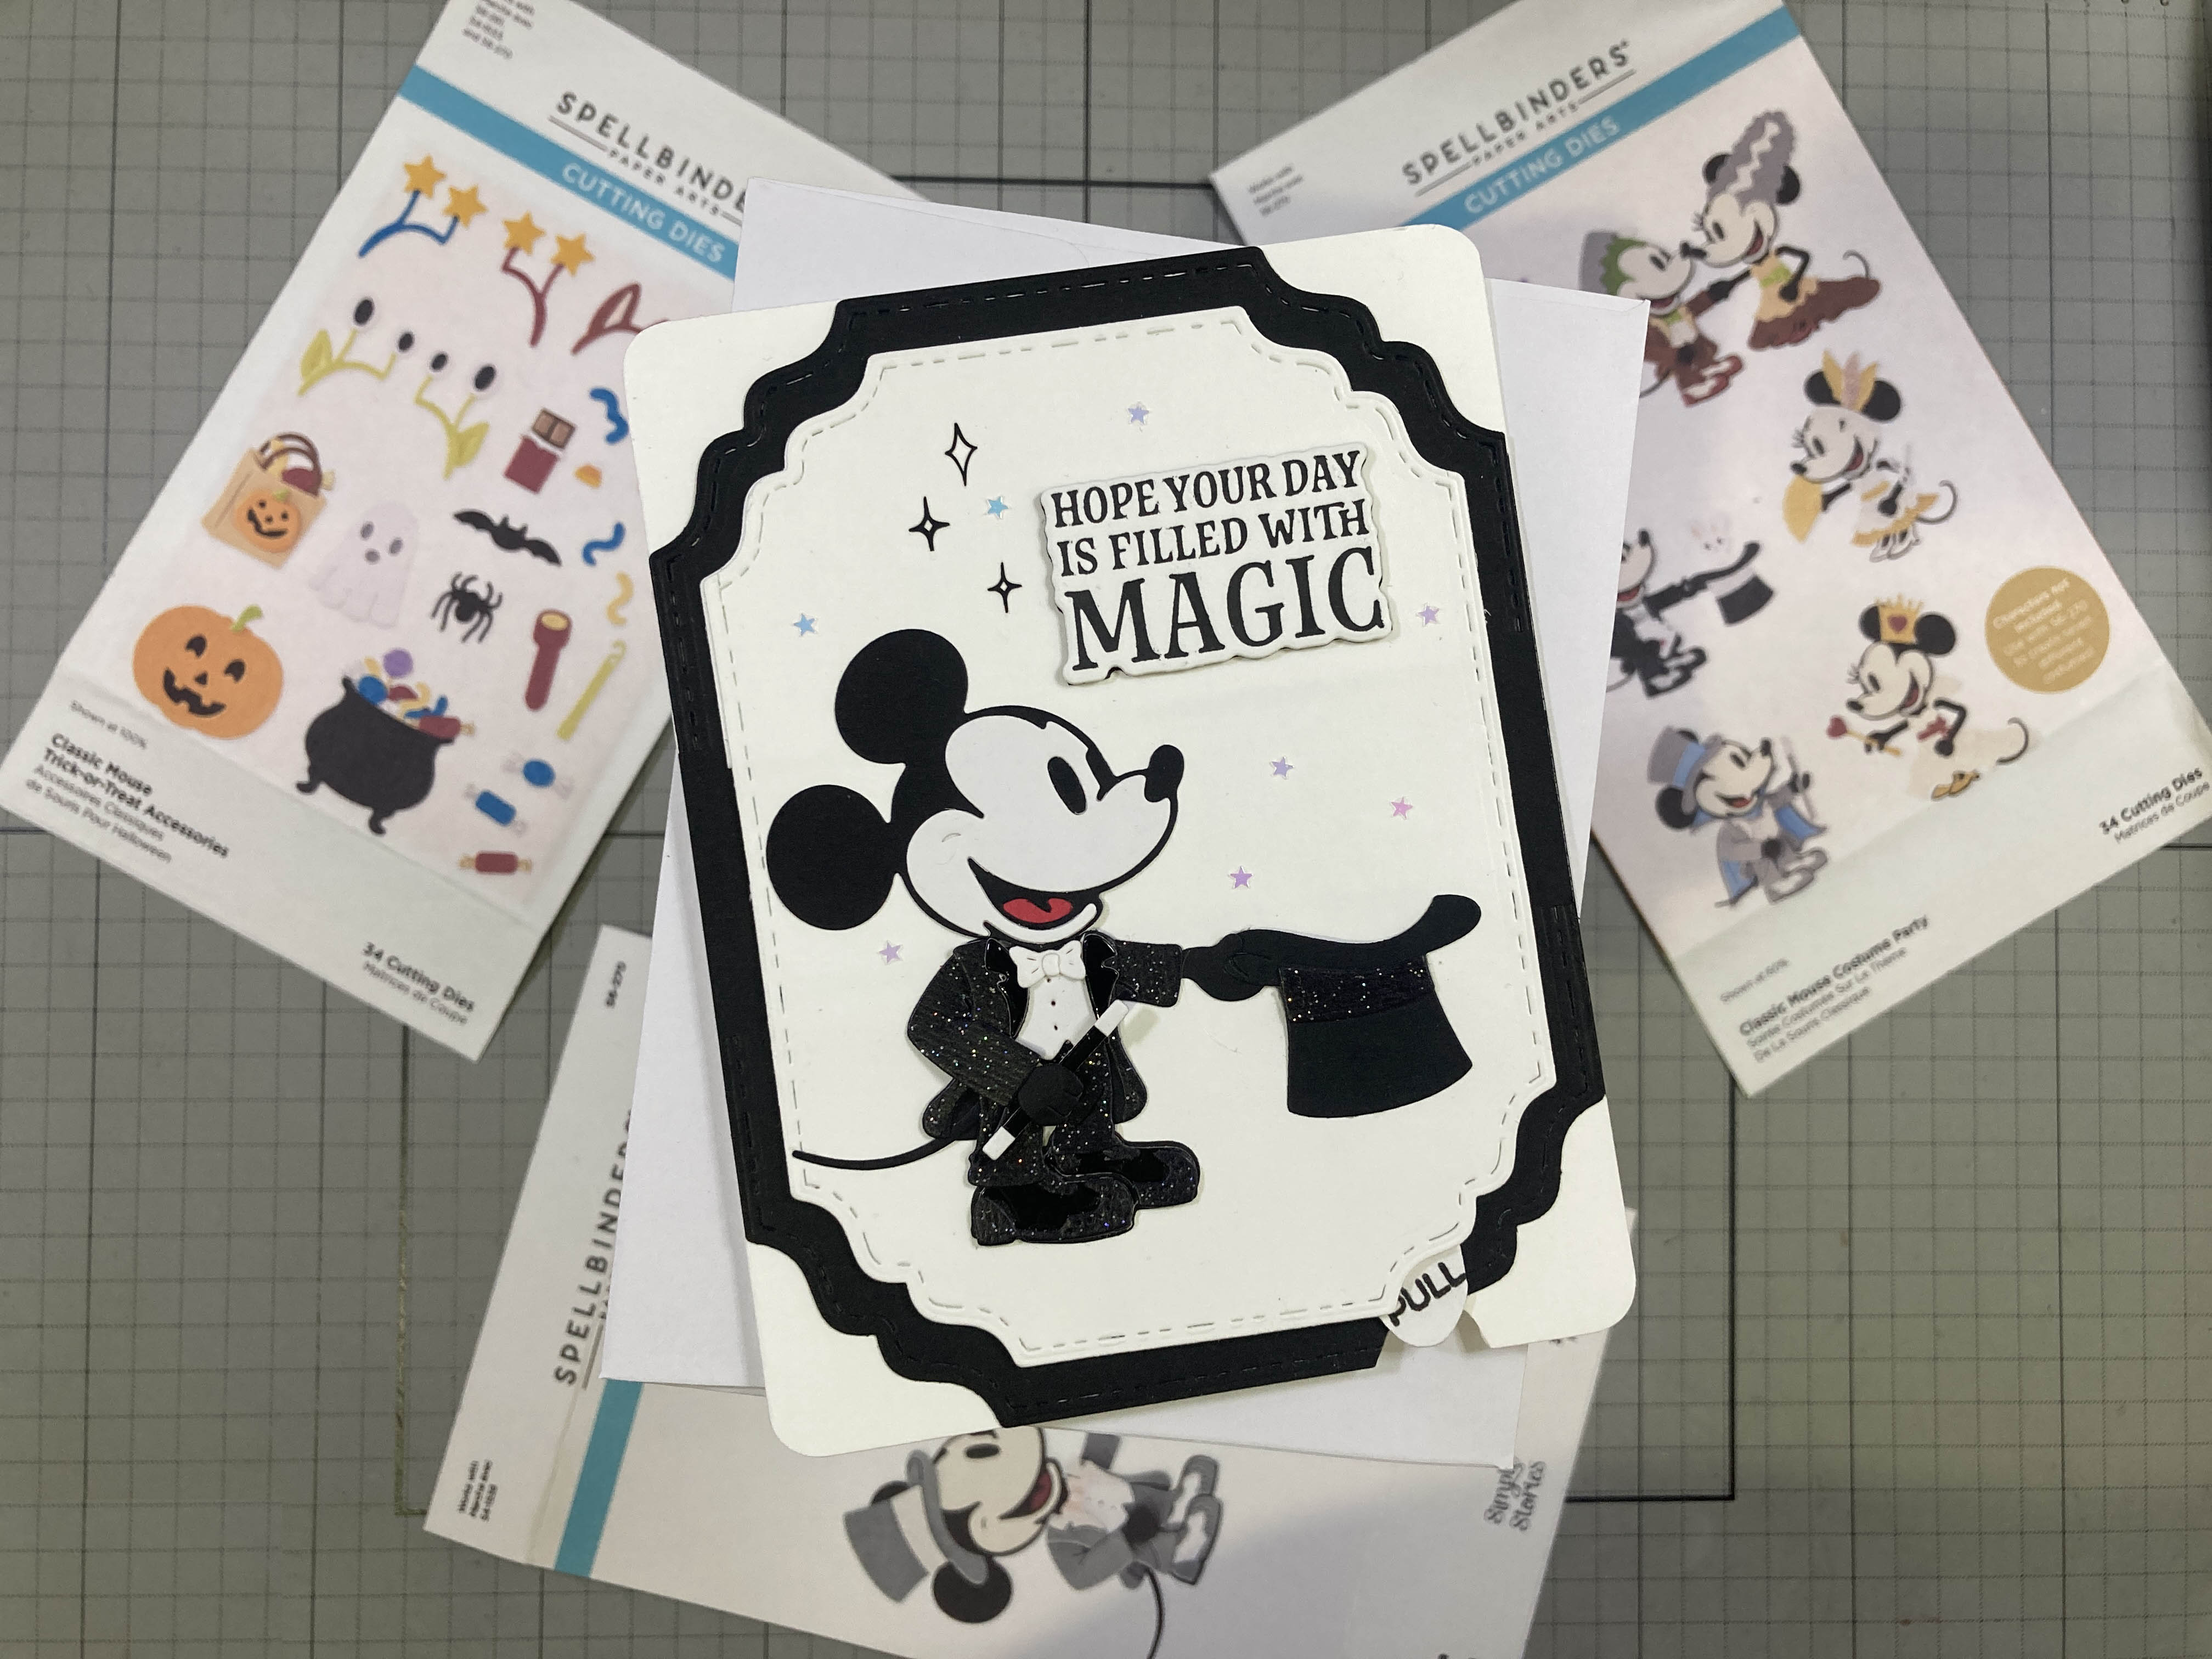

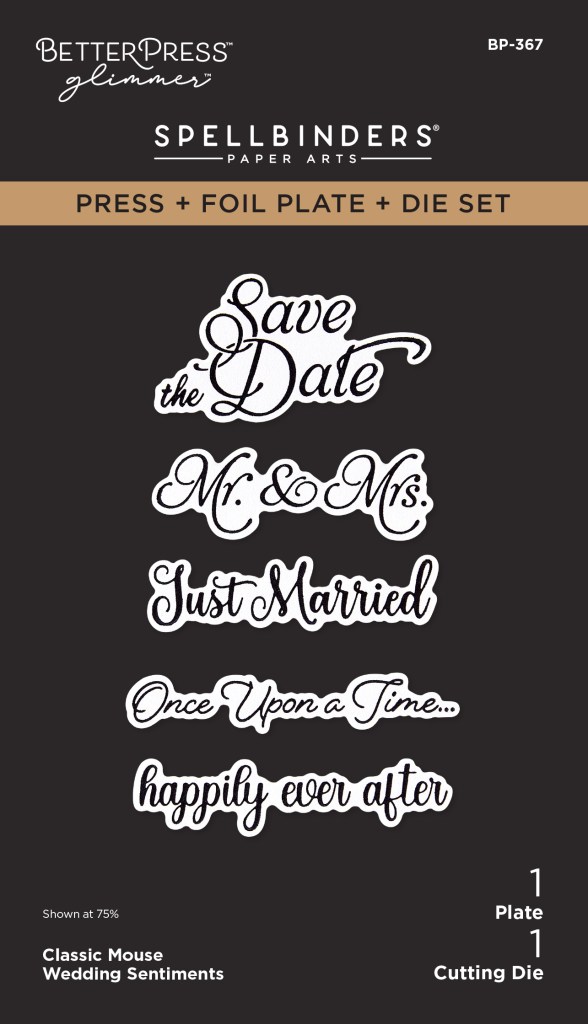
Another plain White A2 card base with some Black and White layers die-cut using an old LDRS Fancy Squares & Little Things Die set. Those dies are for a square card so I adapted them to work on an A2 card base. The sentiment is from the Classic Mouse Happy Sentiments Press + Foil set – Onyx Black ink on White Cotton card stock – die-cut with the matching die. I built the Double Slider pull-tab mechanism on the back of the top White die-cut.
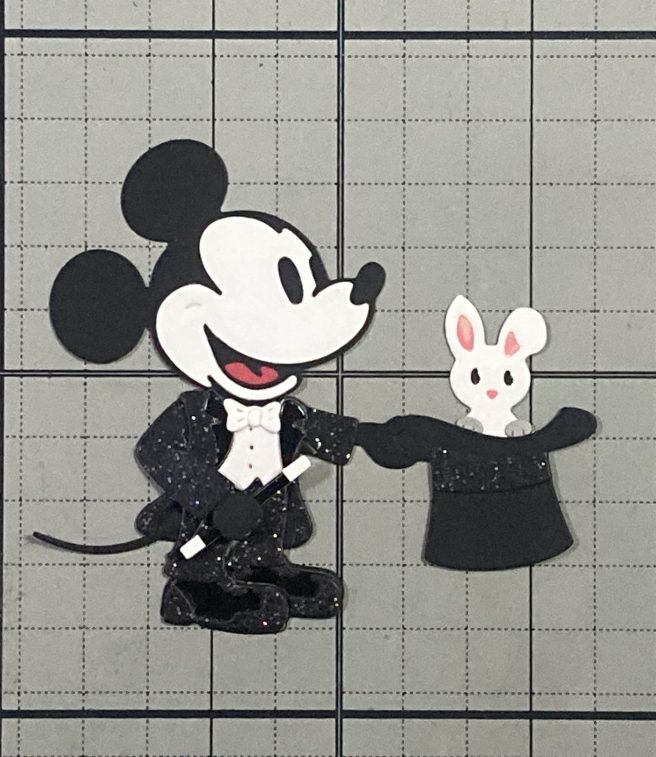
I die-cut this suit from Black Tie Glitter card stock including the hat band and the decor on his shoes. I did give him the bow tie and adapted Dracula’s “walking stick” into the Magician’s magic wand. The bunny is die cut from colored card stock but I used a single piece of thin card stock behind his head and just colored in his ears, nose and mouth.
The Double-slider mechanism was a bit fussy only because there’s such a small space to make it work. For this instance, the big secret was cutting the slit for the bunny 1/4″ below the rim of the hat and not letting the bunny disappear below the slit so there’s no chance of him getting stuck.
I do have a good video on creating Double-slider Pull-tab cards here: https://www.youtube.com/watch?v=hyHI0kvQTg8&t=153s
I managed to squeeze in the mechanism with just enough room to function, and finally glued the Magician and his hat flat to the card front. Some more “sparkle” rub-ons from the 9/24 kit and a sprinkling of star glitter adds just enough bling to the background. I die-cut two sentiment blanks from Pitch Black card stock and glued those to the back of the sentiment before gluing them flat to the card face. Perfect sentiment for a perfectly magical card! Love it!!
And that concludes my adventures with the Classic Mouse Costume Party and Trick-or-Treat Accessories die sets. I did focus on the costumes in this release a bit to the detriment of the accessories dies but I was pleased to see that these costumes can be used outside the confines of Halloween.
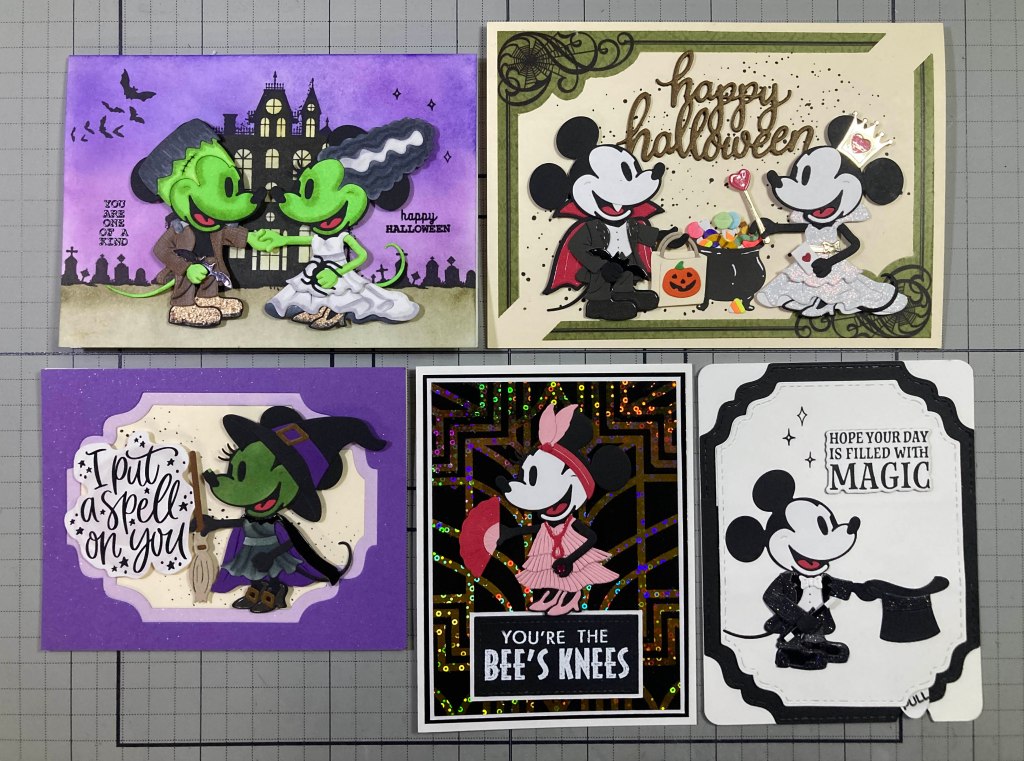
Now I am not a big sender of Halloween cards… never have been… but these cute costumed characters could change my mind about that! We’ve got plenty of Halloween vibes here but also, a couple of cards that could be used for a variety of occasions. I really like the versatility of these costume dies, and am especially proud of my Flapper Girl!! Let me know which cards are your favorites!
If your passion for Halloween is matched by your passion for the Classic Mouse die sets, then you will want to get one of these kits for yourself! If you do go shopping at Spellbinders, please use my links listed below. I get a small commission from whatever you buy (at no cost to you) and that helps support this page and keeps the ol’ wheels turning!
Classic Mouse Costume Party Etched Die Set: https://bit.ly/45dyc2n
Classic Mouse Trick-or-Treat Accessories Etched Die Set: https://bit.ly/4whboK0
Classic Mouse Trick-or-Treat Sentiments Stamp & Die set: https://bit.ly/45PTMdm
Classic Mouse Wedding Etched Die Set: https://bit.ly/3Um3Ecg
Classic Mouse Steamboat Willie Etched Die Set: https://bit.ly/4hu6vtv
Spellbinders NEW Products: https://www.tkqlhce.com/click-101337132-15849009
Thank you for sharing some time (and clicks!) with me today… I hope you enjoyed another mid-month diversion as I keep exploring the ever-evolving Classic Mouse collections! If you enjoyed this post, please click the Like Star at the bottom of the page, and if you wish to be notified when a new post comes out, just click the Follow Me at the top of the page. Don’t hesitate to send me a note if you have any comments or questions! Please take a moment to Like Me, List Me, Pin Me, Post Me, just share this post with all your crafty friends – especially any Disney/Halloween fans! Remember… don’t run with scissors! And as always, I send You and Yours Love and Light, and Happy Crafting!!
DISCLOSURE: This site contains some affiliate links to products. I may receive a commission for purchases made through these links (at no cost to you). As an Amazon Associate I earn from qualifying purchases. Thank you!